This chrome drip bowl is designed for use with electric cooktops and ranges. This drip bowl is sold individually. At the widest point this part has a diameter of approximately 10 inches. It sits beneath the surface burner element. It catches any drips or spills coming from the cookware on your burner. Because the cooktop is a high-traffic...Read more area of the kitchen, these bowls often get damaged, or get so dirty they can no longer be adequately cleaned. When replacing this part you need to remove the burner element. While you have it out we recommend inspecting the terminals and the element for any corrosion, arcing, or discoloration. Any of those things could be a sign of a bigger problem, and it indicates that the element and terminal block should be replaced.
The drip bowl catches grease and spills that come from cooking on your stove top. They are located under the heating elements. Drip bowls are often neglected and can become rusted and cracked. If your drip bowl is damaged, it could allow grease, food, or other spills to drip inside your range. This could become a fire hazard. This 6 inch ...Read morechrome drip bowl fits most electric ranges. Before you replace your damaged drip bowl, make sure the element is turned off and cool to the touch. To replace the drip bowl, remove the element, replace the current drip bowl, and reattach the element. This part is sold individually.
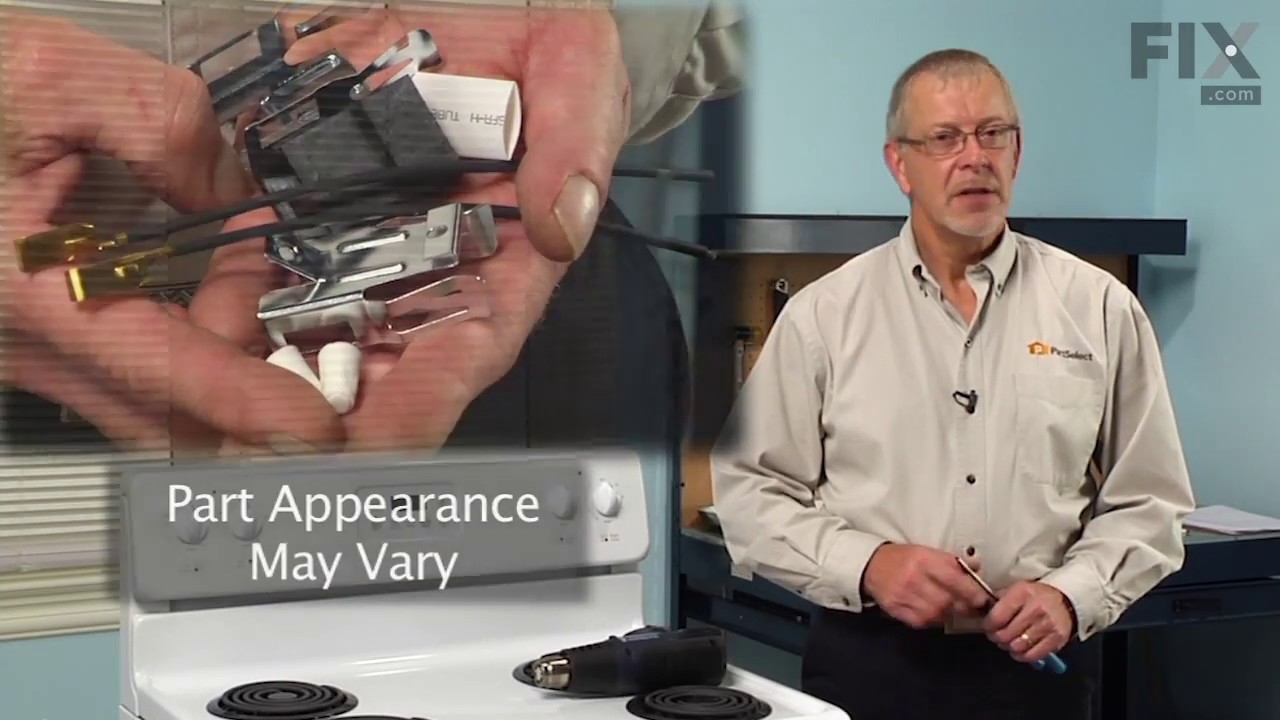
This part connects the wire harness to the surface element and is used for ranges. The kit includes interchangeable mounting brackets, ceramic wire nuts, heat shrink protective tubing, and wires. If your range/oven is having symptoms such as burner not heating, heating elements not working, burning smell, or if the oven is making a buzzin...Read moreg noise then this could be the solution. The tools needed to replace the kit are wire strippers, a heat gun or hair dryer, and #1 square heard screw driver. Refer to the installation/instructional video for further guidance to accurately replace the element.
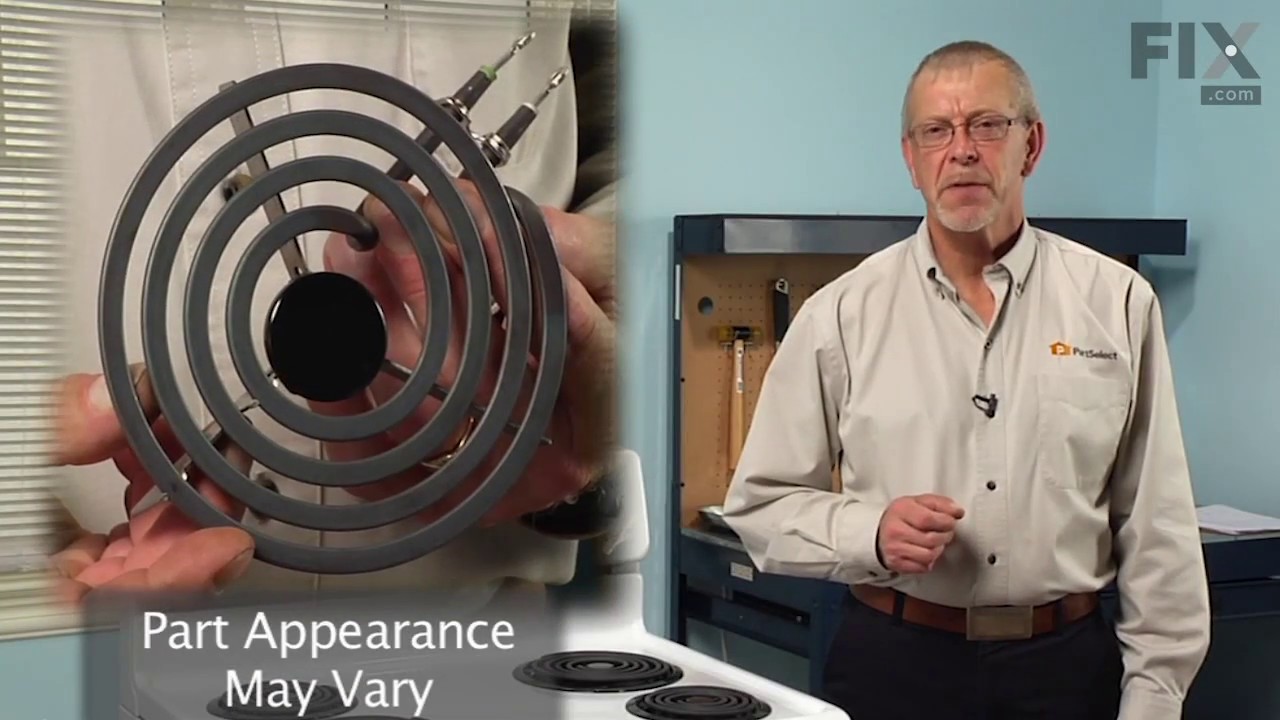
This element is a genuine OEM replacement part, has looped terminal ends, comes with a black medallion center, and fits most electric ranges. All burners are made of a heating wire that produces heat from electricity. Remove the non-functional burner element from the terminal block (or receptacle). Use a multi-meter to check for continuit...Read morey. Check the end of the terminals for corrosion or heat damage. If there is corrosion or heat damage, replace the whole terminal block or receptacle at the same time you replace the damaged coil. Before you start this repair, make sure that the element is turned off and cool to the touch.
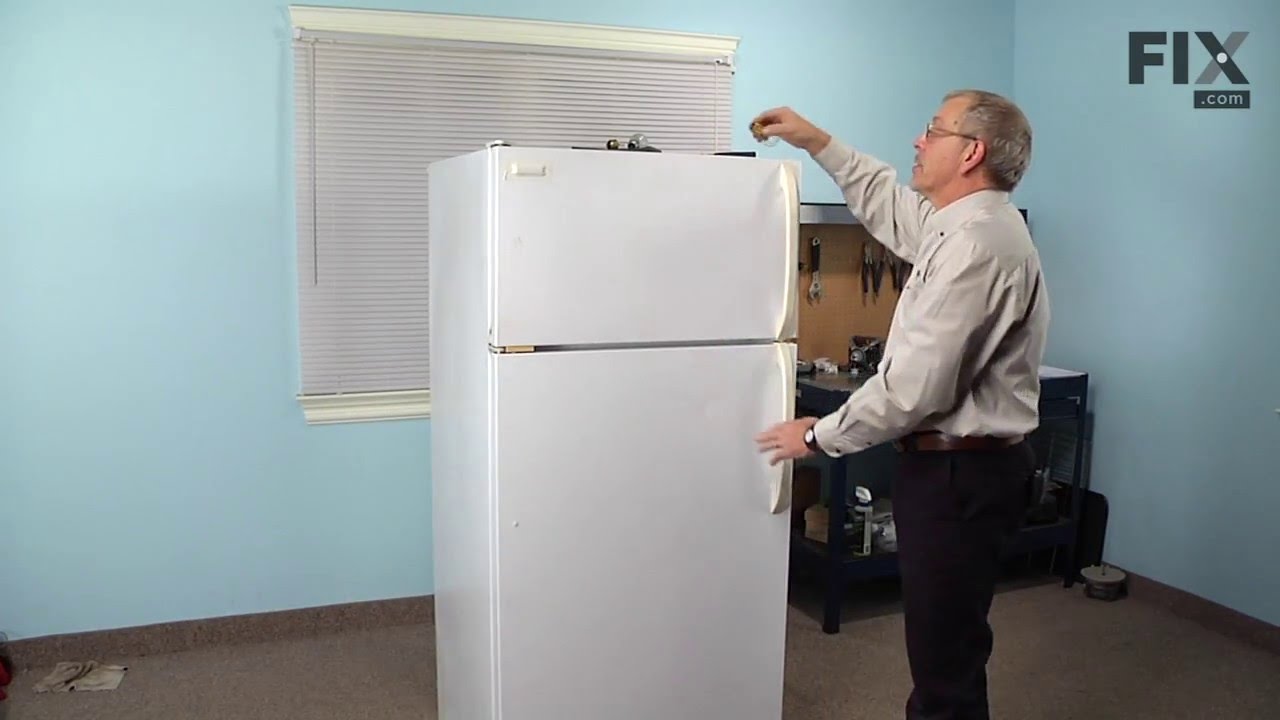
This OEM 40 watt appliance light bulb is used for some ranges, refrigerators, freezers, and microwaves. Simply locate the existing bulb, unscrew it from its socket, and replace with new light bulb. If the existing bulb is broken in the socket, disconnect the power to the refrigerator and use a pair of needle nose pliers to grip the intern...Read moreal fragments of the bulb to unscrew. Replace with the new bulb and reconnect the power to the refrigerator. These bulbs are sold individually and are a commonly replaced part; consider ordering a spare.
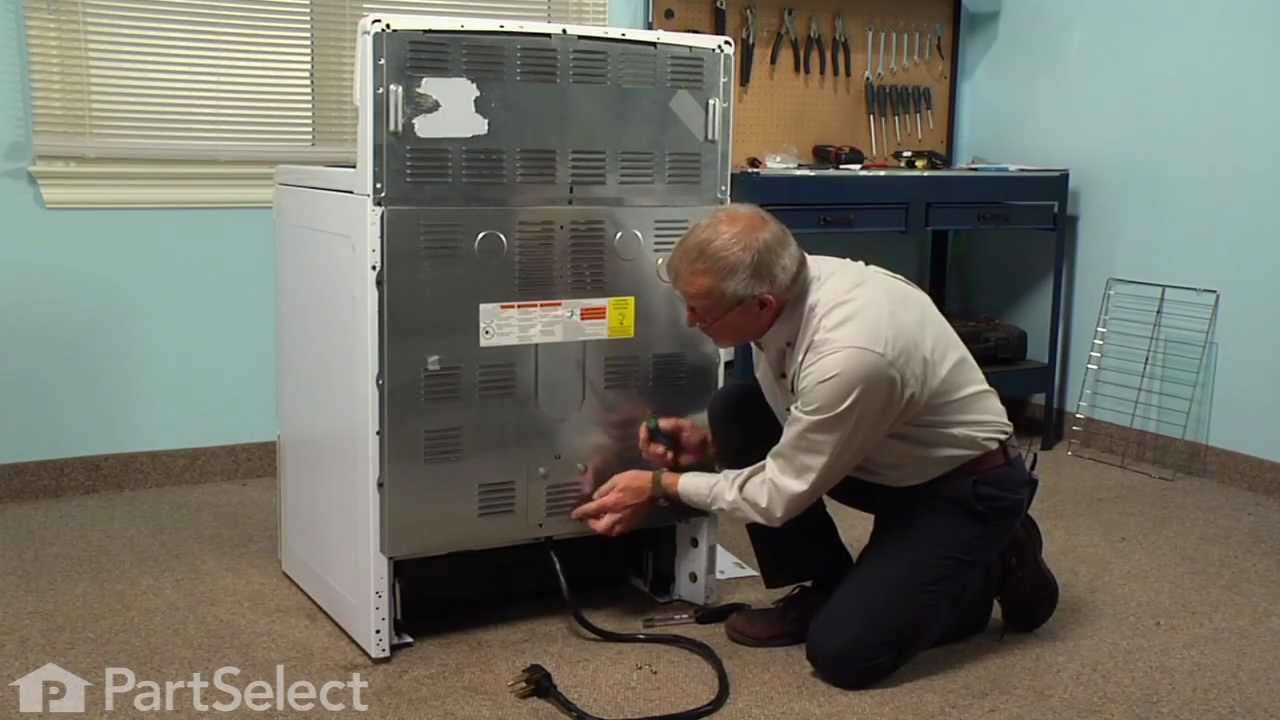
Terminal block kits are also known as terminal boards, or terminal strips, and they are found in a wide variety of household appliances. Most often in ranges, wall ovens, and dryers. This kit attaches the power cord to the inner wiring of your appliance. If the terminal block is faulty, your appliance will not get the power it needs to op...Read moreerate properly. When removing the old block pay close attention to the wire placement, this will make installing your new part much easier. If you notice any of the wires or wire terminals are corroded or damaged they will also need to be replaced.
This broil element is found on the roof of the oven and heats food. The most common reasons you would need to replace this part is due to the oven not giving off enough heat, not turning on, or not baking your food at an even temperature. This could be due to the element being burnt out or broken. Make sure to unplug the oven before you b...Read moreegin. You will need to remove the oven from the wall to complete this repair. This is an OEM part that comes right from the manufacturer, ensuring the best quality.
The oven light socket allows you to screw in a light bulb so that you can see the inside of your oven. The light socket is located in the back of your oven, so you will need to remove the back panel to access the socket for the repair. You will also need to remove the current light bulb and the light lens cover so that the old socket can ...Read morebe removed. As you will be working around electrical circuits for this repair, be sure to disconnect the power source from the oven before you begin work on the oven.
Ask our experts a question about this model and we'll get back to you as soon as possible!
We may have answered a similar question already! Search questions and answers left by others using simple keywords like "fit", "broken", "easy", or "quality" to find questions that match.
Search filter:
Clear Filter
Your search term must have 3 or more characters.
Sort by:
Prev
1
Next
Sorry, we couldn't find any existing answers that matched.Try using some different or simpler keywords, or submit your new question by using the "Ask a Question" button above!
T. Patrick - For model number CFEF210CS4
June 24, 2021
There is one 110v socket on my range and it seems to have shorted out. Can my apartment manager get the part from you? Cost? Thanks.
Hello T. Patrick, Thank you for contacting us. We have researched the model you have provided and have found the part you are looking for is PartSelect Number PS1109977. Please see the website for current price and availability. We hope this helps!
See how others fixed this model. Time, tools, difficulty, and steps that lead to victory!View More
Search repair tips from other customers using simple keywords like "replace", "fit", "remove", "inspect". DIY doesn't mean you have to do it alone!
Search filter:
Clear Filter
Your search term must have 3 or more characters.
Cord was not tightened enough by delivery crew.
109 of 174 peoplefound this instruction helpful.
Timothy from Spring Valley, AL
Really Easy
15 - 30 mins
Screw drivers, Socket set
PF alarm appeared on display. Noticed clicking when cord was moved. Had arced for some time and melted original block. New part slightly different. Only has 3 lugs, old one had six. Stack using washers provided. Take note of colors before disassembly. Use caution while working through access opening. The edges are sharp. Only tools neede
... Read mored are phillips screwdriver, deep socket for lug nuts. Nut driver optional. Hope this is helpful.
Read less
Was this helpful?
Thank you for voting!
Broil element wasn't working...
93 of 132 peoplefound this instruction helpful.
Kevin from Alexandria, VA
Really Easy
Less than 15 mins
Screw drivers
I pulled my unit out of the wall and noticed that the insulation around the top broiler element was a bit brown. Closer inspection revealed that the element had shorted somehow to the oven itself and caused the element to become non-functional. I tried measuring the resistance first, and it was within typical values for the other elemen
... Read morets, but I decided to replace the element anyway.
I ordered from PD and the part arrived just a few days letter by regular shipping. I undid the screws holding in the element, undid the wire connectors and replaced the broken element with the new one. The element worked like a charm and I was back in business for cooking.
Read less
Was this helpful?
Thank you for voting!
Oven light receptacle broken - bulb base broke off
69 of 117 peoplefound this instruction helpful.
Paul from Spokane Valley, WA
Easy
30 - 60 mins
Screw drivers
Turned power off at electrical panel. Pulled oven away from wall. Removed back cover (6 screws), then unplugged wires from old receptacle. I had to pull the squeeze clips backwards & break them to remove the old receptacle - couldn't squeeze them enough to remove them otherwise. The old receptacle came out through the inside of the oven,
... Read moreand the new one snapped in easily from inside the oven as well. Replaced wiring, installed new bulb, restored power & tested. Replaced back cover. Good time to vacuum under/behind where the oven usually lives before sliding it back to the wall.



 My Orders