



 My Orders




CFE28TP4MEW2 General Electric Refrigerator - Overview
Diagrams for CFE28TP4MEW2
See every part. Know exactly what you need.


Enter a part description. DIY Heroes keep it simple, eg. "belt" or "pump".
Search filter:
Clear Filter
Your search term must have 3 or more characters.

$30.53
In Stock
Temperature Sensor
Part #WR55X10025
This sensor (Temperature Sensor, Thermistor, Refrigerator Temperature Sensor) sends the temperature reading of the compartment to the control board. If you notice your refrigerator is too warm, too cold, or not defrosting properly, then there may be a problem with your sensor. The temperature sensor can break from material fatigue or thro...Read moreugh normal use, and should be replaced. It is attached to the evaporator and control housing in your appliance. It measures approximately 1.25 inches long with 18 inch wire leads, and is constructed out of plastic. This part comes in white, beige. It includes the sensor, with wire leads.
Read less

$75.07
In Stock
Refrigerator Water Filter
Part #RPWFE
This NSF-certified water filter helps to improve the taste, quality, and health of your water by removing a number of contaminants including mercury, lead, and trace pharmaceuticals. The filter should be replaced every six month or after 300 gallons of water have been filtered. If you are unsure if your filter is due for replacement, anot...Read moreher indicator is if the water flow from the dispenser has slowed down considerably. Replacing this part is a simple task that does not require any tools or shutting off the water or power supply to your fridge. Once the new filter has been installed, be sure to run at least two gallons of water through before consuming.
Read less

$38.32
In Stock
LIGHT SWITCH
Part #WR23X37285
The interior light of your refrigerator is controlled by a switch that is activated when the door is opened and closed. If your refrigerator light will not turn on, there could be an issue with the switch. The switch is spring loaded and is a generally closed type of switch meaning there should be no continuity when the button is depresse...Read mored, and continuity through the switch when the button is not depressed. This plastic, white, OEM switch is sourced directly from the manufacturer, is sold individually and is easy to replace. The repair usually takes less than 15 minutes and requires a flat blade screwdriver and needle nose pliers.
Read less

$61.39
In Stock
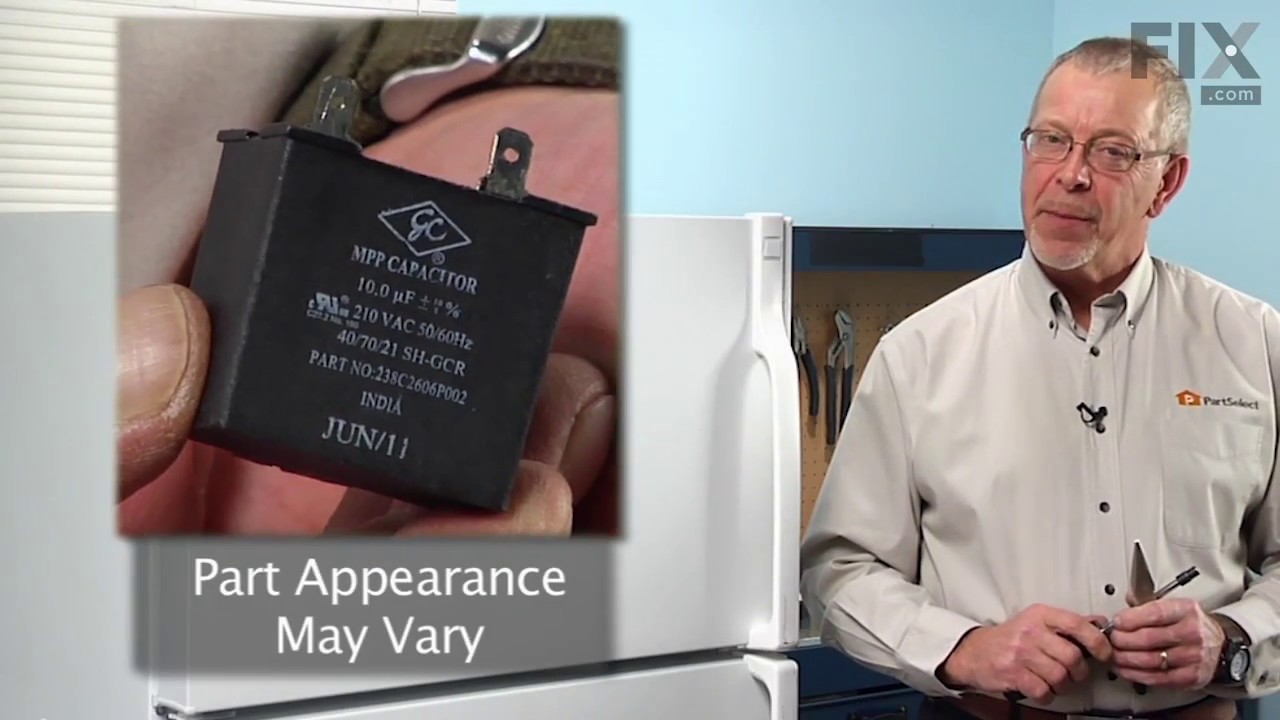
Run Capacitor
Part #WR55X24064
This part helps the compressor kick on and off while maintaining a constant temperature to keep things frozen in your freezer. This part has been updated by the manufacturer and may appear different than the original, but should function the same.

$16.05
In Stock
Door Handle Fastener
Part #WR01X11007
This is a door handle fastener to secure the handle to your refrigerator drawer. It is also known and a mounting bolt or screw. It is approximately 1 inch in total length, and is made of metal.

$69.23
In Stock
Refrigerator Door Shelf Bin - Clear
Part #WR71X11044
This gallon-sized refrigerator door shelf bin is a genuine OEM replacement designed for select General Electric (GE) models, including compatible units from Hotpoint and Café. Constructed from durable, food-grade clear plastic with a white band along the top, it offers a transparent view of stored items and supports efficient organization...Read more of beverages, condiments, and jars. Designed for installation on the right-side door, this bin replaces several previous part numbers and is intended for tool-free installation. Some versions may include a bonus soda can organizer. Always verify your refrigerator’s model number to ensure compatibility before purchase.
Read less

$16.05
In Stock
Screw 8-16 hxw 1/2 Stainless Steel
Part #WD02X10067
This OEM-compatible screw is designed for use with many GE dishwashers. Measuring 8-16 HXW and 1/2" in length, this stainless steel screw secures the middle spray arm hub to the upper rack assembly, ensuring stable and effective spray arm performance.
Sold individually, this durable metal fastener requires a nutdriver for proper installation.

$55.24
On Order
Crisper Pan Glass Cover
Part #WR32X10865
This replacement vegetable pan glass is designed to restore the functionality and appearance of your refrigerator’s crisper drawer. It provides a sturdy, transparent surface for storing produce while maintaining visibility and cleanliness. If the original glass is cracked, chipped, or damaged, replacing it is essential for safe and effici...Read moreent use. This component is sold individually and does not include additional hardware or framing parts.
Read less

$46.22
In Stock
COVER LED Assembly
Part #WR55X11132
Designed for use in the fresh food section of compatible refrigerators, this LED light and cover assembly offers reliable, energy-efficient lighting using advanced LED technology. The clear, impact-resistant cover shields the internal components while allowing full illumination of the compartment. If your refrigerator’s lighting is dim or...Read more non-functional, replacing the entire assembly ensures consistent performance and a clean appearance. This genuine replacement part is compatible with a range of models and is engineered for a precise fit and long-lasting durability.
Read less

$64.76
In Stock
Freezer Door Gasket (Dorian Gray)
Part #WR14X36194
This is a door gasket for the freezer compartment of your refrigerator. Door gaskets are made of rubber and plastic and are designed to seal the cold interior of the freezer compartment from the ambient temperature of your home. If the door gasket for your refrigerator is damaged, moldy, or warped, it must be replaced immediately. This ga...Read moresket is a dark gray color, and measures approximately 36 inches wide and 27 inches tall. Replacing this gasket is simple, and only requires you to carefully remove the old gasket, and then wrap this new one around the perimeter of the compartment door. This gasket is sold individually and does not include any other parts.
Read less

$39.33
In Stock
Refrigerator Door Light Switch
Part #WR23X29161
The door switch turns the light off when you close the door.

$55.24
In Stock
Common Symptoms of the CFE28TP4MEW2
How this model fails, and the parts that fix it.
Fridge too warm
Fixed by
these parts
these parts


Show All
Light not working
Fixed by
these parts
these parts


Show All
Freezer section too warm
Fixed by
these parts
these parts

Show All
Fridge too cold
Fixed by
these parts
these parts
Show All
Freezer not defrosting
Fixed by
these parts
these parts

Show All
Will Not Start
Fixed by
these parts
these parts
Show All
Fridge and Freezer are too warm
Fixed by
these parts
these parts

Show All
Frost buildup
Fixed by
these parts
these parts
Show All
Too warm
Fixed by
these parts
these parts
Show All
Door won’t open or close
Fixed by
these parts
these parts


Show All
Fridge runs too long
Fixed by
these parts
these parts
Show All
Freezer too cold
Fixed by
these parts
these parts
Show All
Not cleaning dishes properly
Fixed by
these parts
these parts

Show All
Not dispensing water
Fixed by
these parts
these parts


Show All
Ice maker not making ice
Fixed by
these parts
these parts

Show All
Noisy
Fixed by
these parts
these parts
Show All
Clicking sound
Fixed by
these parts
these parts
Show All
Door Sweating
Fixed by
these parts
these parts

Show All
Leaking
Fixed by
these parts
these parts
Show All
Doesn’t stop running
Fixed by
these parts
these parts
Show All
Too cold
Fixed by
these parts
these parts
Show All
Ice maker won’t dispense ice
Fixed by
these parts
these parts

Show All
Won’t start
Fixed by
these parts
these parts
Show All
Watch our pros, then fix it yourself.

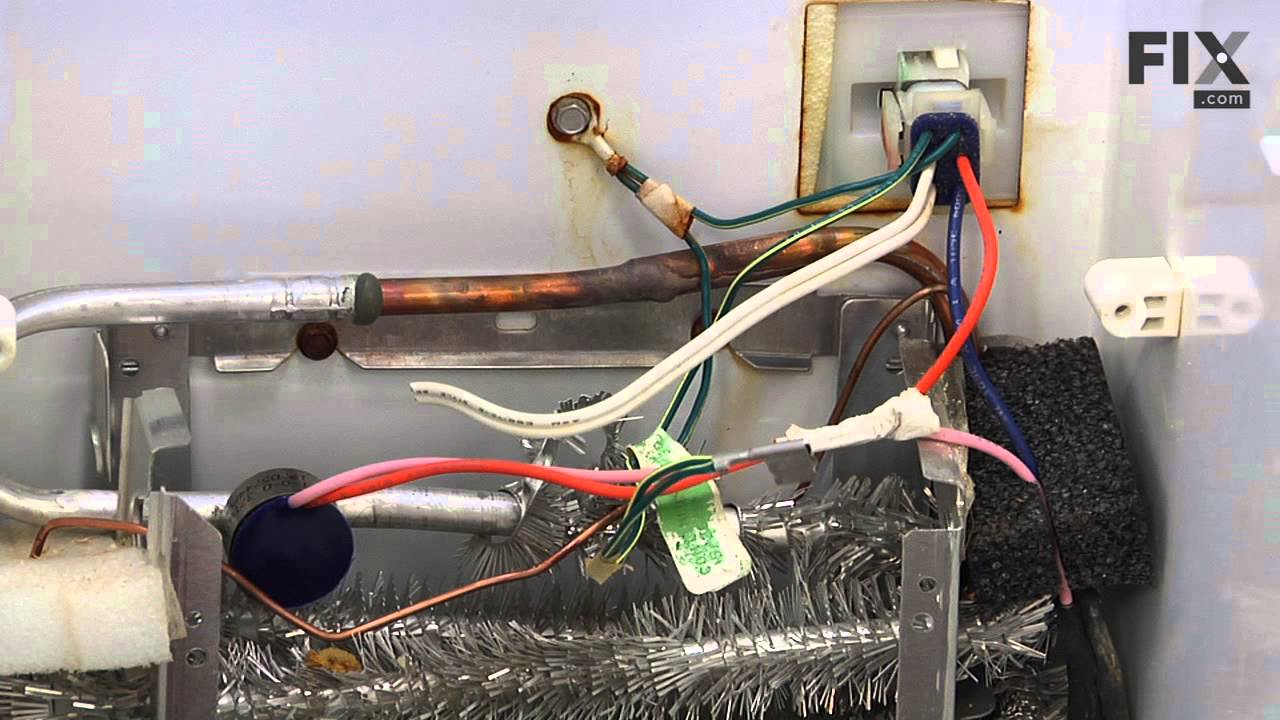

See how others fixed this model. Time, tools, difficulty, and steps that lead to victory!
View More