



 My Orders




CFC07M1AW0 Uni Freezer - Overview


Enter a part description. DIY Heroes keep it simple, eg. "belt" or "pump".
Search filter:
Clear Filter
Your search term must have 3 or more characters.

$70.35
In Stock
Gasket Retainer Clip Kit - 24 Pieces
Part #5303922007
This gasket retainer clip kit is for freezers. There are 24 pieces in this kit. The clips are what secure the gasket and liner to the freezer lid. The clips are white in color and made of plastic. If you notice frost build up in your freezer or that is it is not maintaining its temperature, this might be because the retainer clips have br...Read moreoken, and this has caused the gasket to become loose. This is a genuine OEM part that is obtained right from the manufacturer, ensuring a quality repair.
Read less

No Longer Available

No Longer Available
White Touch up Paint
Part #5303321319
This is white touch up paint for refrigerators, microwaves, ranges, dryers, and freezers. It is used to cover, or touch up, nicks and scratches on the appliance from wear and tear. It is an 18ml bottle that contains paint and a small brush for easy application. It is a little over 2 inches tall. This is an OEM part that is sourced directl...Read morey from the genuine manufacturer, and is meant to be an exact match to the color of the appliance. If the appliance is not white, please see other colors such as almond or black.
Read less

$70.78
In Stock
Run Capacitor
Part #218909912
This refrigerator run capacitor is a 220-volt, 12-microfarad component designed to support the compressor motor by providing continuous current to its windings. By regulating electrical flow, it helps the appliance maintain proper cooling performance and prevents issues such as excessive run time or temperature fluctuations. If your refri...Read moregerator or freezer is struggling to start or maintain its temperature, replacing the run capacitor may restore efficient operation. Always unplug the appliance before installation.
Read less

$39.82
In Stock
Filter - Drier
Part #5303305677
A filter-drier in a refrigerator has two essential functions. The first is to absorb system contaminants, such as water, which can create acids. The second is to provide physical filtration. This means trapping moisture, small metal chips, and dirt found in the refrigerant gas. If your refrigerator motor is constantly running, but the ref...Read morerigerator is not getting cold, the issue could be due to a damaged or faulty filter-drier. Faulty filter-driers are sometimes the cause for abnormal freezer compartment temperatures and partially frosted evaporators. This filter-drier is approximately 11 inches long. Remember to disconnect the power from your refrigerator before beginning this repair.
Read less

$53.29
In Stock
Temperature Control Thermostat
Part #5304496559
Engineered to precisely regulate freezer temperatures, this genuine OEM cold control kit manages the compressor cycling to maintain consistent cooling performance. By monitoring internal conditions through its capillary sensor, it helps prevent temperature fluctuations that can lead to spoiled or freezer-burned food. Designed as a complet...Read moree replacement solution, it restores proper startup, corrects continuous running issues, and ensures dependable operation. Built for durability and ease of installation, this component is ideal for bringing your appliance back to reliable, efficient cooling.
Read less

No Longer Available
GASKET
Part #216480911
This white door gasket is used to make an air-tight seal for the cabinet when the door is closed.

$23.01
In Stock
Compressor Mounting Grommet
Part #216498900

$48.35
Special Order
Thermostat Knob - White
Part #216707200

$25.23
Special Order

$25.25
In Stock

No Longer Available
Manuals & Care Guides for CFC07M1AW0
Click to downloadCommon Symptoms of the CFC07M1AW0
How this model fails, and the parts that fix it.
Won’t start
Fixed by
these parts
these parts


Show All
Frost buildup
Fixed by
these parts
these parts


Show All
Will Not Start
Fixed by
these parts
these parts
Show All
Too warm
Fixed by
these parts
these parts
Show All
Fridge too warm
Fixed by
these parts
these parts

Show All
Doesn’t stop running
Fixed by
these parts
these parts
Show All
Freezer section too warm
Fixed by
these parts
these parts
Show All
Fridge and Freezer are too warm
Fixed by
these parts
these parts
Show All
Watch our pros, then fix it yourself.
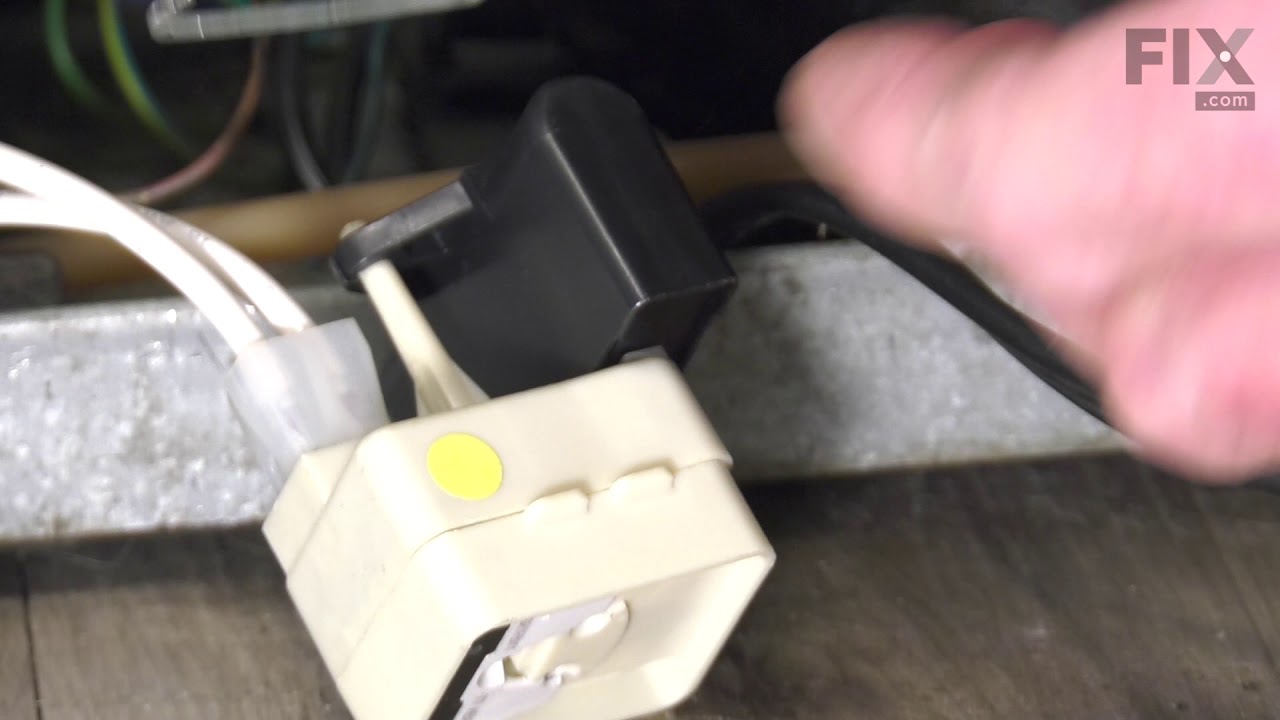
See how others fixed this model. Time, tools, difficulty, and steps that lead to victory!
View More