


 My Orders




CEX310VW1 Roper Range - Overview

Enter a part description. DIY Heroes keep it simple, eg. "belt" or "pump".
Search filter:
Clear Filter
Your search term must have 3 or more characters.

$10.95
In Stock
Chrome Drip Bowl - 8 inch
Part #WPW10196405
This manufacturer-certified drip bowl is also known as a drip pan, and it is designed for use with cooktops and ranges. It sits below 8-inch burner elements and catches drips and spills from the cookware on the burner. The diameter of the drip bowl is approximately 10 inches. This replacement might appear slightly different, but it will f...Read moreit your appliance.
You will need no tools to complete this repair. Simply remove the burner element, remove the old bowl, line up the hole on the new bowl with the terminal block and drop it into place. Make sure the bowl is flat before reinstalling the element. While you have the element out you should inspect the terminals for corrosion, damage, or discolouration. If you notice any of those things you should also replace the element and terminal block. You will need to replace your drip bowl if it is lost, damaged, or can no longer be cleaned. This replacement part is sold individually. To extend the life of your new drip bowl we recommend you clean it regularly with soap and water. We recommend only using the recommended drip bowl for your appliance; generic versions will not fit properly which could affect the performance of your elements and cause long-term damage.
Read less

$16.07
In Stock
Range Surface Burner Plug-In Block Kit
Part #330031
The surface burner plug-in block kit features a newer-style terminal block. This kit is designed for use with ranges and cooktops. This terminal block is how the coil element on your stove connects to the inner wiring of your appliance. Without this connection your burner element would not get the electrical current it needs to heat up. W...Read morehen your element will not heat at all, or if it is not heating properly it is likely an issue with the terminal block. You need to remove the element to replace this part. While you have the element out, inspect the element and the terminal for any corrosion, arcing, or discoloration. If you notice any damage to the element or the terminals we recommend you replace this part as well. This kit includes two metal brackets, two pre-crimped high-temperature wire leads, two ceramic wire nuts, two heat-shrinking insulators, and a mounting screw. Before you begin this repair, make sure you have unplugged your appliance.
Read less

$33.69
In Stock
Surface Burner - 8 Inch - 2600W
Part #WP660533
The surface burner or element on your range provides the heat that you cook with. If your element will not heat, you may need to replace the surface burner. This surface burner is 8 inches in diameter and 2600 watts. The burner element is made of metal and has two prongs that connect it to the range. The manufacturer recommends you replac...Read moree the burner receptacle at the same time that you replace the surface burner. Many of our customers have rated this repair as very easy. To complete the repair simply lift the old burner up and out, and replace it with the new one. Be sure to disconnect power to the range before beginning this repair.
Read less

$28.42
In Stock
Standard Y-Frame Range Surface Burner
Part #WP660532
The standard y-frame surface burner provides heat to your range. If you notice that your element will not heat, you may need to replace your surface burner. This product is 6 inches in diameter, and 1500W. The manufacturer suggests replacing the receptacle at the same time that you replace the surface burner. Many of our customers have ra...Read moreted this repair as very easy, and you will not need any tools. To complete the repair, simply lift out the old burner and replace it with the new one. Check that the burners are turned off before you begin this repair.
Read less

$47.40
In Stock
Surface Element Switch
Part #W10900107
A surface element switch, also known as a burner/infinite switch, is a device used to control and regulate the heat output of the burners on a stovetop or cooktop. This switch is controlled with a knob on the user interface of the cooktop or stovetop and is adjustable by the user. This burner switch is compatible with various ranges and c...Read moreooktops and is a genuine OEM part that is sold with all of the necessary hardware to secure it, such as the Philips-head and flat-head screws, brackets, bolts, washers, palnuts (also known as a push-on nut) and terminals. Over time, this switch can wear out or become faulty, leading to heating issues for your stovetop and cooktop, such as not heating, overheating, or staying at the same heat level. Depending on the orientation of your cooktop, you will need to install this switch with or without the bracket and palnut, so reference your user manual for that information when replacing this switch. You will need a screwdriver and set of pliers during the replacement and installation process, and simply need to follow the instruction manual included with this switch to correctly replace and rewire it.
Read less

$7.47
In Stock

$7.47
In Stock
No Longer Available
HINGE-CKTP
Part #4157485
No Longer Available
GASKET-SW
Part #4315286
No Longer Available
SCREW
Part #965194
No Longer Available
DISCONTINUED
Part #4363811
$45.29
Special Order
USE WPL 8189501
Part #4157865
Common Symptoms of the CEX310VW1
How this model fails, and the parts that fix it.


Watch our pros, then fix it yourself.
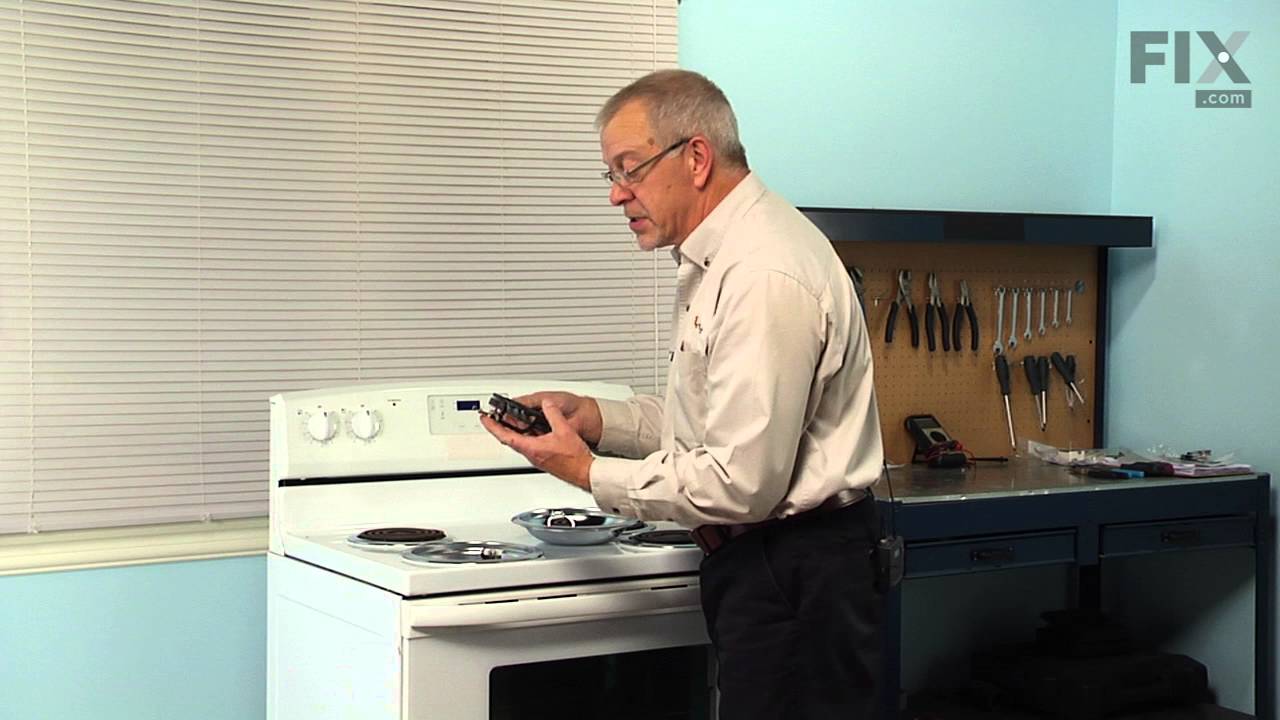
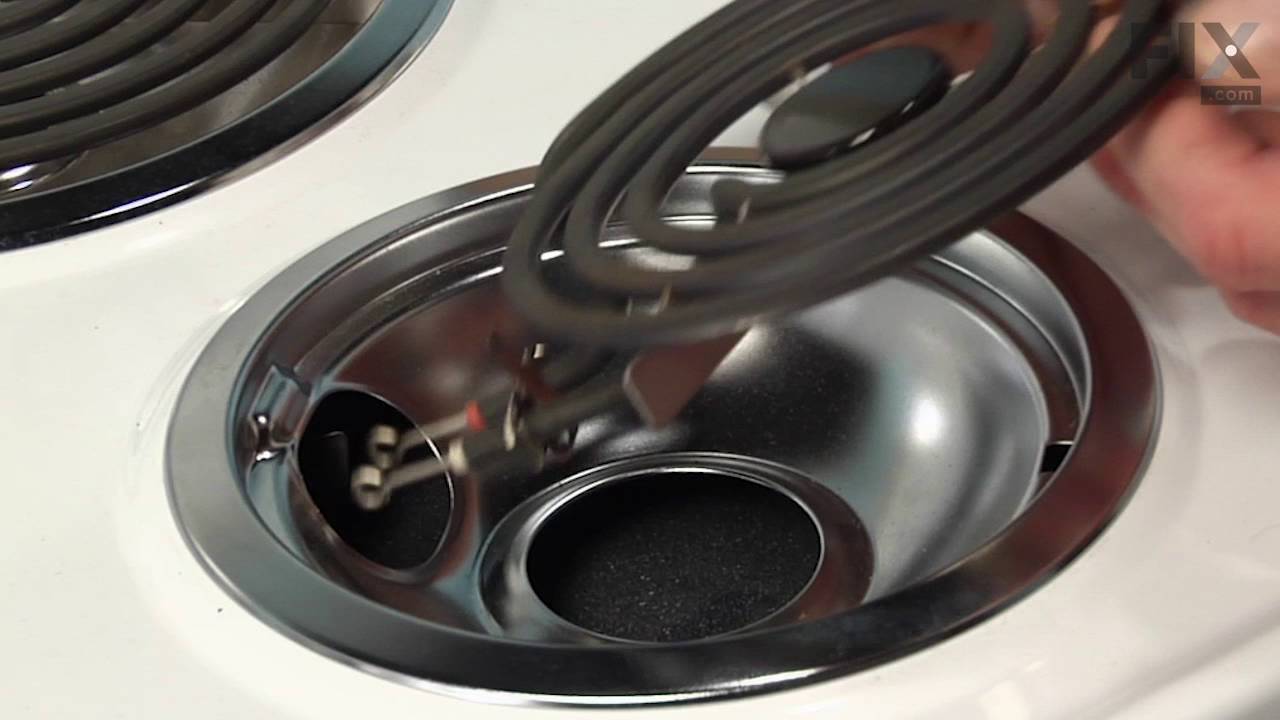
See how others fixed this model. Time, tools, difficulty, and steps that lead to victory!
View More
Search repair tips from other customers using simple keywords like "replace", "fit", "remove", "inspect". DIY doesn't mean you have to do it alone!
Search filter:
Clear Filter
Your search term must have 3 or more characters.
8 inch burner wouldn't come on. Wires shorted out
61 of 72 people
found this instruction helpful.
One screw holds the block onto the stove top. Had to clean out fitting for phillips screwdriver or screw would have stripped because it was old with lots of buildup. Even cleaned out, this screw required great force with phillips screwdriver to keep from stripping. Caution! If you strip it, you'll have to drill it out! The rest was a snap
... Read more
. Cut the old wires leading to the old block (not too close to where wires disappear into back of stove, though!). Strip insulation off both wires and attach with the connectors that came in the kit. Then push the wires into the block, and finally, attach the block back to the stove top (new screw is supplied). Restore power and everything should be fine. One problem: Roper/Whirlpool built their appliance in such a way that when the connector block shorts out, it usually takes the infinite switch with it. So I ended up having to go back and purchase that switch as well (which just so happens to cost twice to three times as much!). If you put it all back together and it still doesn't work, that's probably what happened, so go ahead and remove the knob panel and check that switch (it's right behind the control knobs on the front). You will probably find a burned connector at the back top left or the switch. Don't forget to write down which wire goes where (or just take a picture of it).
Read less
Other Parts Used:
Was this helpful?
Thank you for voting!
1 had 2 large burners not working at all, and was cooking everything on the 2 smaller burners
27 of 31 people
found this instruction helpful.
It was so simple to repair - all I had to do was slide the older burners out and slide the new ones in - it took less than 10 min to complete the whole job! No tools used at all.
Other Parts Used:
Was this helpful?
Thank you for voting!