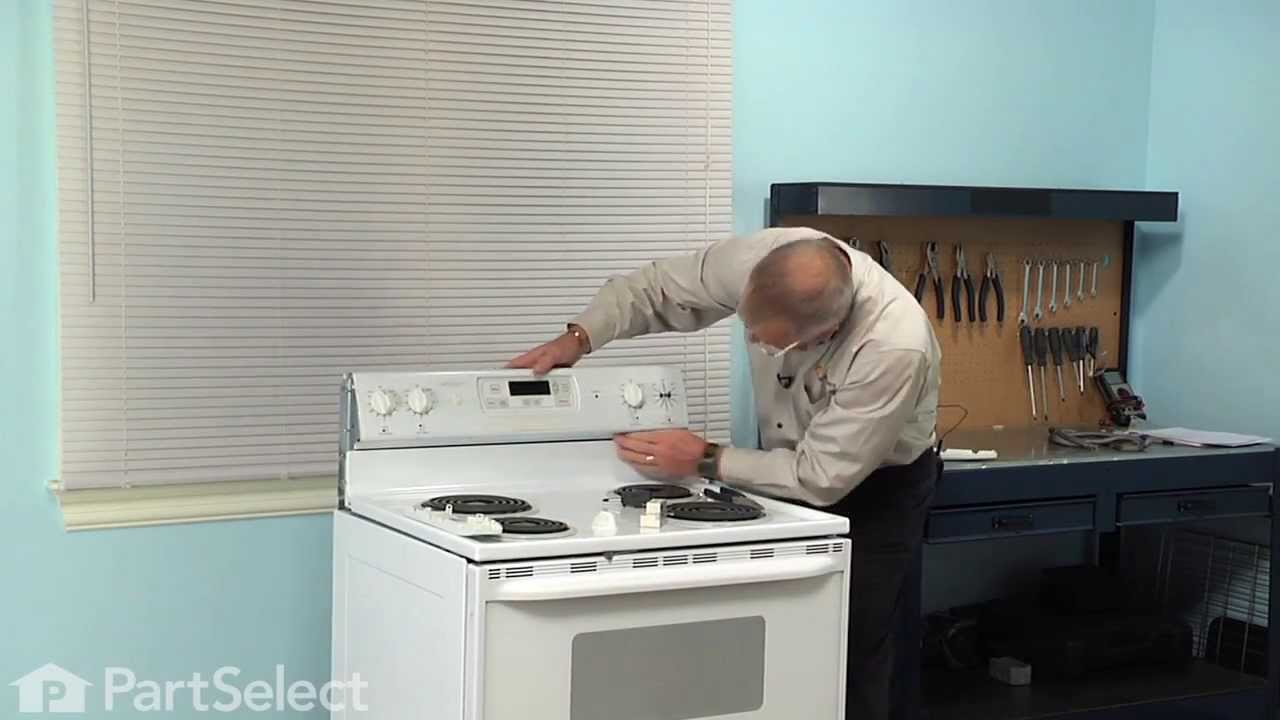
CE3878XRW Crosley Cooktop - Overview
Sections of the CE3878XRW
[Viewing 1 of 1]Keep searches simple, eg. "belt" or "pump".
Clock Knob - black
PartSelect #: PS11744674
Manufacturer #: WP7711P492-60
The clock knob attaches to the center of the oven control panel and is used to adjust the built-in clock. This clock knob is less than an inch in diameter. It is all black in color and is made of plas...
$17.15
In Stock
Appliance Screw
PartSelect #: PS11743002
Manufacturer #: WP59002061
Sold individually.
$7.47
In Stock
Thermostat Knob
PartSelect #: PS2091833
Manufacturer #: 7731P082-60
This knob accepts a D-shaped shaft.
No Longer Available
Infinite switch
PartSelect #: PS4274918
Manufacturer #: 7403P239-60
This is the left front element switch.
No Longer Available
Questions And Answers for CE3878XRW
Be the first to ask our experts a question about this model!
✖
Ask a Question
Ask our experts a question on this model and we'll respond as soon as we can.
Sorry, we couldn't find a match for "".
Here's a guide for finding your model number.
Something went wrong. Please try again later.
Your Question Has Been Submitted!
Our experts will send you an email as soon as your question has been answered.
Common Symptoms of the CE3878XRW
[Viewing 1 of 1]Keep searches simple. Use keywords, e.g. "leaking", "pump", "broken" or "fit".
The Burner was getting too hot and you could not regular the tempature
Moved the Appliance out unplugged it and removed the backing plate then Remove the Knob and unscrew the infinite switch then marking the 5 wires to know where the go on the new switch, removing and replaced it with the new one
Parts Used:
-
Dennis from Hagerstown, MD
-
Difficulty Level:Really Easy
-
Total Repair Time:Less than 15 mins
-
Tools:Screw drivers
77 of 89 people
found this instruction helpful.
Was this instruction helpful to you?
Thank you for voting!
Burner heat does not turn down
Turn off breaker.
Remove knob, pulls off. Pulled stove away from wall.
Removed front panel with switches attached.
There are screws in front and back.
Removed screws that hold switch in place.
Transferred wires one at at time to get proper location.
Reverse process for reassembly
Gary in Ohio
Remove knob, pulls off. Pulled stove away from wall.
Removed front panel with switches attached.
There are screws in front and back.
Removed screws that hold switch in place.
Transferred wires one at at time to get proper location.
Reverse process for reassembly
Gary in Ohio
Parts Used:
-
Gary from Blanchester, OH
-
Difficulty Level:Easy
-
Total Repair Time:15 - 30 mins
-
Tools:Screw drivers
9 of 9 people
found this instruction helpful.
Was this instruction helpful to you?
Thank you for voting!
Burner would only cook on high setting or not heat up at all.
Shut off power to stove. Moved stove out. Loosened screws in top and middle back of stove and removed cover. Took mental note of color order of each wire and unhooked each wire from old switch and reattached to new switch in exact order of color of wire as original. Remounted cover on back of stove and reattached screws. Turned on power
... Read more
and turned on burner and tested burner for heat. Turned off burner, slid stove back and bingo - done. Saved a lot of money.
Read less
Parts Used:
-
Judy from West Salem, IL
-
Difficulty Level:A Bit Difficult
-
Total Repair Time:30 - 60 mins
-
Tools:Screw drivers
9 of 13 people
found this instruction helpful.
Was this instruction helpful to you?
Thank you for voting!