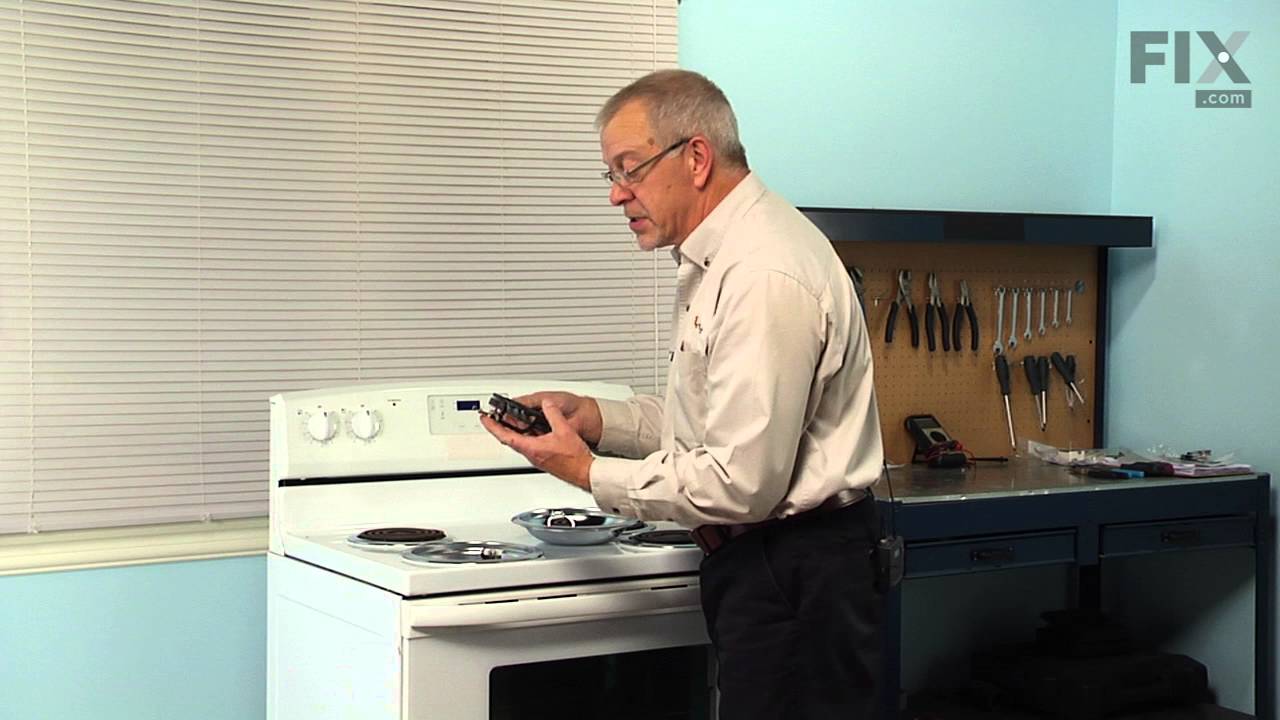
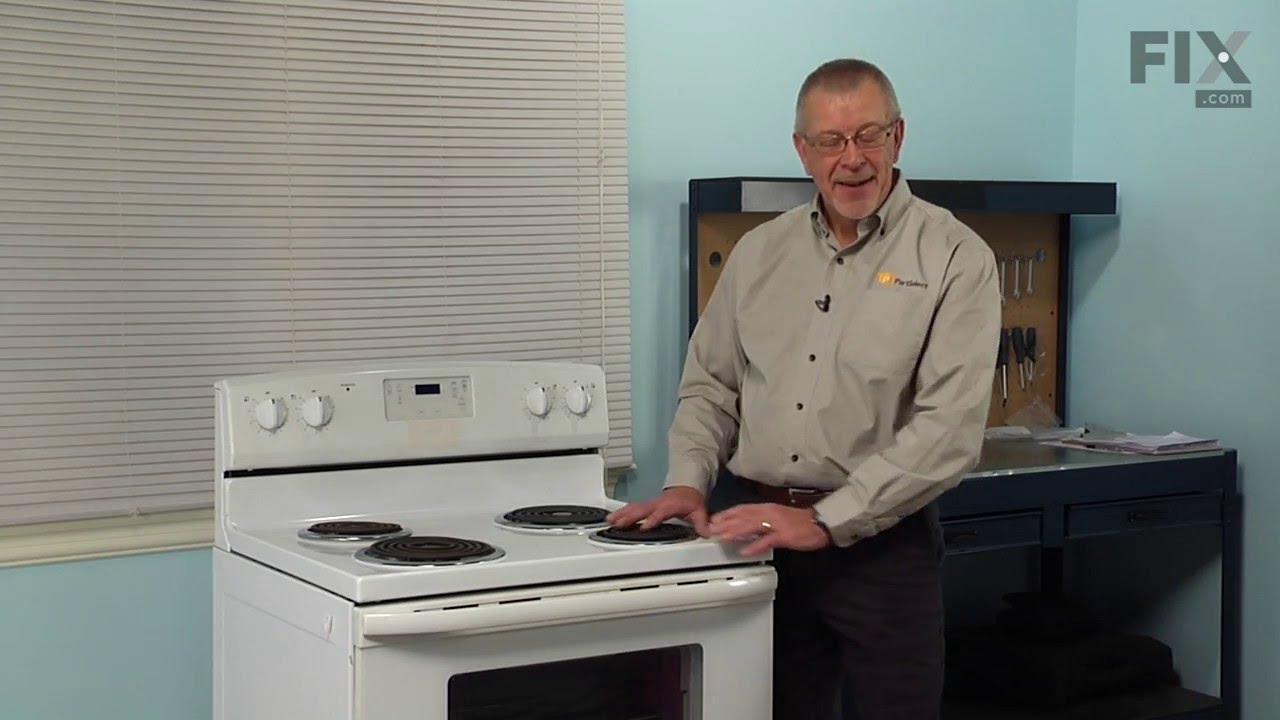
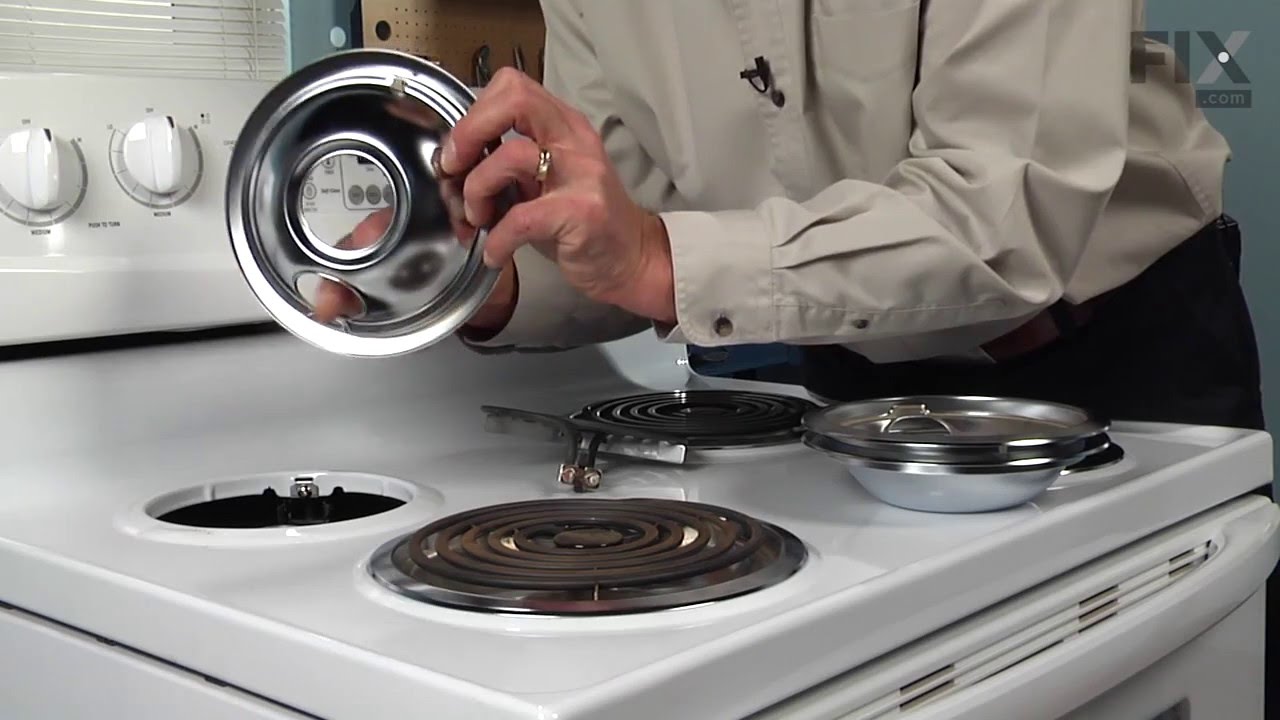
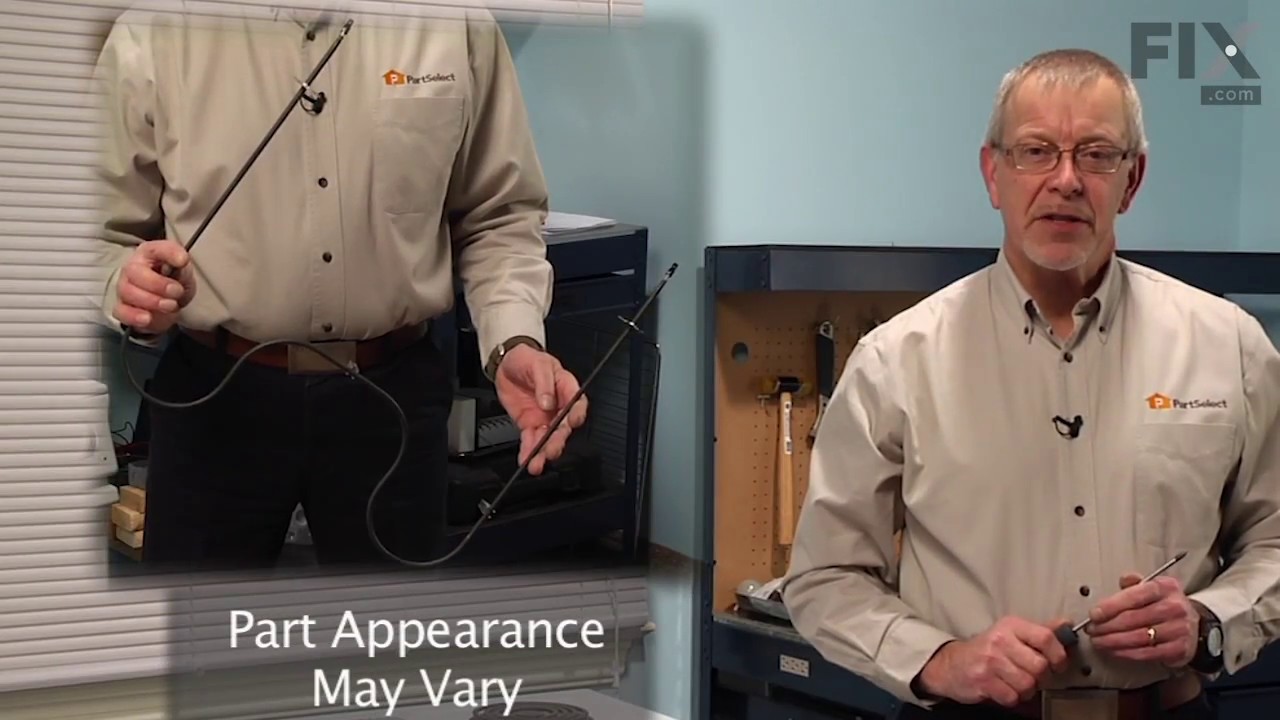
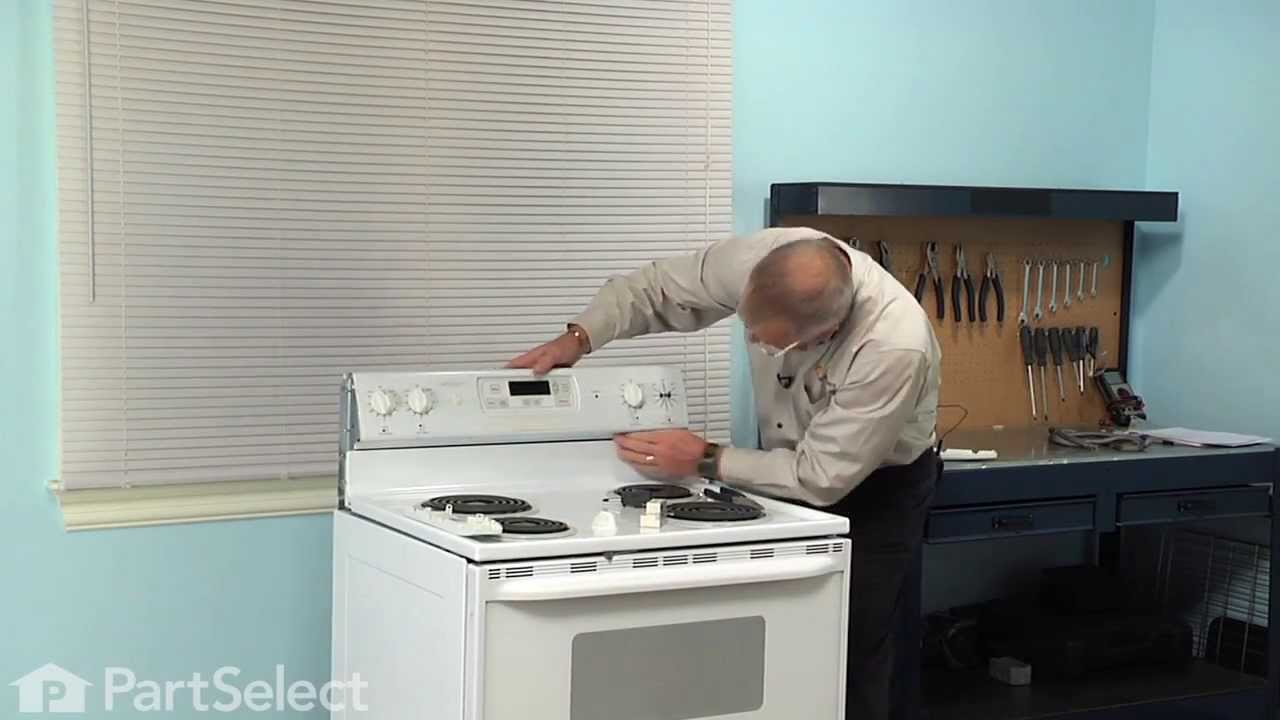
This manufacturer-certified drip bowl is also known as a drip pan, and it is designed for use with cooktops and ranges. It sits below 8-inch burner elements and catches drips and spills from the cookware on the burner. The diameter of the drip bowl is approximately 10 inches. This replacement might appear slightly different, but it will f...Read moreit your appliance.
You will need no tools to complete this repair. Simply remove the burner element, remove the old bowl, line up the hole on the new bowl with the terminal block and drop it into place. Make sure the bowl is flat before reinstalling the element. While you have the element out you should inspect the terminals for corrosion, damage, or discolouration. If you notice any of those things you should also replace the element and terminal block. You will need to replace your drip bowl if it is lost, damaged, or can no longer be cleaned. This replacement part is sold individually. To extend the life of your new drip bowl we recommend you clean it regularly with soap and water. We recommend only using the recommended drip bowl for your appliance; generic versions will not fit properly which could affect the performance of your elements and cause long-term damage.
This drip bowl is used for electric cooktops and ranges, it is designed to sit under a 6-inch surface burner. It catches the drips and spills coming from the cookware on the surface burner. This drip bowl is chrome, and it has a diameter of 8 inches. You need to remove the burner element to replace this part. Line the hole up with the ele...Read morement terminal blocks, and ensure the new bowl is flush with the surface of the cooktop before replacing the burner element. Drip bowls need to be replaced when they are lost, damaged, or you are no longer able to clean them adequately. This replacement part is sold individually.
If your element will not heat, there could be an issue with your drip bowl. This chrome drip bowl is 8 inches in diameter, and fits most electric ranges. Before you replace the drip bowl, make sure the element is turned off and cool to the touch. Installation is easy, just remove the element, replace the current drip bowl, and replace the...Read more element. Make sure the small hole on the bowl lines up with the element socket. The manufacturer has substituted this part, it now has a hole in the center, and no longer has a solid bottom. For a step by step guide, click the video below.
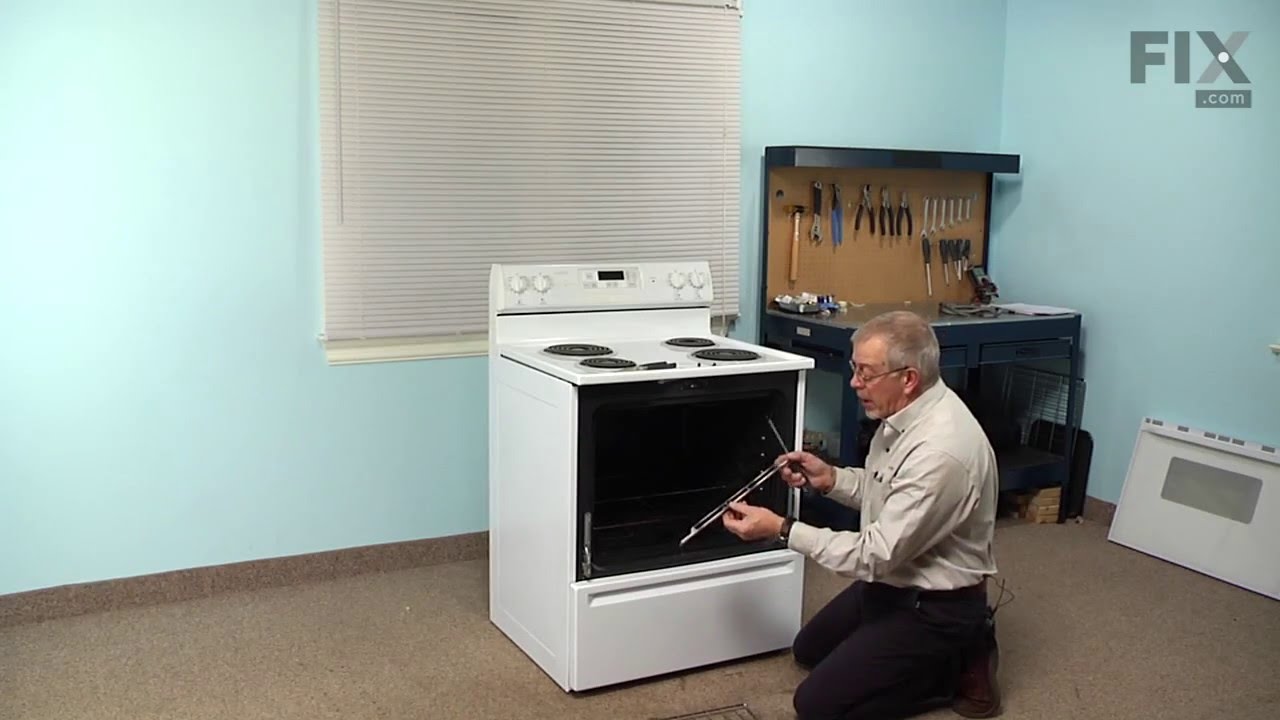
This bake element is for the bottom of your oven. The bake element supplies heat for baking. If you find there is little to no heat when baking, a burned out bake element, or food is taking too long to cook, these symptoms could be solved by replacing the bake element. Before starting this replacement, make sure the range is unplugged fro...Read morem the power source or shut off from the house circuit breaker. The tools needed is a Phillips screwdriver. For safety reasons, make sure to wear gloves.
This is a leveling leg for your oven, range, or stove. The leveling legs on your oven allow your appliance to sit perfectly flat. The new one may be longer in length than your original, but will work the same. Install the new leveling leg, and test if you have it adjusted properly by putting the appliance on four legs. Adjust in or out a...Read mores required if your oven is rocking. It is recommended to check the other three leveling legs on your appliance in case they are also damaged or worn. The leveling leg measures 1.859", is all black in color, and is made entirely out of plastic. This leg may be shorter than the original but is the factory replacement. Longer leg is not available.
This is a multi-use and multi-appliance screw. It can be used on a microwave, refrigerator, range/oven, air conditioner, dehumidifier, washer, or dryer. The measurements of this screw are 8 x 1/2 inch. It has 6 threads. Refer to the manual provided by the manufacturer for further information on repair and accurate guidance. Remember to wear work gloves as a safety precaution.
This part is for oven ranges, it connects individual wires and protects the device from electrical surges, voltages, and current. With this part, the house power is connected to the range wire harness. Some symptoms replacing the terminal block could be a solution for are little to no heat when baking, element will not heat and/or it will...Read more not start. This part will prevent loosening and will reduce damage caused by corrosion (by two different metals). Refer to the instructional diagram for further replacement guidance and exact placement. You must unplug the appliance before installing this part and wear gloves to protect your hands.
This door seal is used for ranges and ovens. The seal prevents hot air escaping from the oven to maintain a certain temperature when baking. The clips sticking out of the seal help secure it to the range doors for the most effective performance. This seal is black in color and is made of rubber. If your oven is not heating evenly, has lit...Read moretle to no heat when baking, or is too hot, replacing the seal can solve the problem. The tools needed for this repair are needle nose pliers. Make sure the oven is cool before starting this installation project. Refer to the diagram provided by the manufacturer for further installation instructions.
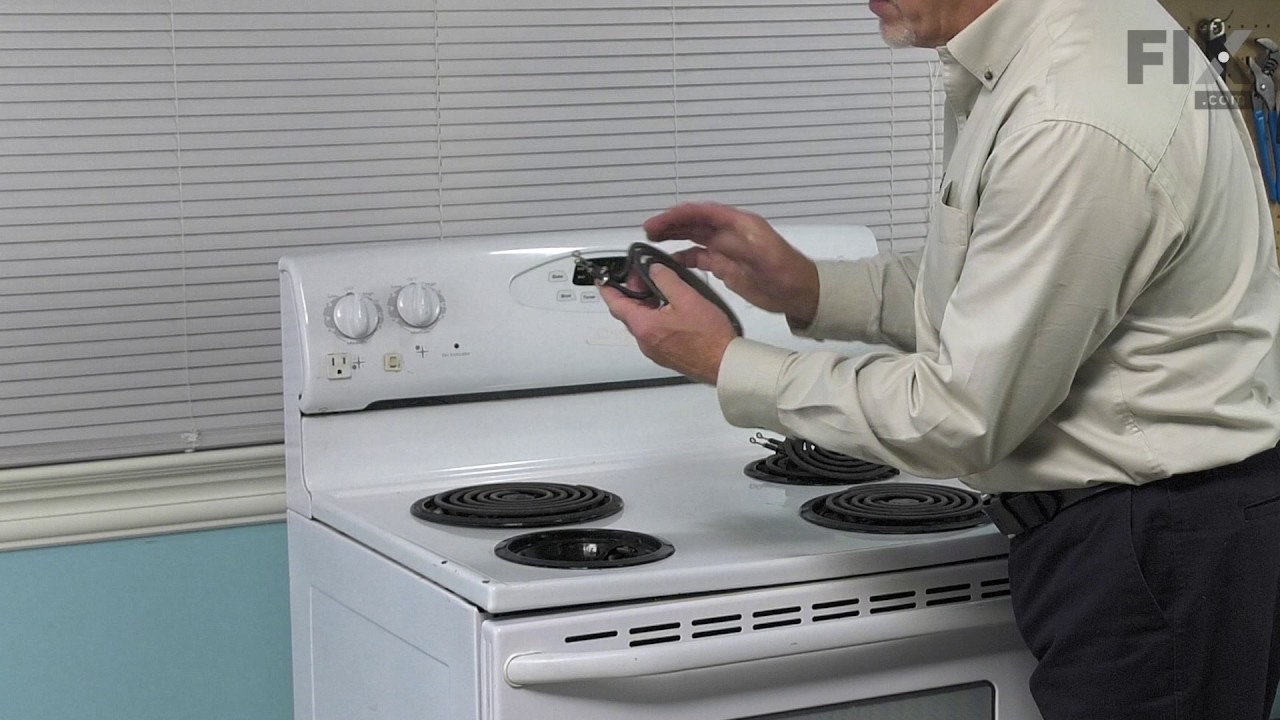
Get your cooktop working like new with this 6-inch coil burner. It heats up with 1500 watts of power—great for boiling, simmering, or everyday cooking. Easy to install with looped ends that connect quickly, and it even has a sleek black center for a polished look. If your old burner stopped heating, this is a simple fix to get back to cooking.
Ask our experts a question about this model and we'll get back to you as soon as possible!
We may have answered a similar question already! Search questions and answers left by others using simple keywords like "fit", "broken", "easy", or "quality" to find questions that match.
Search filter:
Clear Filter
Your search term must have 3 or more characters.
Sort by:
Prev
1
Next
Sorry, we couldn't find any existing answers that matched.Try using some different or simpler keywords, or submit your new question by using the "Ask a Question" button above!
Charlotte Carr - For model number CE35200AAV
June 2, 2026
I have a old Crosley oven/stove top am needing a burner for the stove top. It measures 7@a half for the burner but all I can find is a 8 inch will that be to big for the stove
Hi Charlotte, thank you for reaching out. There are only two types of surface elements that come in your model. The 6-inch surface elements are part number PS11751368, and the 8-inch coil surface elements are part number PS11753288. We hope that helps!
The element broke in two pieces after food dried on it.
179 of 185 peoplefound this instruction helpful.
Heather from Huntsville, AL
Really Easy
15 - 30 mins
Screw drivers
First, I unplugged the oven. Then, I removed the two screws that hold the element in place. After that, I gently pulled the element toward the front of the oven until the wires were exposed. I disconnected the wires from the old element, removed the old element and then attached the wires to the new baking element. I gently pushed the
... Read more new element back into the screw holes and screwed the new element in place. When I plugged the oven back into the wall I heard a pop and thought I'd blown up the oven! Turns out the breaker popped...after fixing the breaker, I turned the oven on and the element worked just fine. I highly recommend PartSelect.com for their fast shipping and great products. I will be ordering from them again for future appliance parts.




 My Orders





.gif "SUPPLEMENTAL INFORMATION Diagram and Parts List for Crosley Range")