


 My Orders




CDWT980V50SS General Electric Dishwasher - Overview
Diagrams for CDWT980V50SS
See every part. Know exactly what you need.


Enter a part description. DIY Heroes keep it simple, eg. "belt" or "pump".
Search filter:
Clear Filter
Your search term must have 3 or more characters.

$42.78
In Stock
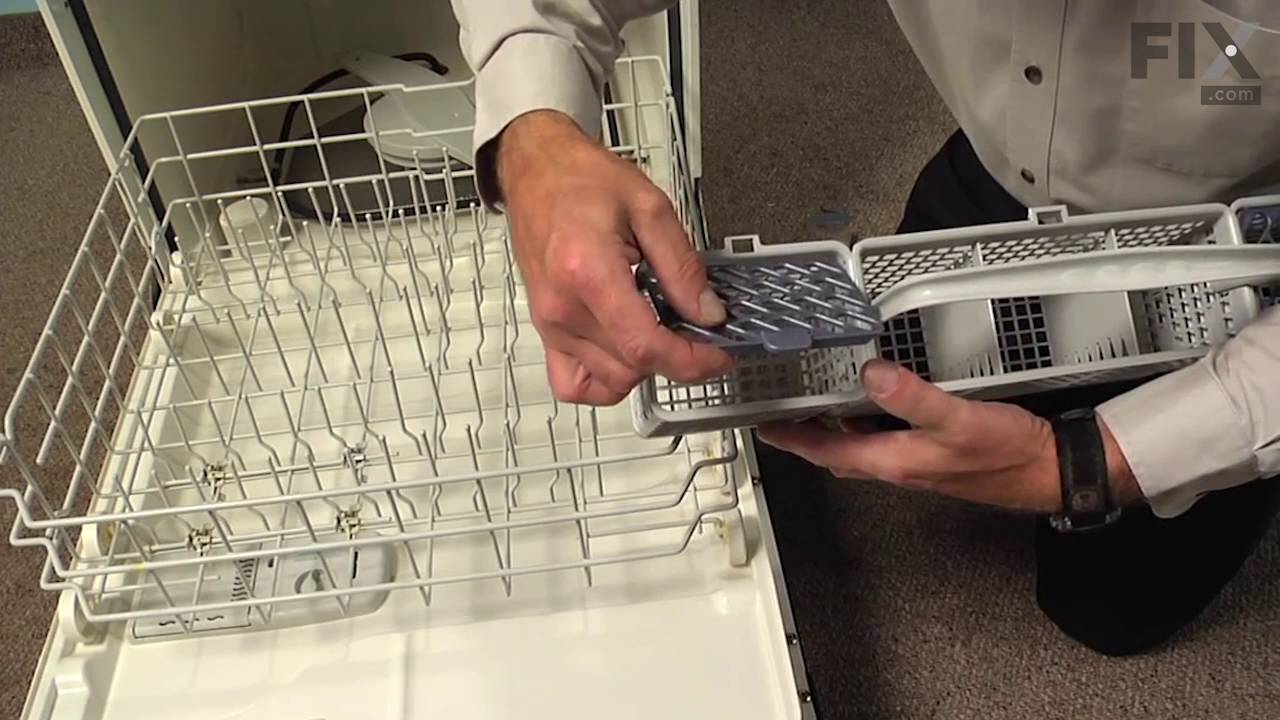
Dishwasher Basket Assembly Silverware
Part #WD28X24469
This basket is part of a silverware basket that has 3 sections. This is the middle section of the basket.

$160.61
In Stock
Complete Lower Service Rack Assembly
Part #WD28X25960
This complete lower rack assembly is a genuine replacement part designed for select GE dishwashers, including models sold under Hotpoint, Haier, Monogram, and Café brands. Engineered to securely hold plates, bowls, pots, and pans during the wash cycle, it ensures optimal water coverage and prevents breakage. Constructed from high-quality ...Read morematerials, the rack offers long-lasting durability and resistance to heat and detergent wear. Newer versions may feature an enhanced wheel assembly with protective coverings that keep the wheels aligned and prevent detachment, allowing for smoother sliding in and out of the dishwasher. Common signs that replacement is needed include difficulty moving the rack, rust or discoloration, broken tines, and poor cleaning performance due to misaligned dishware.
Read less

$44.23
In Stock
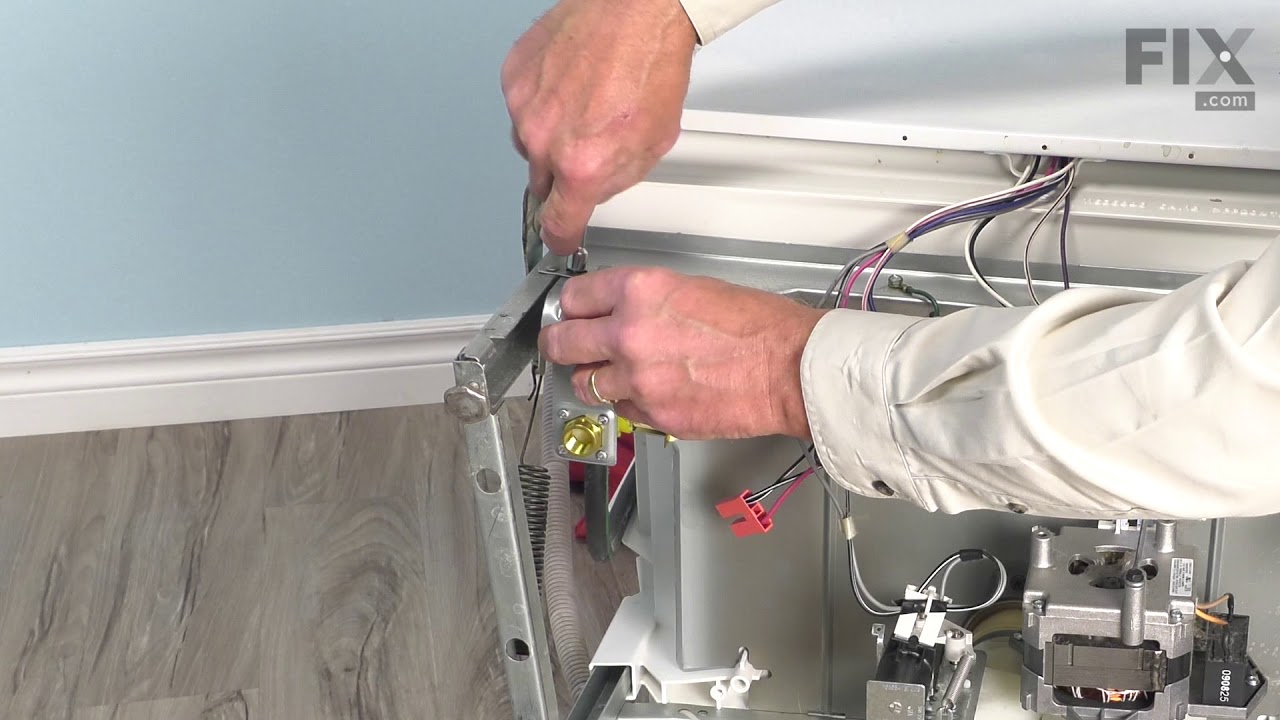
Water Inlet Valve
Part #WD15X10014
This water inlet valve should be located behind the lower kickplate panel in either the right or left corner. The attaching solenoid on the valve open and close according to the desired amount of water needed.

$79.64
In Stock
Detergent Dispenser with Rinse Cap
Part #WD12X10163
This detergent dispenser assembly is attached to the inner door panel of a dishwasher. This part holds detergent and dishwasher rinse products in a covered container. If your dispenser will not open, close, dispense detergent properly, or the dishes are coming out of the dishwasher dirty, replacing this part can solve these problems. The ...Read moretools needed for this installation project are a #2 Phillips screwdriver and needle-nose pliers. To repair, first remove screws from the bottom of the inner door panel. Next, remove connecters, wires, and screws from the dispenser to access it and replace with new dispenser. Refer to the manual provided by the manufacturer for further installation instructions and guidance. Unplug dishwasher from power source as a safety precaution.
Read less

$51.65
In Stock

$16.05
In Stock
Hinge Arm Link
Part #WD14X10009
The hinge link on your dishwasher connects the spring to the dishwasher door hinge. If the hinge link becomes cracked or damaged, you may not be able to shut or lock your dishwasher door properly. In this case, you will need to replace the hinge link. Pull out your dishwasher to inspect the hinge and spring, if the link is broken, it may ...Read morebe disconnected and on the ground already. If not, you can remove the hinge arm link by simply disconnecting it from the hinge and spring, then replacing it with the new part. The hinge arm link is a small piece of white plastic about an inch and a half long. It is sold individually, and is an OEM part from the manufacturer.
Read less

$19.08
In Stock
Rinse Aid Cap
Part #WD12X10122
This genuine rinse-aid dispenser cap is an original replacement part from GE, designed for use with GE dishwashers. It covers the rinse agent port and securely seals the dispenser to keep the rinse aid contained until it's needed during the wash cycle. The cap is commonly replaced if it becomes lost or damaged. No tools are required for i...Read morenstallation, making it a quick and easy fix. This part is sold individually and is built to meet OEM standards for compatibility and performance.
Read less

No Longer Available

$16.05
On Order
Screw 8-16 hxw 1/2 Stainless Steel
Part #WD02X10067
This OEM-compatible screw is designed for use with many GE dishwashers. Measuring 8-16 HXW and 1/2" in length, this stainless steel screw secures the middle spray arm hub to the upper rack assembly, ensuring stable and effective spray arm performance.
Sold individually, this durable metal fastener requires a nutdriver for proper installation.

$49.58
In Stock
Sump
Part #WD18X10026
This works in conjunction with the pump and filtration system. It is used to receive drainage for disposal.

No Longer Available
ARM SPRAY UPPER Assembly
Part #WD22X10084
The upper spray arm helps distribute water from the top of the dishwasher tub.

$53.08
In Stock
Door Hinge Cable
Part #WD01X10393
This part is the replacement door hinge cable for your dishwasher. The door hinge cable connects the door spring to the door hinge, and allows the door to open in a controlled fashion. If you open your dishwasher and the door drops down quickly, your door hinge cable may need to be replaced. Be sure to disconnect the water and power sourc...Read morees from the dishwasher before you begin this repair. The door hinge cable is sold individually.
Read less
Manuals & Care Guides for CDWT980V50SS
Click to downloadInstall
Installation Instructions
(0.23MB)
Install
Installation Instructions
(3.07MB)
Manual
Owner's Manuals
(4.01MB)
Common Symptoms of the CDWT980V50SS
How this model fails, and the parts that fix it.
Leaking
Fixed by
these parts
these parts


Show All
Not cleaning dishes properly
Fixed by
these parts
these parts


Show All
Will not dispense detergent
Fixed by
these parts
these parts


Show All
Door latch failure
Fixed by
these parts
these parts


Show All
Will not fill with water
Fixed by
these parts
these parts


Show All
Not draining
Fixed by
these parts
these parts


Show All
Noisy
Fixed by
these parts
these parts


Show All
Door won’t close
Fixed by
these parts
these parts
Show All
Not drying dishes properly
Fixed by
these parts
these parts

Show All
Watch our pros, then fix it yourself.
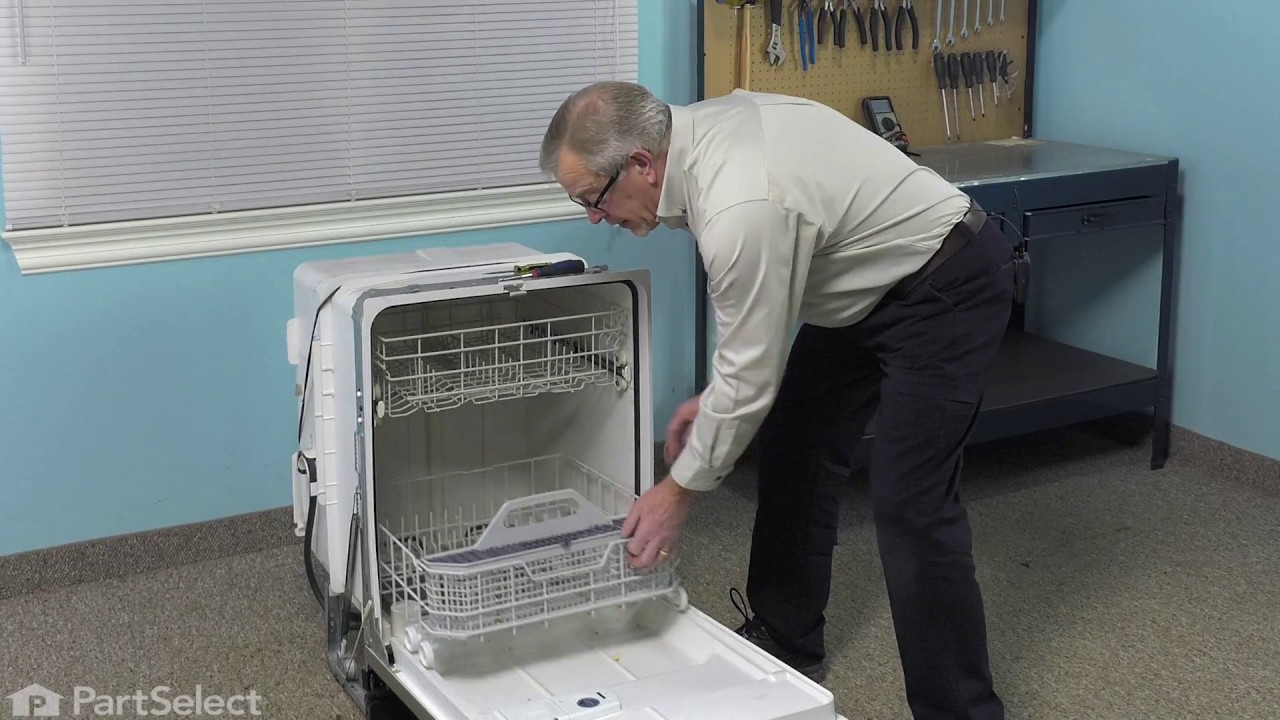
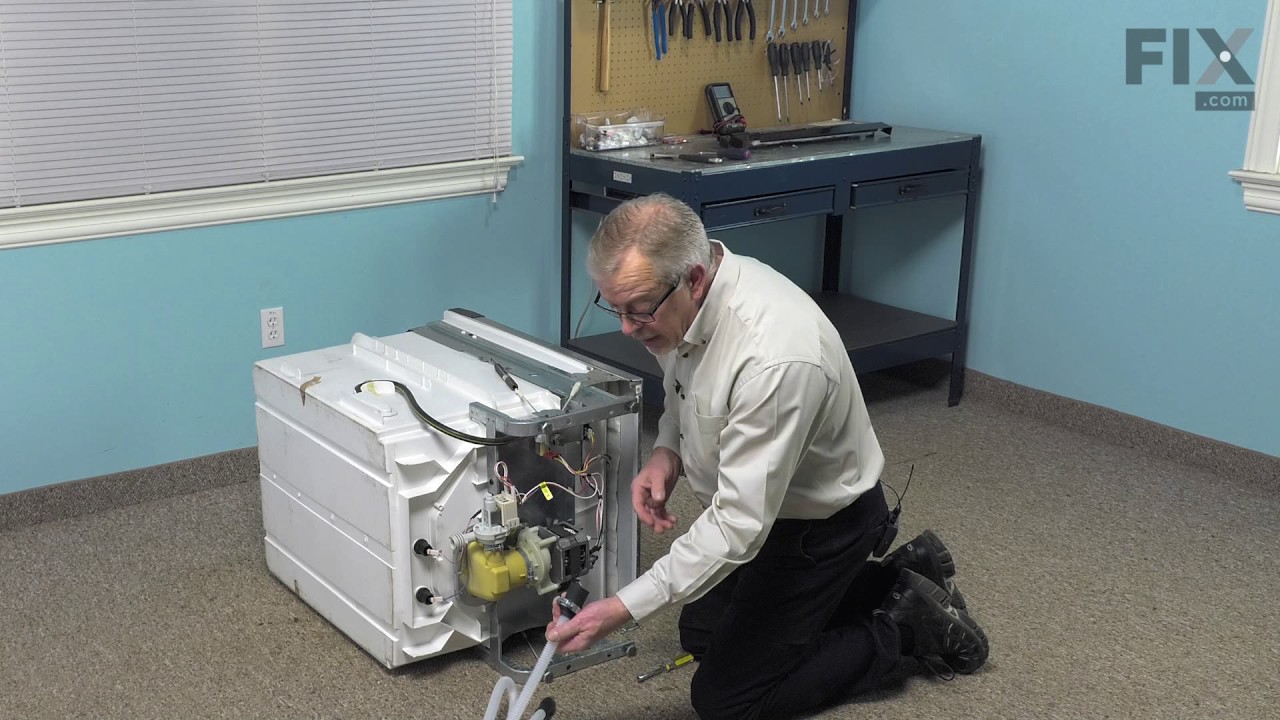

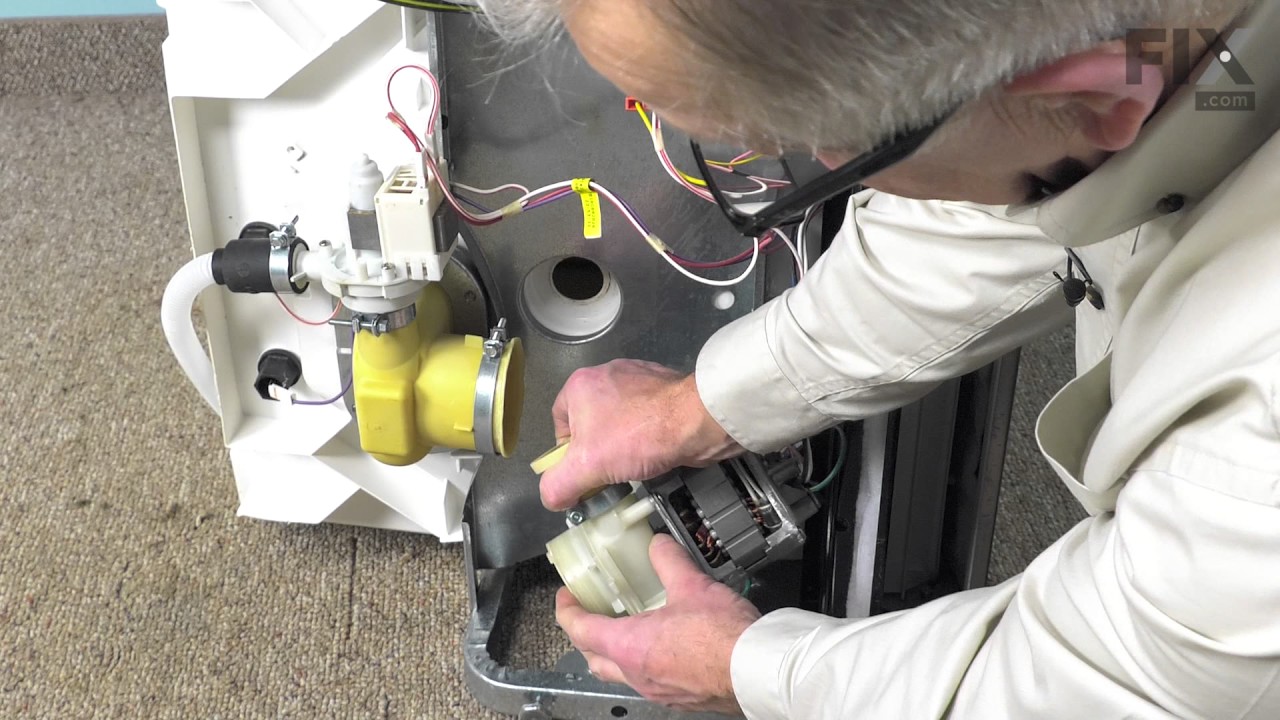
See how others fixed this model. Time, tools, difficulty, and steps that lead to victory!
View More