


 My Orders




CDT805P2N2S1 General Electric Dishwasher - Overview
Diagrams for CDT805P2N2S1
See every part. Know exactly what you need.


Enter a part description. DIY Heroes keep it simple, eg. "belt" or "pump".
Search filter:
Clear Filter
Your search term must have 3 or more characters.

$13.92
In Stock
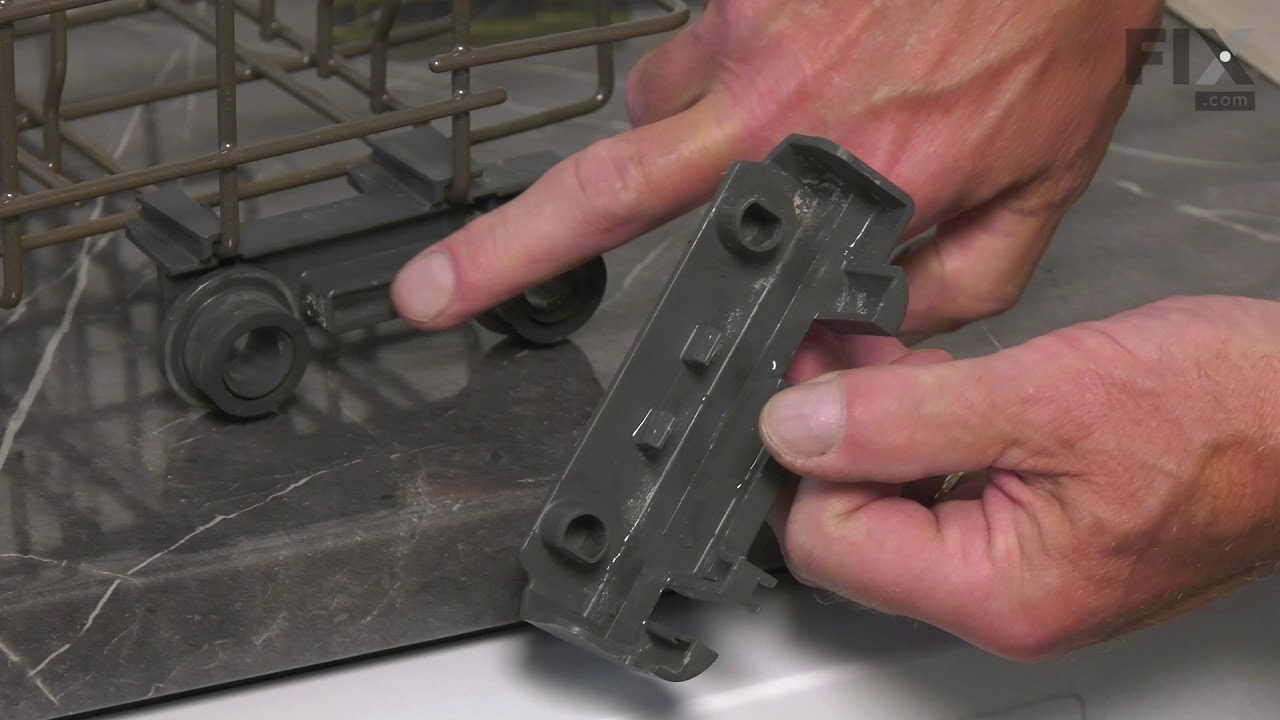
Dishwasher Lower Rack Roller
Part #WD12X26146
This lower rack roller is a genuine replacement component designed to support the smooth and stable movement of the dishwasher’s bottom rack. Measuring approximately 1.5 inches in diameter and finished in charcoal gray, it ensures consistent rack alignment and ease of use during loading and unloading. For optimal performance, it is recomm...Read moreended to replace all four rollers simultaneously. Installation is straightforward and requires no special tools, though wearing protective gloves is advised. Sold individually.
Read less

$48.45
In Stock
Door Latch
Part #WD21X10490
This dishwasher door latch is designed to secure the door during operation by connecting to the door strike and ensuring a tight seal. Mounted to the tub frame, it plays a critical role in enabling the appliance to run safely and efficiently. A damaged or faulty latch can prevent the door from staying closed, interrupting the wash cycle o...Read morer preventing it from starting altogether. This OEM replacement part is sold individually and does not include the door strike, which must be purchased separately if also worn or broken. Always disconnect the power supply before beginning installation.
Read less

$34.74
In Stock
RACK CARRIER AND ROLLER KIT
Part #WD01X35298
- Includes: 4 brackets, 4 roller wheel brackets, and 8 wheels part # WD12X26146
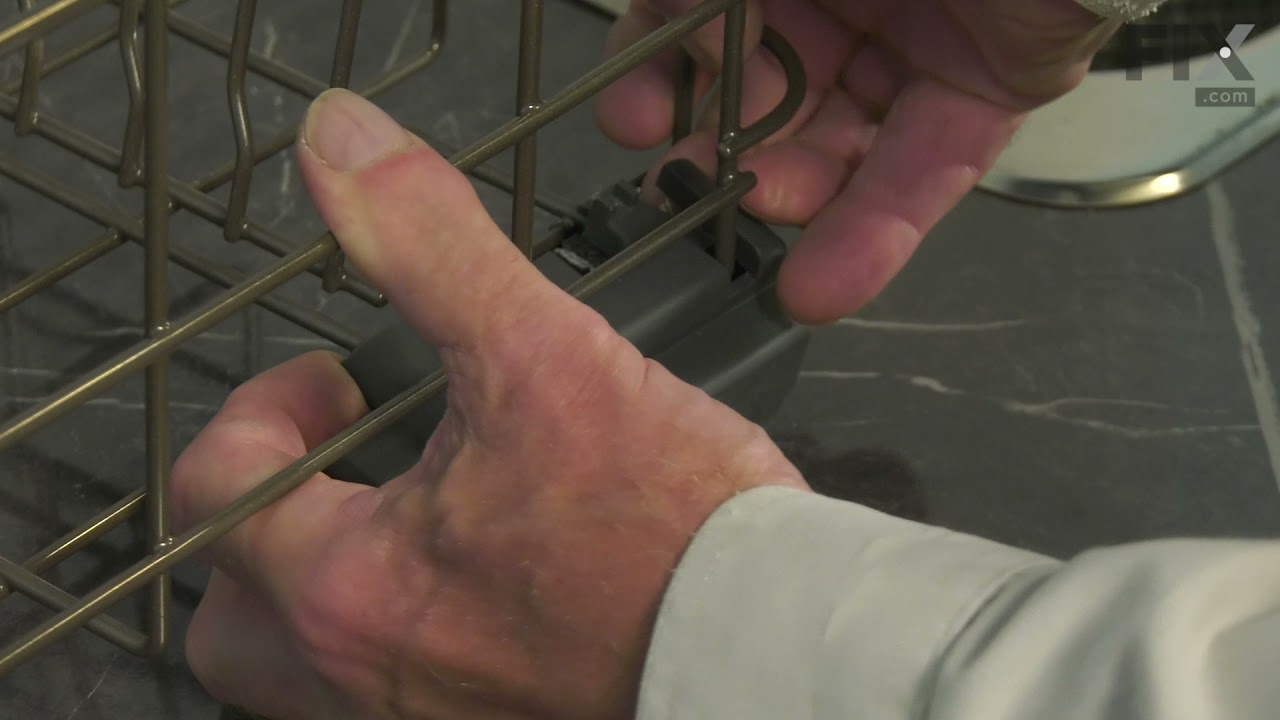
Dishwasher Lower Dishrack Carrier and Roller Kit (Set of 4). This kit will replace all four one piece roller carriers with two piece roller carriers. Match each carrier and cover designated for the side being replaced and replace all four carriers

$39.44
In Stock
Countertop Bracket
Part #WD01X21740
This mounting bracket is manufactured to secure your dishwasher to your countertop. Mounting brackets should be installed so the dishwasher doesn’t tip forward. You can fit the bracket to either the cabinet or countertop. This part is about 3 inches long and is made of metal. This kit does not include the screws, please order screws separately if necessary.

$16.05
In Stock
Door Handle Fastener
Part #WR01X11007
This is a door handle fastener to secure the handle to your refrigerator drawer. It is also known and a mounting bolt or screw. It is approximately 1 inch in total length, and is made of metal.

$16.05
In Stock
Screw 8-16 hxw 1/2 Stainless Steel
Part #WD02X10067
This OEM-compatible screw is designed for use with many GE dishwashers. Measuring 8-16 HXW and 1/2" in length, this stainless steel screw secures the middle spray arm hub to the upper rack assembly, ensuring stable and effective spray arm performance.
Sold individually, this durable metal fastener requires a nutdriver for proper installation.

$48.43
In Stock
DETERGENT MODULE
Part #WD12X32798
This detergent dispenser is designed for use in dishwashers and serves as a secure compartment for holding and releasing detergent during the wash cycle. The dispenser opens at the appropriate time to ensure effective cleaning performance. Constructed for durability and compatibility with a range of dishwasher models, it helps maintain op...Read moretimal wash results. Installation requires disconnecting power to the appliance—either by unplugging it or switching off the circuit breaker—before removing the old dispenser and securing the new one in place. Always verify compatibility with your specific model prior to installation.
Read less

$30.67
Special Order
GASKET TUB Stainless Steel
Part #WD08X22095
Stop leaks and keep your dishwasher running smoothly with this tub gasket replacement. It forms a tight seal between the door and tub, so water stays inside during every wash cycle. Made from strong, flexible rubber, it’s built to last and easy to install—just remove the old gasket, clean the channel, and press the new one in. If you’ve n...Read moreoticed puddles on the floor or dishes that aren’t drying well, this simple fix can make a big difference.
Read less

$16.05
In Stock
Latch Striker
Part #WD13X10071
This dishwasher latch strike is a manufacturer-approved replacement part for your appliance. The latch strike is an important component in your dishwasher door assembly, and adds an extra layer of security in keeping the door closed. This part may become damaged if the door has been opened during a wash cycle. It can also wear out over ti...Read moreme. It is fairly easy to replace, simply pop out the old door strike using a screwdriver for leverage, and insert the new one.
Read less

$16.05
In Stock
SCR B-16 HXW 1/2 Stainless Steel
Part #WD02X10169
This part is a replacement middle spray arm bearing for your dishwasher. The spray arm bearing reduces friction and allows the spray arm to rotate during the operating cycle. If the spray arm is not rotating or cleaning dishes properly, or is noisy during operation, you may need to replace the spray arm bearing. This is a bearing for the ...Read moremiddle spray arm, which is mounted to the bottom of the upper dish rack. The bearing is made of metal and is approximately one inch in diameter. This part is sold individually and is an OEM part.
Read less

$16.05
In Stock

$16.07
In Stock
Dishwasher Cover Vent
Part #WD24X20586
This vent cover helps direct airflow and protect internal vent components. Designed for durability, it supports proper ventilation and efficient appliance performance.
Common Symptoms of the CDT805P2N2S1
How this model fails, and the parts that fix it.
Leaking
Fixed by
these parts
these parts


Show All
Will Not Start
Fixed by
these parts
these parts


Show All
Door latch failure
Fixed by
these parts
these parts

Show All
Not cleaning dishes properly
Fixed by
these parts
these parts


Show All
Not draining
Fixed by
these parts
these parts


Show All
Will not dispense detergent
Fixed by
these parts
these parts
Show All
Will not fill with water
Fixed by
these parts
these parts

Show All
Door won’t close
Fixed by
these parts
these parts

Show All
Not drying dishes properly
Fixed by
these parts
these parts

Show All
Noisy
Fixed by
these parts
these parts
Show All
Door won’t open or close
Fixed by
these parts
these parts

Show All
Watch our pros, then fix it yourself.
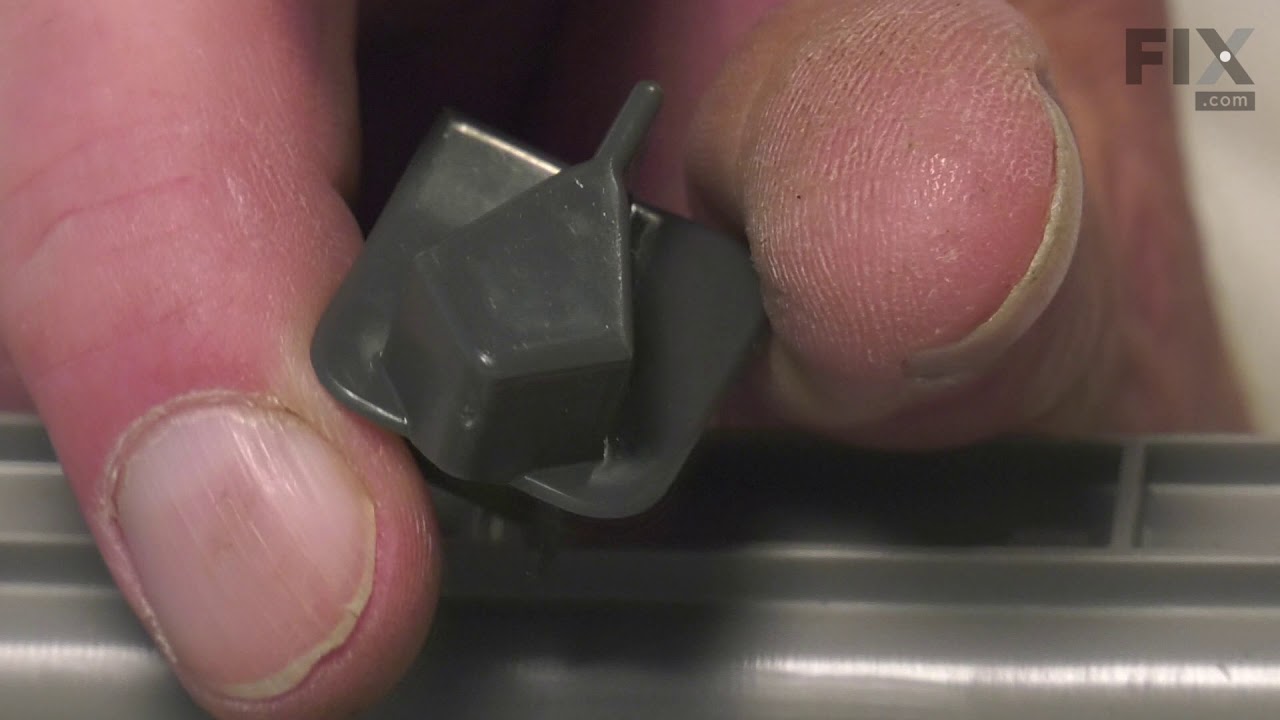
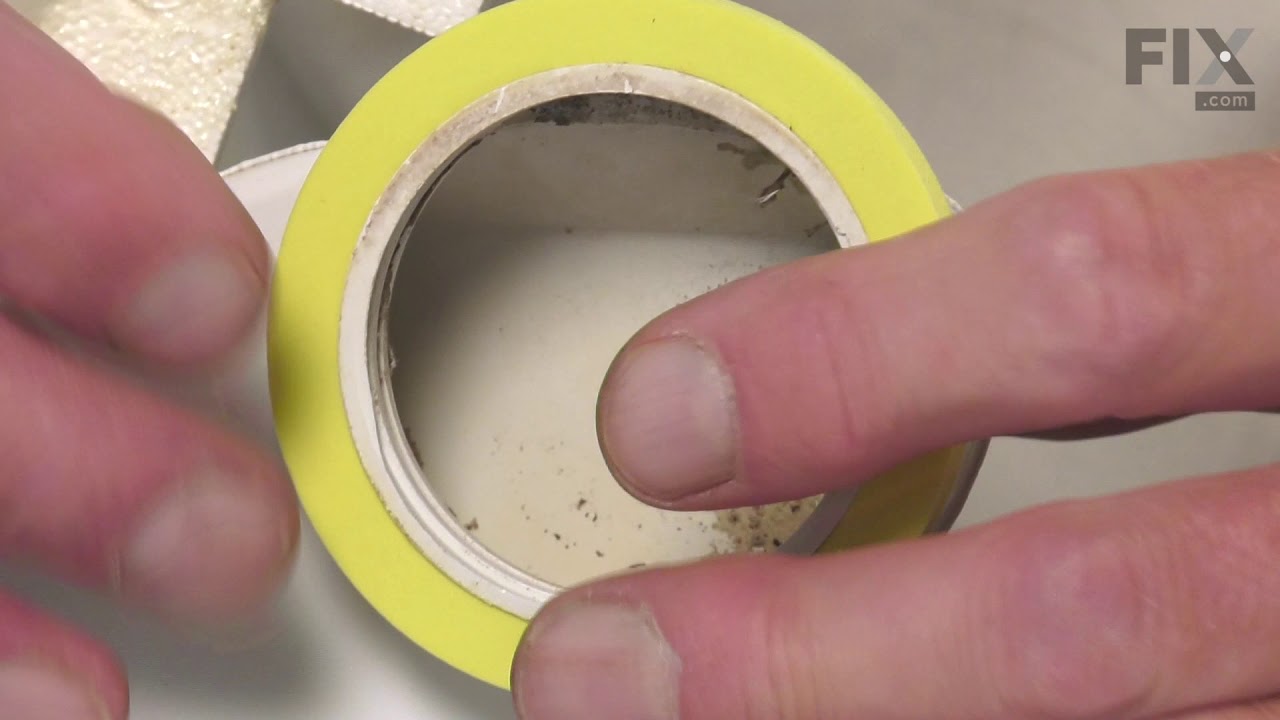

See how others fixed this model. Time, tools, difficulty, and steps that lead to victory!
View More