


 My Orders




CDT725SSF0SS General Electric Dishwasher - Overview
Diagrams for CDT725SSF0SS
See every part. Know exactly what you need.


Enter a part description. DIY Heroes keep it simple, eg. "belt" or "pump".
Search filter:
Clear Filter
Your search term must have 3 or more characters.

$13.92
In Stock
Dishwasher Lower Rack Roller
Part #WD12X26146
This lower rack roller is a genuine replacement component designed to support the smooth and stable movement of the dishwasher’s bottom rack. Measuring approximately 1.5 inches in diameter and finished in charcoal gray, it ensures consistent rack alignment and ease of use during loading and unloading. For optimal performance, it is recomm...Read moreended to replace all four rollers simultaneously. Installation is straightforward and requires no special tools, though wearing protective gloves is advised. Sold individually.
Read less

$48.45
In Stock
Door Latch
Part #WD21X10490
This dishwasher door latch is designed to secure the door during operation by connecting to the door strike and ensuring a tight seal. Mounted to the tub frame, it plays a critical role in enabling the appliance to run safely and efficiently. A damaged or faulty latch can prevent the door from staying closed, interrupting the wash cycle o...Read morer preventing it from starting altogether. This OEM replacement part is sold individually and does not include the door strike, which must be purchased separately if also worn or broken. Always disconnect the power supply before beginning installation.
Read less

$31.58
In Stock
Dishwasher Tub Gasket
Part #WD08X23476
The tub gasket, also known as the door gasket runs along the perimeter of your dishwasher basin and creates a seal that prevents water from leaking out when the tub is full. If you notice water on the floor after you run your dishwasher, it may be an indication that the gasket is loose or damaged. If your door gasket is damaged, it will n...Read moreeed to be replaced. To replace the gasket, simply pull the old gasket out of the groove it rests in, and press the new gasket into place. This part is made of black rubber and is sold individually.
Read less

$82.14
In Stock
UPPER RACK
Part #WD28X35779
This upper rack assembly is a genuine replacement part designed for select GE, Hotpoint, and Haier dishwashers. Engineered to securely hold dishes, cups, and glassware during the wash cycle, it helps prevent shifting and potential damage while promoting optimal water flow for thorough cleaning. The rack’s layout is designed to maximize us...Read moreable space within the dishwasher, improving load efficiency and cleaning performance. Constructed from durable materials, it resists wear and tear over time, ensuring long-term reliability. Compatibility should be verified using your dishwasher’s model number prior to installation.
Read less

$65.70
In Stock
HEATING ELEMENT
Part #WD05X30818
The element heating assembly is found at the bottom of the dishwasher tub, and helps to warm the water in the wash cycle, and dry the dishes afterward. If the water does not heat up during the wash cycle, or the dishes are not being dried properly, you may need to replace the element heating assembly in your dishwasher. This element heati...Read moreng assembly is horseshoe-shaped and is sold individually. To replace your heating assembly, first make sure it has cooled down, then simply slide the connecting tabs out. Replace with a new heating element and your problem should be solved.
Read less

$52.67
In Stock
Flood Switch
Part #WD21X10519
This is a flood switch assembly for your washer. The flood switch controls the hot and cold water filling your washer tub to ensure the proper amount of water. You may need to replace this part if your washer is overfilling or underfilling with water. It is about 5.5 inches in length, and mostly black in color with a green tip.

$34.74
In Stock
RACK CARRIER AND ROLLER KIT
Part #WD01X35298
- Includes: 4 brackets, 4 roller wheel brackets, and 8 wheels part # WD12X26146
Dishwasher Lower Dishrack Carrier and Roller Kit (Set of 4). This kit will replace all four one piece roller carriers with two piece roller carriers. Match each carrier and cover designated for the side being replaced and replace all four carriers

$39.44
In Stock
Countertop Bracket
Part #WD01X21740
This mounting bracket is manufactured to secure your dishwasher to your countertop. Mounting brackets should be installed so the dishwasher doesn’t tip forward. You can fit the bracket to either the cabinet or countertop. This part is about 3 inches long and is made of metal. This kit does not include the screws, please order screws separately if necessary.

$16.05
In Stock
Screw 8-16 hxw 1/2 Stainless Steel
Part #WD02X10067
This OEM-compatible screw is designed for use with many GE dishwashers. Measuring 8-16 HXW and 1/2" in length, this stainless steel screw secures the middle spray arm hub to the upper rack assembly, ensuring stable and effective spray arm performance.
Sold individually, this durable metal fastener requires a nutdriver for proper installation.

$14.94
In Stock

$49.56
In Stock
Upper Spray Arm
Part #WD35X20794
This upper spray arm kit is designed to improve cleaning performance in your dishwasher by evenly distributing water during the wash cycle. Measuring approximately 10 inches wide and made of durable plastic, it mounts to the top of the dishwasher tub and spins to reach dishes on the upper rack. A clogged or damaged spray arm can lead to p...Read moreoor cleaning results, making replacement essential for restoring efficiency. Installation is simple: remove the top rack, unscrew the old spray arm, and secure the new one in place. Be sure to verify compatibility with your dishwasher model before purchasing.
Read less

$16.05
In Stock
Manuals & Care Guides for CDT725SSF0SS
Click to downloadInstall
Installation Instructions
(0.25MB)
Install
Installation Instructions
(0.46MB)
Install
Installation Instructions
(7.30MB)
Install
Installation Instructions
(0.25MB)
Install
Installation Instructions
(0.51MB)
Manual
Owner's Manuals
(20.04MB)
Common Symptoms of the CDT725SSF0SS
How this model fails, and the parts that fix it.
Leaking
Fixed by
these parts
these parts


Show All
Not drying dishes properly
Fixed by
these parts
these parts


Show All
Will Not Start
Fixed by
these parts
these parts

Show All
Not cleaning dishes properly
Fixed by
these parts
these parts

Show All
Door latch failure
Fixed by
these parts
these parts

Show All
Will not fill with water
Fixed by
these parts
these parts

Show All
Not draining
Fixed by
these parts
these parts


Show All
Door won’t close
Fixed by
these parts
these parts


Show All
Will not dispense detergent
Fixed by
these parts
these parts

Show All
Noisy
Fixed by
these parts
these parts
Show All
Watch our pros, then fix it yourself.
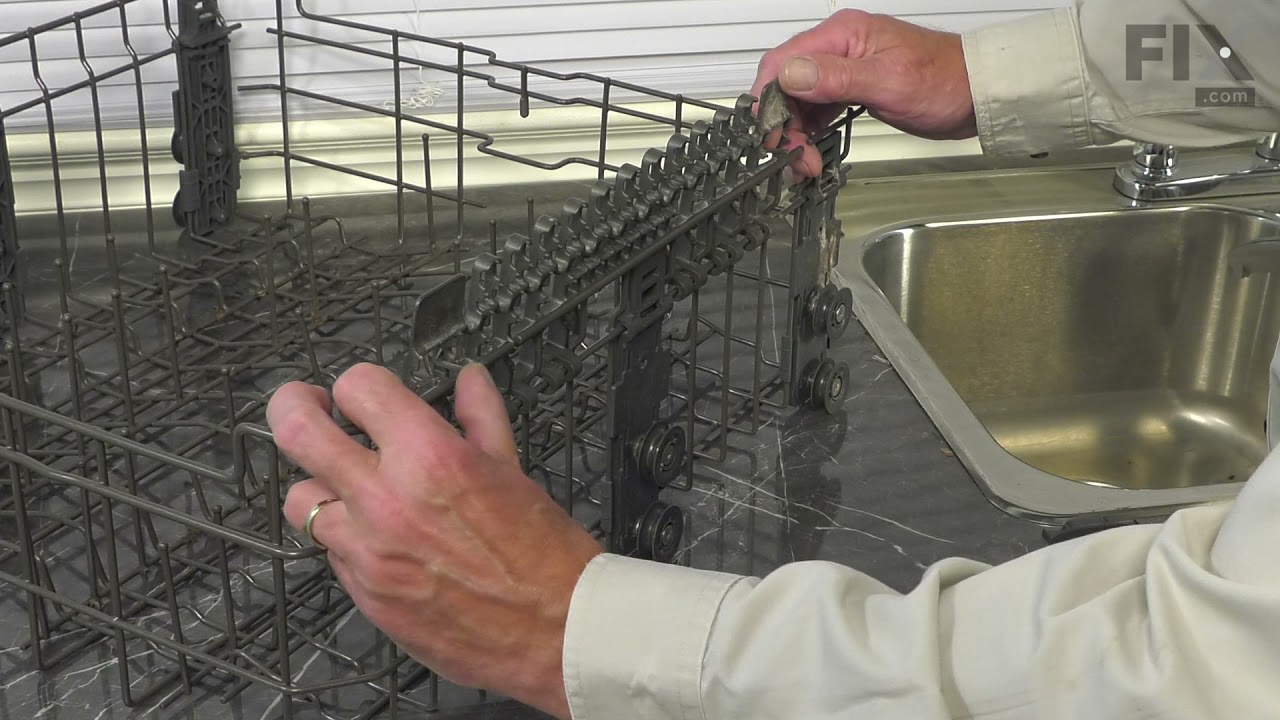
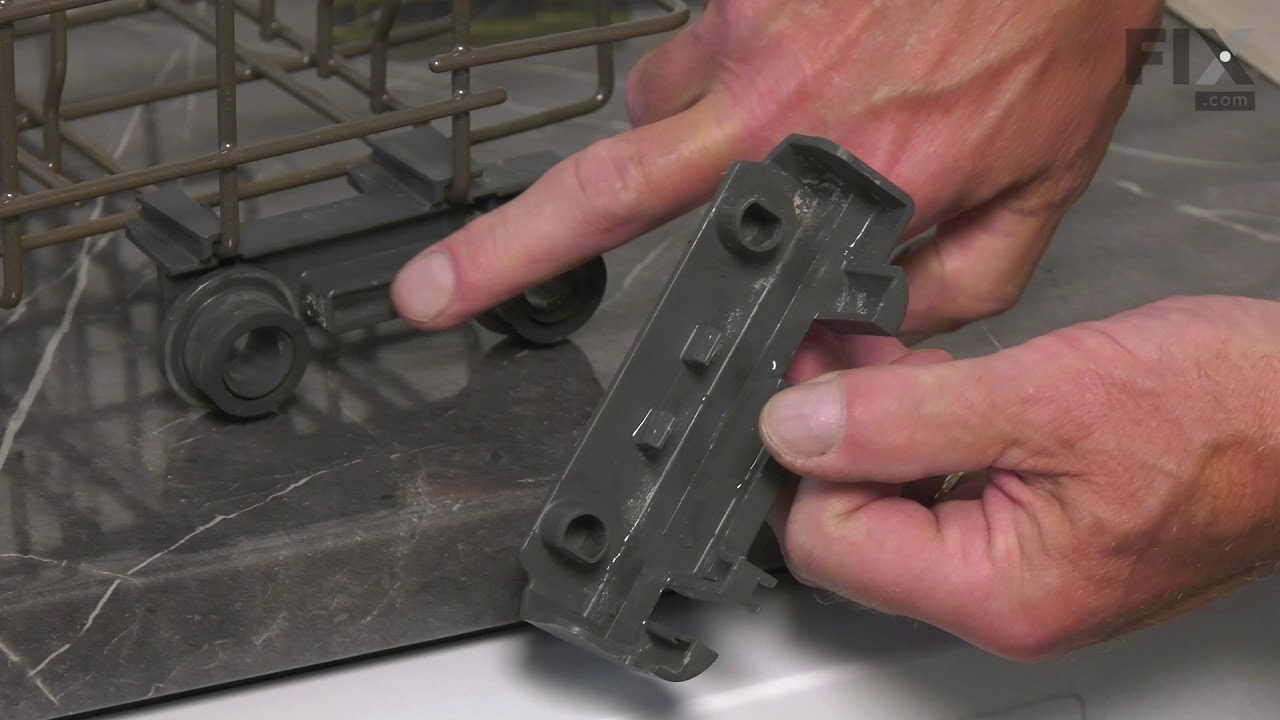
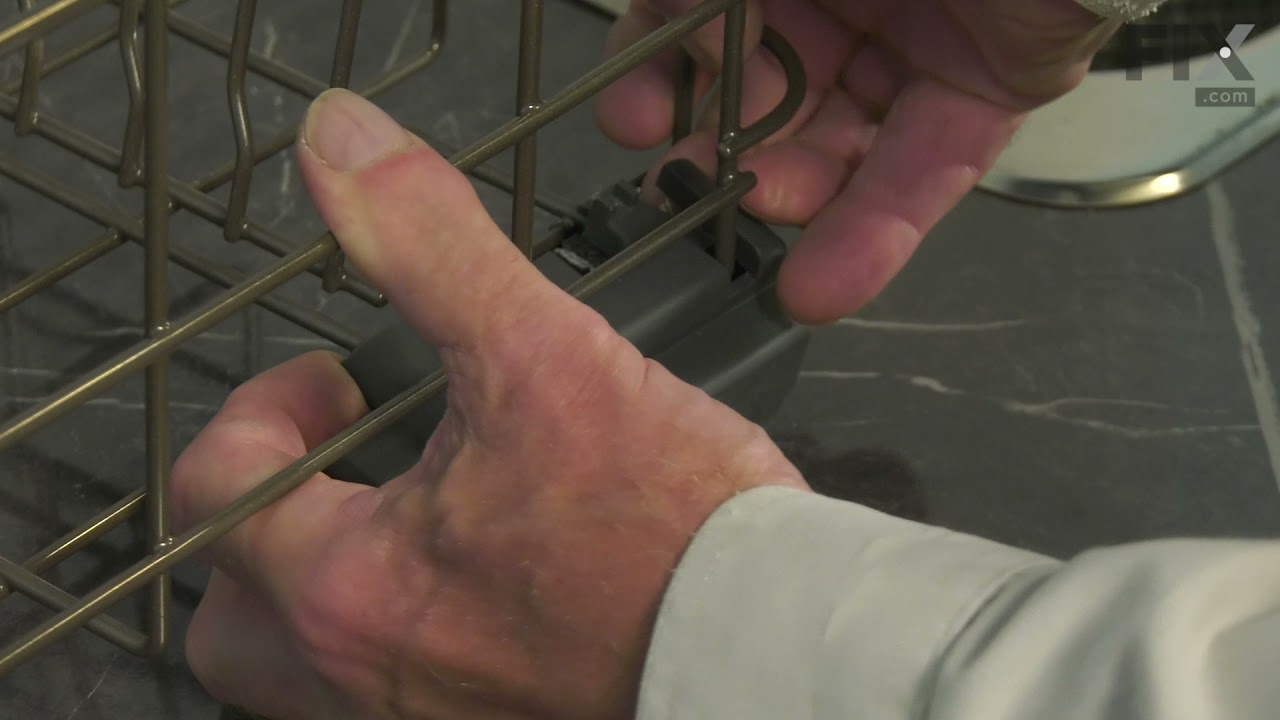
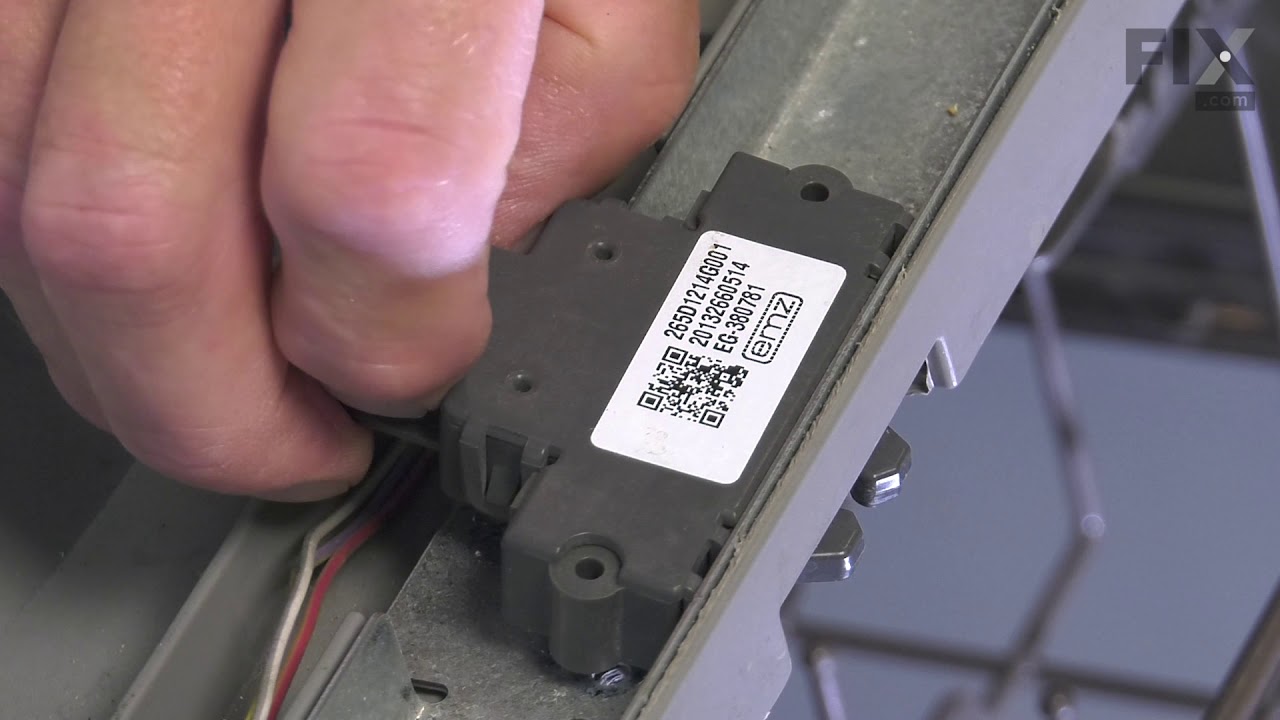


See how others fixed this model. Time, tools, difficulty, and steps that lead to victory!
View More