


 My Orders




CDE6505W Crosley Dryer - Overview
Diagrams for CDE6505W
See every part. Know exactly what you need.


.gif "SUPPLEMENTAL INFORMATION Diagram and Parts List for Crosley Dryer")


Enter a part description. DIY Heroes keep it simple, eg. "belt" or "pump".
Search filter:
Clear Filter
Your search term must have 3 or more characters.

$22.52
In Stock
Drum Support Roller
Part #WP37001042
This drum support roller is used for square-ported model clothes dryers. This part is sold individually; however, rollers tend to wear at the same rate, so it is suggested that both should be replaced at the same time. It has a metallic bearing in its center. The drum support roller holds the drum in place while it rotates on the support ...Read morewheels. You may have a faulty or damaged roller if your dryer will not start or tumble, takes too long to dry clothes, or starts making loud noises. Customers have ranked this repair as easy and should take 15-30 minutes to complete.
Read less

$13.92
In Stock
Multi Rib Belt
Part #WP40111201
This dryer drum drive belt attaches to the motor pully and works the drum as the motor rotates. The belt has a length of 93- 3/6 inches, and wraps all the way around the dryer drum, around a tension pulley, and then around the drive motor pully. Replacing the rib belt could solve symptoms such as a screeching noise when the dryer tumbles,...Read more a broken belt (dryer will not tumble if its broken), no heat or not enough heat, or the dryer will not start. The tools needed for this repair are a nut driver and a putty knife. Remember to unplug the dryer before installing the part and protect your hands by wearing gloves.
Read less

No Longer Available
Drum Glide
Part #WP37001298
If your dryer is noisy, will not tumble, or is leaving marks on your clothes, you may need to replace the drum glide. The drum glide is installed on the front bulkhead either at the top or the bottom, regardless of the brand of dryer. To gain access to the drum glide, you will have to open the cabinet on the dryer. This drum glide is sold...Read more individually but it is important to note that they should be replaced in pairs. Before beginning this repair, it is important to disconnect the dryer from the power source. The tools required for this repair are a putty knife and a 5/16 nut driver.
Read less

$77.75
In Stock
Lint Filter
Part #WP37001142
Note: This part no longer comes with the felt seal. This filter collects lint as it passes through the dryer vent.

$10.70
In Stock
High Limit Thermal Fuse
Part #WP40113801
Meant as a backup to a high limit thermostat, this fuse is typically set to trip at a higher temperature than that of a high limit thermostat. This is a one-time use fuse, so when it does trip, you do need to replace it. It's letting you know that something is wrong with your dryer.

$25.75
In Stock
Dryer Door Catch Kit
Part #LA-1003
This door catch kit is designed for use in dryers. This is an authentic OEM replacement part. This catch assembly ensures the door of your appliance will close, and remain closed. It allows your appliance to both start and complete a full drying cycle. There are two pieces included in this kit, one catch, and one strike. You open and clos...Read moree the door on such a regular basis that this mechanism can wear out. It is a fairly common part to replace. You will need to remove the door of your dryer to install the replacement catch assembly.
Read less

$35.80
In Stock
Dryer Idler Assembly
Part #WP37001287
The spring for this part is sold separately.
This idler assembly is for dryers.
Idler assembly includes the idler arm and the idler pulley that maintains tension on the drive belt, allowing the belt to turn.
Disconnect the power before installing this part. Wear work gloves to protect your hands.

$12.85
In Stock
Retaining Ring
Part #WP23748
The metal retaining ring, which is under an inch long, holds the rear wheels on the axels of the dryer. The main reason why it would need to replaced is if the retaining ring has sprung out of place or is damaged. Some the symptoms could be that your dryer does not tumble, it makes a loud buzzing noise, or if it pumps, but will not spin. ...Read moreThe tools needed for this project are a putty knife, 5/16 nut driver, and snap ring pliers. Refer to the installation video and diagram for further instructions and guidance. Customers ranked this replacement project as easy.
Read less

$45.29
In Stock
Cylinder Felt Seal
Part #WP37001132
This cylinder felt seal is used in dryers and is located between the back of the drum and the rear dryer panel. If your dryer is experiencing any of these symptoms, replacing the felt seal could solve your problem: squealing or banging noise, clothes are getting stuck between tub and felt pad, takes too long to dry, not heating enough or ...Read morenot heat at all, or does not tumble. The tools needed for this installation are a 5/16 nut driver and a putty knife. Make sure to unplug the dryer from the power source before beginning this project. Refer to the manual provided by the manufacturer for further instructions.
Read less

$7.47
In Stock

$24.67
In Stock
Door Switch Kit
Part #W10169313
This part replaces two terminal switches in a dryer and prevents the dryer from running when the door is open. This includes two connectors. If your dryer will not shut off, start, or does not tumble, replacing the door switch can solve this appliance problem. The tools needed for replacement are a screw driver and wire strippers. Make su...Read morere to attach the two wires to the right two poles of the new switch, to do this you can check the resistance of the switch. Unplug the dryer before installing this part, also refer to the diagram provided by the manufacturer.
Read less

No Longer Available
Single Drum Glide Felt Pad
Part #WP500121
This dryer drum glide pad is an inch long. It is made of a felt material and is used for gas and electric clothes dryers. The dryer drum glide provides a soft surface for the front of the drum glide and allows the drum to move effortlessly. If you notice that your dryer is making loud squeaking noises, it might be due to the drum glide pa...Read mored being worn down or torn apart. Make sure to unplug your dryer before performing this repair. To access this part, you will need to open up the top of the dryer. The front panel and the bulk head will also need to come off.
Read less
Manuals & Care Guides for CDE6505W
Click to downloadCommon Symptoms of the CDE6505W
How this model fails, and the parts that fix it.
Noisy
Fixed by
these parts
these parts


Show All
Door won’t close
Fixed by
these parts
these parts


Show All
Drum Not Spinning
Fixed by
these parts
these parts


Show All
Marks left on clothes
Fixed by
these parts
these parts


Show All
Too hot
Fixed by
these parts
these parts


Show All
Won’t Start
Fixed by
these parts
these parts

Show All
Not Heating
Fixed by
these parts
these parts

Show All
Will not agitate
Fixed by
these parts
these parts


Show All
Burning smell
Fixed by
these parts
these parts
Show All
Door Pops Open
Fixed by
these parts
these parts
Show All
Running With Door Open
Fixed by
these parts
these parts
Show All
Spins slowly
Fixed by
these parts
these parts
Show All
Watch our pros, then fix it yourself.
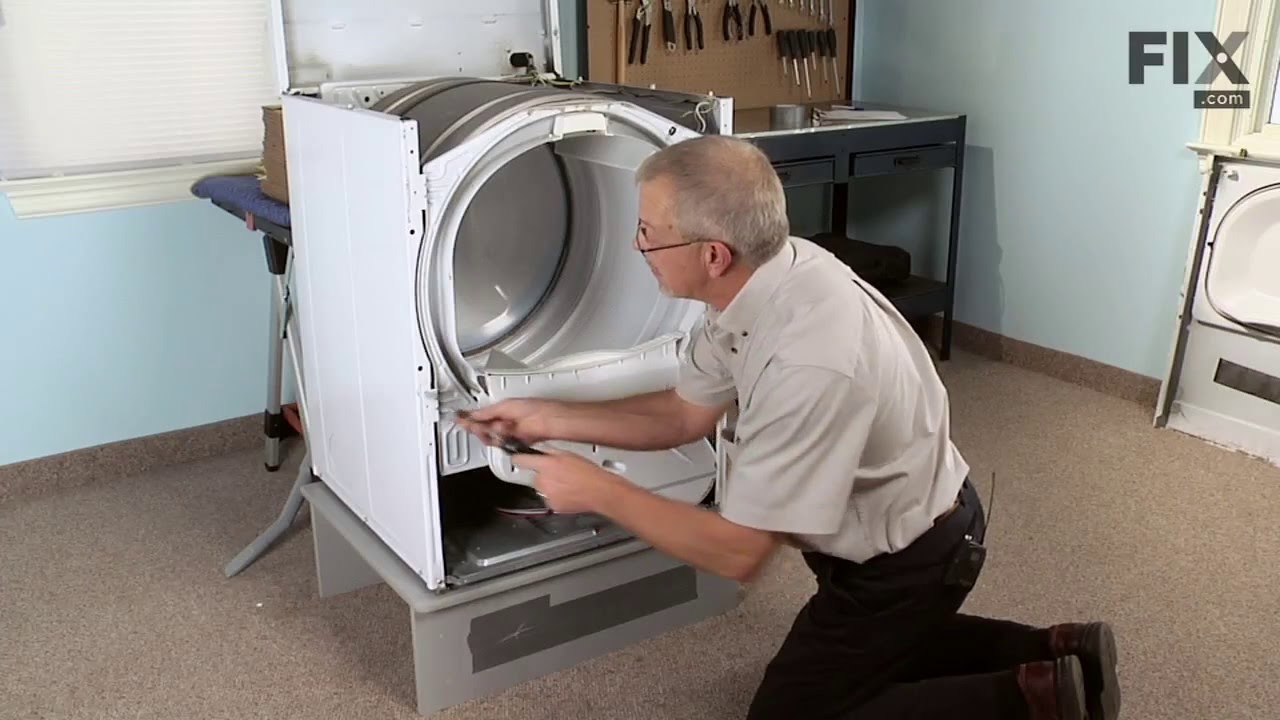
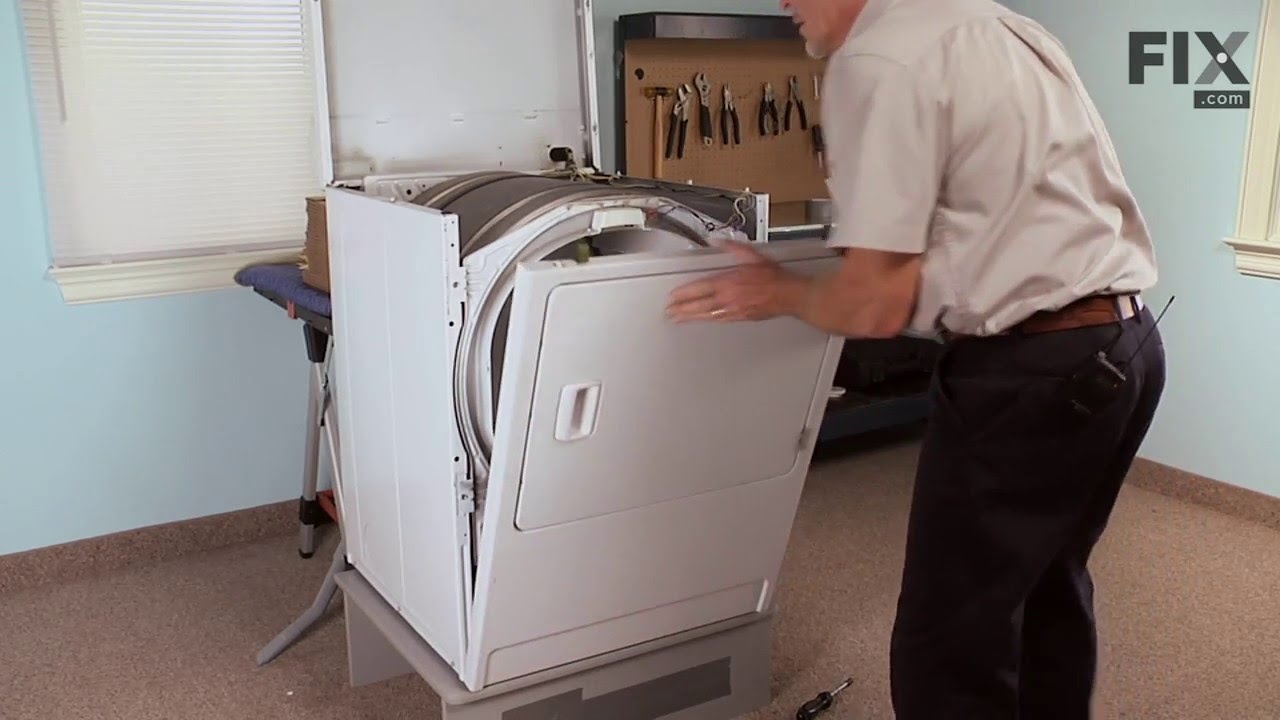
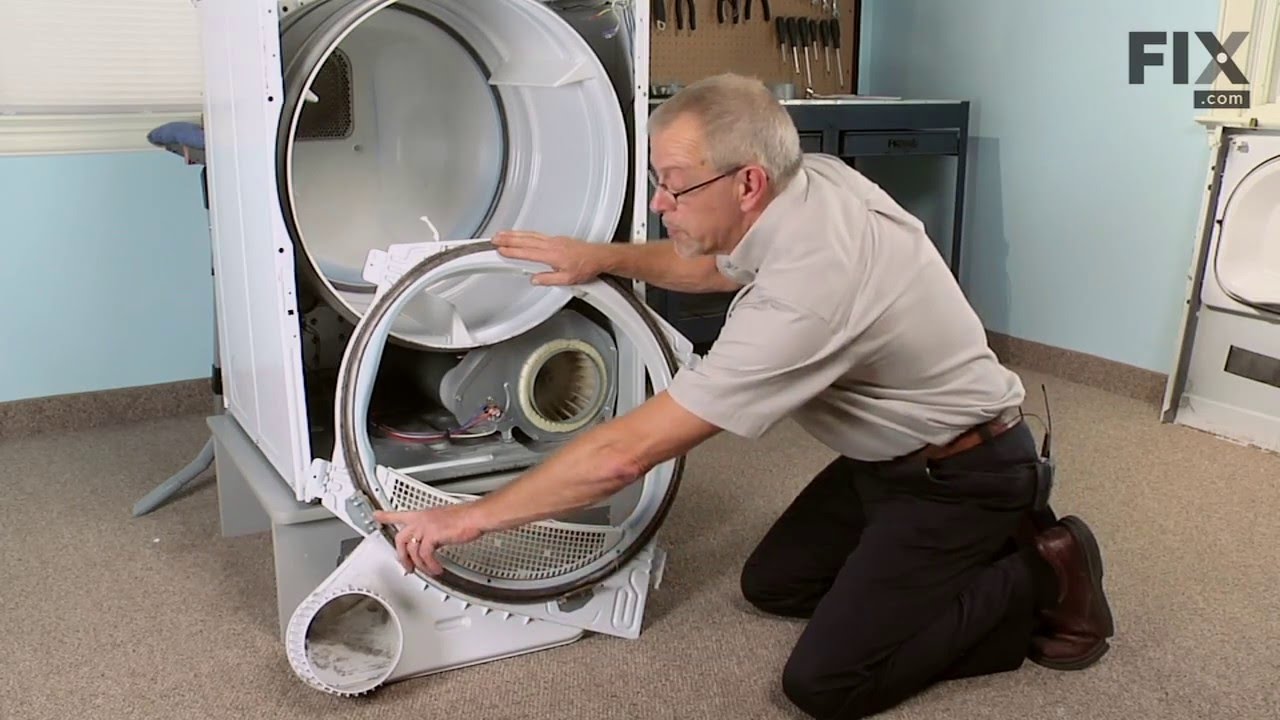
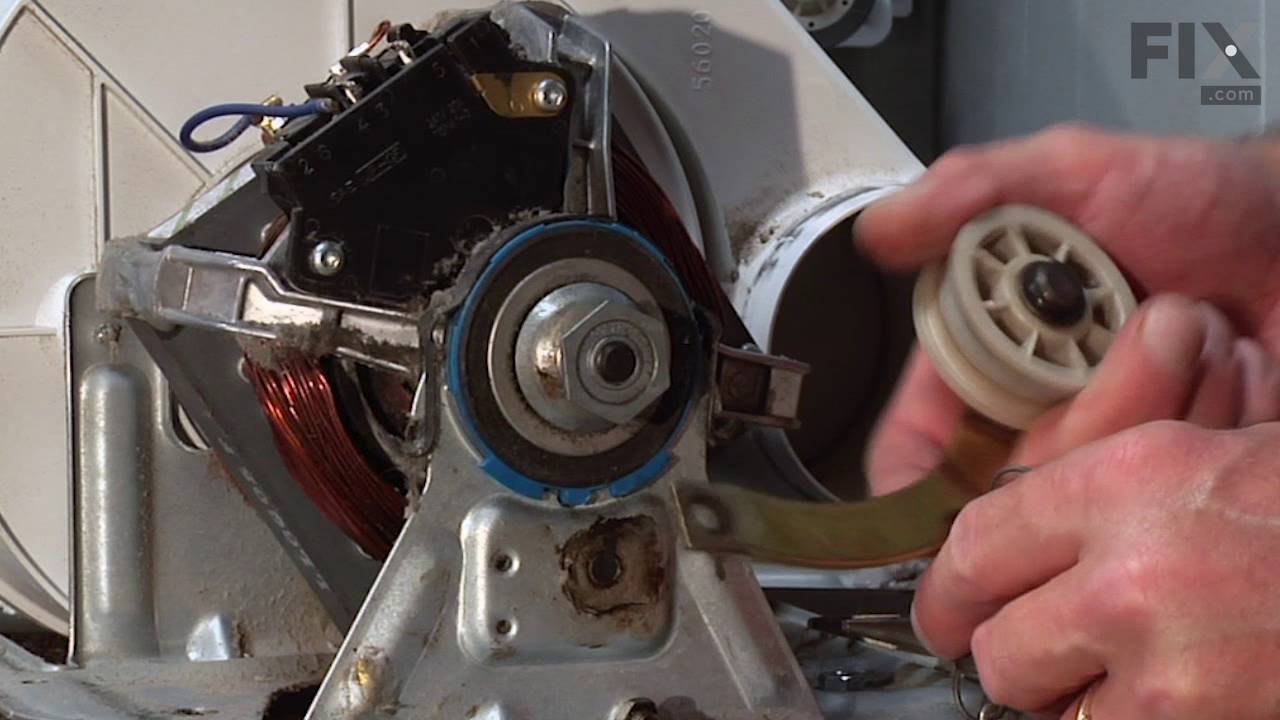
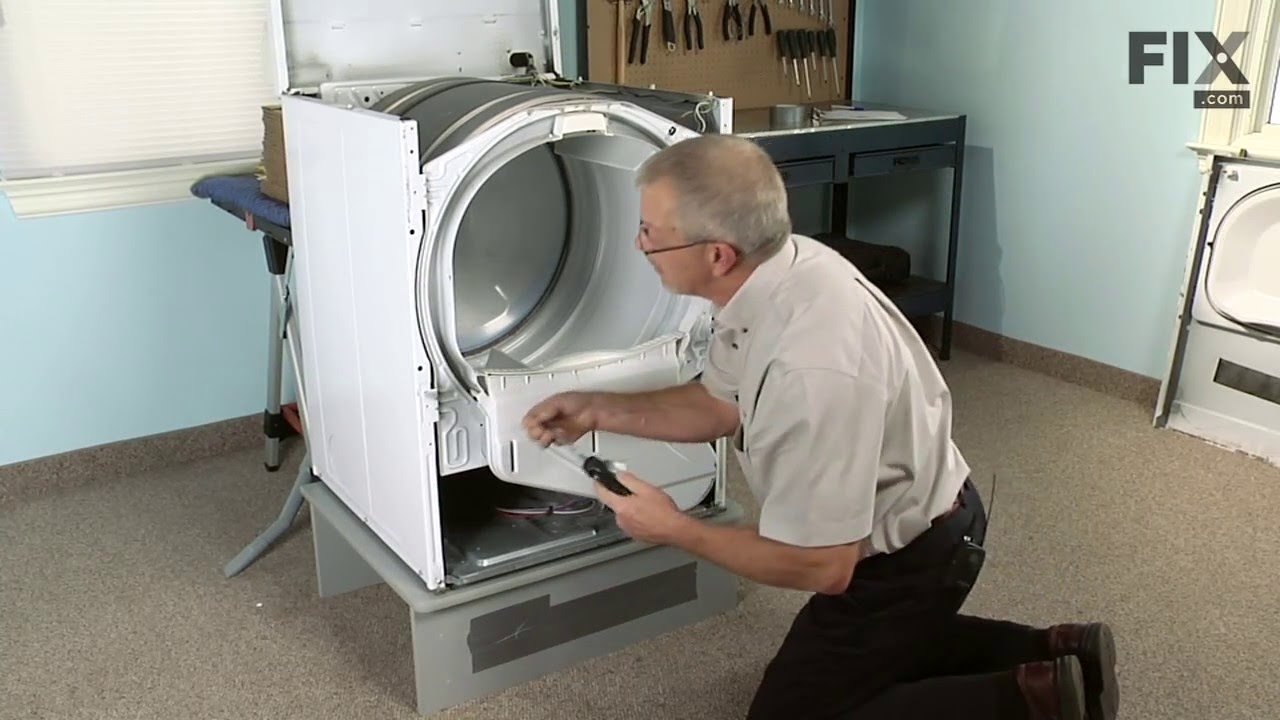
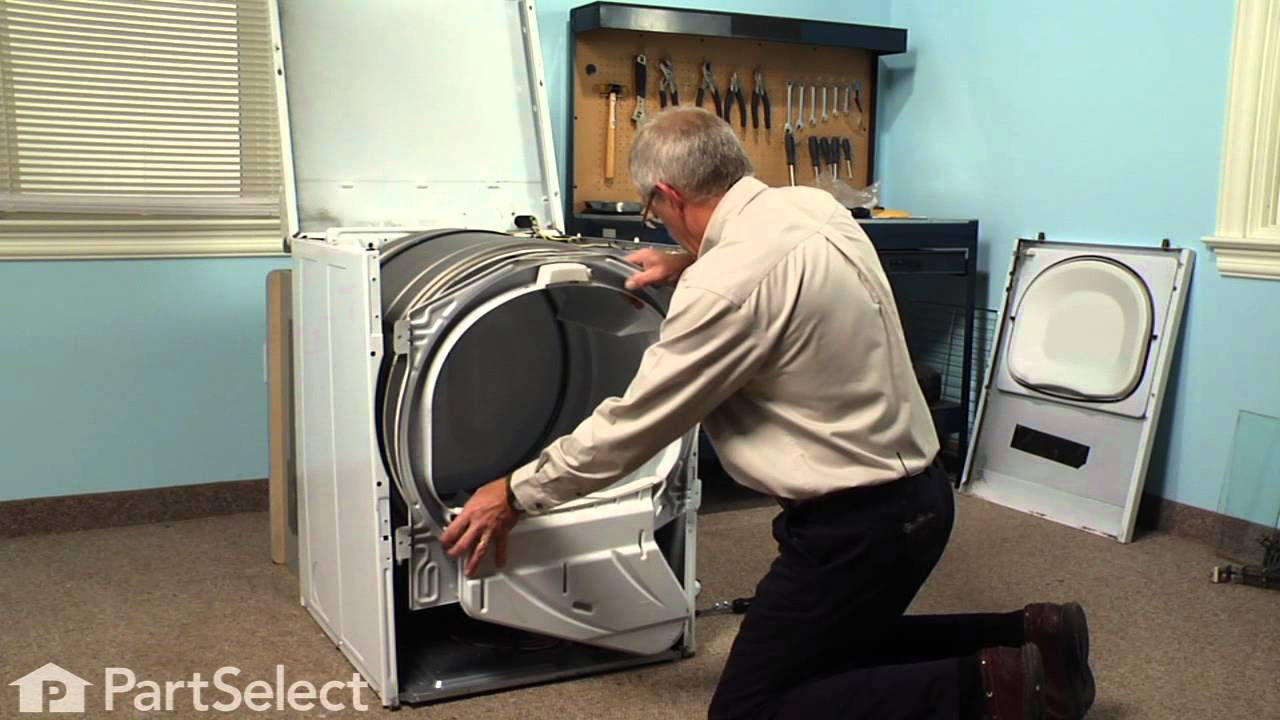
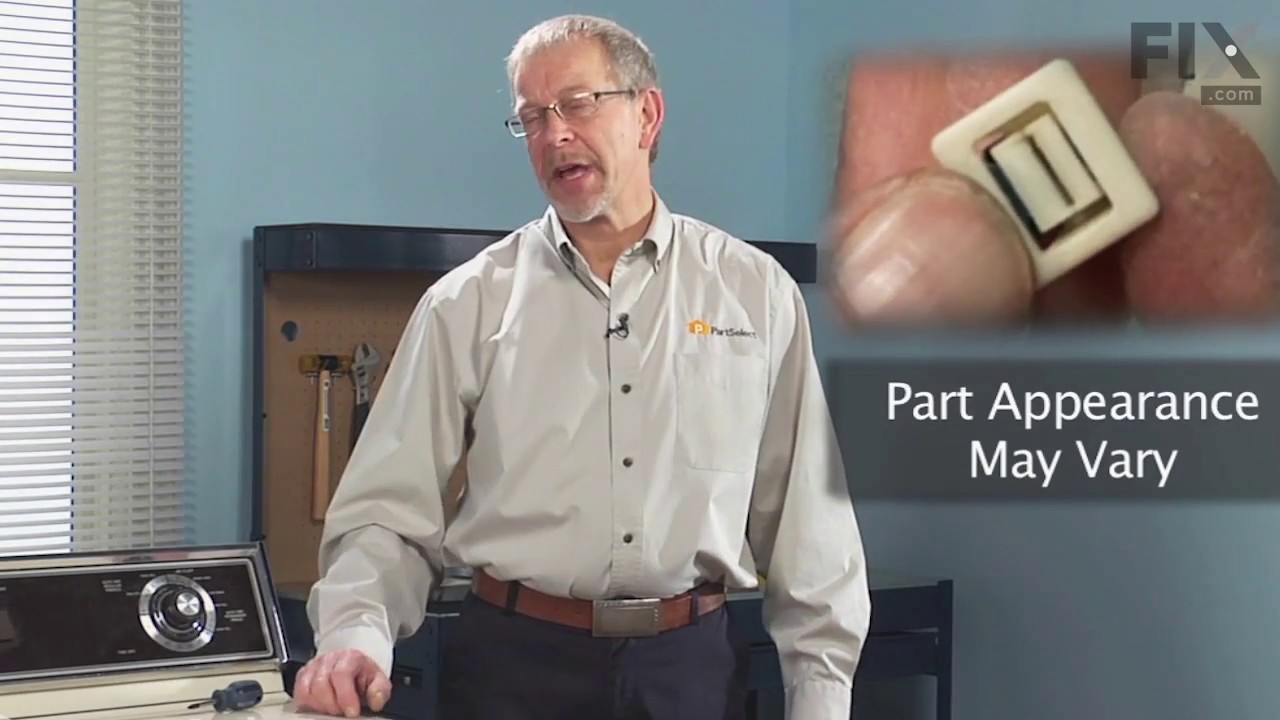
See how others fixed this model. Time, tools, difficulty, and steps that lead to victory!
View More
Search repair tips from other customers using simple keywords like "replace", "fit", "remove", "inspect". DIY doesn't mean you have to do it alone!
Search filter:
Clear Filter
Your search term must have 3 or more characters.
Drum not centered , clothes getting stuck in dryer
532 of 557 people
found this instruction helpful.
The first thing I did was to unplug the dryer from the wall. Then I removed the bottom two screws and slid the bottom cover off so i could see all the way to the back, I tipped the dryer back against the wall and searched for the problem with a flashlight. I noticed that one of the guide wheels that held the drum in place was sheared of
... Read more
f. I took the new drum support roller out and carefully slid it over the shaft, I had to jiggle it around for a bit, but then it finally was seated correctly. I replaced the washer and then the clip using a pair of needle nose pliers and a regular screw driver and then turned the dryer by hand to see if the wheel came off. After confirming that it worked, I put the cover back on, and plugged it in and tested it.
Read less
Other Parts Used:
Was this helpful?
Thank you for voting!
The Felt Gasket between drum and door ripped, vent manifold from Dryer to fan and lint screen broken
498 of 508 people
found this instruction helpful.
I pulled the bottom panel and the door panel to replace the manifold and felt gasket around the drum. I removed old gasket very easily, it peeled right off. I use brake cleaning fluid (Spray Can from Auto Zone about $1.45) to remove old glue. Used spray contact cement (Elmer's about 4.50 at Ace) and sprayed the panel and gasket surface
... Read more
s and let dry. I then applied a 2nd coat and let get "tacky" and installed the gasket. You will need an extra set of hands to hold the gasket in place while you stretch it over the the panel. The vent manifold is held in place with 3 phillips screws and was installed in about 10 minutes. The only gripe I had was in the Parts-Select illustrated breakdown they don't tell you the lint screen comes with the manifold assembly, so I bought one of them too. Now have an extra lint screen
Read less
Other Parts Used:

Was this helpful?
Thank you for voting!
Squeeling and grinding noise
489 of 506 people
found this instruction helpful.
Wasn't the belt!! Changed it anyway. Should have come here earlier. That mistake added several days to the repair waiting for a second batch of the right parts. Became a pro at taking the dryer apart and reassembling, though! Easy job, just take your time and mark your wires, if you need to.
Followed other people's excellent instru ... Read more ctions. Clean out all the dust bunnies. Schematics were a great resource. Those and the prices made me a repeat customer.
The shaft of the Idler Lever wheel was the cause, but decided, since I had it apart, to spend a little more money and replace both Drum Support Rollers and the Roller Bracket and Shaft Assembly. They showed some wear, and the parts were very inexpensive. Make sure you have snap ring pliers with prongs that are smaller than the standard 0.40 to save some aggravation with the Drum Rollers. $5 tool. Total parts were less than $60. Probably saved $150+ in labor. Quieter than ever now. Thanks!
Followed other people's excellent instru ... Read more ctions. Clean out all the dust bunnies. Schematics were a great resource. Those and the prices made me a repeat customer.
The shaft of the Idler Lever wheel was the cause, but decided, since I had it apart, to spend a little more money and replace both Drum Support Rollers and the Roller Bracket and Shaft Assembly. They showed some wear, and the parts were very inexpensive. Make sure you have snap ring pliers with prongs that are smaller than the standard 0.40 to save some aggravation with the Drum Rollers. $5 tool. Total parts were less than $60. Probably saved $150+ in labor. Quieter than ever now. Thanks!
Read less
Other Parts Used:

Was this helpful?
Thank you for voting!