


 My Orders




CDE26P6AK Crosley Dryer - Overview
Diagrams for CDE26P6AK
See every part. Know exactly what you need.


Enter a part description. DIY Heroes keep it simple, eg. "belt" or "pump".
Search filter:
Clear Filter
Your search term must have 3 or more characters.

$15.00
In Stock
Multi Rib Belt - 92-1/4"
Part #341241
This dryer drum belt (Whirlpool Dryer Belt, Drive Belt) has four ridges, three grooves and is 1/4" wide, and 92 1/4 inches in length. It comes in black and is made of rubber. The belt transfers the rotation of the motor to turn the drum. The belt attaches to the drum, idler pulley, and motor pulley.

$7.47
In Stock

$11.77
In Stock
Blower Wheel Clamp
Part #WP312967
This blower wheel clamp, used in a clothes dryer, is a clamp that holds the blower wheel to the motor shaft. This part helps hold the blower wheel in place to function easily and properly. If your clothes dryer has any of the following symptoms then replacing the clamp can be a solution: making loud noises, not producing enough heat or no...Read more heat at all, and/or clothes are taking too long to dry. Make sure to unplug thedryer from power source before installing this part and refer to the installation instructions provided by the manufacturer for further guidance.
Read less

No Longer Available
Rear Drum Support Roller Kit
Part #LA-1008
The rear dryer drum roller functions by holding the drum in place while the drum rotates on support wheels during the drying spin/tumble cycle. Included in this rear drum support roller kit are four screws, one spacer, two washers, two retaining rings, two rear rollers, and two cylinder support shafts. The drum support roller kit may need...Read more to be replaced if the dryer is noisy or will not tumble. Important note: This kit has been updated by the genuine manufacturer to have one spacer that is the thickness of two spacers. Please search by model number to get these parts separately.
Read less

$7.47
In Stock

$72.00
In Stock
High Limit Thermostat (Limit 25880)
Part #WP53-0771
This high limit/safety thermostat is used on many gas and electric clothes dryers. It is made of metal, and is almost two inches long. With this thermostat, a dryer's heating element will cut out if the internal temperature reaches 258 degrees Fahrenheit. The element will kick back in when the temperature drops to 178 degrees Fahrenheit.

$54.24
Special Order
Thermal Fuse
Part #WP53-1182
This part is the replacement thermal fuse for your dryer. It measures a little more than an inch wide, and about ¾ inch long. The thermal fuse is a safety device that shuts off the burner in a gas dryer, or the motor in an electric dryer when the dryer overheats. If your dryer will not start, or if it is not producing any heat, you may ne...Read moreed to replace the thermal fuse. Be sure to disconnect power to the dryer before you begin this repair. This part is sold individually and is an authentic OEM part sourced from the manufacturer.
Read less

No Longer Available

No Longer Available
Dryer Timer Resistor Assembly
Part #WP31001484
This timer resistor assembly is two inches long. It is made of ceramic and metal.

$22.52
In Stock

$7.47
In Stock

$7.47
In Stock
Range Hex Nut
Part #WP112432
This 10-32-inch hex nut works with multiple appliances in your home as a fastener. This specific model is sold individually. Hex nuts usually have 6 even sides and together they are used with bolts and screws in order to hold items firmly together. This piece is a fastener that attaches one item to another. This part has several advantage...Read mores, the main one being that it is universal and can be used with most pieces and appliances in your home. This hex nut is an original equipment manufacturer part, meaning it is directly sourced from the manufacturer.
Read less
Common Symptoms of the CDE26P6AK
How this model fails, and the parts that fix it.
Noisy
Fixed by
these parts
these parts


Show All
Drum Not Spinning
Fixed by
these parts
these parts
Show All
Heat stays on after drum has stopped
Fixed by
these parts
these parts
Show All
Won’t Start
Fixed by
these parts
these parts

Show All
Not Heating
Fixed by
these parts
these parts
Show All
Too hot
Fixed by
these parts
these parts
Show All
Door latch failure
Fixed by
these parts
these parts

Show All
Will not agitate
Fixed by
these parts
these parts

Show All
Touchpad does not respond
Fixed by
these parts
these parts
Show All
Watch our pros, then fix it yourself.

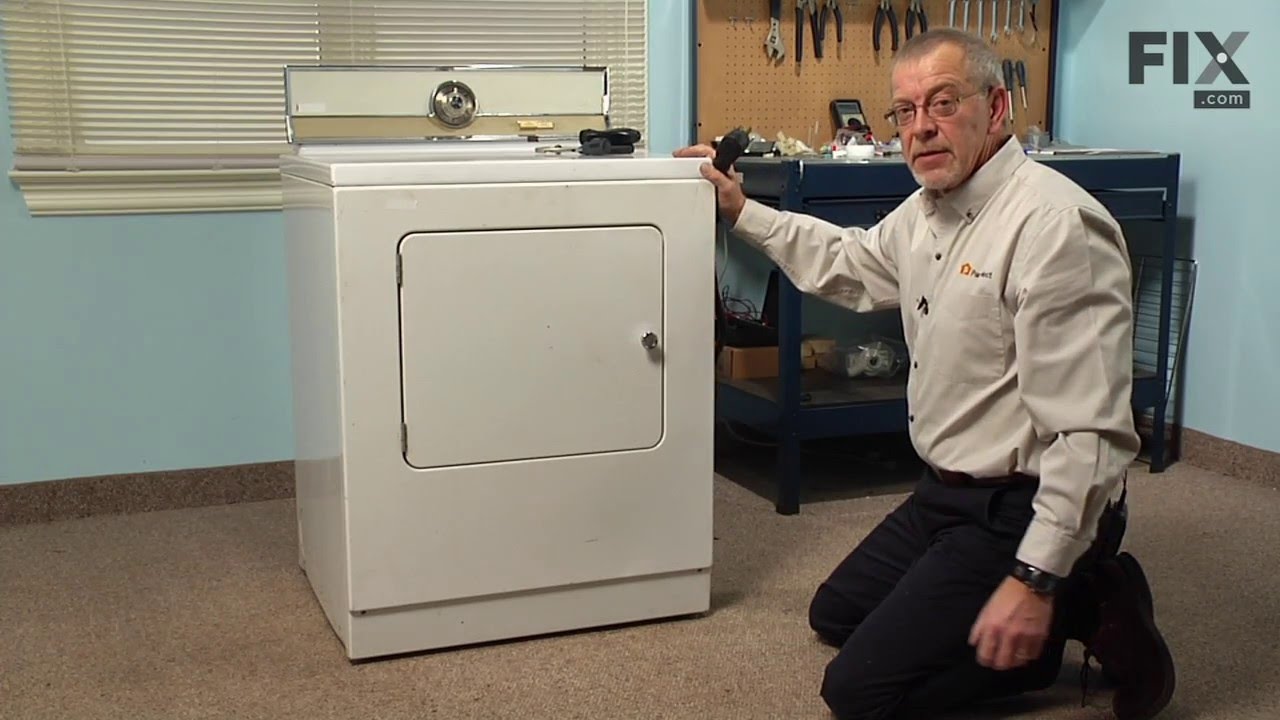
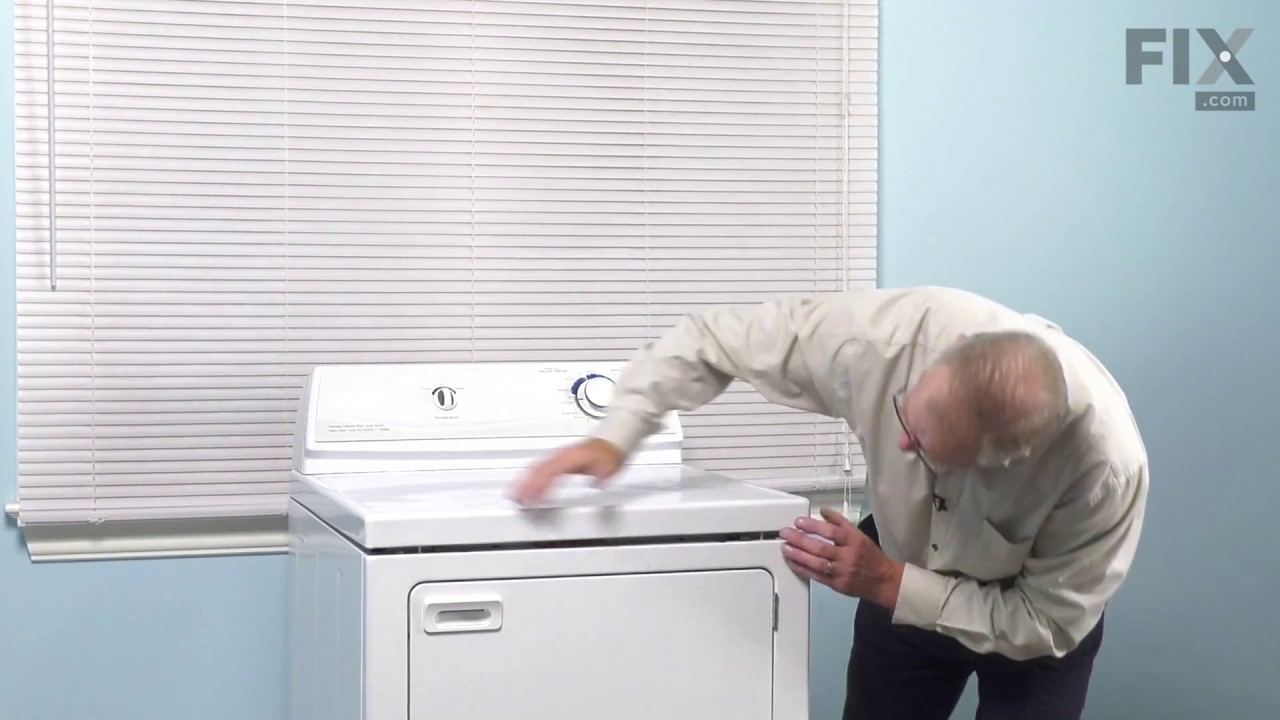
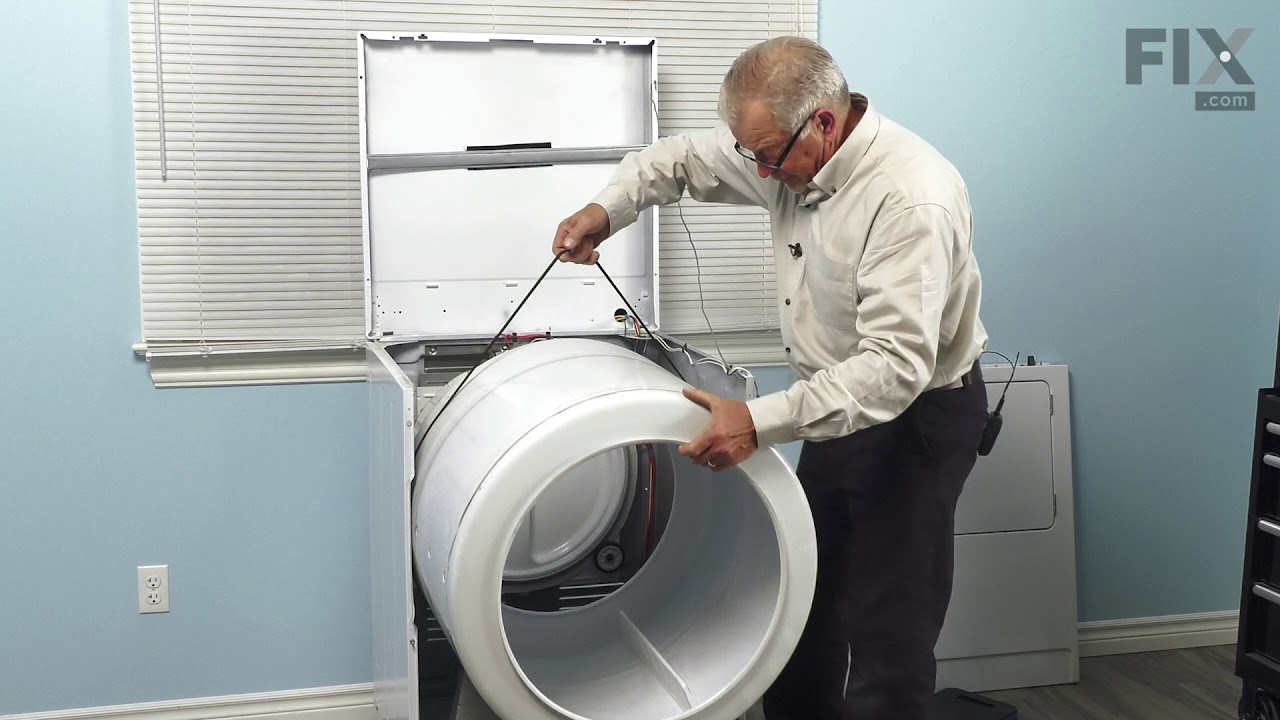
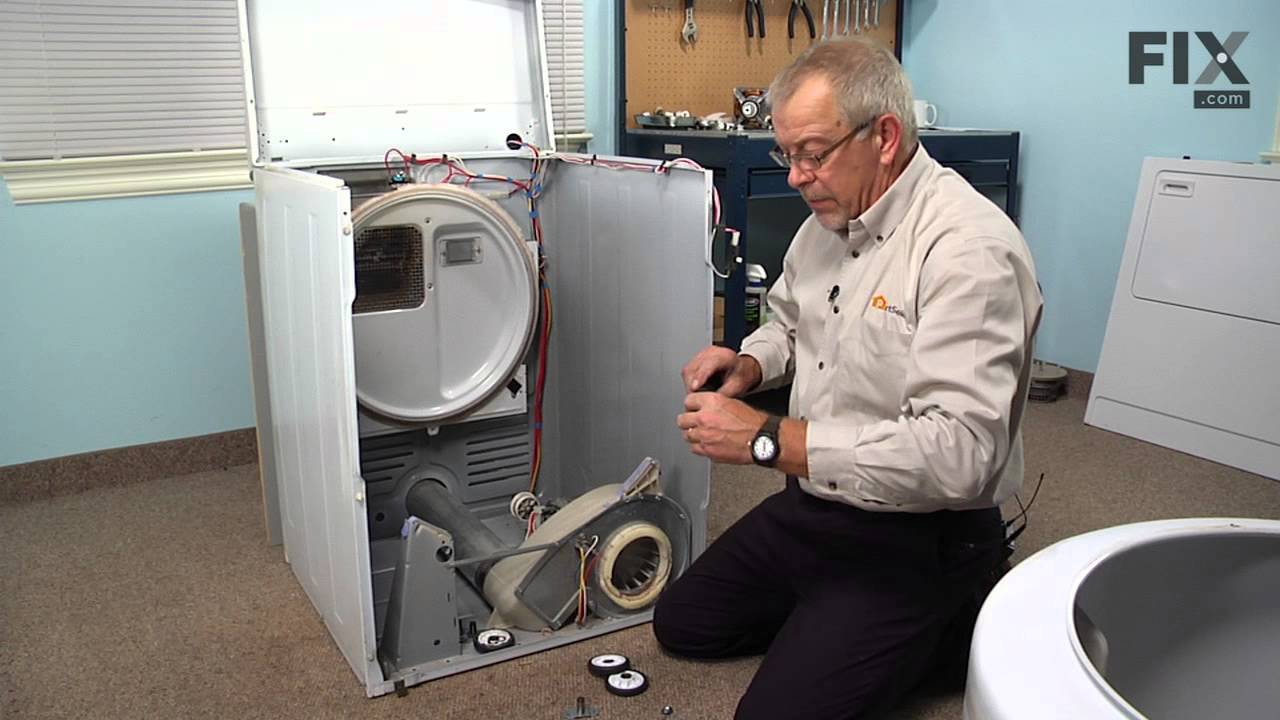
See how others fixed this model. Time, tools, difficulty, and steps that lead to victory!
View More