



 My Orders




CCGS990SET4SS General Electric Range - Overview
Diagrams for CCGS990SET4SS
See every part. Know exactly what you need.


Enter a part description. DIY Heroes keep it simple, eg. "belt" or "pump".
Search filter:
Clear Filter
Your search term must have 3 or more characters.

$39.42
In Stock
Burner Cap - Black - Medium - 9500 BTU
Part #WB29K10023
This burner cap is for your gas range, and acts as a cover for the burner head. It is black in color and just over 3 inches in diameter. If your old burner cap is damaged or missing, this is the part that will replace it. This is an OEM part sourced directly from the manufacturer and is sold individually.

$17.19
In Stock

$49.60
In Stock
Burner Cap - 15K
Part #WB28K10222
This is a replacement burner cap for your gas range or cooktop. The burner cap is found on the burner head, and prevents debris from getting into the head when it is not in use. The cap is black in color and is sold individually. It is a little more than 4 inches in diameter. To replace the burner cap, simply remove the damaged cap, and r...Read moreeplace it with the new one. No tools are required for this repair. This is an OEM part from the manufacturer.
Read less

$82.45
In Stock
Burner Head - Medium - 9500
Part #WB16K10055
This burner head, or surface burner, is used in ranges and ovens. The burner sends gas through the holes and slots to create an equal flame across the cooking area. If the gas igniter glows but will not light up, or there are heating inconsistencies, replacing the burner head could be the solution to your problem. No tools are required fo...Read morer this installation. To change the burner, first lift the grate and take the burner cap off. Next, lift the burner away from the cooktop. To set the new burner in place correctly, check the locating tab that fits into the V-shaped notch and make sure the igniter fits into the cut-out. Refer to the diagram provided by the manufacturer for further instructions.
Read less

$25.99
In Stock
Burner Cap - 5000 BTU - Black
Part #WB29K10022
This is a burner cap for your gas range. The cap is black in color and about 3 inches in diameter. The cap acts as a cover for the burner head. If your old burner cap is damaged or missing, this is the part that will replace it. This is a quality OEM part sourced directly from the manufacturer. This cap is sold individually.

$77.22
In Stock
Burner Knob
Part #WB03K10265
This knob accepts a D-shaped shaft. Sold individually.
NOTE: The manufacturer has updated this knob. It may be smaller than the original but will function the same.

$29.47
In Stock
Knob Dial Skirt
Part #WB04K10037
This is the part that's under the knob. The knob is sold separately.

$56.05
In Stock
Small Burner - 5K
Part #WB16K10070
This genuine small burner is an original replacement part from GE, designed for use with a wide range of gas ranges. Positioned between the rangetop and bracket assembly and the burner cap, it plays a key role in generating the flame needed for cooking. No tools are required for installation, making it a quick and convenient replacement. ...Read moreThe burner is sold individually, and users should consult their appliance manual for proper installation and safety guidelines.
Read less

$16.05
In Stock

$95.15
In Stock

$105.55
In Stock
Vision Burner - Extra Large
Part #WB16K10062
This is a replacement vision burner or surface burner head for your gas range. It is silver in color and approximately 4.5 inches in diameter. This burner is sold individually. The burner head distributes gas to create an even flame across the cooking area. If you notice that your food is not cooking evenly, or you are not getting an even...Read morely distributed flame, you may need to replace the burner. The burner is located beneath the burner cap, below the grate. To remove the burner, simply remove the grate and the burner cap, then lift the burner head out. Replace it with the new burner, and reinstall the cap and grate. This is an OEM part sourced directly from the manufacturer.
Read less

$17.28
In Stock
Common Symptoms of the CCGS990SET4SS
How this model fails, and the parts that fix it.
Will Not Start
Fixed by
these parts
these parts


Show All
Little to no heat when baking
Fixed by
these parts
these parts


Show All
Gas igniter glows, but will not light
Fixed by
these parts
these parts

Show All
Element will not heat
Fixed by
these parts
these parts
Show All
Oven not heating evenly
Fixed by
these parts
these parts

Show All
Gas smell
Fixed by
these parts
these parts

Show All
Watch our pros, then fix it yourself.
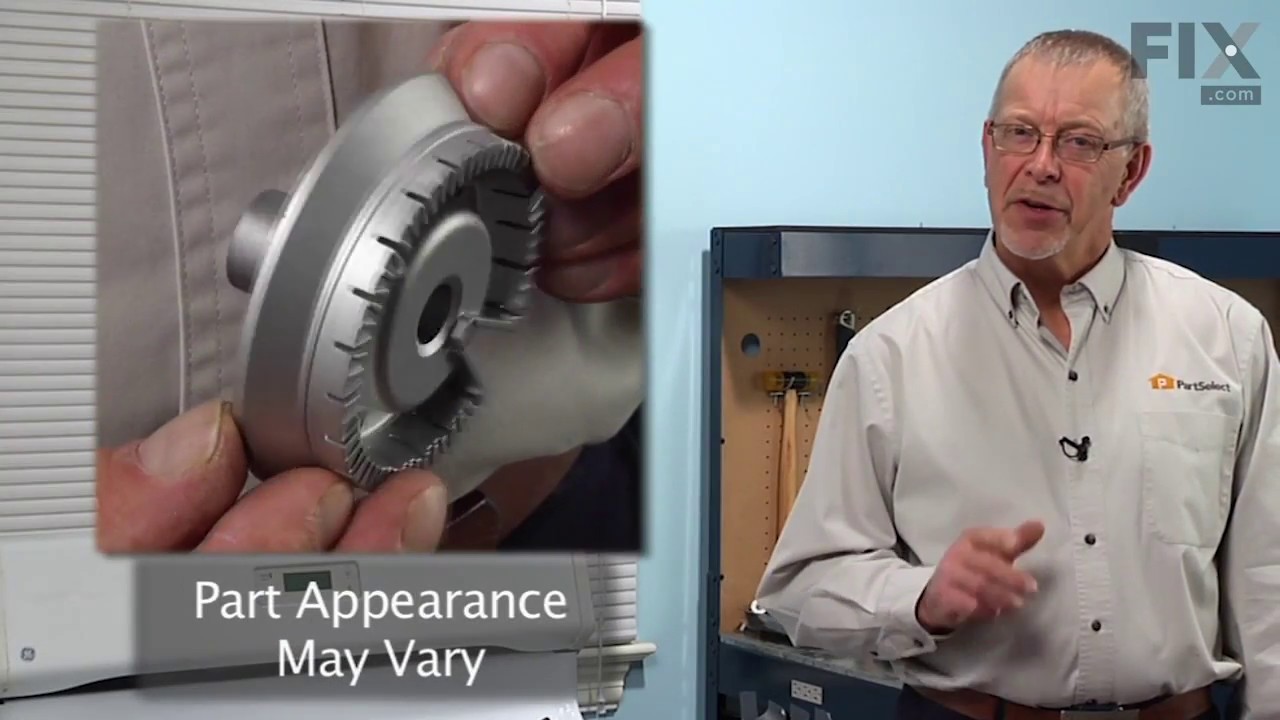

See how others fixed this model. Time, tools, difficulty, and steps that lead to victory!
View More
Search repair tips from other customers using simple keywords like "replace", "fit", "remove", "inspect". DIY doesn't mean you have to do it alone!
Search filter:
Clear Filter
Your search term must have 3 or more characters.
knobs were worn as was the burner cap
23 of 43 people
found this instruction helpful.
take off old put on new. easy.
Other Parts Used:


Was this helpful?
Thank you for voting!