


 My Orders




C31100SATP Crosley Range - Overview


Enter a part description. DIY Heroes keep it simple, eg. "belt" or "pump".
Search filter:
Clear Filter
Your search term must have 3 or more characters.

$21.45
In Stock
Screw
Part #W11233072
This is a multi-use and multi-appliance screw. It can be used on a microwave, refrigerator, range/oven, air conditioner, dehumidifier, washer, or dryer. The measurements of this screw are 8 x 1/2 inch. It has 6 threads. Refer to the manual provided by the manufacturer for further information on repair and accurate guidance. Remember to wear work gloves as a safety precaution.

$53.20
In Stock
Door Seal
Part #WP7212P043-60
This door seal is used for ranges and ovens. The seal prevents hot air escaping from the oven to maintain a certain temperature when baking. The clips sticking out of the seal help secure it to the range doors for the most effective performance. This seal is black in color and is made of rubber. If your oven is not heating evenly, has lit...Read moretle to no heat when baking, or is too hot, replacing the seal can solve the problem. The tools needed for this repair are needle nose pliers. Make sure the oven is cool before starting this installation project. Refer to the diagram provided by the manufacturer for further installation instructions.
Read less

$8.55
In Stock

$7.47
In Stock

No Longer Available
Sealed Dual Top Burner Assembly
Part #WP74003332
When your trusty washing machine stops behaving like it should, don't worry?our GE Washer Control Board is here to get things back in order. This component is at the heart of your washer, helping it to carry out key actions like filling with water, washing your clothes, draining, and spinning for that perfect clean. Think of it as your ...Read morewasher's brain?it's vital to ensure the smooth running of your appliance. However, it's crucial to match this part to your specific washer model number, so make sure to double-check before ordering. After replacing the control board, you may notice 3 dashes on your washer's control panel, but this is totally normal! All you need to do is set the model code as outlined in the instructions. Remember, safety first. Always ensure to disconnect your washer prior to attempting any installation. It's also wise to wear protective gloves to keep your hands safe. With the quality of GE behind this replacement part, you can rest assured your washer will soon be back to its best, ready to tackle your laundry needs like a champion.
Read less

No Longer Available
Door End Cap - Black
Part #74003430
This end cap is twenty and a half inches long. It is all black in color and is made of plastic. This end cap is an inch and a half wide.

$18.22
In Stock

No Longer Available
Rubber Door Spacer
Part #8010P085-60
Sold Individually. This spacer has adhesive on one side. This spacer is used between door panels of ranges and ovens.

No Longer Available
Bottom Trim Piece - black
Part #74003432
This part trims the bottom of your oven door. It does not come with screws.

No Longer Available

No Longer Available

No Longer Available
BURNER- OV
Part #74002434
Common Symptoms of the C31100SATP
How this model fails, and the parts that fix it.
Oven not heating evenly
Fixed by
these parts
these parts

Show All
Little to no heat when baking
Fixed by
these parts
these parts
Show All
Oven is too hot
Fixed by
these parts
these parts
Show All
Door won’t close
Fixed by
these parts
these parts
Show All
Watch our pros, then fix it yourself.
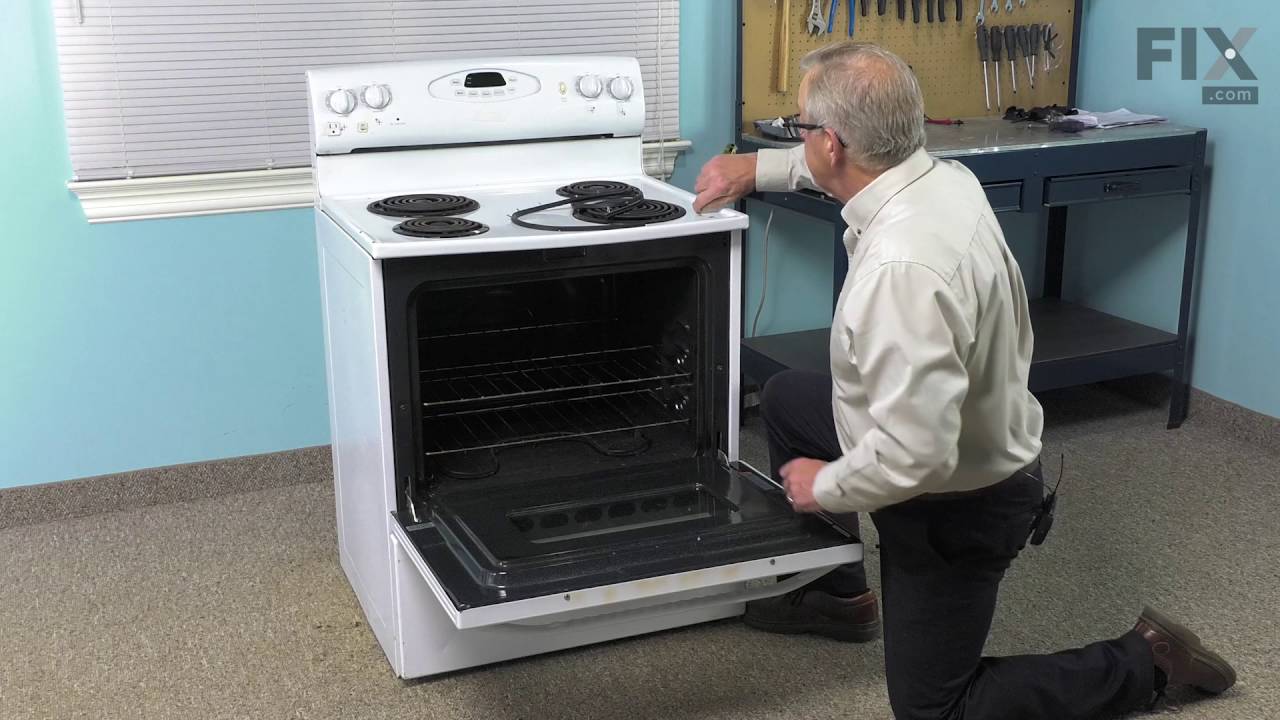
See how others fixed this model. Time, tools, difficulty, and steps that lead to victory!
View More