



 My Orders




C2S985SET2SS General Electric Range - Overview
Diagrams for C2S985SET2SS
See every part. Know exactly what you need.


Enter a part description. DIY Heroes keep it simple, eg. "belt" or "pump".
Search filter:
Clear Filter
Your search term must have 3 or more characters.

$100.47
In Stock
Bake Element
Part #WB30X46987
The bake element is located on the bottom of the oven. If your oven will not heat properly it may be due to a faulty or damaged baking element. If you can see that the element has been separated or blistered, you should replace the part immediately. If there is no visible damage, turn the oven on and check to see if the element heats even...Read morely. If the element is not heating evenly, or if it is not heating at all, it will need to be replaced. This element is 19 inches wide x 19 inches long, and has male spade push on terminals.
Read less

No Longer Available
Top Burner Spark Electrode
Part #WB13K10014
The top burner spark electrode, also known as a range surface burner igniter, is designed for use in your gas range. The function of this part is to provide the spark that lights the surface burner. If your gas range will not start, or if the igniter glows but will not light, you may need to replace the top burner spark electrode. This pa...Read morert is sold individually. This product is white in color and measures approximately 1-1/2-inches in length by 1/2-inch in width. Be sure to disconnect the gas supply to the range before you begin this repair. This is an OEM part sourced directly from the manufacturer.
Read less

$39.42
In Stock
Burner Cap - Black - Medium - 9500 BTU
Part #WB29K10023
This burner cap is for your gas range, and acts as a cover for the burner head. It is black in color and just over 3 inches in diameter. If your old burner cap is damaged or missing, this is the part that will replace it. This is an OEM part sourced directly from the manufacturer and is sold individually.

$49.60
In Stock
Burner Cap - 15K
Part #WB28K10222
This is a replacement burner cap for your gas range or cooktop. The burner cap is found on the burner head, and prevents debris from getting into the head when it is not in use. The cap is black in color and is sold individually. It is a little more than 4 inches in diameter. To replace the burner cap, simply remove the damaged cap, and r...Read moreeplace it with the new one. No tools are required for this repair. This is an OEM part from the manufacturer.
Read less

$82.45
In Stock
Burner Head - Medium - 9500
Part #WB16K10055
This burner head, or surface burner, is used in ranges and ovens. The burner sends gas through the holes and slots to create an equal flame across the cooking area. If the gas igniter glows but will not light up, or there are heating inconsistencies, replacing the burner head could be the solution to your problem. No tools are required fo...Read morer this installation. To change the burner, first lift the grate and take the burner cap off. Next, lift the burner away from the cooktop. To set the new burner in place correctly, check the locating tab that fits into the V-shaped notch and make sure the igniter fits into the cut-out. Refer to the diagram provided by the manufacturer for further instructions.
Read less

$25.99
In Stock
Burner Cap - 5000 BTU - Black
Part #WB29K10022
This is a burner cap for your gas range. The cap is black in color and about 3 inches in diameter. The cap acts as a cover for the burner head. If your old burner cap is damaged or missing, this is the part that will replace it. This is a quality OEM part sourced directly from the manufacturer. This cap is sold individually.

$77.22
In Stock
Burner Knob
Part #WB03K10265
This knob accepts a D-shaped shaft. Sold individually.
NOTE: The manufacturer has updated this knob. It may be smaller than the original but will function the same.

$87.78
In Stock
BROIL ELEMENT
Part #WB30X46986
This broil element is designed for wall ovens and plays a critical role in achieving high-temperature cooking during broil cycles. Positioned at the top of the oven cavity, it delivers intense, direct heat for broiling meats, vegetables, and other dishes. A malfunctioning element may result in the oven failing to reach proper broil temper...Read moreatures, uneven cooking, or complete loss of broil function. Constructed from heat-resistant materials for durability and performance, this replacement part restores optimal cooking capability. Before installation, always disconnect power to the appliance and verify compatibility with your specific oven model.
Read less

$56.05
In Stock
Small Burner - 5K
Part #WB16K10070
This genuine small burner is an original replacement part from GE, designed for use with a wide range of gas ranges. Positioned between the rangetop and bracket assembly and the burner cap, it plays a key role in generating the flame needed for cooking. No tools are required for installation, making it a quick and convenient replacement. ...Read moreThe burner is sold individually, and users should consult their appliance manual for proper installation and safety guidelines.
Read less

$39.95
In Stock
Oven Light Housing
Part #WB08T10002
The light housing is also known as a lamp holder and is a part for the oven in your range. The function of this piece is to hold the bulb that will light up the inside of your oven. As per the manufacturer instructions, if your bulb has burnt out you must buy the bulb for this part locally. This light housing is roughly five inches high, ...Read morewith an outside diameter of roughly four inches by four inches. To install this part, you will need a Phillips screwdriver, a nut driver, and a pair of pliers.
Read less

$64.55
In Stock
Meat Probe Thermistor
Part #WB20T10024
This probe is used to check the internal temperature of the meat to ensure proper temperature is reached. Also known as a Meat Probe.

$95.15
In Stock
Manuals & Care Guides for C2S985SET2SS
Click to downloadInstall
Installation Instructions
(0.23MB)
Manual
Owner's Manuals
(17.46MB)
Manual
Owner's Manuals
(13.81MB)
Common Symptoms of the C2S985SET2SS
How this model fails, and the parts that fix it.
Element will not heat
Fixed by
these parts
these parts


Show All
Little to no heat when baking
Fixed by
these parts
these parts

Show All
Will Not Start
Fixed by
these parts
these parts


Show All
Oven not heating evenly
Fixed by
these parts
these parts
Show All
Gas igniter glows, but will not light
Fixed by
these parts
these parts


Show All
Little to no heat when broiling
Fixed by
these parts
these parts
Show All
Oven is too hot
Fixed by
these parts
these parts
Show All
Touchpad does not respond
Fixed by
these parts
these parts

Show All
Will not program
Fixed by
these parts
these parts

Show All
Gas smell
Fixed by
these parts
these parts

Show All
Watch our pros, then fix it yourself.
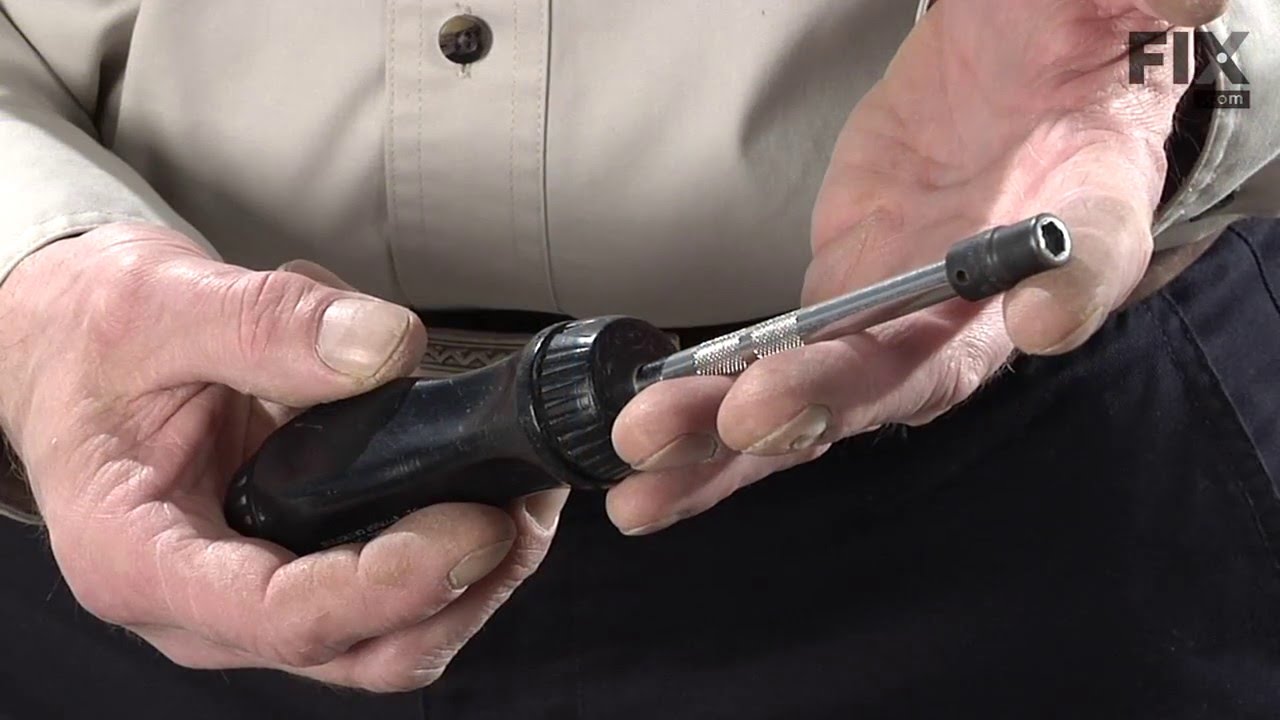


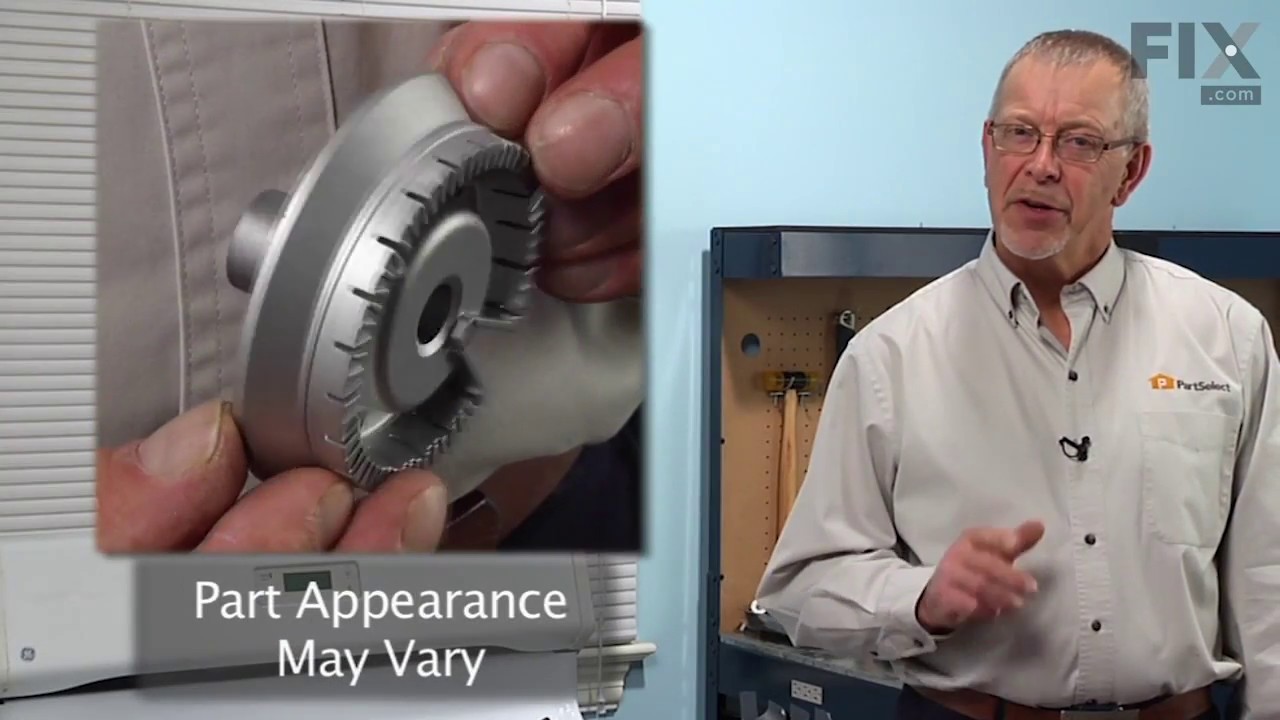

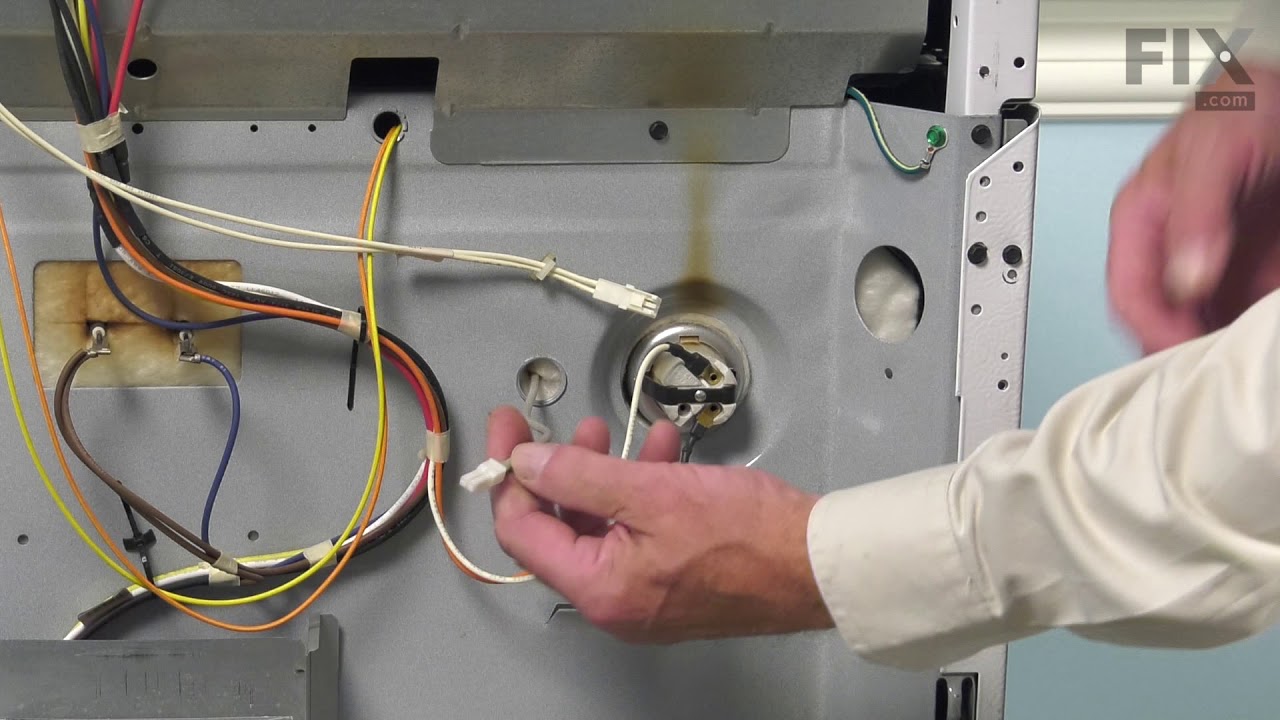
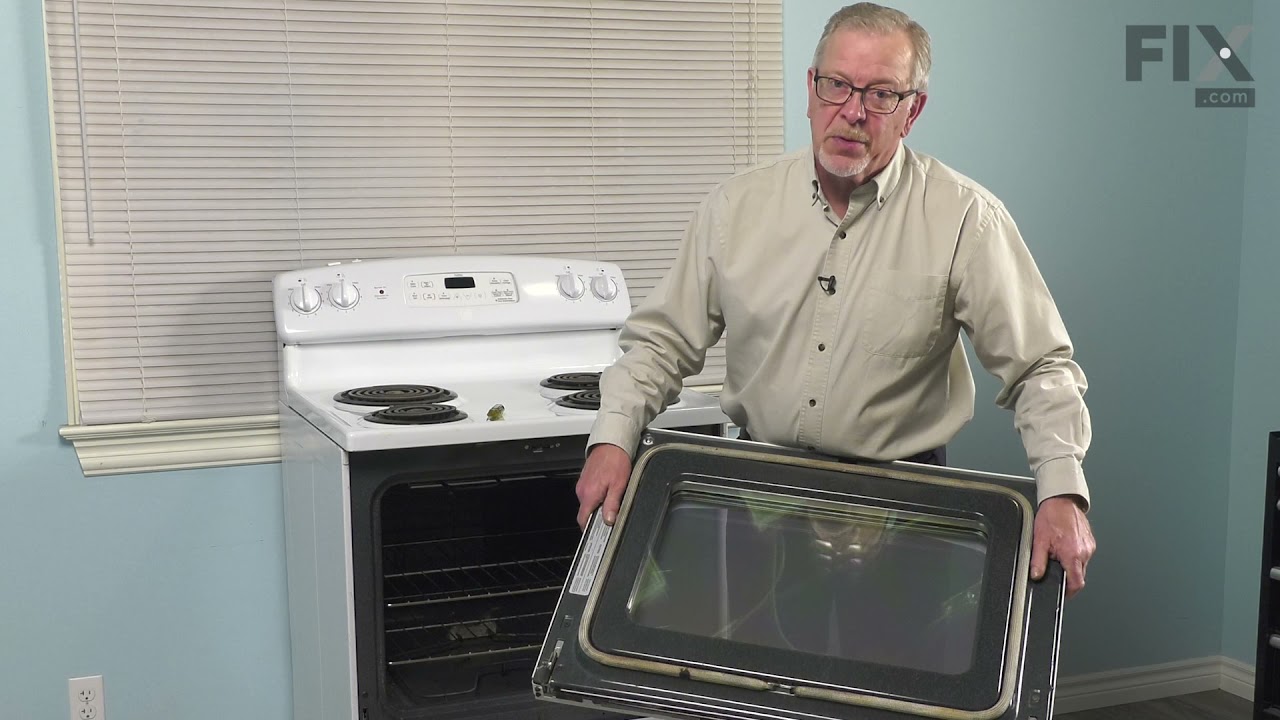
See how others fixed this model. Time, tools, difficulty, and steps that lead to victory!
View More