


 My Orders




BRT18HP7JC0 Electrolux Refrigerator - Overview
Diagrams for BRT18HP7JC0
See every part. Know exactly what you need.


Enter a part description. DIY Heroes keep it simple, eg. "belt" or "pump".
Search filter:
Clear Filter
Your search term must have 3 or more characters.

$58.25
In Stock
Refrigerator Door Shelf Bin
Part #240338101
This retainer bar (Refrigerator Door Shelf Bin, Refrigerator Door Shelf, Door Shelf Bin, Refrigerator Door Bin) holds items on the refrigerator door shelf. The plastic retainer can become brittle with time and crack or break under the strain of normal use. It can also break if heavy items are placed in the door shelf. If this part will no...Read more longer hold securely onto the inner door panel it will need to be replaced. This model is white plastic, and measures 26 by 5 inches. Sold individually.
Read less

$43.63
In Stock
Refrigerator Crisper Pan
Part #240337103
This manufacturer-certified Refrigerator Crisper Pan is a clear plastic pan which easily inserts into your fridge's crisper area in order to hold items. In some models of refrigerator this model is the same pan for both the meat and vegetable bins, but please note that this part is sold individually and not part of a complete kit. If brok...Read moreen then the part should be replaced. Refer to your user manual and model number to see if this crisper is right for your fridge. This bin measures approximately 11 inches deep and 22 inches long.
Read less

$59.35
In Stock
Meat Drawer Rail - Right Side
Part #240356501
As you look into the fridge, this drawer support track is located on the right-hand side. This item is white in color and made of plastic. The drawer support track can wear out over time. The only tool required is a Phillips screwdriver. Empty out the drawer and remove it by sliding it forward. Lift out the shelf, remove the screw on the ...Read moreside of the shelf, remove the rail by pushing the rail forward and snapping out of place, insert new rail, and install the screw back in. Now the shelf can be put back into the refrigerator. The mounting screws are sold separately.
Read less

$53.85
In Stock
Crisper Glass Shelf Insert
Part #240350608
This refrigerator crisper shelf insert is a genuine replacement component designed to sit above the crisper drawers, providing a stable surface for food storage while helping to maintain proper humidity levels below. Measuring approximately 23.82 inches by 15.50 inches, it is made of durable glass and fits select Frigidaire refrigerator m...Read moreodels. Installation is tool-free—simply remove the old insert and slide the new one into place. This OEM part is sold individually and ensures a precise fit and reliable performance.
Read less

$40.84
In Stock
Defrost Timer - 60Hz 120V
Part #215846602
This Defrost Timer works like a clock by switching on the defrost heater circuit after a predetermined amount of compressor run time. This allows the defrost circuit to clear the evaporator of ice or frost to maintain proper airflow. The defrost timer is located in the control housing which is in the refrigerator section of your appliance...Read more. If this part is not working, it can lead to temperature increases in your refrigerator. If the compressor circuit fails, no cooling will take place; if the defrost circuit isn't activated, ice will quickly build up on the evaporator coils and reduce airflow and efficiency. If the timer doesn't advance or if the contacts have no continuity, the timer will need to be replaced. This timer measures approximately 3 inches long and 2.5 inches wide, and is constructed of plastic and metal. It comes in black/white/silver and is sold individually. This replacement part features 1 defrost timer.
Read less

$58.15
In Stock
Meat Drawer Rail - Left Side
Part #240365401
This drawer rail supports the left hand side of the sliding drawer. The mounting screws are sold separately.

$27.45
In Stock
Light Bulb
Part #316538904
This OEM 40 watt appliance light bulb is used for some ranges, refrigerators, freezers, and microwaves. Simply locate the existing bulb, unscrew it from its socket, and replace with new light bulb. If the existing bulb is broken in the socket, disconnect the power to the refrigerator and use a pair of needle nose pliers to grip the intern...Read moreal fragments of the bulb to unscrew. Replace with the new bulb and reconnect the power to the refrigerator. These bulbs are sold individually and are a commonly replaced part; consider ordering a spare.
Read less

$56.05
In Stock
Run Capacitor
Part #5304464438
The run capacitor helps the compressor kick on and off while maintaining a constant temperature in your fridge and freezer. You may need to replace your run capacitor if your refrigerator or freezer section will not start, if they are too warm, or if your refrigerator has become too noisy. Replacing the run capacitor is a relatively easy ...Read moreproject. For this repair you will only need a 1/4 inch nut driver and needle nose pliers. Remember to disconnect the power and water supply line to the unit before you begin this repair. For full step by step instructions, simply click on the video below.
Read less

$64.85
In Stock
Evaporator Fan Motor Kit - 120V 60Hz
Part #5303918549
The evaporator fan motor (Motor Evaporator Fan, Evaporator Fan Motor Kit, Evaporator Fan Motor, Refrigerator Evaporator Fan Motor) circulates air through the food compartment for efficient cooling in refrigerators. The evaporator fan motor can squeal as its bearing dries out. The motor bearings can totally seize, preventing any movement. ...Read moreThe motor coil can also burn out, preventing any fan movement. If this motor fails, the refrigerator compartment will warm up and eventually the freezer will reduce cooling as well. Excessive frost can build up on the evaporator coil due to lack of air movement. The motor can make a squealing noise when it is beginning to fail or will not operate at all when powered, and this is a sign it should be replaced. The evaporator is located in the rear of the freezer compartment. This part measures 2-1/2 inches wide by 3 inches tall by 1 inch thick, at its widest point. It is constructed of plastic and metal, and comes in black/silver. This kit includes the evaporator fan motor and harness.
Read less

$41.14
In Stock
Defrost Thermostat
Part #5303918202
This defrost thermostat is also known as a refrigerator defrost bi-metal thermostat kit. The function of the defrost bi-metal thermostat is to prevent overheating during the defrost cycle in your refrigerator by protecting the evaporator. The most common sign that there is a problem with your refrigerator defrost thermostat kit is if your...Read more freezer is cold but your refrigerator is warm. If your evaporator coils are icy then your defrost bi-metal thermostat kit could be defective. To do this installation the tools you will need include a 1/4 inch nut driver, a pair of wire strippers and crimpers, and a heat gun.
Read less

$17.17
In Stock
Screw - Kit of Four
Part #5304515677
This screw is used in refrigerators. The screw can be loosened or tightened with a Phillips-head or square-head screwdriver. This screw is used to secure the refrigerator handle to the refrigerator door. This is an OEM part sourced directly from the manufacturer.

$61.47
In Stock
Door Bin
Part #240338201
This is a replacement door bin for your refrigerator. The door bin fits into your refrigerator door and is used to store food and other items. It is made of white plastic and is approximately 13 inches wide, 5 inches tall, and 8 inches deep. Your refrigerator may have more than one damaged or missing door bin, but keep in mind that this p...Read moreart is sold individually. To replace this part, simply slide out the damaged bin and slide the new bin into place. This is an OEM part sourced directly from the manufacturer.
Read less
Manuals & Care Guides for BRT18HP7JC0
Click to downloadCommon Symptoms of the BRT18HP7JC0
How this model fails, and the parts that fix it.
Fridge too warm
Fixed by
these parts
these parts


Show All
Freezer section too warm
Fixed by
these parts
these parts

Show All
Door won’t open or close
Fixed by
these parts
these parts


Show All
Freezer not defrosting
Fixed by
these parts
these parts
Show All
Noisy
Fixed by
these parts
these parts


Show All
Will Not Start
Fixed by
these parts
these parts

Show All
Light not working
Fixed by
these parts
these parts


Show All
Fridge and Freezer are too warm
Fixed by
these parts
these parts
Show All
Too warm
Fixed by
these parts
these parts
Show All
Leaking
Fixed by
these parts
these parts
Show All
Fridge runs too long
Fixed by
these parts
these parts
Show All
Fridge too cold
Fixed by
these parts
these parts
Show All
Won’t start
Fixed by
these parts
these parts
Show All
Frost buildup
Fixed by
these parts
these parts

Show All
Freezer too cold
Fixed by
these parts
these parts
Show All
Door Sweating
Fixed by
these parts
these parts

Show All
Doesn’t stop running
Fixed by
these parts
these parts
Show All
Clicking sound
Fixed by
these parts
these parts
Show All
Watch our pros, then fix it yourself.
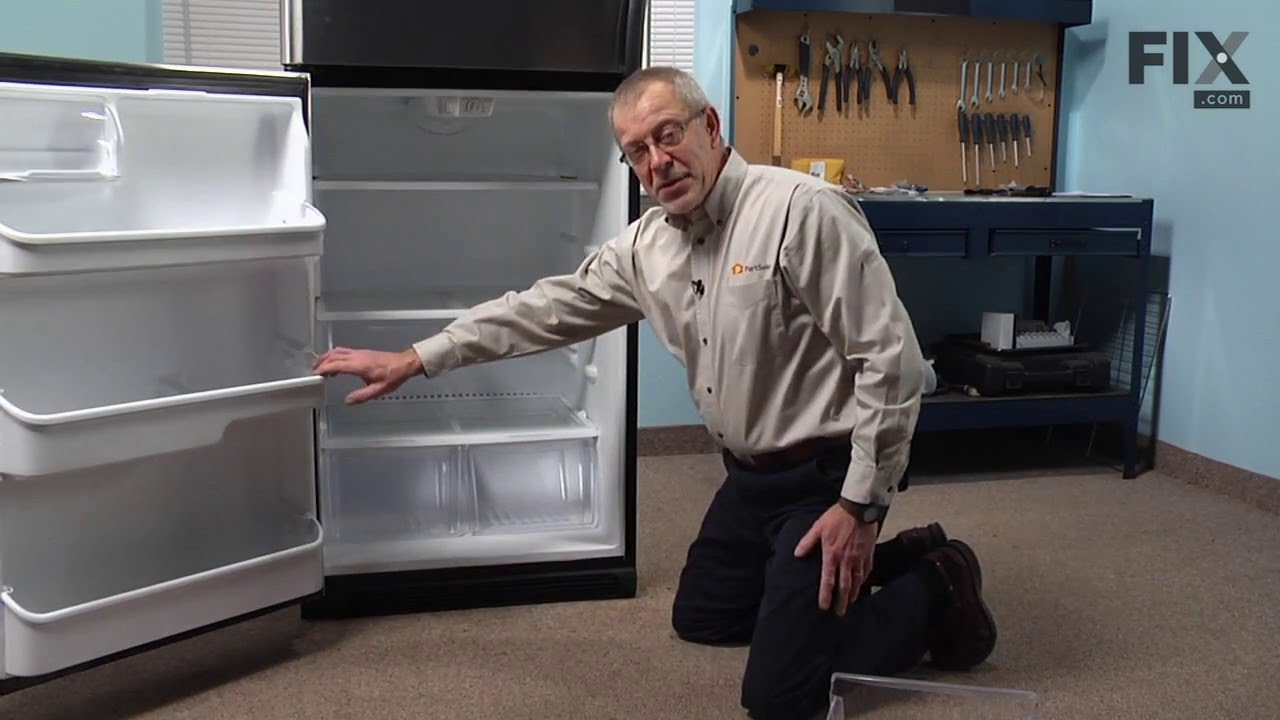
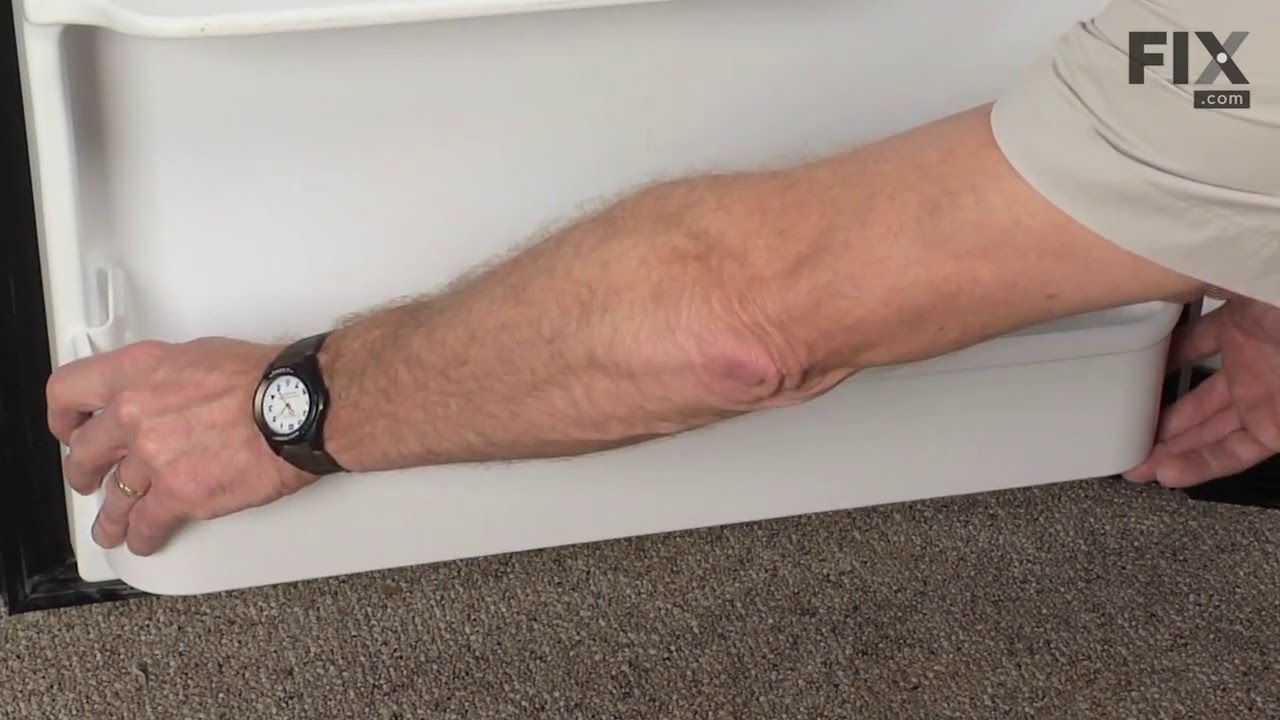
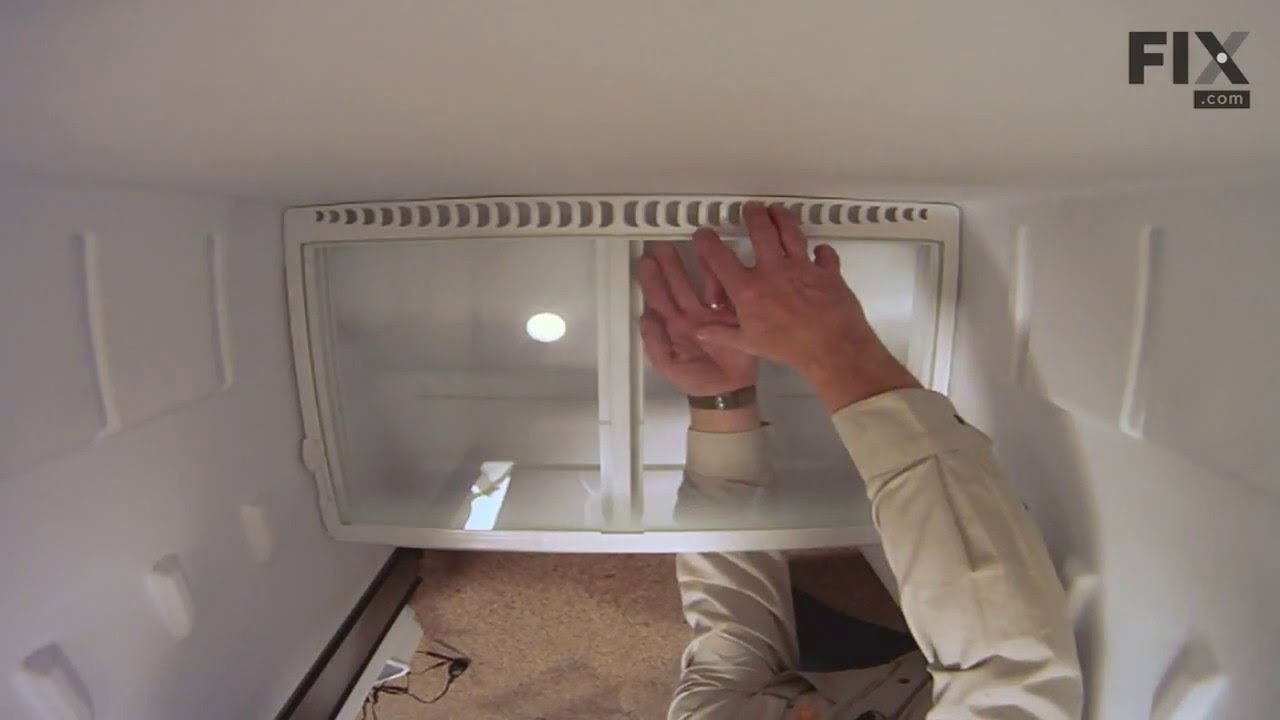

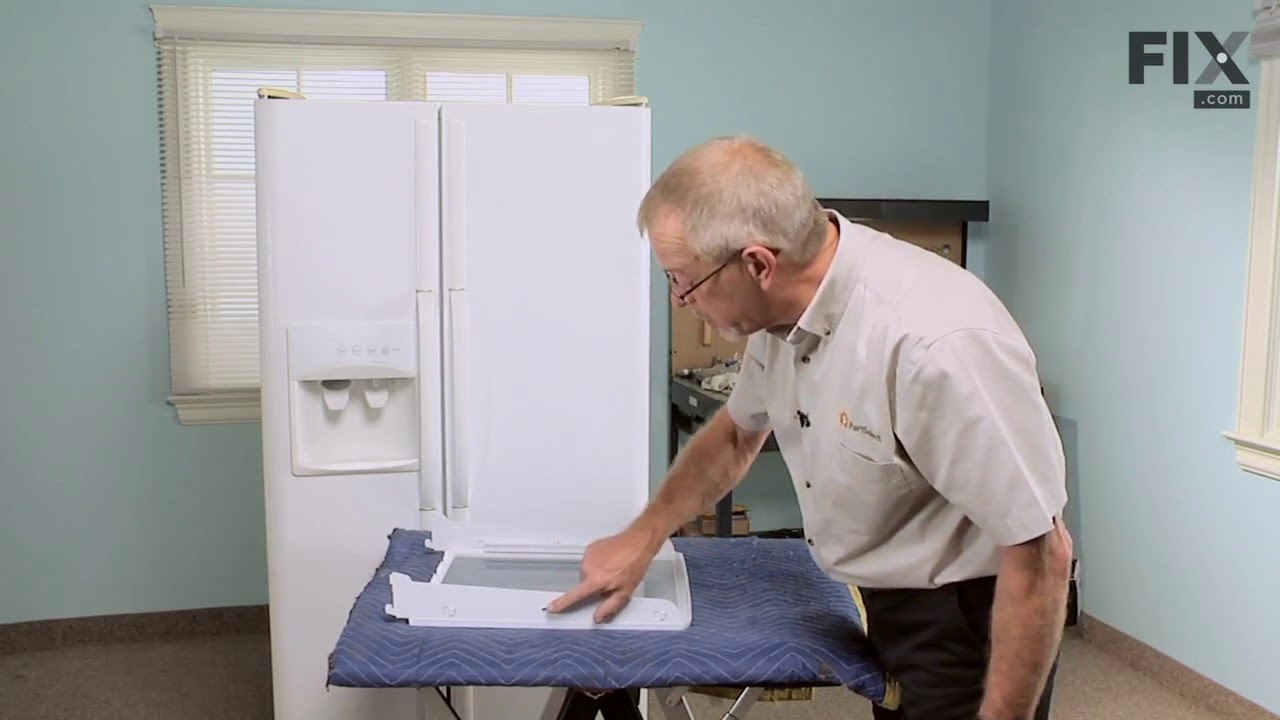
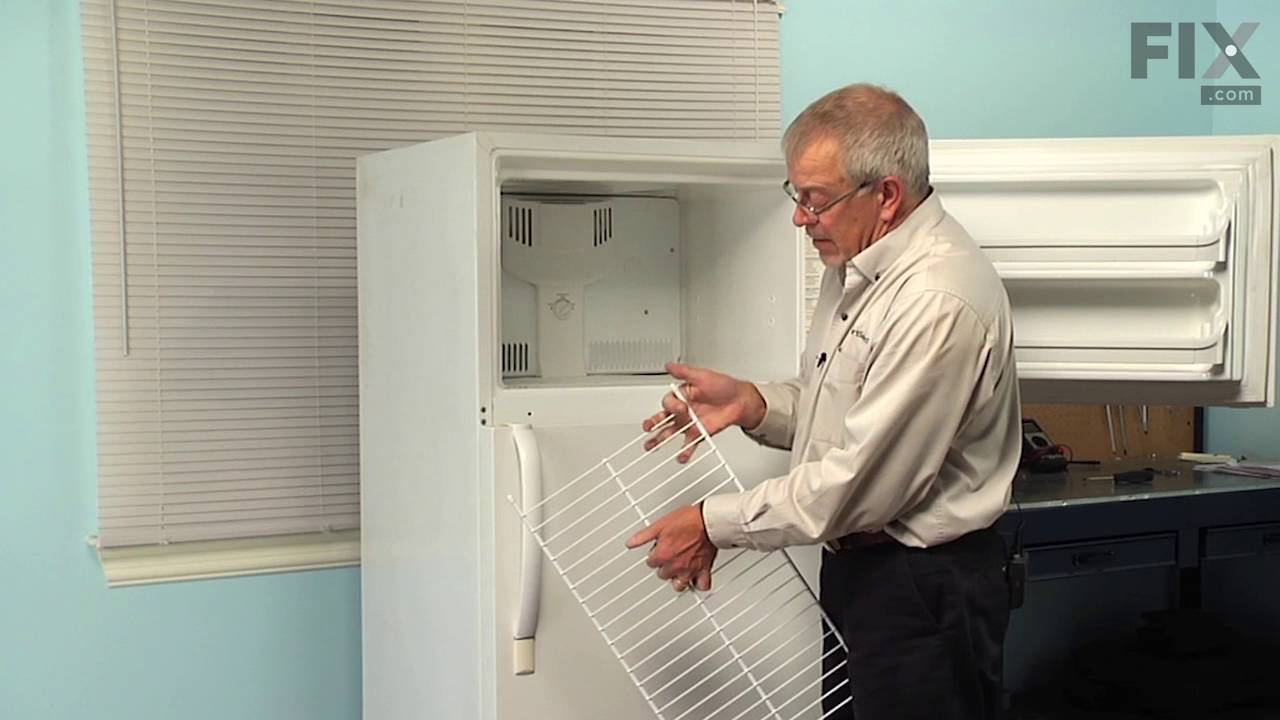
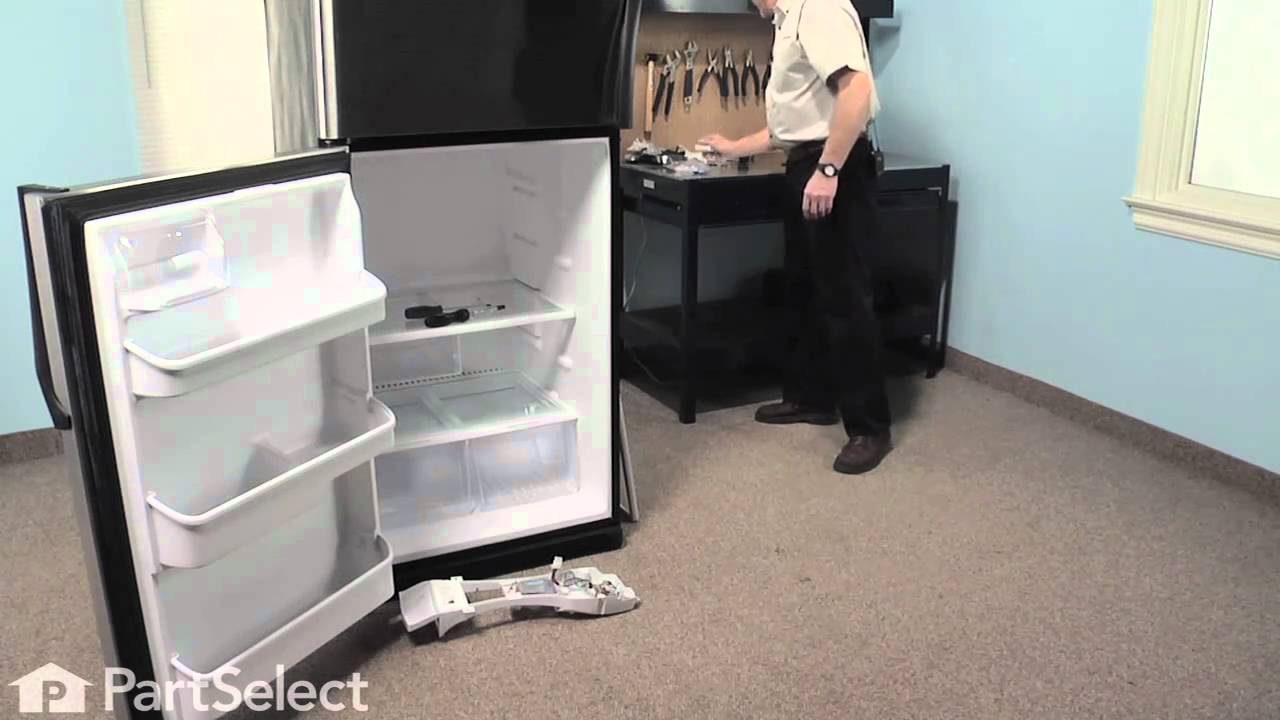
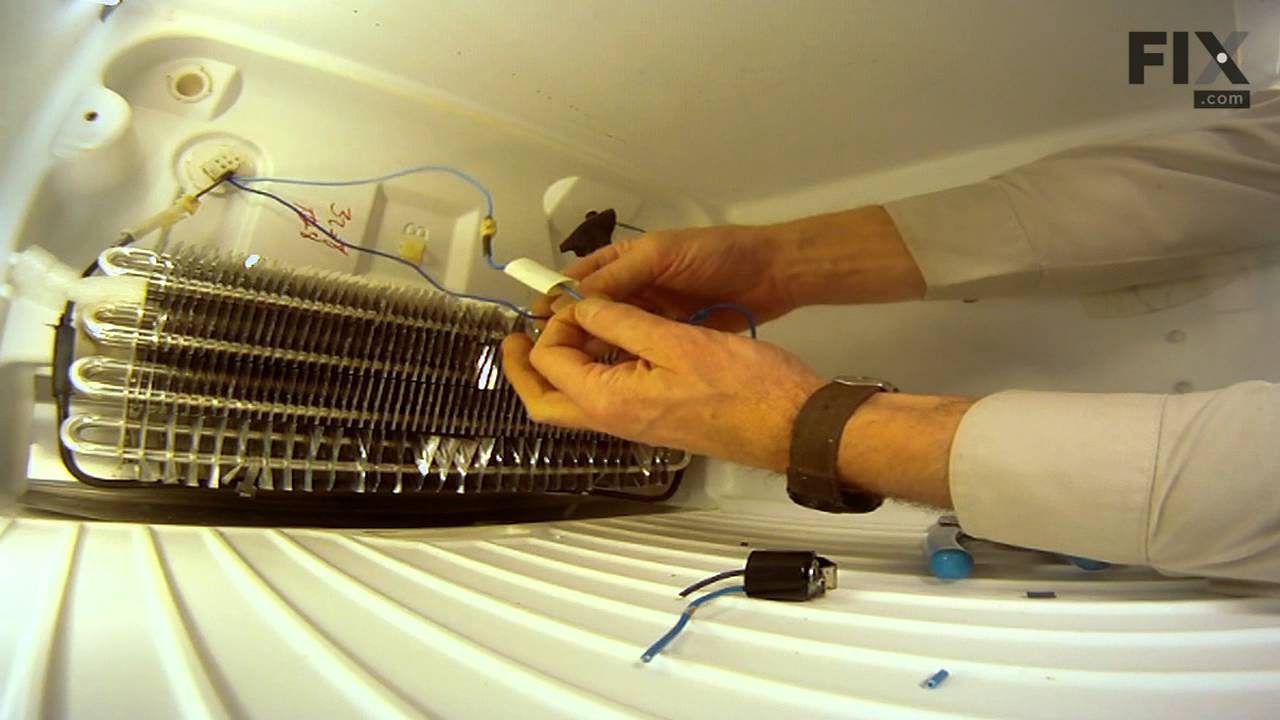
See how others fixed this model. Time, tools, difficulty, and steps that lead to victory!
View More