



 My Orders




BFEF374JIS1 Frigidaire Range - Overview
Diagrams for BFEF374JIS1
See every part. Know exactly what you need.


Enter a part description. DIY Heroes keep it simple, eg. "belt" or "pump".
Search filter:
Clear Filter
Your search term must have 3 or more characters.

$159.82
In Stock
Oven Bake Element
Part #318255006
The 3000W bake element is located on the bottom of the oven cavity to supply heat for baking. The element terminals are male quarter inch spade connectors and have push-on wire terminals. If your oven is not heating evenly, the element will not heat, or there is little to no heat when baking, you may need to replace the element. This genu...Read moreine OEM bake element. Please remember to disconnect the power to your oven before you start your repair.
Read less

$27.45
In Stock
Light Bulb
Part #316538904
This OEM 40 watt appliance light bulb is used for some ranges, refrigerators, freezers, and microwaves. Simply locate the existing bulb, unscrew it from its socket, and replace with new light bulb. If the existing bulb is broken in the socket, disconnect the power to the refrigerator and use a pair of needle nose pliers to grip the intern...Read moreal fragments of the bulb to unscrew. Replace with the new bulb and reconnect the power to the refrigerator. These bulbs are sold individually and are a commonly replaced part; consider ordering a spare.
Read less

$62.65
In Stock
Temperature Sensor
Part #316217002
The oven temperature sensor for your range may also be called a probe. The quick connect on this part may differ than your original piece. If the temperature sensor does not fit you will have to cut off the quick connect, and then wire together with porcelain wire nuts. The function of the oven temperature sensor is to measure the tempera...Read moreture in the oven and signal the other heating components. Before you begin this repair make sure to disconnect the power to the range. The tools required for this installation include a number two Phillips screwdriver or a number two square head screwdriver, and maybe a pair of wire strippers and crimpers.
Read less

$26.37
In Stock
LENS
Part #5304524341
The Frigidaire light bulb lens covers the interior light bulb in an oven. No tools are necessary to replace this item. After unplugging the appliance, slide off the wire bracket to remove the existing light bulb lens. Be sure to remove all broken glass, if applicable, before installing the new lens. It is recommended to check the state of...Read more the light bulb while the lens is off. This part is made of glass. The lens is a genuine Frigidaire part, sourced directly from the manufacturer, and is sold individually.
Read less

$51.96
In Stock
Burner Switch Kit
Part #5303935086
This is a burner switch kit, also known as the surface element control switch repair kit, for ranges. This burner switch kit sends voltage to the surface element coil and it controls the stove top surface burner. If the following symptoms occur, installing the switch could be the solution to the problem: surface element not heating, overh...Read moreeating, or inconsistent heating. Usually, if the element is not defective, that is a sign there is an issue with the switch. The kit comes with several insert sizes, and includes screws as well. The tools needed for this project are a nut driver, pliers, and screwdrivers.
Read less

$145.15
In Stock
Broil Element
Part #318255605
This broil element is found on the roof of the oven and heats food. The most common reasons you would need to replace this part is due to the oven not giving off enough heat, not turning on, or not baking your food at an even temperature. This could be due to the element being burnt out or broken. Make sure to unplug the oven before you b...Read moreegin. You will need to remove the oven from the wall to complete this repair. This is an OEM part that comes right from the manufacturer, ensuring the best quality.
Read less

$63.59
In Stock
Oven Light Socket
Part #316116400
The oven light socket allows you to screw in a light bulb so that you can see the inside of your oven. The light socket is located in the back of your oven, so you will need to remove the back panel to access the socket for the repair. You will also need to remove the current light bulb and the light lens cover so that the old socket can ...Read morebe removed. As you will be working around electrical circuits for this repair, be sure to disconnect the power source from the oven before you begin work on the oven.
Read less

$26.35
In Stock

$8.60
In Stock
Screw
Part #5303288565
This is an authentic mounting screw, which works with ranges, wall ovens, cooktops and warming drawers.

$118.43
In Stock

No Longer Available

$33.95
Special Order
Manuals & Care Guides for BFEF374JIS1
Click to downloadInstall
Installation Instructions
(3.54MB)
Manual
Owner's Manuals
(3.54MB)
Specs
Product Specifications Sheet
(0.73MB)
Specs
Product Specifications Sheet
(1.55MB)
Wiring
Wiring Diagram
(1.31MB)
Common Symptoms of the BFEF374JIS1
How this model fails, and the parts that fix it.
Element will not heat
Fixed by
these parts
these parts


Show All
Little to no heat when baking
Fixed by
these parts
these parts

Show All
Oven is too hot
Fixed by
these parts
these parts
Show All
Oven not heating evenly
Fixed by
these parts
these parts
Show All
Will Not Start
Fixed by
these parts
these parts

Show All
Little to no heat when broiling
Fixed by
these parts
these parts
Show All
Door won’t close
Fixed by
these parts
these parts


Show All
Watch our pros, then fix it yourself.

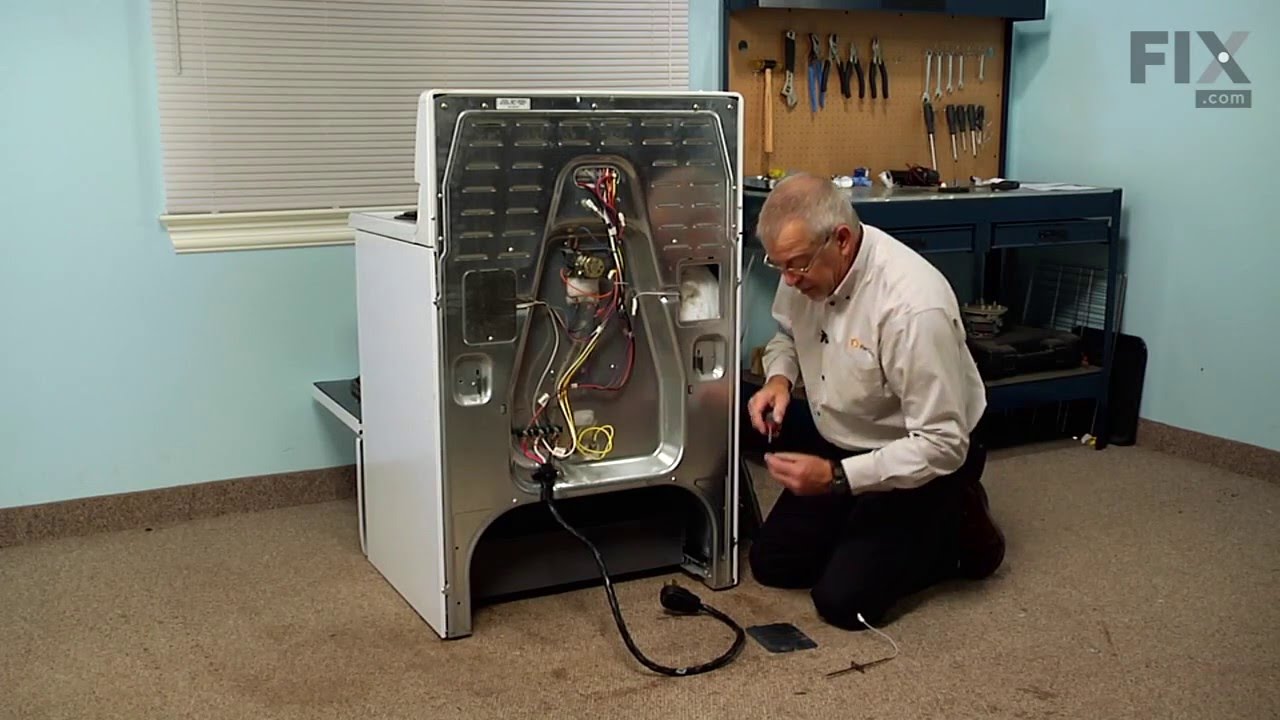
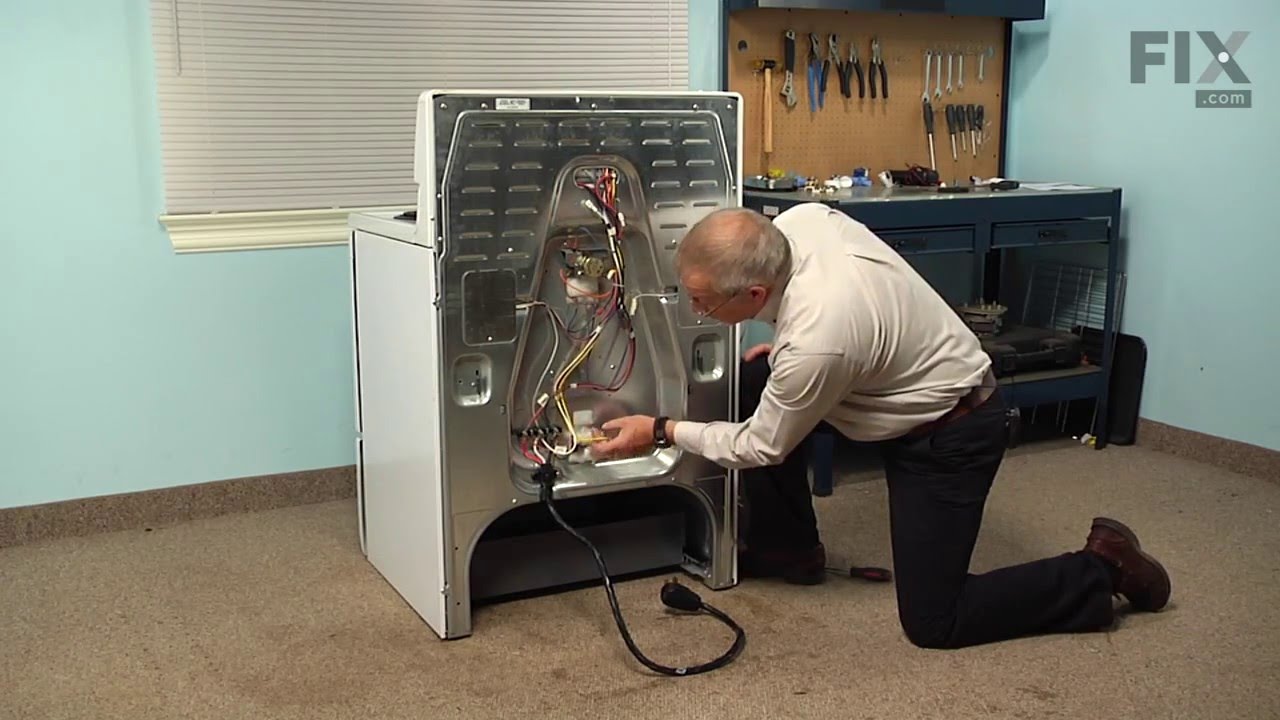

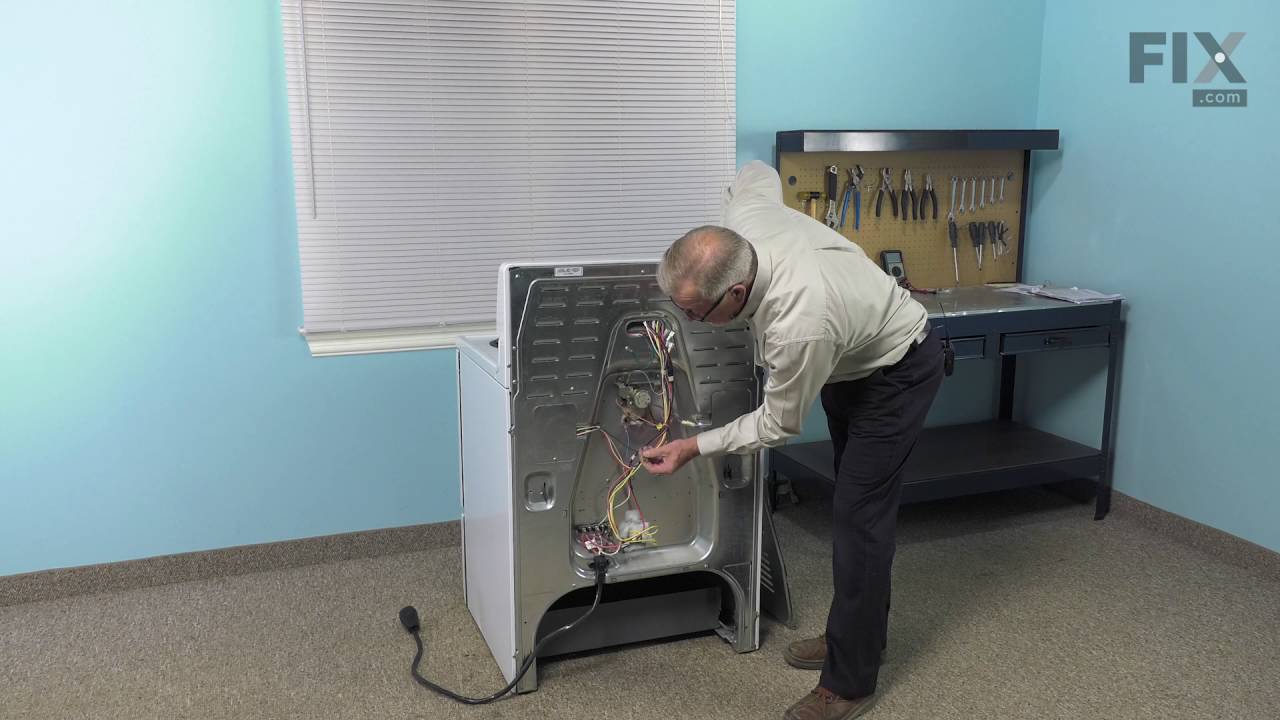
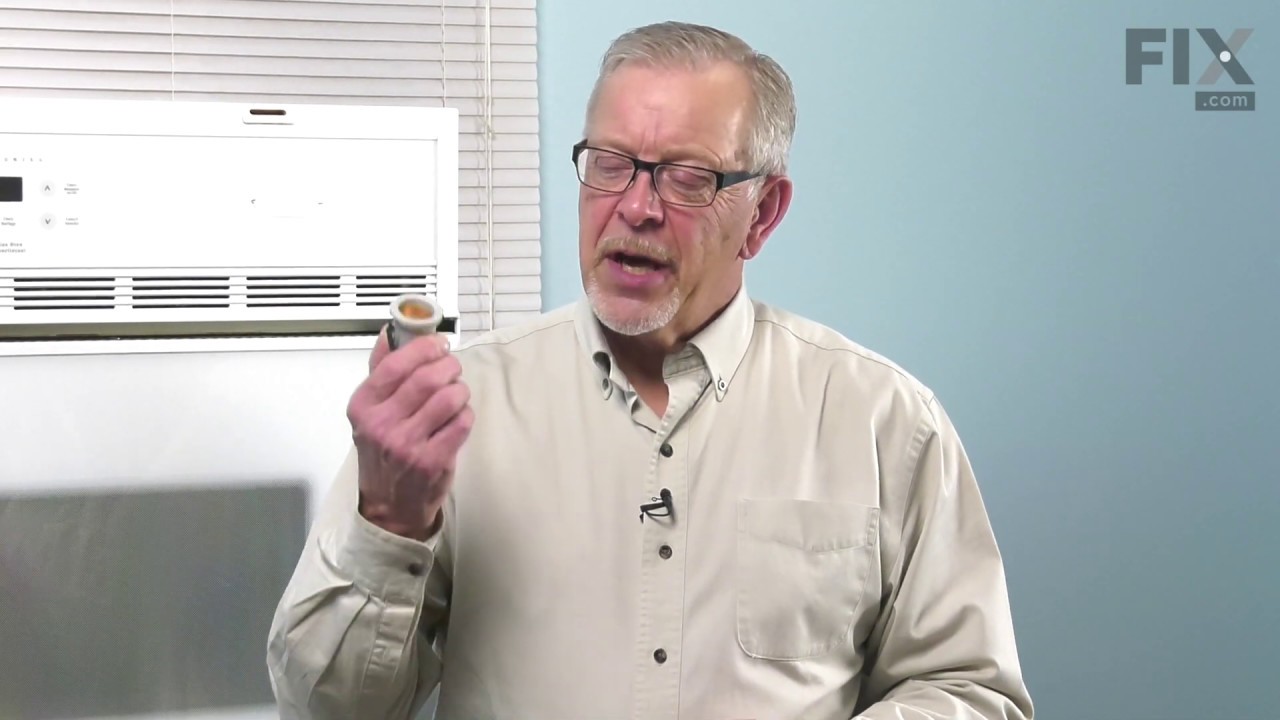
See how others fixed this model. Time, tools, difficulty, and steps that lead to victory!
View More