


 My Orders




BADMODEL1 Frigidaire Dishwasher - Overview

Enter a part description. DIY Heroes keep it simple, eg. "belt" or "pump".
Search filter:
Clear Filter
Your search term must have 3 or more characters.

$41.75
In Stock
Dishwasher Bottom Door Gasket
Part #809006501
This dishwasher door gasket (Bottom Gasket, Gasket, Door Seal, Dishwasher Door Lower Seal) helps prevent water from leaking out of the bottom edge of your dishwasher door by creating a watertight seal. This part is attached to the bottom of your dishwasher inner door panel. It is frequently exposed to water and detergent during its lifeti...Read moreme. The water and chemicals can eventually wear down the gasket and compromise the integrity of the seal. If the gasket is malfunctioning, the integrity of the door seal will be effected. You will notice leaking through the bottom of your dishwasher door. If your dishwasher is leaking water from the bottom of the door, first inspect the seal for food particles near the bottom and sides, and remove the buildup, as it can stop the door from closing properly and keeping a tight seal; if not, you may need to replace the bottom door gasket. Check the door gasket for tears, cuts, or wear. This part is sold individually and measures 22.5 inches by 1.25 inches. It is constructed of plastic, and comes in yellow/grey. Includes one lower door gasket.
Read less

$44.14
In Stock
Lower Spray Arm
Part #5304517203
The Lower Spray Arm is used in your dishwasher to spray water and clean your dishes. If broken there will be visible damage or your dishes may no longer be cleaned properly. If your spray arm is broken (due to general wear or high heat), it should be replaced. Your lower spray arm will be located at the bottom of your dishwasher tub. Chec...Read morek your user manual and model number to ensure this model is right for you. This version is plastic and metal and comes in gray/blue. We recommend you wear work gloves to keep your hands safe when installing and disconnect power to the appliance. You will also want to make sure that you turn off the water supply to your dishwasher. From here, you will want to open the dishwasher, pull out the lower rack and set it aside. Remove the lower wash arm. On each side of the bottom of the spray arm, there are small locking tabs that can be pushed aside using a flathead screwdriver. Once released, the spray arm can easily be pulled off the dishwasher. Put the new lower wash arm in place and push it down to lock it in. Ensure it is spinning freely and does not hit the heating element. Return the lower dish rack into place and then close the dishwasher door.
Read less

$11.99
In Stock
Wheel & Bushing Assembly
Part #5304532229
The single rack roller kit comes with one axle/clip and one wheel/roller. The rack wheel is designed to allow the rack of your dishwasher to roll in and out. If the rack will not complete this task, or you notice that your dishwasher is not cleaning dishes properly, you may need to replace the rack wheel. The single rack roller kit is mad...Read moree of white plastic, and clips to the dishwasher rack with the included axle/clip. Many of our customers have described this repair as easy, and you will not require any tools to complete it.
Lower rack roller and bracket assembly, grey. Wheel has been updated. If wheel pictured is not like old one, you may need to replace all wheels.
Read less

No Longer Available
Dishwasher Tub Gasket - Gray
Part #154827601
This grey OEM dishwasher tub gasket is a 73" grey rubber part that creates a seal around the dishwasher to prevent any water leakage during a cycle. If it's damaged or broken, you'll start seeing water leaking out. If broken, it should be replaced. Refer to your model number and user manual to ensure this part is right for you. When makin...Read moreg this repair, open the dishwasher door and take out the lower dish tray for better access. Pull out the old gasket, and clean the channel with a rag. Push the new gasket into place into the notch on the door, which you should see upon close inspection, using a flat-head screwdriver for assistance if necessary. We do not recommend cutting any additional length off on the tub gasket if any is present during your repair.
Read less

$104.49
In Stock
Door Latch and Gasket
Part #5304442175
Black in color. No longer available in almond.
This door latch prohibits the dishwasher from operating when the door is open. The gasket is used around the door to keep the dishwasher from leaking.

$108.69
In Stock
RACK ASSEMBLY,LOWER,GREY
Part #5304535768
This grey lower dish rack assembly comes with eight light-gray rollers for easy access. The dish rack is approximately 21 inches wide x 22 inches deep. The dish rack holds dishes in place during the dishwashing cycle. If you see rust spots on the dishes, the lower rack will not pull out, or the lower rack is visibly rusted or damaged, you...Read more will need to replace the part. Other common symptoms include: unusual or loud noises coming from the unit, or the dishes on the lower rack not being washed properly.
Read less

$31.85
In Stock
Water Inlet Valve - 120V 60Hz
Part #154637401
This water inlet valve is usually located behind the lower kickplate panel in either the right or left corner of the dishwasher. The attaching solenoids on the valve open and close according to the desired amount of water needed. The water inlet valve on your dishwasher supplies water to the dishwasher. If your dishwasher is leaking becau...Read morese it has overflowed, the water inlet valve may be the cause. If your dishwasher continues to fill above the heating element, try opening the door latch to see if it stops filling. If it continues to fill, you have a defective inlet valve that will need to be replaced.
Read less

$98.75
On Order
RACK ASSEMBLY,UPPER
Part #140229954072
The upper dishrack is used to hold your dishes in place while the dishwasher goes through the wash cycles. Over time the dishrack can become damaged, start to rust, or be missing rollers, and the dishrack will need to be replaced. This rack is white in color and does not include the rollers and measures approximately 23 Inch x 23 Inch. This is a genuine OEM part.

$32.95
In Stock
Silverware Basket
Part #5304535382
The silverware basket, used for dishwashers, is in the bottom dishrack. The lower dishrack basket is used to hold eating utensils such as spoons, forks, and knives, and other small tools. If the basket in the dishwasher is worn out or the basket is broken, replacing it can be a solution. No tools for this replacement are required, as it i...Read mores an easy process. If you need further guidance refer to the instructions provided by the manufacturer. For safety precautions make sure to unplug the dishwasher and wear gloves.
Read less

$16.03
In Stock
Heating Element Brass Nut
Part #154106202
The heating element nut is used to connect the heating element to the dishwasher tub. If water is leaking from underneath your dishwasher, you may need to tighten or replace the heating element nut. Replacing the nut is an easy job, does not require any specialty tools, and should not take you more than 10 minutes. For our step by step gu...Read moreide, click the video below. The brass nut measures 7 inches in length x 1 inch in width x 5 inches in height, and fits most dishwashers. To see if this part is compatible with your dishwasher, check the list of compatible brands below.
Read less

$13.10
In Stock
SUPPORT
Part #5304532235
This part is a replacement spray arm support for your dishwasher. It is made of white plastic and is approximately 3 inches long, 1 inch wide, and 3 inches tall. This is the support for the lower spray arm and is found at the bottom of the dishwasher. The lower spray arm spins on the support when the dishwasher is running. If the support ...Read moreis cracked or broken, the spray arm may not spin, and your dishes will not be cleaned properly. You may also notice that your dishwasher is noisy when it runs; this can mean the arm support is damaged as well.
Read less

$7.64
In Stock
Upper Wheel And Bushing Assembly (Black)
Part #5304535381
The upper dishrack roller and axel kit comes with two pieces, a wheel and an axle. This kit is made for your dishwasher. Both pieces measure to be roughly one square inch each, they are made entirely of plastic, and are white in color. The purpose of these parts is to allow your dishrack to roll easily on the support rails. This kit is so...Read moreld individually and contains only one wheel and one axle. Please order the required quantity for your repair. If your dishrack is having trouble rolling in and out you may need replace your rollers and axles.
Read less
Common Symptoms of the BADMODEL1
How this model fails, and the parts that fix it.
Leaking
Fixed by
these parts
these parts


Show All
Door latch failure
Fixed by
these parts
these parts


Show All
Not cleaning dishes properly
Fixed by
these parts
these parts


Show All
Will not fill with water
Fixed by
these parts
these parts

Show All
Not drying dishes properly
Fixed by
these parts
these parts


Show All
Door won’t close
Fixed by
these parts
these parts

Show All
Will not dispense detergent
Fixed by
these parts
these parts
Show All
Not draining
Fixed by
these parts
these parts

Show All
Will Not Start
Fixed by
these parts
these parts
Show All
Noisy
Fixed by
these parts
these parts
Show All
Watch our pros, then fix it yourself.
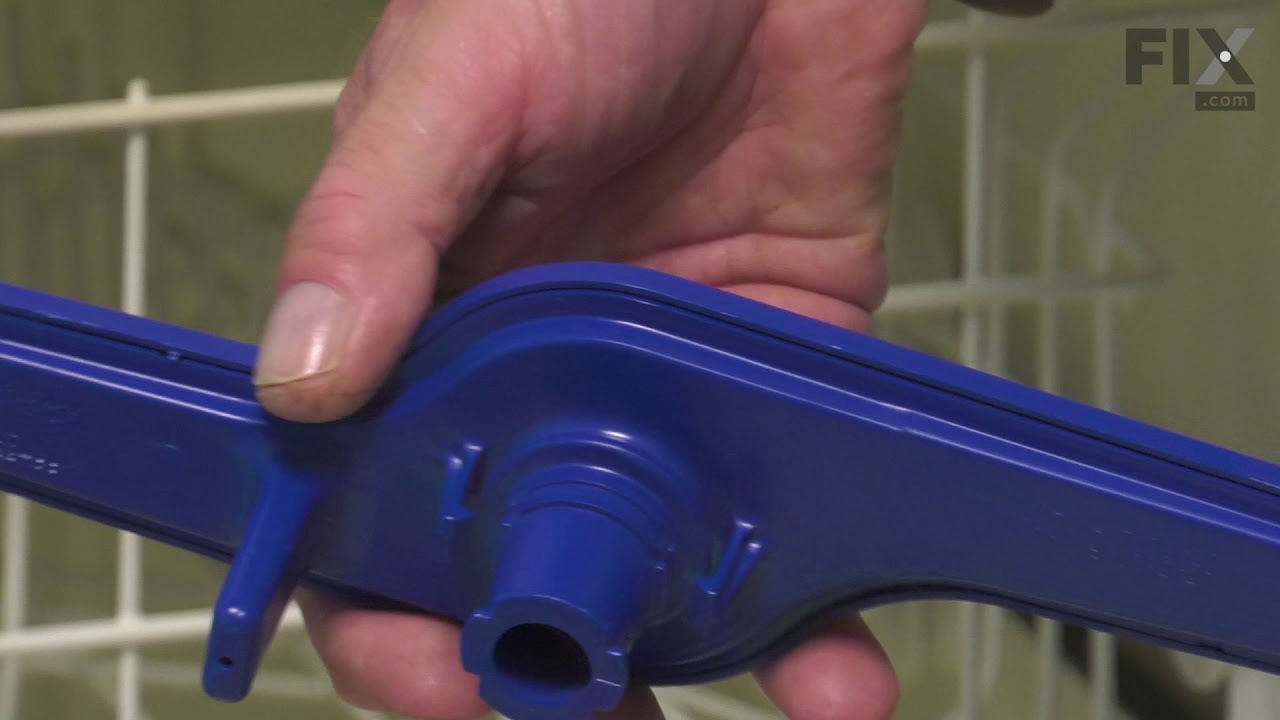
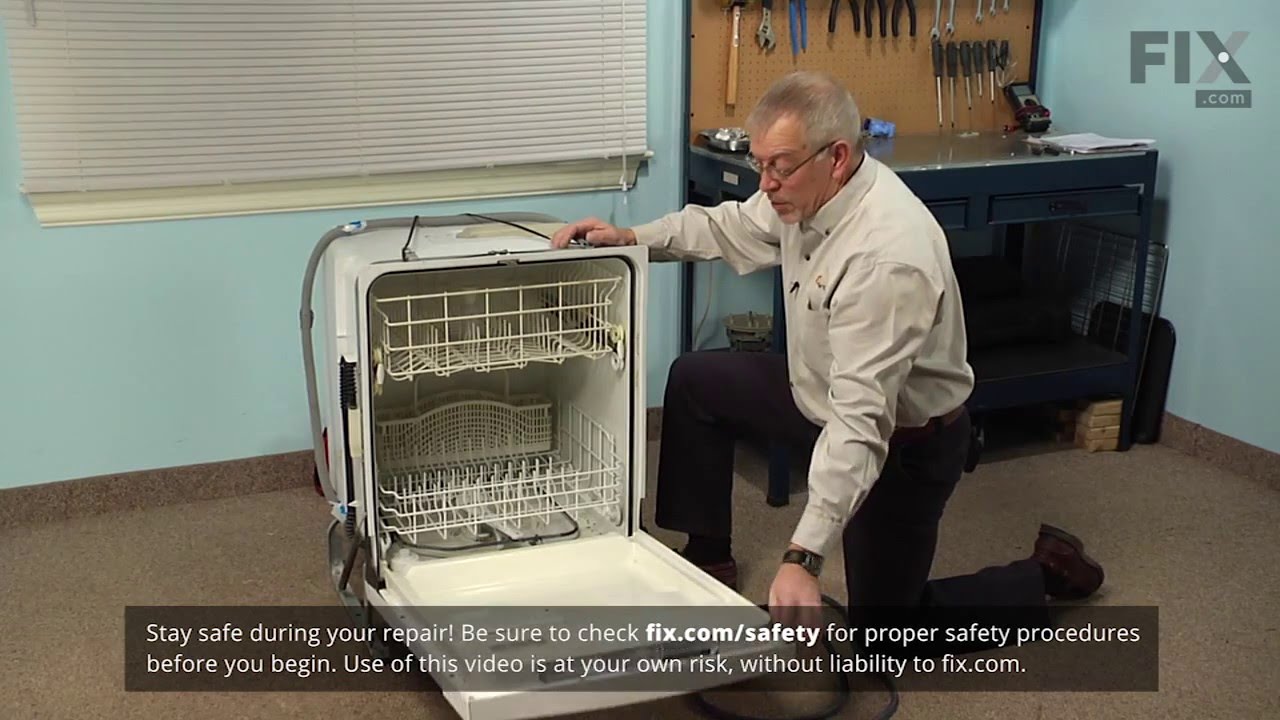
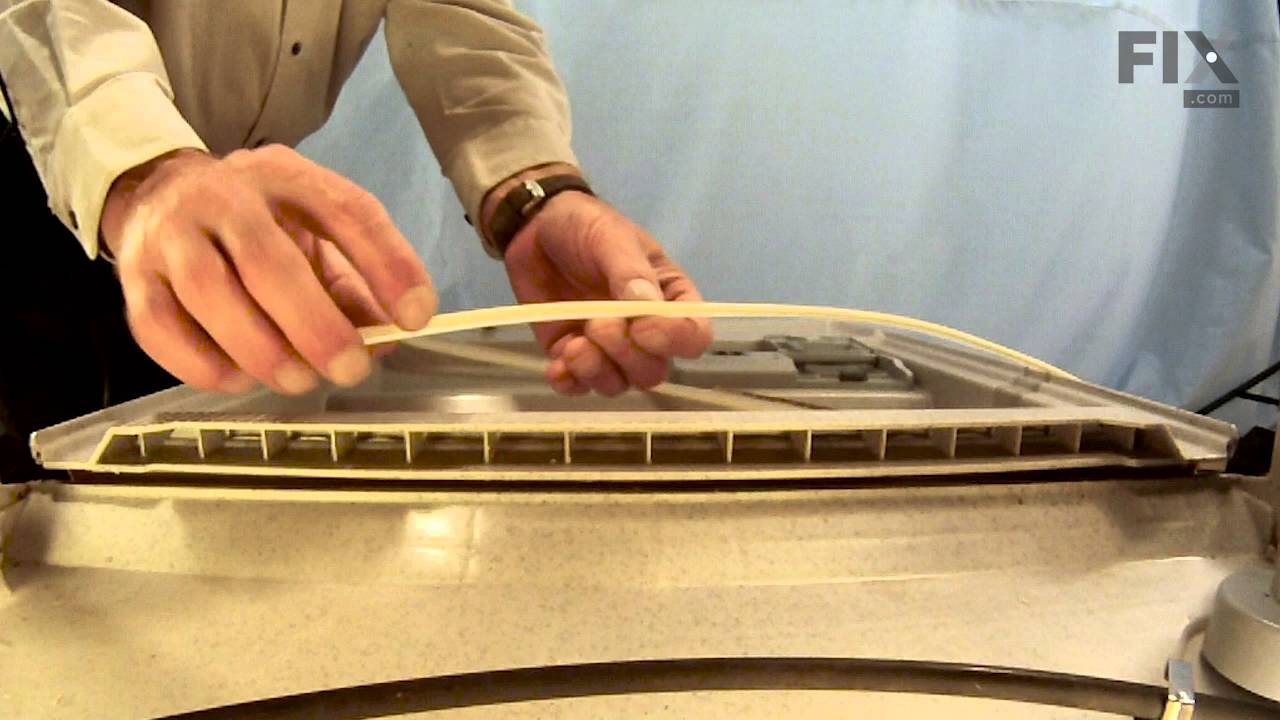
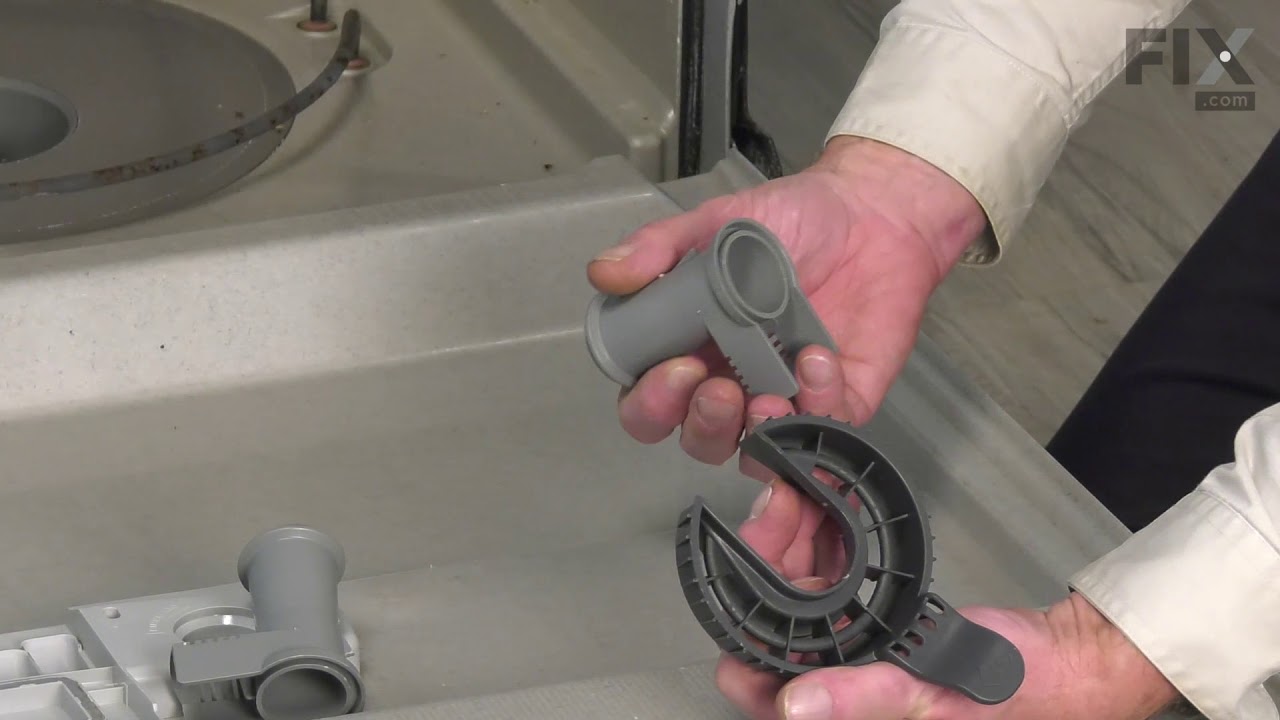
See how others fixed this model. Time, tools, difficulty, and steps that lead to victory!
View More
Search repair tips from other customers using simple keywords like "replace", "fit", "remove", "inspect". DIY doesn't mean you have to do it alone!
Search filter:
Clear Filter
Your search term must have 3 or more characters.
Water leaking from Inlet Valve
623 of 640 people
found this instruction helpful.
Remove the bottom cover plate. Disconnect the water inlet and black rubber hose. Remove 2 mounting screws. Pull out electrical connector. Reverse order. Be sure to get the brass inlet connector really tight so it won't leak. I did the final tightning after the part is mounted. Not a bad repair at all. The only problem was that it
... Read more
leaked in the first place and messed up my subfloor and laminate flooring.
Read less
Other Parts Used:

Was this helpful?
Thank you for voting!