


 My Orders




B9608W0 Roper Wall Oven - Overview
Diagrams for B9608W0
See every part. Know exactly what you need.


Enter a part description. DIY Heroes keep it simple, eg. "belt" or "pump".
Search filter:
Clear Filter
Your search term must have 3 or more characters.

$16.07
In Stock
Dryer Idler Pulley Assembly
Part #WP691366
This part provides the tension required for a multi-ribbed belt. It also helps the belt rotate the drum and attaches to the idler pulley wheel. If your dryer will not start or tumble, takes too long to dry, or is noisy during operation, you may need to replace the idler pulley assembly. Make sure to disconnect power before installing this...Read more part, and wear work gloves to protect your hands. While the dryer is disassembled for this repair, consider replacing the drive belt as well. You will need a putty knife, a Phillips screwdriver, and a 5/16 nut driver for this repair.
Read less

$79.98
In Stock
Broil Element - 240V
Part #WP660579
This broil element is found on the roof of the oven and has push-on terminals.

$7.47
In Stock
Range Hex Nut
Part #WP112432
This 10-32-inch hex nut works with multiple appliances in your home as a fastener. This specific model is sold individually. Hex nuts usually have 6 even sides and together they are used with bolts and screws in order to hold items firmly together. This piece is a fastener that attaches one item to another. This part has several advantage...Read mores, the main one being that it is universal and can be used with most pieces and appliances in your home. This hex nut is an original equipment manufacturer part, meaning it is directly sourced from the manufacturer.
Read less

$55.29
On Order
Blower Belt
Part #WP691371
This dryer blower belt is designed to connect the motor to the blower wheel in compatible Whirlpool dryers, enabling proper air circulation during the drying cycle. Manufactured to OEM specifications, it ensures efficient airflow, consistent heat distribution, and optimal drying performance. A worn or broken belt can lead to symptoms such...Read more as extended drying times, lack of heat, or unusual noise. Constructed from durable, high-quality materials, this replacement part offers a secure fit and long-lasting reliability. Installation should be performed with the appliance disconnected from power, and model compatibility must be verified before replacement.
Read less

$7.47
Special Order
Screw
Part #WP487353
No Longer Available
KEY-3-3010
Part #331028
No Longer Available
Model B9608BO
Part #336204
No Longer Available
Model B9608WO
Part #338939
No Longer Available
Model B9608WO
Part #338245
No Longer Available
DISCONTINUED
Part #279172
No Longer Available
Cabinet Top
Part #337725
No Longer Available
Screw 10-32x1/2``
Part #102428
Common Symptoms of the B9608W0
How this model fails, and the parts that fix it.
Noisy
Fixed by
these parts
these parts

Show All
Drum Not Spinning
Fixed by
these parts
these parts
Show All
Little to no heat when broiling
Fixed by
these parts
these parts

Show All
Element will not heat
Fixed by
these parts
these parts
Show All
Little to no heat when baking
Fixed by
these parts
these parts
Show All
Oven not heating evenly
Fixed by
these parts
these parts
Show All
Watch our pros, then fix it yourself.
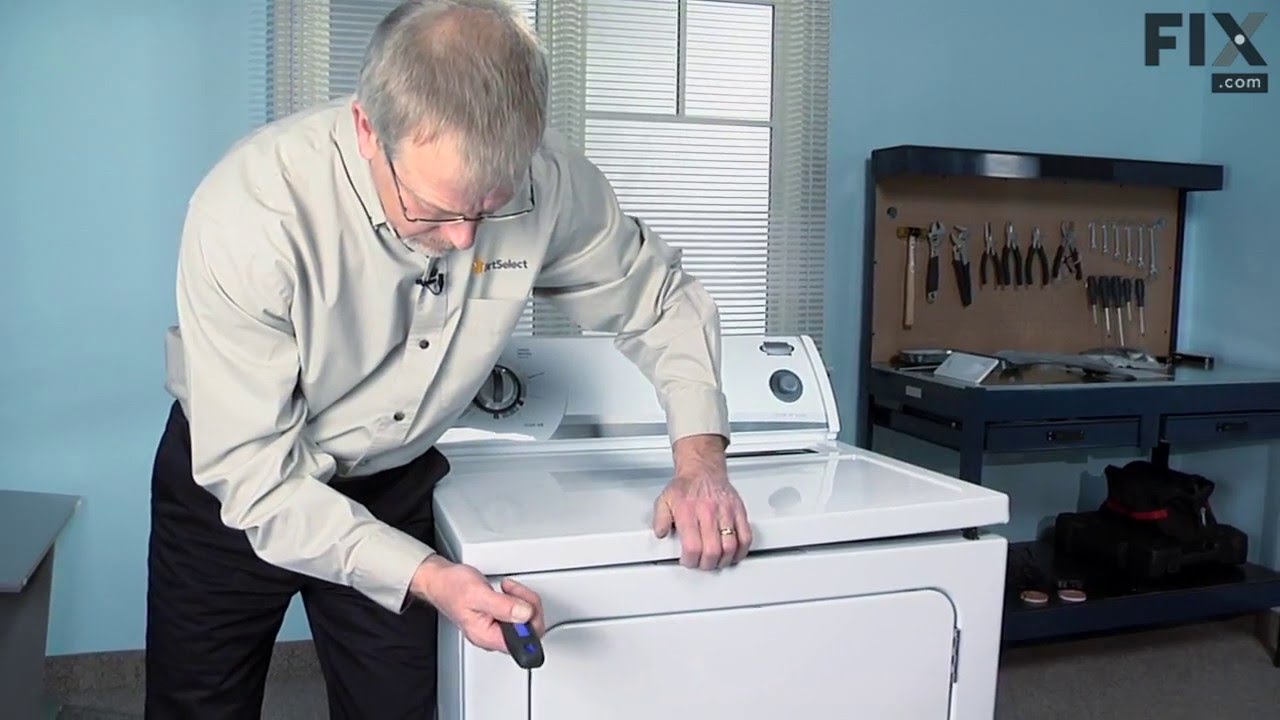
See how others fixed this model. Time, tools, difficulty, and steps that lead to victory!
View More