


 My Orders




AWC3 Kelvinator Washer - Overview
Models starting with AWC3
Click on the best match to narrow your results.
Enter a part description. DIY Heroes keep it simple, eg. "belt" or "pump".
Search filter:
Clear Filter
Your search term must have 3 or more characters.

$117.66
In Stock
Water Inlet Valve
Part #134190200
The water inlet valve has two ports for water to enter and controls the flow of water into a washing machine. Hot, cold, and warm water can easily enter the washer this way. If the water inlet valve is in any way damaged or defective, it may be slow to fill or even leak. Before beginning this replacement, make sure to unplug the washer fr...Read moreom the power range or shut off the house circuit breaker. Remember to wear gloves for safety. Refer to the installation instructions and the diagram provided by the manufacturer for best results and accuracy.
Read less

$60.56
In Stock
High Temperature Adhesive
Part #5308027429
This high temperature adhesive is used for installing felt and rubber seals on dryers. The tube contains 1 ounce of product. This adhesive is made to withstand extremely hot temperatures. Before applying the adhesive, ensure that the area is completely clean from any debris and is dry. You may wish to use small clamps to hold the material...Read more in place while it dries. If the felt has come loose or broken apart, this may cause your dryer to make loud noise, indicating that new felt or rubber needs to be glued into place. Use gloves to apply glue.
Read less

$24.67
Special Order
White Touch up Paint
Part #5303321319
This is white touch up paint for refrigerators, microwaves, ranges, dryers, and freezers. It is used to cover, or touch up, nicks and scratches on the appliance from wear and tear. It is an 18ml bottle that contains paint and a small brush for easy application. It is a little over 2 inches tall. This is an OEM part that is sourced directl...Read morey from the genuine manufacturer, and is meant to be an exact match to the color of the appliance. If the appliance is not white, please see other colors such as almond or black.
Read less

$25.14
In Stock
Upper Spin Bearing Washer
Part #5308002401
The upper spin bearing for a washer can solve many issues such as loud and odd noises, or leaking water. Replacing the spin bearing could solve these issues. The tools needed for this replacement are screwdrivers, a socket set, and a putty knife. To repair, first lift the top of the washer and remove the screws at the bottom of the front ...Read morepanel to pull away. Next, pull off the dispenser cover, cup, and agitator. Detach switch tube from the tub cover and remove tub cover, then use the 1/2 inch socket to remove the trunnion bolts and pull out inner tub. For the rest of the installation instructions, refer to the diagram provided by the manufacturer. Remember to unplug the appliance from the power source as a safety precaution.
Read less

No Longer Available
BELT
Part #144667

$28.68
In Stock

No Longer Available

$31.13
In Stock

$21.95
In Stock
SCREW
Part #218359202

No Longer Available
SPACER
Part #5308015493
This spacer is used in washers or a washer and dryer combo unit. Spacers are used to create space between cotter pins, lock nuts, hitch pins or to fill the space between machinery parts in a washer. This part goes between the timer knob and the dial in a washer to function effectively and provide protection. The length of this part is 6.3...Read more5 inches with a width of 5.25. The spacer has a height of 8.125 inches and the weight of 0.3 pounds. Refer to the manual provided by the manufacturer for further installation instructions and guidance. Remember to unplug your appliance from the power source.
Read less

No Longer Available
SNUBBER RING
Part #WH1X2312

No Longer Available
Single Tub Cover Clip
Part #5303161199
Common Symptoms of models starting with AWC3
How this model fails, and the parts that fix it.
Leaking
Fixed by
these parts
these parts


Show All
No hot or cold water
Fixed by
these parts
these parts
Show All
Marks left on clothes
Fixed by
these parts
these parts

Show All
Noisy
Fixed by
these parts
these parts
Show All
Burning smell
Fixed by
these parts
these parts

Show All
Watch our pros, then fix it yourself.
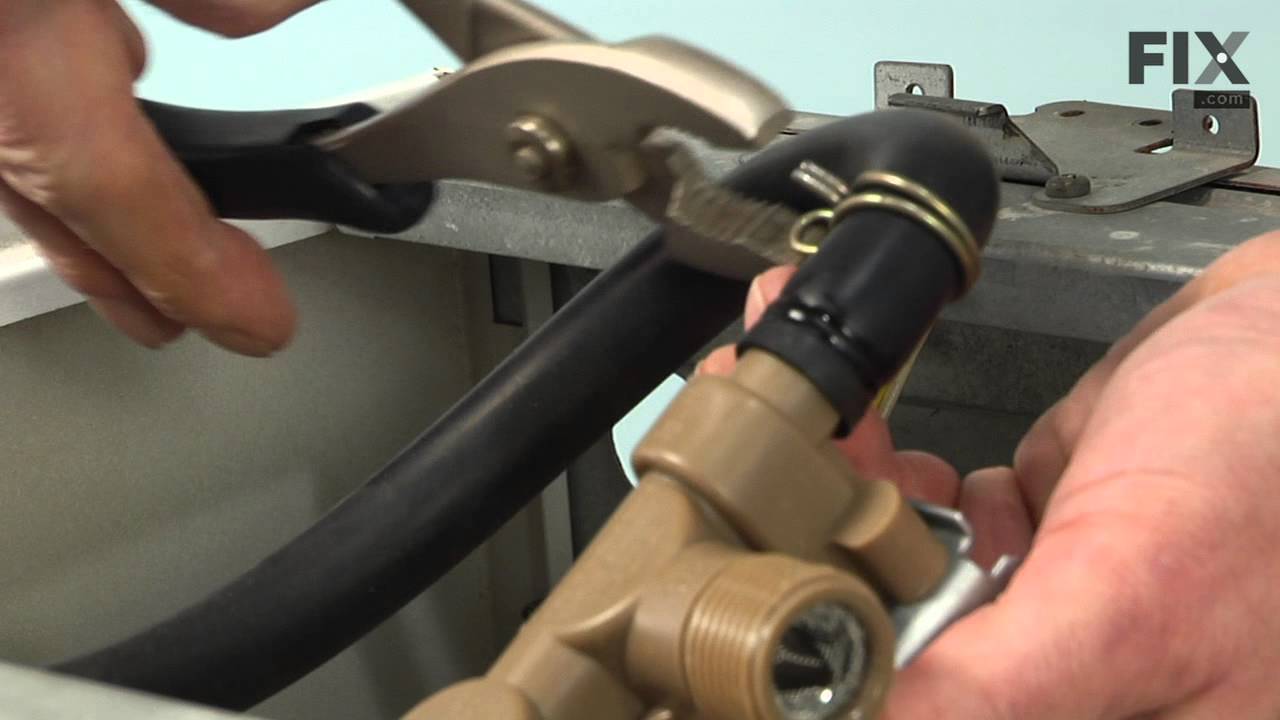
See how others fixed this model. Time, tools, difficulty, and steps that lead to victory!
View More