


 My Orders




AW20K23H Admiral Washer - Overview
Diagrams for AW20K23H
See every part. Know exactly what you need.


Enter a part description. DIY Heroes keep it simple, eg. "belt" or "pump".
Search filter:
Clear Filter
Your search term must have 3 or more characters.

$16.07
In Stock
Drive Belt - 51 inches long
Part #WP21352320
This V-style drive belt measures 51 inches long and 3/8 inches wide. The belt is made to slip on the motor pulley to bring the basket up to the speed required. Continued use can result in the belt suffering from wear and tear. Replace the V-style drive belt if you notice that it looks damaged. The most common symptoms of a damaged drive b...Read moreelt include: a burning smell or a loud grinding noise coming from the washer; the drum will not spin, spins slowly, or will not agitate; the washer shakes and moves, will not start, or will not drain.
Read less

$97.48
In Stock
Drain Pump with Pulley
Part #WP35-6465
This drain pump with pulley, also known as the washing machine drain pump assembly, is a pump with two ports. The function of this pump is to help expel water from your washing machine. The pump is activated after the spin speed has been maintained for a specific period of time and is driven by the same drive belt that also runs the trans...Read moremission pulley. If your washer is not draining properly the pump could be clogged by a small object or could be broken and in need of replacing. Tools you will need for this repair include a 5/16 nut driver, a putty knife, a 3/8 socket with a ratchet, and a pair of slip joint pliers.
Read less

$10.70
In Stock
Snubber Ring
Part #WP21002026
The snubber ring is a piece that is specific to your washing machine. The function of the snubber ring is to reduce noise and vibrations within your washer. It fits in between the leg and the dome assembly. If during your spin cycle you notice your washer jumping and making loud whirring noises, you may need to replace your snubber ring. ...Read moreThe tools you will need for this repair include: a putty knife, a 5/16 nut driver, a 1/4 inch nut driver, a 3/8 socket and a ratchet, a small flat blade screwdriver, a pair of locking pliers, and a pair of slip joint pliers.
Read less

$45.29
In Stock
Transmission Pulley and Bearing Kit
Part #12002213
This transmission pulley and bearing kit, also known as thrust bearing kit or washer pulley and bearing kit, includes the pulley, washer, thrust bearing, two upper race washers, and one lower race washer. These genuine Whirlpool parts are plastic and are not sold individually. The kit is used to help the washer drain, and may need to be r...Read moreeplaced if the washer is experiencing slow or no spin, will not drain, or has no agitation. The washer will need to be tilted on its back or side to access the bottom. The tools needed to complete this repair are a small flat blade screw driver and a pair of slip joint pliers.
Read less

$7.47
In Stock

$7.47
In Stock
Washer Hose Clamp
Part #WP596669
This hose clamp is used in a wide variety of household appliances. Most often it is found in washers, dishwashers, refrigerators, freezers, dehumidifiers, garbage disposals, or air conditioners. This clamp is used to securely attach a hose to another part of your appliance, which helps prevent leaks from those connections. Depending on th...Read moree appliance, it can attach hoses to drain pumps, water inlet valves, pressure switches, and injector nozzles. We recommend you refer to model-specific diagrams for appropriate uses and exact placement. This hose clamp is made of metal, and is sold individually. To access and replace this part you will need a nut driver, pliers, and screwdrivers. Before you begin any repair work, make sure you have unplugged your appliance, and shut off the water supply if applicable.
Read less

$7.47
In Stock

$9.62
In Stock
Hose Clamp
Part #WP285655
The hose clamp is used to hold the water hose in place which will prevent the hose from leaking water. Sometimes the clamp may lose its ability to latch on, causing a leaking washer. For the installation, you will need a flat head screw driver to replace the clamp and a drill to access the screws to remove the front of the washer. Be care...Read moreful if you do not have specific clamp pliers as the clamp could fly off. Once the front of the washer has been removed, take a quick look for water damage or any obvious signs of where the leak is coming from. If it is not obvious, run water to test.
Read less

$35.80
In Stock
Tub to Pump Hose
Part #WP21001915
Hoses are the most likely cause of clothes washer leaks. This tub-to-pump hose carries the water from the tub to the drain pump. If you notice that your tub is leaking during the wash cycle, check the the hose for holes. If the tube does have a hole or crack in it, the part should be replaced. Also, check both the connection and the junct...Read moreure of the hose with the drain for your house. While you are looking at the hose, check to see if the threads or clamps are corroded or loose. This OEM replacement pump hose is 20 inches long, and fits most clothes washer units. Remember to turn off the water supply and disconnect the power from your washer before you begin this repair.
Read less

$19.30
In Stock

$48.45
Special Order

No Longer Available
Tub to Housing Gasket
Part #35-3686
This gasket is intended to fit between the washer tub and machine housing of washing machines.
Common Symptoms of the AW20K23H
How this model fails, and the parts that fix it.
Leaking
Fixed by
these parts
these parts


Show All
Burning smell
Fixed by
these parts
these parts


Show All
Will not drain
Fixed by
these parts
these parts
Show All
Spins slowly
Fixed by
these parts
these parts

Show All
Will not agitate
Fixed by
these parts
these parts
Show All
Spinning Issues
Fixed by
these parts
these parts
Show All
Shaking and Moving
Fixed by
these parts
these parts
Show All
Will Not Start
Fixed by
these parts
these parts
Show All
Door latch failure
Fixed by
these parts
these parts

Show All
Noisy
Fixed by
these parts
these parts
Show All
Draining Issues
Fixed by
these parts
these parts
Show All
Watch our pros, then fix it yourself.
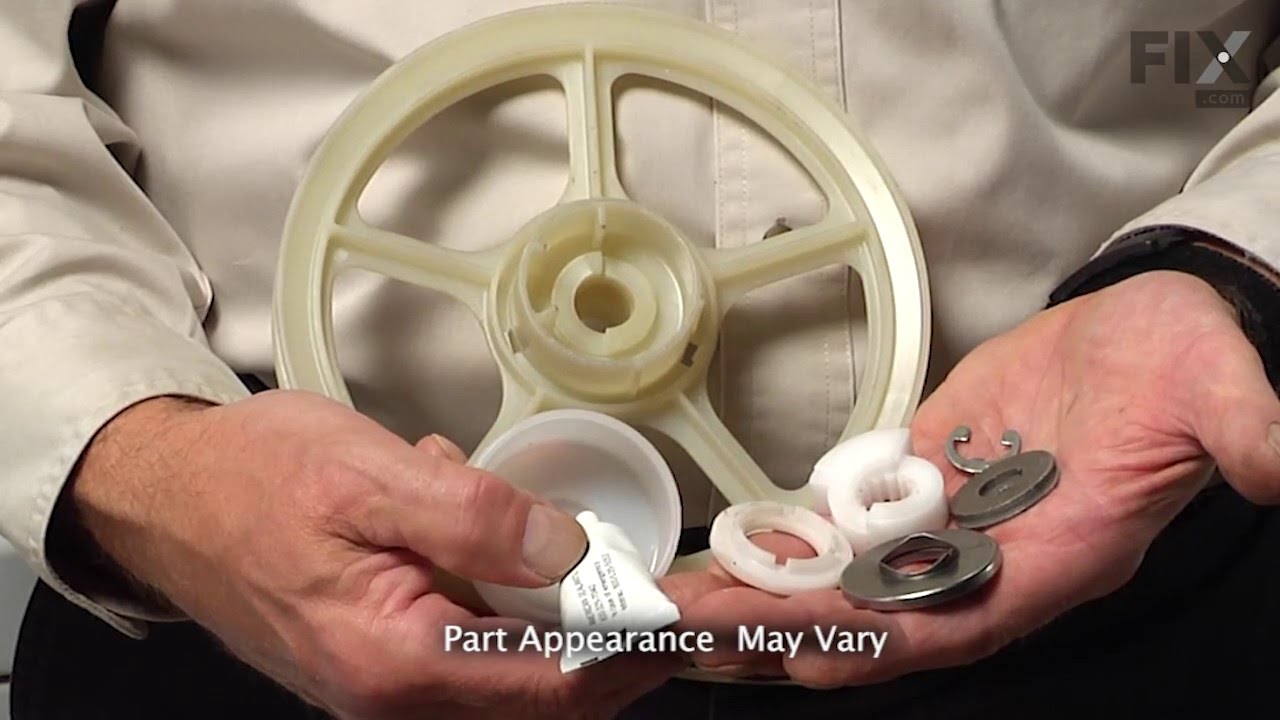



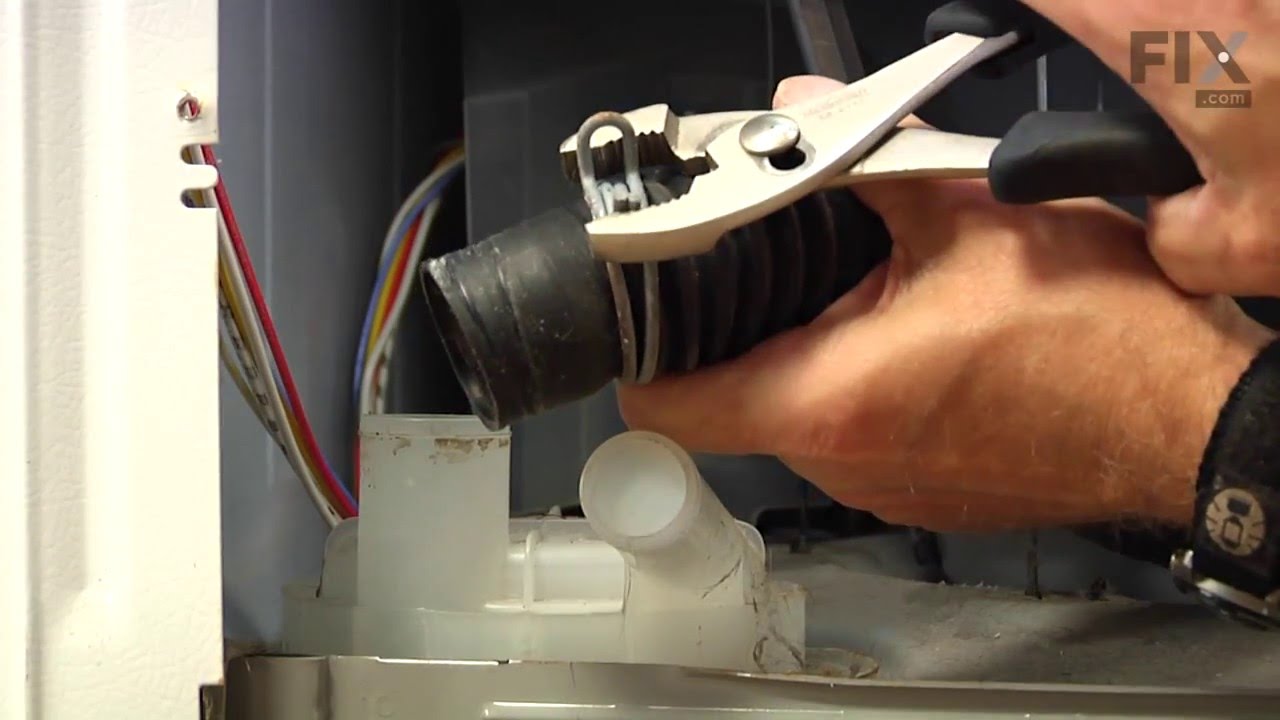
See how others fixed this model. Time, tools, difficulty, and steps that lead to victory!
View More
Search repair tips from other customers using simple keywords like "replace", "fit", "remove", "inspect". DIY doesn't mean you have to do it alone!
Search filter:
Clear Filter
Your search term must have 3 or more characters.
The unit was leaking during agitation and spin cycle
58 of 62 people
found this instruction helpful.
I had to remove the back lower panel with a nut driver (approximately 8 screws) as well as the front panel which is removed by poping the top of the unit removing 2 screws and swinging the panel down and lifting off.
Remove the bleach fill cap (pry off). You'll need a long extension on your ratchet to remove the bolt holding on the ... Read more agitator. Next remove the inner tub which is held on by 4 bolts. The outer tub is a bit more difficult. You will need to remove all 4 shoulder screws from the top as well as the six that anchor it to the spring assembly around the bottom skirt. Since it was 7 years old I had to muscle the outer tub and rotate it to get around the inner tub transmission flange.
I'm not sure which of the 3 parts were leaking so I ordered and replaced all 3.
I don't know if it was necessary but I scraped and cleaned the aluminum flange plates where the gaskets seated.
At this point it was easy to replace the tub to housing gasket and tub/housing seal.
During reassembly I also replaced the basket to centerpost gasket.
I went with standard delivery but got the parts the next day.
Remove the bleach fill cap (pry off). You'll need a long extension on your ratchet to remove the bolt holding on the ... Read more agitator. Next remove the inner tub which is held on by 4 bolts. The outer tub is a bit more difficult. You will need to remove all 4 shoulder screws from the top as well as the six that anchor it to the spring assembly around the bottom skirt. Since it was 7 years old I had to muscle the outer tub and rotate it to get around the inner tub transmission flange.
I'm not sure which of the 3 parts were leaking so I ordered and replaced all 3.
I don't know if it was necessary but I scraped and cleaned the aluminum flange plates where the gaskets seated.
At this point it was easy to replace the tub to housing gasket and tub/housing seal.
During reassembly I also replaced the basket to centerpost gasket.
I went with standard delivery but got the parts the next day.
Read less
Other Parts Used:


Was this helpful?
Thank you for voting!