Parts That Fix Frigidaire Washer ATF6000FS2 Leaking
Leaking is a commonly reported symptom for the ATF6000FS2 Frigidaire Washer, and we have put together a full guide
... Read more
on how to fix this. This advice is based on feedback from people who own this exact appliance. We have listed the most common parts for your ATF6000FS2 Frigidaire Washer that will fix Leaking.
We have included repair instructions, and helpful step-by-step video tutorials. If you are experiencing this issue, not to worry, DIYers just like you have fixed this, and shared their experience to help you!
Read less
Leaking is a commonly reported symptom for the ATF6000FS2 Frigidaire Washer, and we have put together a full guide on how to fix this.
This advice is based on feedback from people who own this exact appliance. We have listed the most common parts for your ATF6000FS2 Frigidaire Washer that will fix Leaking.
We have included repair instructions, and helpful step-by-step video tutorials. If you are experiencing this issue, not to worry, DIYers just like you have fixed this, and shared their experience to help you!
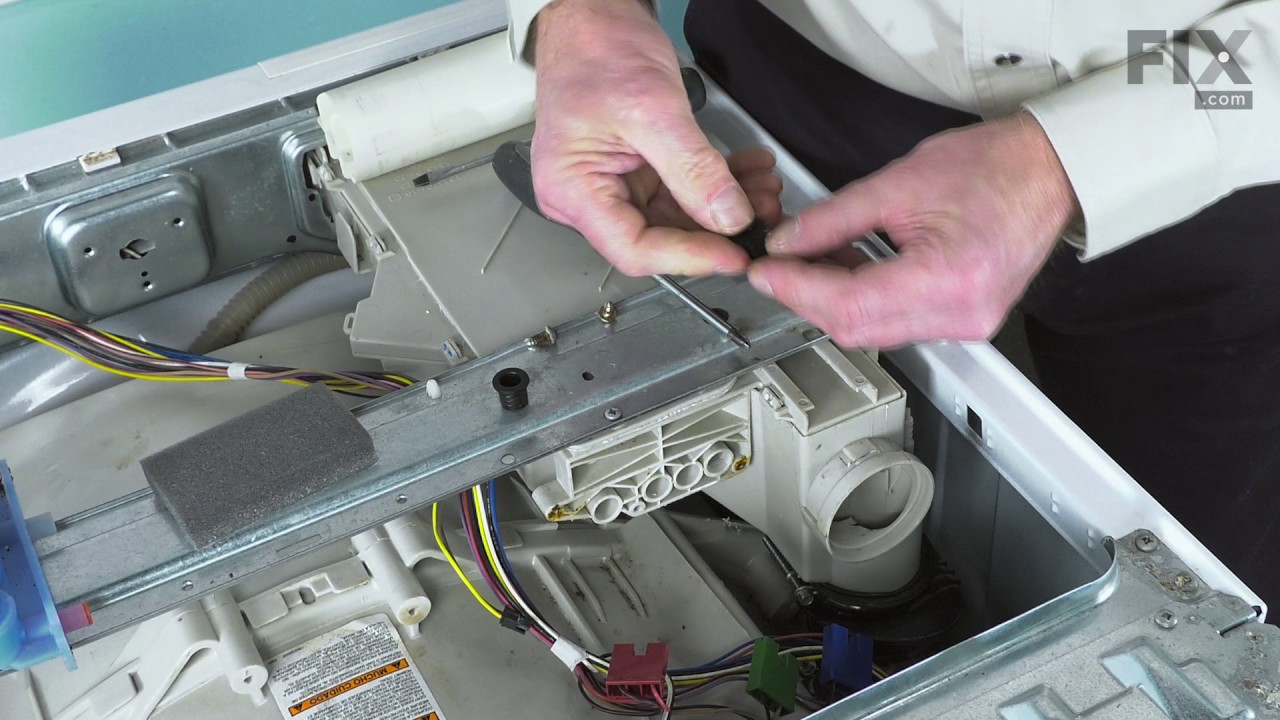
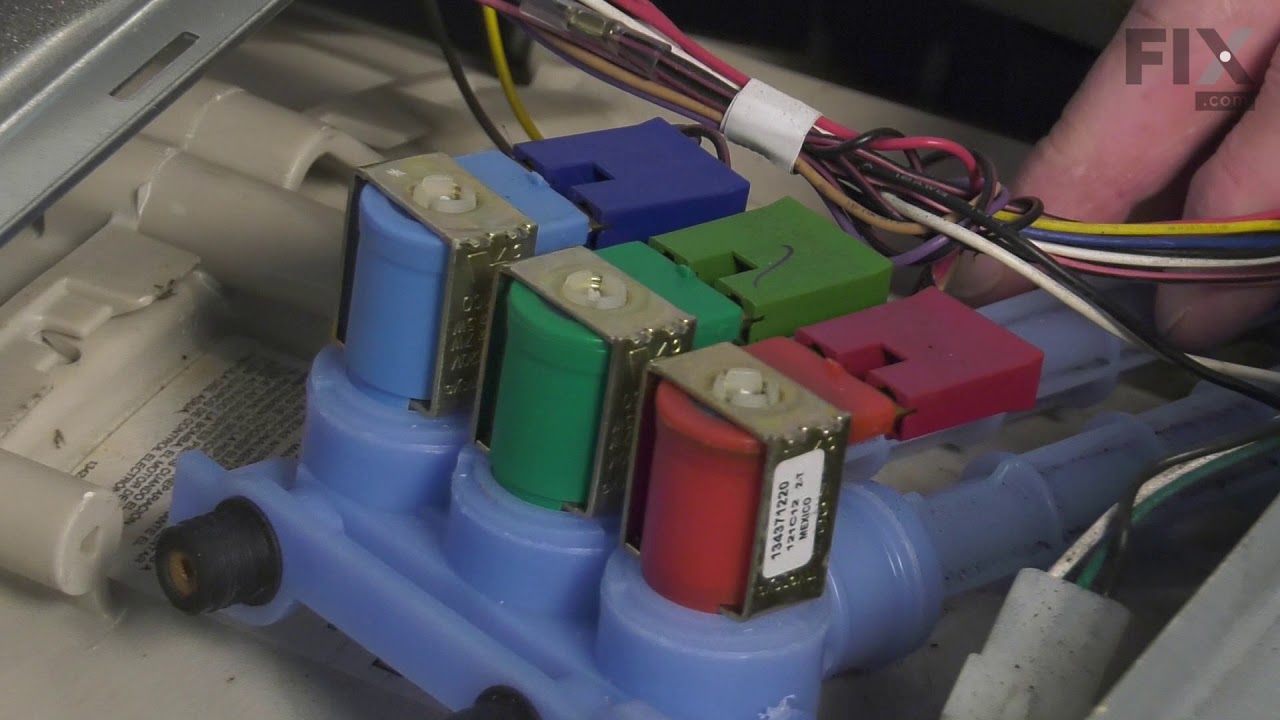
The water inlet and dispenser valve is used in washing machines. The function of this part is to control and monitor the amount of water flow into the washer. If there is leaking during use, your machine will not fill with water, or there is no hot or cold water entering the washer, it is important to replace the water valve to solve the problem. For this repair, you will need a Phillips head screwdriver and a flathead screwdriver. For installation instructions, refer to the manual provided by the manufacturer. Remember to unplug your appliance from the power source before beginning this repair.
$112.15
In Stock
Part #134371220
Replacing your Frigidaire Washer Water Inlet and Dispenser Valve
Customer Repair Stories
Frozen pipe
18 of 26 peoplefound this instruction helpful.
Frank from Auburn, NH
Easy
15 - 30 mins
Screw drivers
Removed top cover to get access to intake pipe for hot & cold water. Remove electrical connections and two screws replaced part and cover. Thanks very quick service.
Was this helpful?
Thank you for voting!
Valve dispener would spray water all over inside of washer.
80 of 91 peoplefound this instruction helpful.
Julie from Lancaster, OH
A Bit Difficult
30 - 60 mins
Pliers, Screw drivers, Socket set
My husband made the repair. First, he had to remove the dryer off of the top of the washer since it's a stacking unit. Disconnect water lines. Next he removed two screws from the back of the washer that allows you to remove the lid. Now unsnap a trim piece that is on the back surrounding the water connections and an exhaust port. Rea
... Read morech inside the washer, turn the exhaust port unlocking it and pushing out the back of the washer as far as you can to get it out of the way. Disconnect the electrical lines from the valve dispenser. Remove the two screws that fasten the valve dispenser to the washer. Install the new dispenser and reassemble.
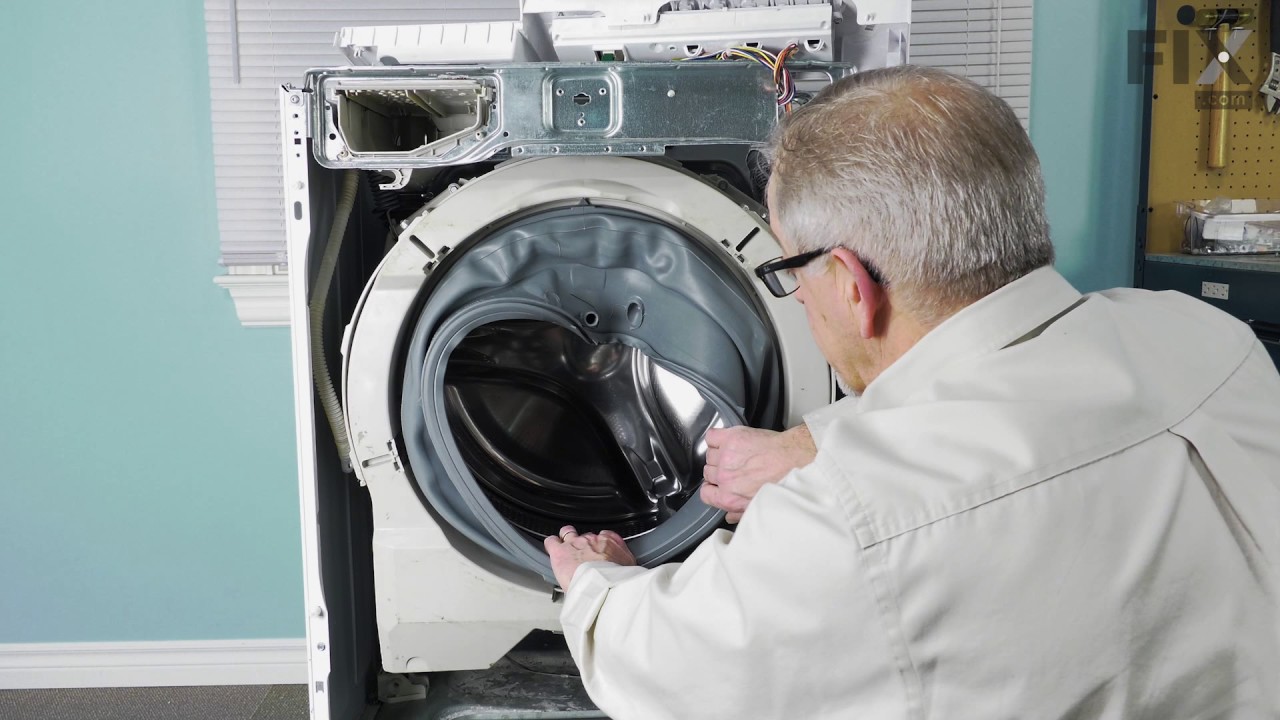
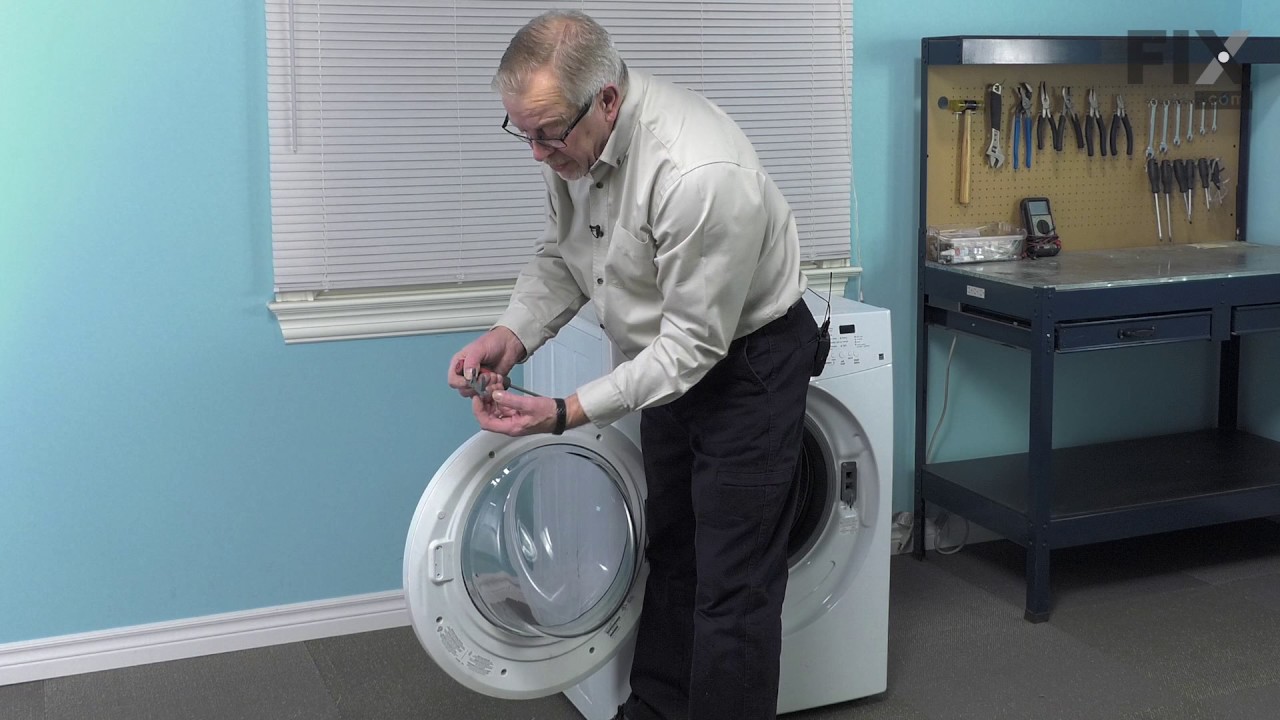
Also known as a Door Boot Seal and is used in front load washers. This part is used to keep the clothes inside the tub during the wash cycle. The folds in the bellow allow the tub to move separately from the door during the spin cycle.
NOTE: This part has been redesigned by the manufacturer and is interchangeable with the old design.
$136.35
On Order
Part #134515300
Replacing your Frigidaire Washer Bellow Kit
Customer Repair Stories
Moldy smelly rubber cowl around door.
27 of 27 peoplefound this instruction helpful.
Emil from BOULDER, CO
Very Difficult
More than 2 hours
After viewing the installation video, I decided not to attempt this and caled a repairman. He cautioned me not to replace the rubber if the only reason is the moldy smell. He said that the mold will reappear in a couple of years and that regular cleaning will help combat the problem. He said that replacing the bellows should be limited
... Read more to necessity such as leaking.
Read less
Was this helpful?
Thank you for voting!
Old Bellow Ripped
251 of 346 peoplefound this instruction helpful.
Peggy from New Castle, PA
A Bit Difficult
30 - 60 mins
Nutdriver, Screw drivers
remove top of machine by removing 3 screws along the top edge in the back of your machine and then sliding the top back and up. Then loosen the screws holding on the control panel enough to get to the 2 screws at the top of the door panel. Next remove bottom panel by removing 2 screws along bottom edge then pulling it free from snaps. The
... Read moren along the outside lip of the bellow, just inside the door, is a wire clip that is easily removed by prying it past rubber lip with a screw driver and lifting it away. Remove the door panel by removing the 2 screws you exposed by loosening the control panel and 2 more along the bottom that were exposed when removing bottom panel. After the door panel is removed and the bellow is completely exposed, you will find that it is held in place by a circular spring which wraps the whole way around the drum opening. Again it can be removed by prying it out away from the groove in which it sits with a screw driver. Now your machine is broken down as far as it needs to be. From here you can follow the directions included in your new bellow kit and put it back together by following these instructions in reverse.
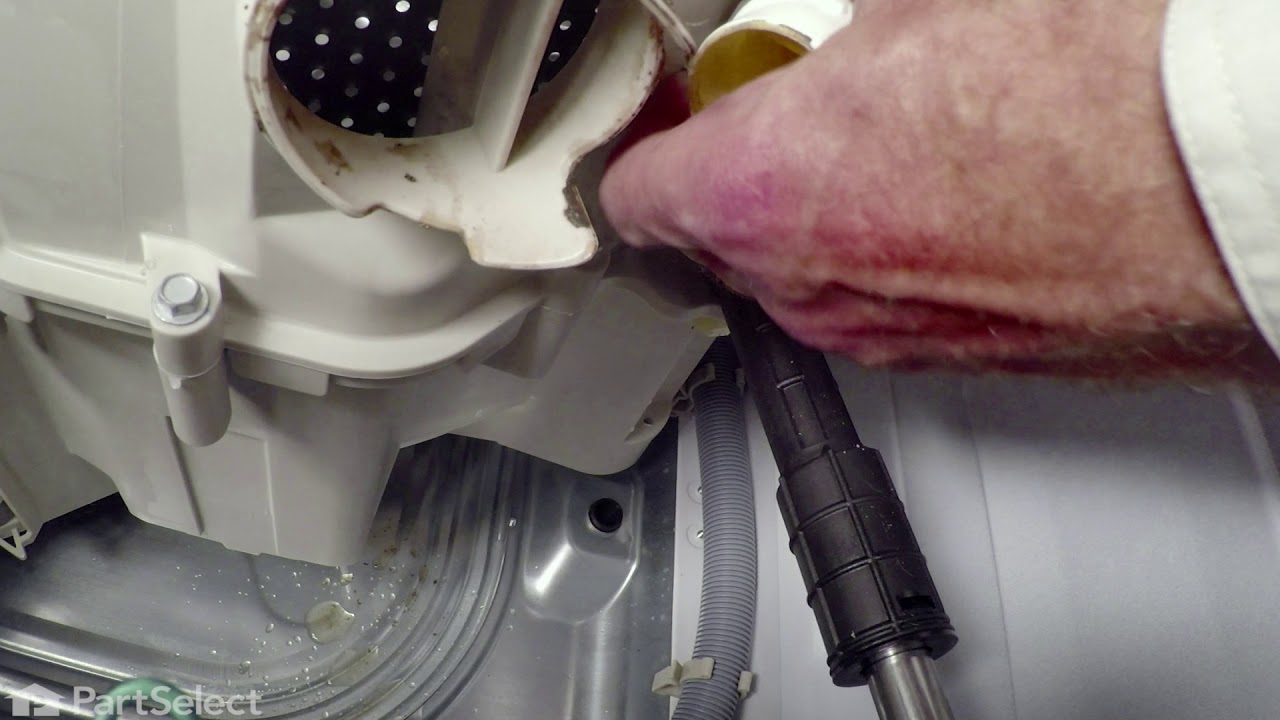
The drain house was penetrated by a piece of metal from coin catcher
Kimberly from East Moriches, NY
A Bit Difficult
1- 2 hours
Pliers, Screw drivers
I took off the face and top of washer changed the drain hose.and put it back together and it started leaking .word to the wise. mmake sure the back side of the drain hose that is not visable is all the way on then tighten.
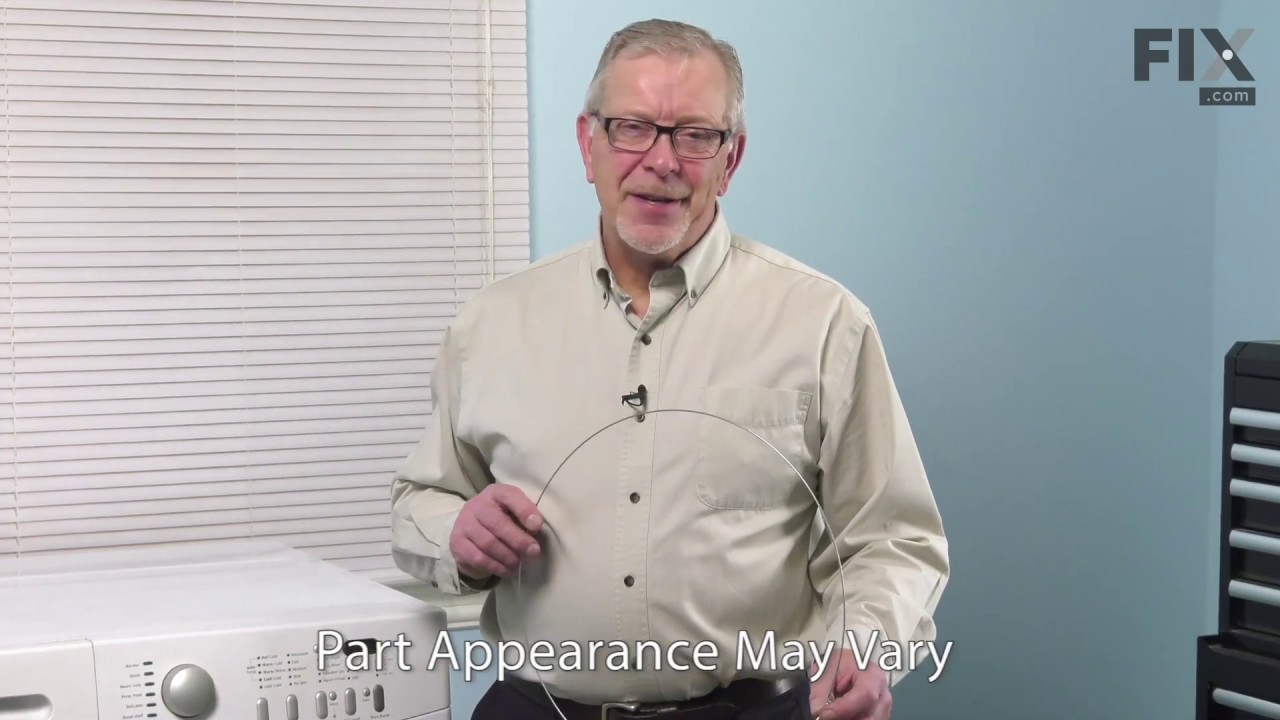
This washer door boot spring clamp secures the rubber door seal in place, maintaining a tight, watertight fit between the tub and front panel during operation. Its tension design helps prevent leaks and keeps the door properly sealed throughout wash cycles. Replacement is recommended if the seal becomes loose, water leaks from the front, or the clamp is damaged, helping restore a secure fit and reliable washer performance.
$49.41
In Stock
Part #134527100
Replacing your Frigidaire Washer Spring-Held Bellow Clamp
Customer Repair Stories
washer leaking
1 of 2 peoplefound this instruction helpful.
Anthony from Fallbrook, CA
Very Easy
Less than 15 mins
The old clamp fell off, the new one went on with my bare hands two min. max.
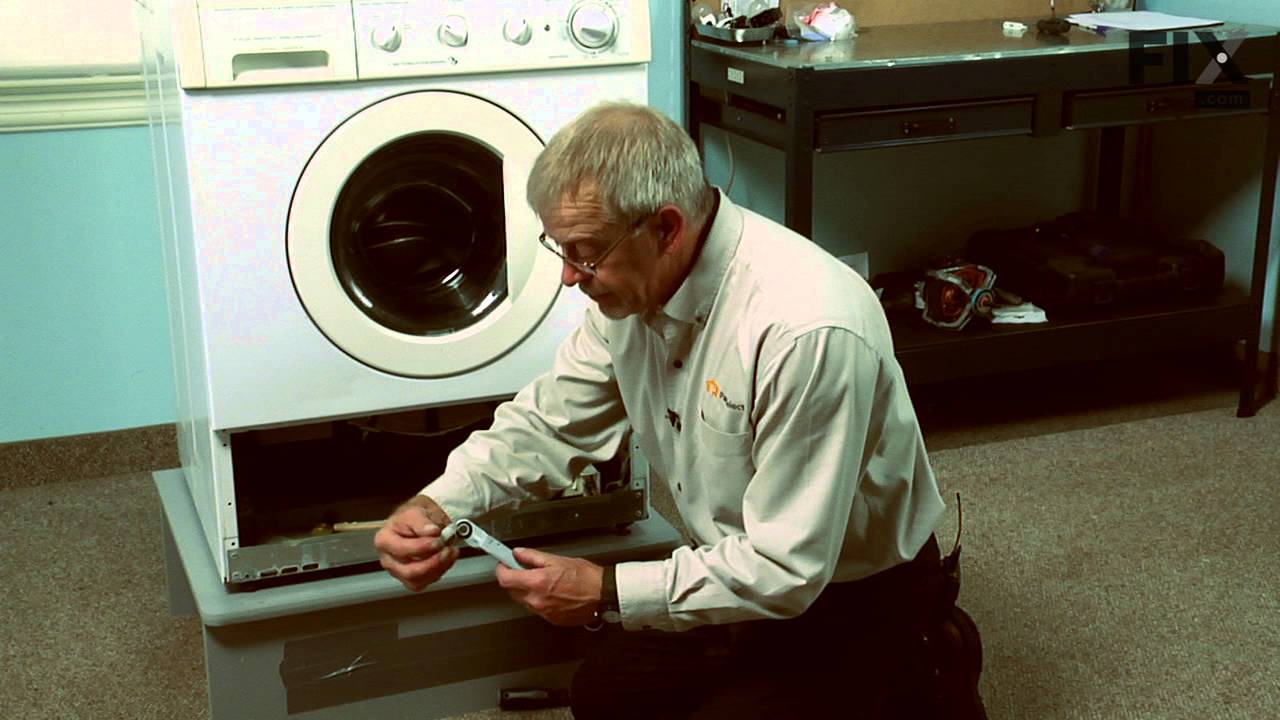
This shock absorber kit is an authentic OEM part that is sourced directly from the manufacturer. The kit includes two dual-stage shock absorbers, one spare shock mounting pin, and four locking nuts. These shock absorbers keep your front-load washer from shaking vigorously by absorbing and reducing vibrations from the wash and spin cycles of your appliance. This kit comes with two shock absorbers because it is recommended to replace both at the same time, as they wear at the same rate. To access your washer shock absorbers, simply remove the lower access panel after disconnecting the power to the appliance.
$53.85
In Stock
Part #5304485917
Replacing your Frigidaire Washer Shock Absorber Kit
Customer Repair Stories
Tub loose
34 of 37 peoplefound this instruction helpful.
Mel from Ipswich, MA
Really Easy
15 - 30 mins
Pliers, Socket set
Take off the back, one of the shock absorbers was broken, it was very obvious. Looked up part at partselect.com, very easy, ordered part, it came in 2 days, the repair took another 15 minutes. There were directions inside the repair part to tell you a trick to get the old one off. It worked like a charm. Why spend $200-300 or more on a re
... Read morepair on a $500 washer when you can do the entire job for about $30 and get it back working in 2 days!! No brainer.
Read less
Was this helpful?
Thank you for voting!
Both vibration shock absorbers broken
181 of 197 peoplefound this instruction helpful.
Douglas from Medical Lake, WA
Easy
30 - 60 mins
Screw drivers, Socket set
removed 2 screws and removed top access cover. removed 2 screws and removed front access cover. removed 4 retaining pins (one with nammer and punch because it was stuck) connected lower ends of new shocks with plastic pins, extended each shock to slip fit and connected upper ends to wash tub mounts. Reinstalled panels. I wish I could sa
... Read morey that it all went well from there but......when the shocks broke, apparently the hit the motor took was enough to cause an electronic failure of the speed cycle control chip. Now Im waiting for that part.
This is a door striker, it is gray in color and is a part found on your washer. The purpose of the striker is to keep your washer door closed for usage. This piece will attach to your appliance lid and will activate the door switch when your lid is closed. The most common reasons for needing to replace this part are if your lid will not consistently open or close, and your washer will not consistently start. The only tool you will need to complete this installation is a Phillips screwdriver.
$36.50
In Stock
Part #131763302
Replacing your Frigidaire Washer Door Striker
Customer Repair Stories
replace door striker
69 of 73 peoplefound this instruction helpful.
Berend from New Haven, VT
Difficult
More than 2 hours
Pliers, Screw drivers
The striker is really easy to replace. Remove 2 #3 phillips screws, replace the striker part, and tighten the screws.
It got more complicated when too many striker tips broke off inside the latch assembly and prevented the tip of the new striker from going inside. To get at the latch assembly, I had to remove the big rubber g
... Read moreasket that connects the drum to the frame of the machine. I removed this at the drum end. Big mistake! It took two of us to get the gasket back onto the drum, and I had to take the frame end of the gasket off anyway. That end is a lot easier to put back on. Anyway, I finally got to the latch assembly, which attaches to the machine with two screws. It has 3 connectors and the housing is a grey plastic clamshell that latches in 3 places. It came apart and parts came out. Jamming the latches open and very gently prying the clamshell open may let you escape the small parts barrage. Once I got everything back together, it all worked.
Unfortunately, the story doesn't end there. This machine has broken 4 strikers. They break during the wash cycle. Taking a cue from a previous DIY description on this site, I took the hinge apart. It looks like there is a part missing, because there isn't anything that keeps the door aligned with the rest of the machine. The door drops down as low as it can go on the hinge pin and the plastic of the door frame rides directly on the arm of the hinge part. I've shimmed it up about 3/16" temporarily, and it seems to work, but I can't escape the idea that I shouldn't have to do this...
Read less
Was this helpful?
Thank you for voting!
Broken Door Catch
574 of 593 peoplefound this instruction helpful.
Joy from Columbia, MO
Really Easy
Less than 15 mins
Screw drivers
This was one of the simpliest repairs I have ever done taking less than 5 minutes to complete. On the inner door I removed the two screws that hold the plastic catch in place. I then removed the broken catch and put the new catch in place. Finally I replaced the two screws that hold the catch in place and it was done.
This hose directs water or detergent from the dispenser to the tub during operation. Designed for secure connections and smooth flow, it helps prevent leaks and blockages. Replacing a damaged hose restores proper delivery and performance.
$58.51
In Stock
Part #134372300
Replacing your Frigidaire Washer Dispenser to Tub Hose
This is a 120 volt, 60 hertz drain pump that is manufactured to remove water from the tub of your washer once your clothes are washed. This part is the pump and motor assembly, which includes a red flapper to prevent drain backflow. You will need to remove the front panel of your washer to access the drain pump. The tools you will need for the repair are a Phillips screw driver, a putty knife, a pair of slip joint pliers, and a 5/16 nut driver. Be sure to disconnect the water supply from your washer before doing the repair. The metal edges on the appliance are sharp, so use work gloves to safely complete the repair.
$158.22
In Stock
Part #137221600
Replacing your Frigidaire Washer Drain Pump - 120V 60 Hz.
Customer Repair Stories
After a full cycle the washer would not drain the water
86 of 96 peoplefound this instruction helpful.
sara from North Miami, FL
Really Easy
Less than 15 mins
After reading the possiblilities of problem, I determined that the drain pump was not working; therefore I ordered a new one. When I opened the washer to replace the part, I found out that the pump was working but the filter was stuffed with pieces of rubber that came out from a rug I washed. Once all the stuff was removed, the washer wor
... Read moreked just fine. PartSelect was very gracious to accept the returned with not questions asked!! Thanks partSelect.
Read less
Was this helpful?
Thank you for voting!
would't spin all water out or rinse out clothes
172 of 210 peoplefound this instruction helpful.
kenneth from willard, OH
Really Easy
15 - 30 mins
Nutdriver, Pliers, Screw drivers
uplugged washer took front off washer 2 screws pryed up top pump was mounted with 2 screws and 2 wires took off found change in pump and the fins to pump worn off ordered part off line the wait for part was longer than the amount of time to fix problem and cost of part saved me about $25-35 if I was to buy local worth wait save money and
... Read morefix problem washes like new spins and drains all water from tub.
This washer drain hose directs wastewater out of the appliance during operation. Its extended length and flexible construction support reliable drainage and easy routing.
This is a door hinge with bushings and works in conjunction with your washer. The purpose of this part is to attach to the outside of the front door panel to help with the lid opening and closing properly. The hinge will fasten the front panel of the washing cabinet to the lid of the washer. This piece is roughly 9 inches long, almost 3 inches high, and roughly 2.5 inches wide. The reason for needing to replace this part is if your lid/door will not open or close properly, which may lead to leaking.
No Longer Available
Part #134550800
Replacing your Frigidaire Washer Door Hinge with Bushings
Customer Repair Stories
Door hinge bottom bushing broke - Door latch no longer lined up with catch
5 of 5 peoplefound this instruction helpful.
John from Dover, NH
Easy
15 - 30 mins
Screw drivers
First, I recommend you have a second pair of hands. The chrome door is quite heavy. Using Phillips screwdriver I removed the screws that attached the door to the frame. I had a helper hold the door while I removed the screws. Once hinge screws were removed I put a towel down on a counter to keep the front of the door from getting
... Read more marked up and proceeded to remove all of the screws around the back of the door so that I could lift the frame up enough to remove the broken hinge and insert the new hinge. It was a bit tricky to get the new hinge with bushings in place. I gently lifted the frame up with a flat head screw driver to widen the opening so I could get the bushings on the new hinge into position on the frame. Make sure they are properly inserted before you start tightening up screws. Next, replaced all the screws on the frame, returned to the washing machine with helper who held the door up while I aligned the holes in the new hinge to the holes in the frame around the opening to the washer. After everything was secured and tightened, to my surprise, the door latch did NOT line up with catch without lifting up about a 1/4" or a little more, on the bottom of the door. If someone slams the door without doing that you could break off part of the plastic latch or damage the catch inside the door frame. I believe the original holes on the door frame were not drilled precisely during the manufacturing process and that is why the bottom bushing broke. We have always had to lift up a bit on the door to line up the latch with the catch. Eventually the strain on the bottom bushing caused it to break and then the door tilted down so you had to lift it up about 3/4 inch to latch it. I bought new hinge because if the top bushing broke the door could have come off. Next time I buy a washing machine, I will pay more attention to the line up of the door latch with the door catch. Flashlight helped me line up the holes.
Read less
Was this helpful?
Thank you for voting!
Bushings in door were worn out so door real sloppy- had to raise it up shut it
9 of 11 peoplefound this instruction helpful.
RALPH from GREENFIELD, IN
A Bit Difficult
15 - 30 mins
Screw drivers
Remove 3 screws to remove door and remove all screws on back of door and had to pry up on the cover - new hinge assy set in ok and reasemble was easy but new hinge assy didn’t quite match mounting holes so a bit difficult to line back up
This door boot spring clamp is a genuine replacement part that secures the rubber door seal on a front-loading washer, helping maintain a tight, leak-free seal during each wash cycle. It's commonly used to replace a worn or stretched clamp that can cause leaks or allow the door boot to shift out of place. Installing a new clamp helps keep the seal stable and ensures reliable washer performance. Be sure to check your model number to confirm the correct fit for your appliance.
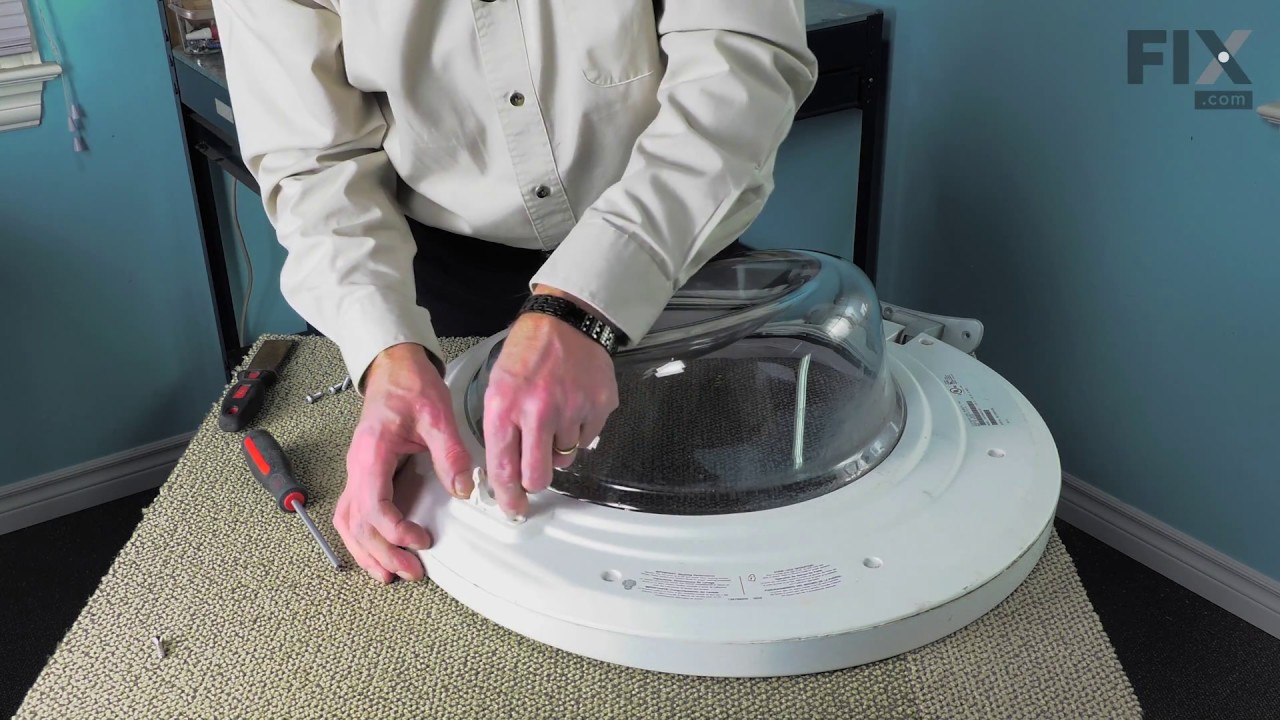
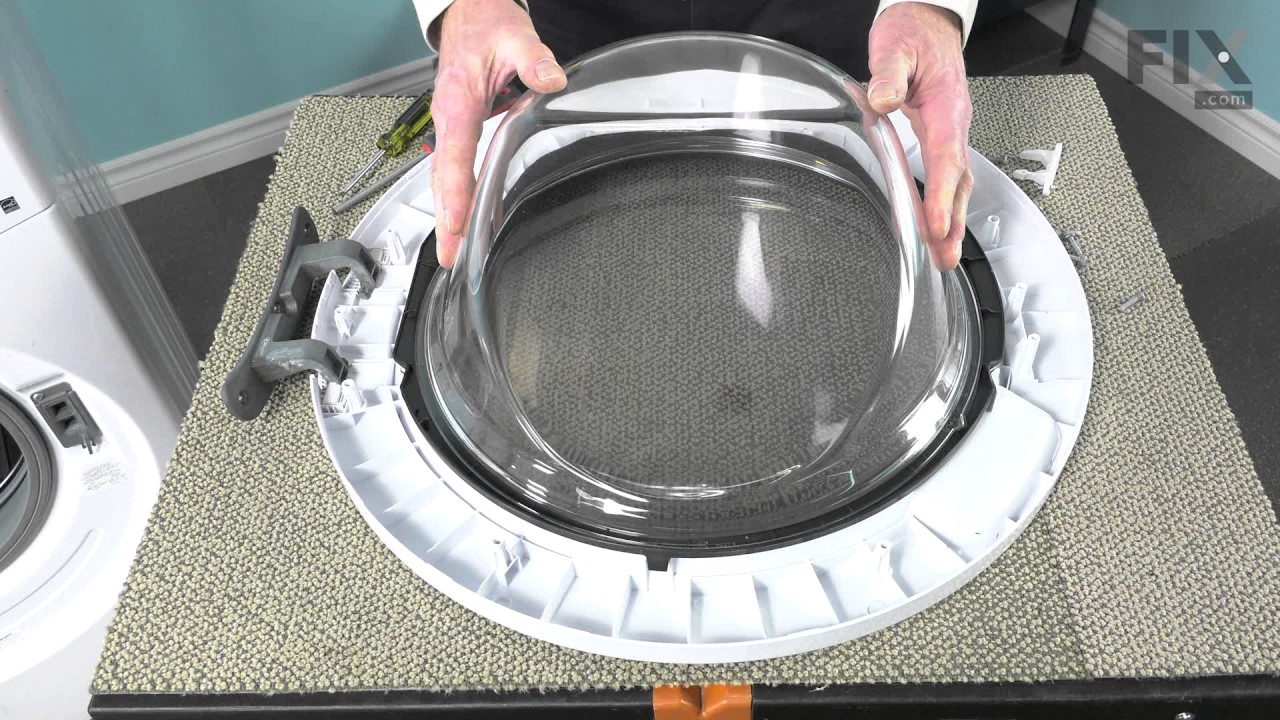
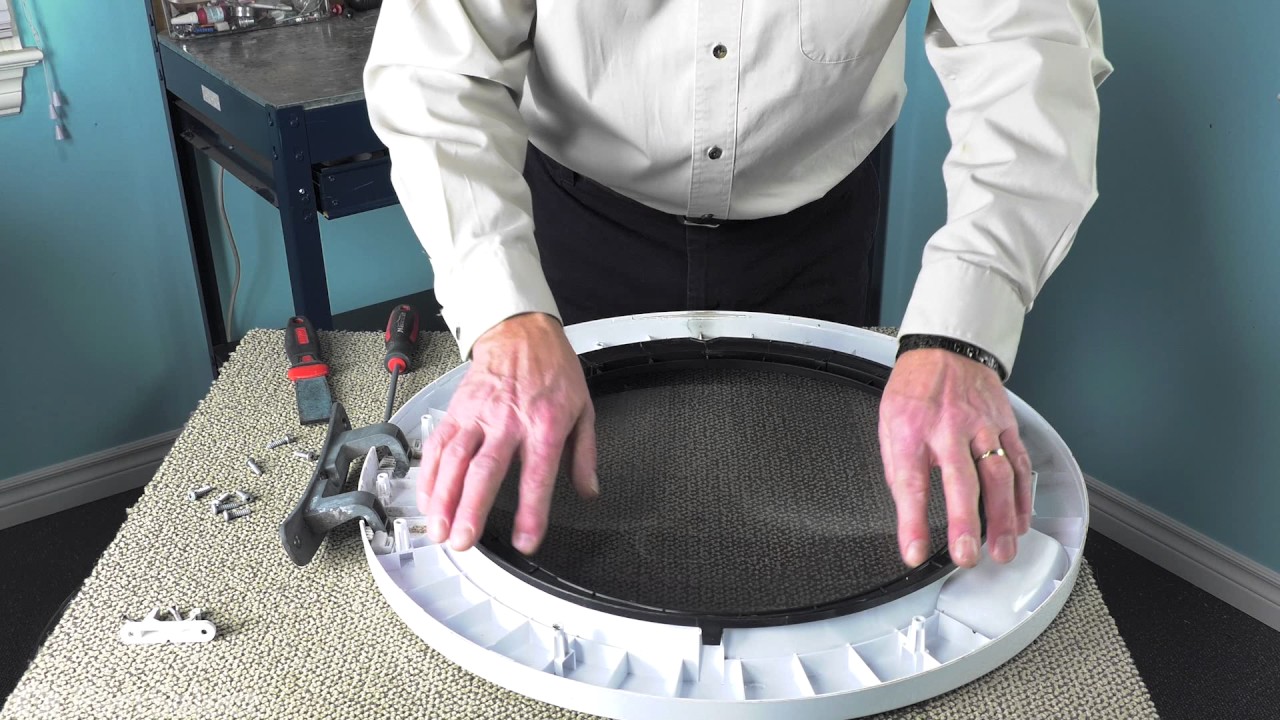
This outer door panel is a genuine replacement part designed for select front-loading washing machines. Made from durable white material, it serves as both a protective barrier and a visual enhancement to the appliance’s exterior. A damaged panel may prevent the door from closing properly or cause sealing issues that lead to leaks. This OEM component is compatible with various models and should be matched to your specific unit for proper fit and function. Sold individually.
$154.15
In Stock
Part #134550500
Replacing your Frigidaire Washer Outer Door Panel - White
Customer Repair Stories
Door was sagging so strike would not line up upon closing the door.
3 of 3 peoplefound this instruction helpful.
Paul from BOZEMAN, MT
Really Easy
Less than 15 mins
Screw drivers
This part did not fully solve the problem because both halves of the door need to be replaced and the other half is neither included in this purchase or available on this web site that I can see. The door panel is thin plastic and the problem will reoccur. Removed door by removing the metal hinge screws, disassembled door, installed new p
... Read moreart, reinstalled door.
Read less
Was this helpful?
Thank you for voting!
Cracking around the hinge area caused the door to sag
4 of 4 peoplefound this instruction helpful.
Lloyd from Alamogordo, NM
Really Easy
15 - 30 mins
Screw drivers
Take the door off the washer it's only a few screwws.Lay face down on a table and remove the screws that hold the cover on. Lay the new one next to it and move theremoved part onto the new one and put the screws back to hold it all together. Put the door back on and your done. Piece of cake and all you need is a screwdriver.
By unscrew the washer Machine door off' then place the door flat surface and start to unscrewed each screw carefully keep all the screws together then remove the broken glass that you don't cut yourself in a safe place, then place the New glass back on & replaced all the screws back on tightly once all the screws back in then replaced it
... Read more back on to the washer Machine, make sure you pre-test your washer Machine for no leaks.
Read less
Was this helpful?
Thank you for voting!
Glass inner door cracked due to machine rocking
21 of 23 peoplefound this instruction helpful.
Gennaro from Nutley, NJ
Easy
15 - 30 mins
Screw drivers
Simply removed several screws around inner glass Then part set right into place. replaced all the screws and was completed.
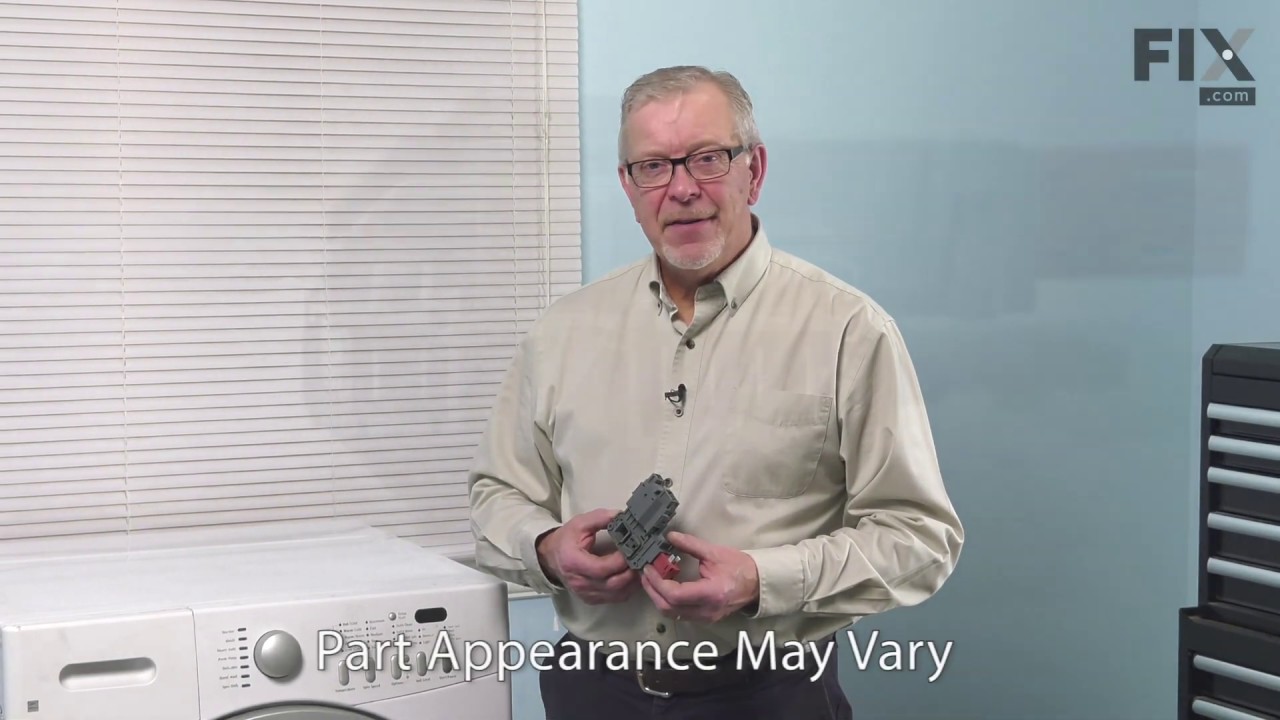
This door lock and switch assembly is manufactured to lock the door on your front load washer to prevent it from opening while it is running. You may need to replace the door lock and switch if the door does not open or lock. Your washer will not start if the door does not lock. This part is also known as a washing machine door lock assembly. As per the manufacturer, some models require a new wire harness and a door strike for this door lock assembly to work on the appliance. The original style lock would require the door lock kit.
$109.23
In Stock
Part #131763256
Replacing your Frigidaire Front Load Washer Door Lock and Switch Assembly
Customer Repair Stories
Washer would not spin
125 of 142 peoplefound this instruction helpful.
Keith from Sayville, NY
Really Easy
Less than 15 mins
Screw drivers
Door lock takes a beating due to flimsy washer door which does not align well and subsequently gets slammed each time which causes lock to malfunction telling the washer that it is not locked. Due to safety the washer will not go into the spin mode. Remove top lid (2 screws) open washer door and loosed the 2 screws holding the lock assemb
... Read morely in place. Reach down into the washer and unsnap the 3 wire harnesses. Reverse to reinstall. Very easy.
Read less
Was this helpful?
Thank you for voting!
Door on washer wouldn't lock or start
477 of 565 peoplefound this instruction helpful.
DOUG from KING FERRY, NY
Really Easy
Less than 15 mins
Screw drivers
1. Unplug unit. 2. Unscrew 2 nuts holding top in place in rear of unit using phillips head screwdriver. 3.Slide top back and remove. 4. Open door of washer and unscrew 2 screws holding in door lock unit. 5.Pull out unit from the top and install new unit reconnecting the 3 wire connections.
First I found a You Tube video so I could see how to take the washer apart. HIghly recommend always doing that. That was extremely helpful. First snag in taking the washer apart was that the screws were stuck and some were pretty much stripped. Had to find a square screw bit to get most of the screws out. Next snag was that the washe
... Read morer has been (very roughly) taken apart before and the electrical panel was broken in half where the soap dispenser tray attaches. That had to be glued back together. And then finally with the front panel removed the rubber encasement where the filter was located was hidden behind the black wash tub, making it hard to see to squeeze the clamps and remove. It was a little tricky getting the filter out of the accordion part of the rubber housing, but eventually got it out. Yep...it was completely plugged full of junk. Then I could not see how to reattach the the housing. Had to feel my way reattaching the rubber housing. Was very happy when I got it all back together that it worked. drained like it has never drained since I've owned the machine, and didn't LEAK at all. :)



 My Orders