


 My Orders




ATF6000ES0 Frigidaire Washer - Overview
Diagrams for ATF6000ES0
See every part. Know exactly what you need.


Enter a part description. DIY Heroes keep it simple, eg. "belt" or "pump".
Search filter:
Clear Filter
Your search term must have 3 or more characters.

$36.50
In Stock
Door Striker
Part #131763302
This is a door striker, it is gray in color and is a part found on your washer. The purpose of the striker is to keep your washer door closed for usage. This piece will attach to your appliance lid and will activate the door switch when your lid is closed. The most common reasons for needing to replace this part are if your lid will not c...Read moreonsistently open or close, and your washer will not consistently start. The only tool you will need to complete this installation is a Phillips screwdriver.
Read less

$109.23
In Stock
Front Load Washer Door Lock and Switch Assembly
Part #131763256
This door lock and switch assembly is manufactured to lock the door on your front load washer to prevent it from opening while it is running. You may need to replace the door lock and switch if the door does not open or lock. Your washer will not start if the door does not lock. This part is also known as a washing machine door lock assem...Read morebly. As per the manufacturer, some models require a new wire harness and a door strike for this door lock assembly to work on the appliance. The original style lock would require the door lock kit.
Read less

$53.85
In Stock
Shock Absorber Kit
Part #5304485917
This shock absorber kit is an authentic OEM part that is sourced directly from the manufacturer. The kit includes two dual-stage shock absorbers, one spare shock mounting pin, and four locking nuts. These shock absorbers keep your front-load washer from shaking vigorously by absorbing and reducing vibrations from the wash and spin cycles ...Read moreof your appliance. This kit comes with two shock absorbers because it is recommended to replace both at the same time, as they wear at the same rate. To access your washer shock absorbers, simply remove the lower access panel after disconnecting the power to the appliance.
Read less

$158.22
In Stock
Drain Pump - 120V 60 Hz.
Part #137221600
This is a 120 volt, 60 hertz drain pump that is manufactured to remove water from the tub of your washer once your clothes are washed. This part is the pump and motor assembly, which includes a red flapper to prevent drain backflow. You will need to remove the front panel of your washer to access the drain pump. The tools you will need fo...Read morer the repair are a Phillips screw driver, a putty knife, a pair of slip joint pliers, and a 5/16 nut driver. Be sure to disconnect the water supply from your washer before doing the repair. The metal edges on the appliance are sharp, so use work gloves to safely complete the repair.
Read less

$112.15
In Stock
Water Inlet and Dispenser Valve
Part #134371220
The water inlet and dispenser valve is used in washing machines. The function of this part is to control and monitor the amount of water flow into the washer. If there is leaking during use, your machine will not fill with water, or there is no hot or cold water entering the washer, it is important to replace the water valve to solve the ...Read moreproblem. For this repair, you will need a Phillips head screwdriver and a flathead screwdriver. For installation instructions, refer to the manual provided by the manufacturer. Remember to unplug your appliance from the power source before beginning this repair.
Read less

No Longer Available
Door Hinge with Bushings
Part #134550800
This is a door hinge with bushings and works in conjunction with your washer. The purpose of this part is to attach to the outside of the front door panel to help with the lid opening and closing properly. The hinge will fasten the front panel of the washing cabinet to the lid of the washer. This piece is roughly 9 inches long, almost 3 i...Read morenches high, and roughly 2.5 inches wide. The reason for needing to replace this part is if your lid/door will not open or close properly, which may lead to leaking.
Read less

$26.35
Special Order
Screw-In Plastic Leveling Leg
Part #134548800
This is a screw in leveling leg for your washing machine. It supports the appliance by screwing in place to create a stable and flat surface. Take note that you are able to adjust the height of your appliance to make it leveled. This model is made entirely of plastic and is white in color. It is just under 2.5 inches long, 1.5 inches wide, and the head has a diameter of roughly 1.5 inches.

$25.25
In Stock
Screw
Part #131302800
This is a replacement screw for your washer or dryer. The screw is approximately half an inch in length and is a Phillips-head screw. It screws in from the outside of the drum, into the vane/baffle. The main reason you would replace this screw is if the old screw is missing or damaged. This part is sold individually and is an OEM part sourced directly from the manufacturer.

$26.35
In Stock

$136.35
In Stock
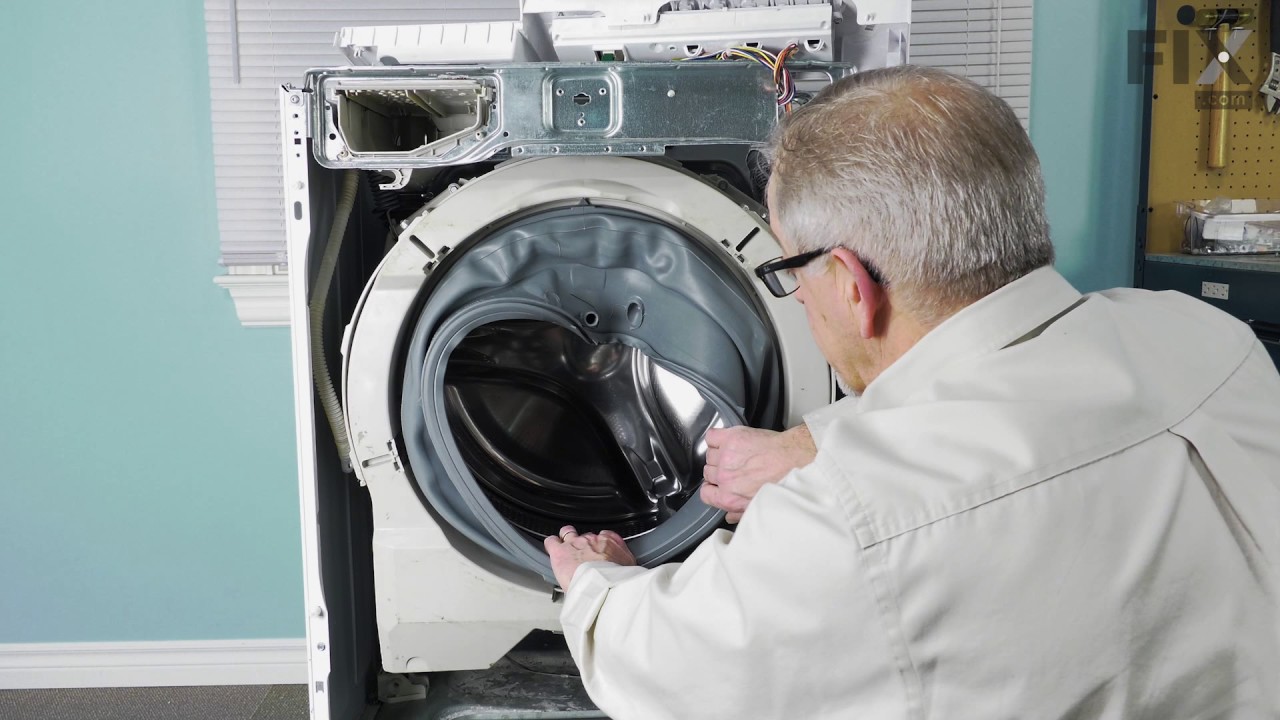
Bellow Kit
Part #134515300
Also known as a Door Boot Seal and is used in front load washers. This part is used to keep the clothes inside the tub during the wash cycle. The folds in the bellow allow the tub to move separately from the door during the spin cycle.
NOTE: This part has been redesigned by the manufacturer and is interchangeable with the old design.

$154.15
On Order
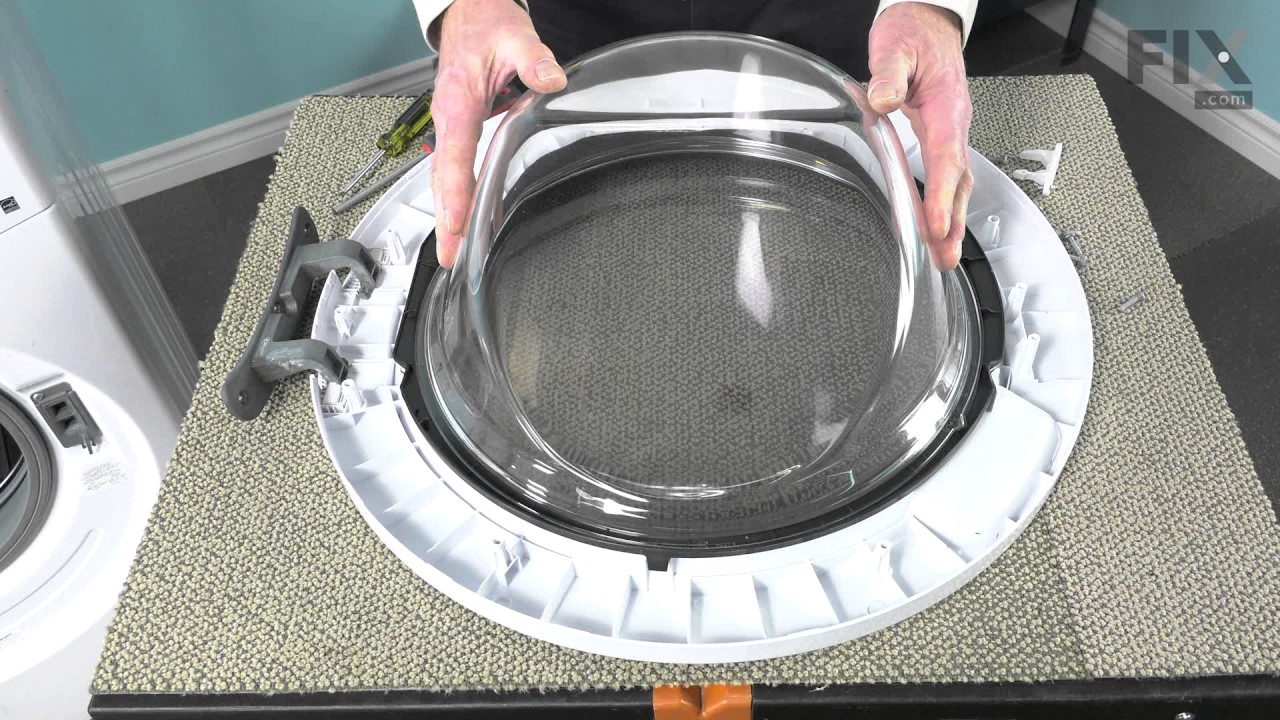
Outer Door Panel - White
Part #134550500
This outer door panel is a genuine replacement part designed for select front-loading washing machines. Made from durable white material, it serves as both a protective barrier and a visual enhancement to the appliance’s exterior. A damaged panel may prevent the door from closing properly or cause sealing issues that lead to leaks. This O...Read moreEM component is compatible with various models and should be matched to your specific unit for proper fit and function. Sold individually.
Read less

$24.15
In Stock
Single Shock Mounting Pin
Part #131268300
This washer shock absorber mounting pin is a small but essential fastener that secures the shock absorber to the outer tub of a front-load washing machine. By holding the shock absorber firmly in place, it helps stabilize the tub during wash and spin cycles, reducing excessive vibration, shaking, and movement. Made from durable materials ...Read moreand designed for a precise fit, the pin supports smooth operation and protects other components from stress caused by unbalanced motion. Replacing a worn, broken, or missing mounting pin can help restore proper vibration control, improve washer stability, and prevent noise or damage during operation.
Read less
Manuals & Care Guides for ATF6000ES0
Click to downloadInstall
Installation Instructions
(1.26MB)
Install
Installation Instructions
(0.86MB)
Manual
Owner's Manuals
(2.59MB)
Manual
Owner's Manuals
(1.64MB)
Specs
Product Specifications Sheet
(0.02MB)
Care
Use and Care Manual
(0.15MB)
Wiring
Wiring Diagram
(1.82MB)
Common Symptoms of the ATF6000ES0
How this model fails, and the parts that fix it.
Lid or door won’t close
Fixed by
these parts
these parts


Show All
Will Not Start
Fixed by
these parts
these parts
Show All
Leaking
Fixed by
these parts
these parts


Show All
Will not drain
Fixed by
these parts
these parts


Show All
Locking Issues
Fixed by
these parts
these parts
Show All
Shaking and Moving
Fixed by
these parts
these parts
Show All
Spins slowly
Fixed by
these parts
these parts

Show All
Will not agitate
Fixed by
these parts
these parts
Show All
Door won’t close
Fixed by
these parts
these parts
Show All
Spinning Issues
Fixed by
these parts
these parts
Show All
Door latch failure
Fixed by
these parts
these parts
Show All
No hot or cold water
Fixed by
these parts
these parts
Show All
Marks left on clothes
Fixed by
these parts
these parts
Show All
Noisy
Fixed by
these parts
these parts
Show All
Draining Issues
Fixed by
these parts
these parts
Show All
Water Filling Issues
Fixed by
these parts
these parts
Show All
Burning smell
Fixed by
these parts
these parts
Show All
Not draining
Fixed by
these parts
these parts
Show All
Touchpad does not respond
Fixed by
these parts
these parts
Show All
Watch our pros, then fix it yourself.
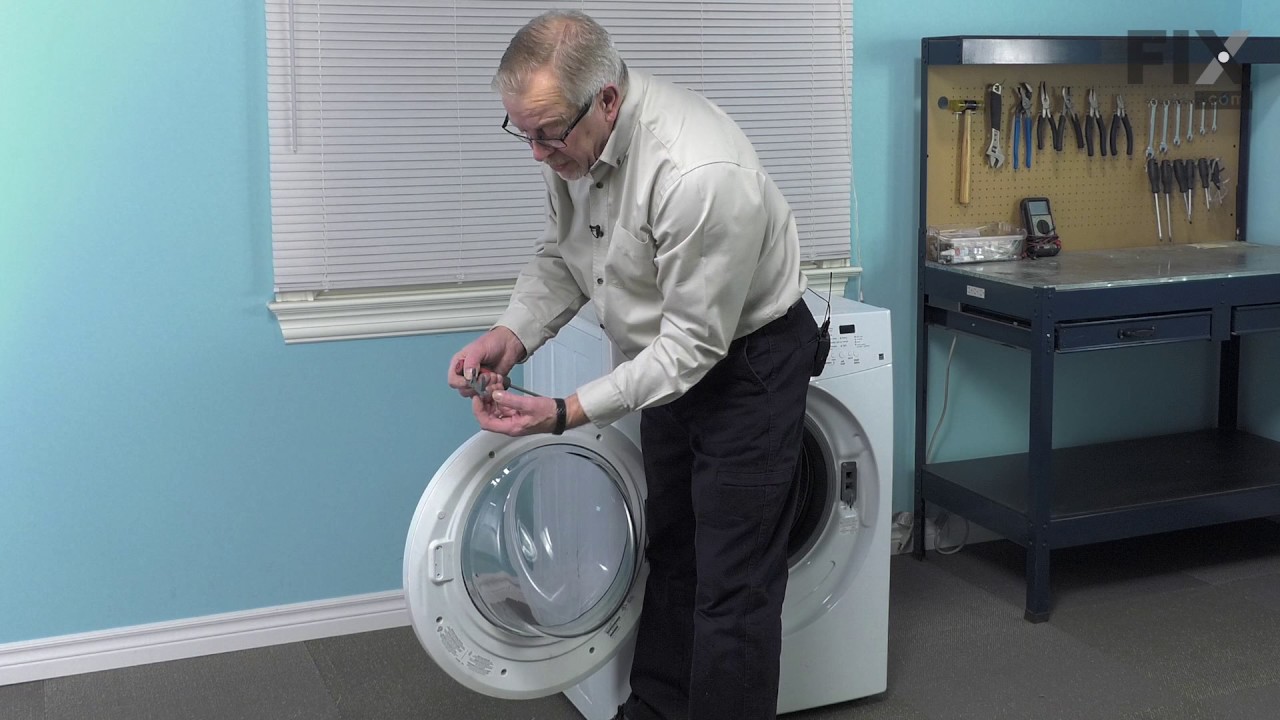
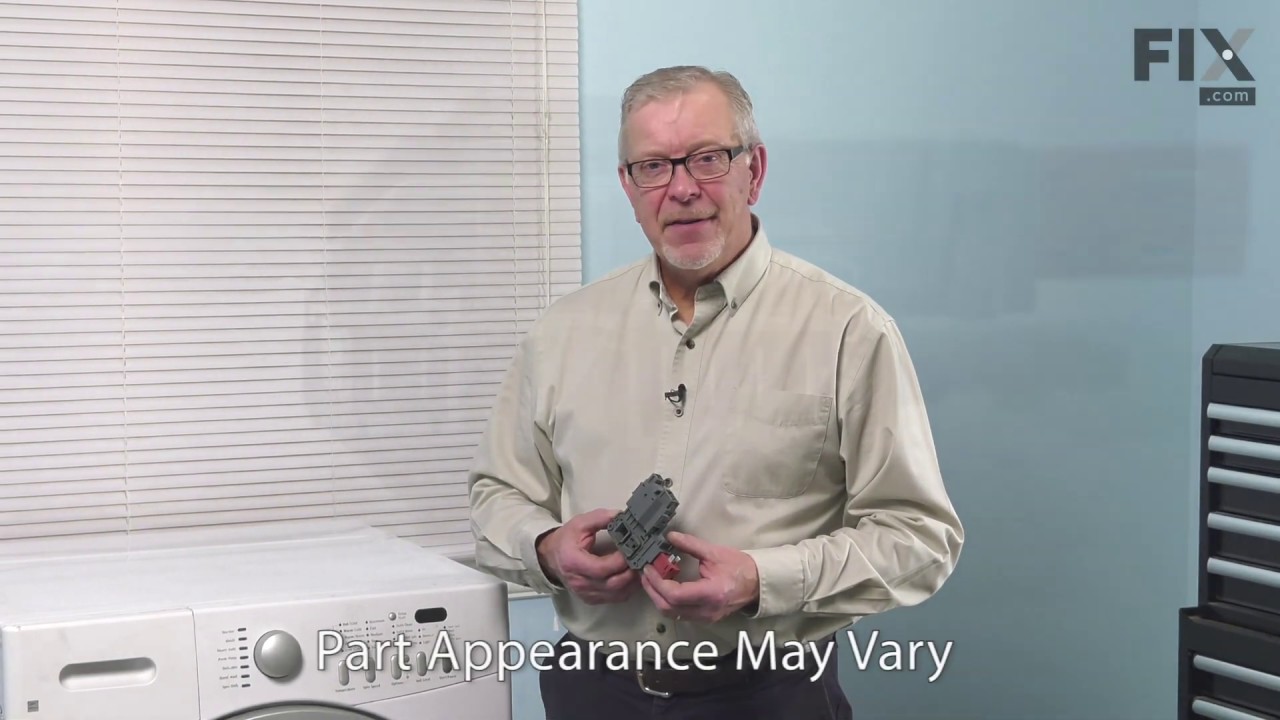
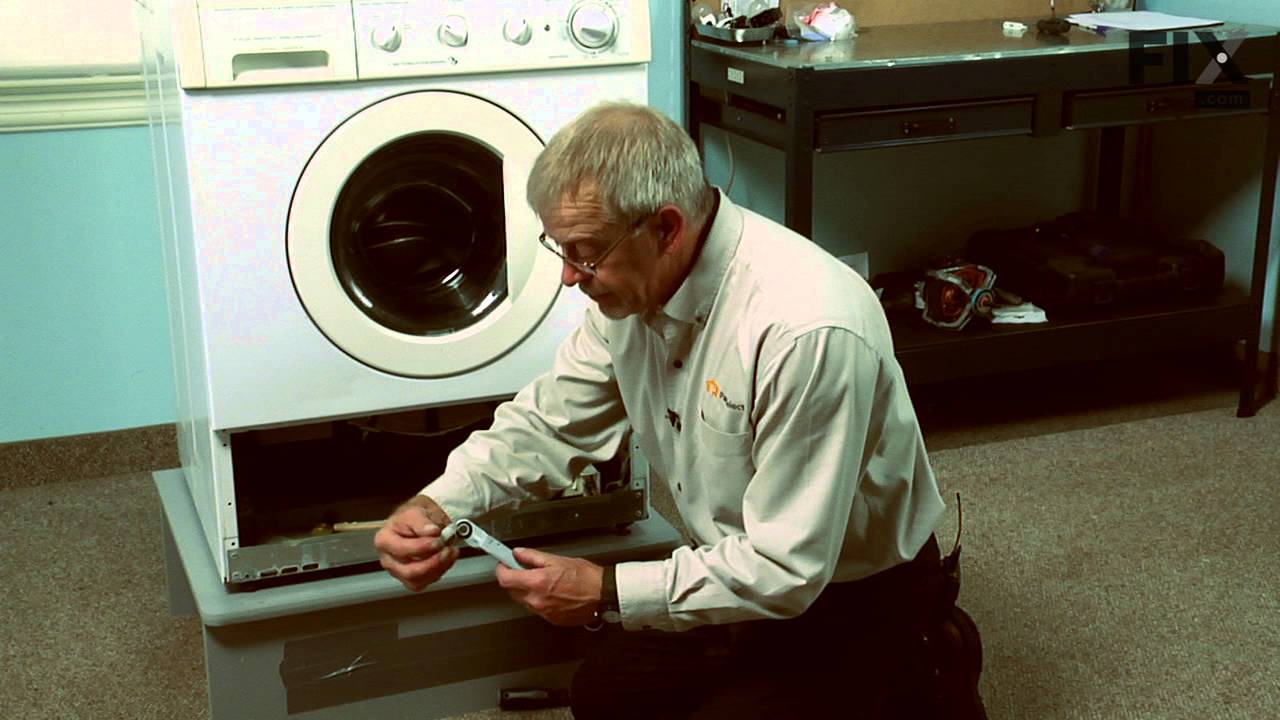
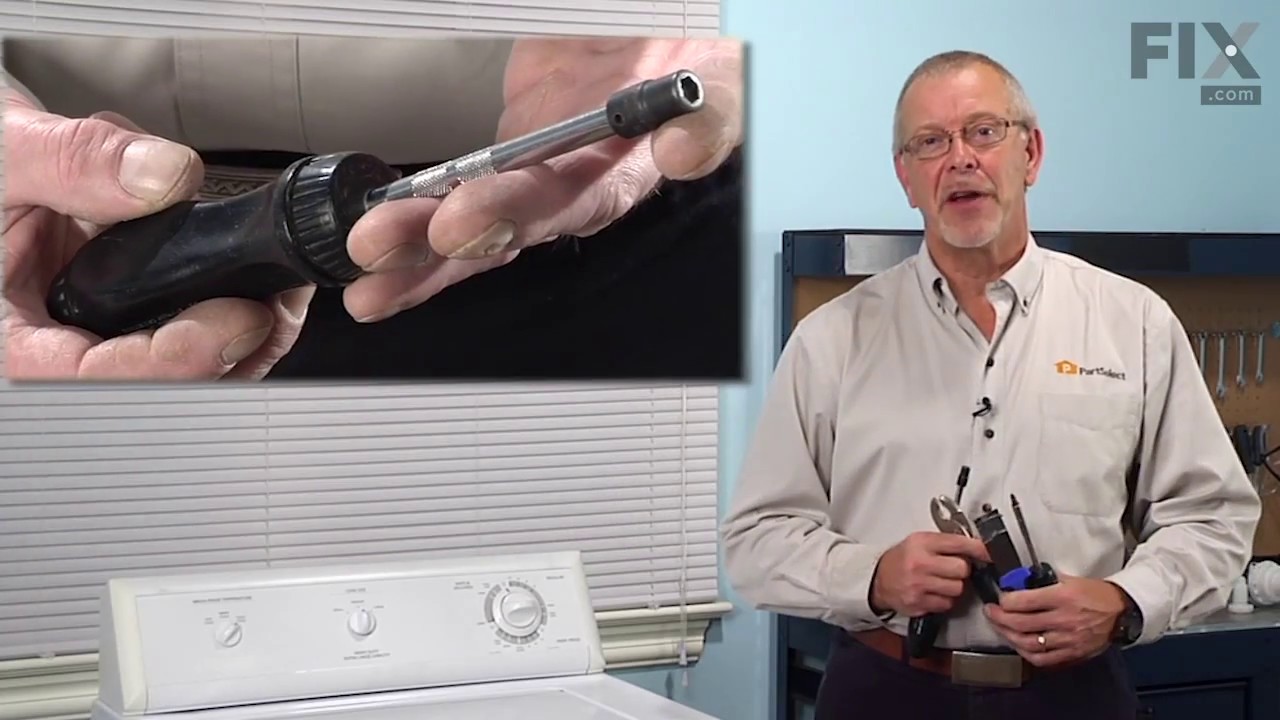
See how others fixed this model. Time, tools, difficulty, and steps that lead to victory!
View More