


 My Orders




ATB2 Refrigerator - Overview
Models starting with ATB2
Click on the best match to narrow your results.
- ATB2110DRQ Admiral Refrigerator (Top Freezer, Top Mount)
- ATB2110DRW Admiral Refrigerator (Top Freezer, Top Mount)
- ATB2112ARA Admiral Refrigerator (Top Freezer, Top Mount)
- ATB2112ARW Admiral Refrigerator (Top Freezer, Top Mount)
- ATB2113ARA Admiral Refrigerator (Top Freezer, Top Mount)
- ATB2113ARQ Admiral Refrigerator (Top Freezer, Top Mount)
- ATB2113ARW Admiral Refrigerator (Top Freezer, Top Mount)
- ATB2115HRQ Amana Refrigerator (Top Freezer)
- ATB2115HRW Amana Refrigerator (Top Freezer)
- ATB2130ARQ Amana Refrigerator (Top Freezer)
- ATB2130ARW Amana Refrigerator (Top Freezer)
- ATB2132ARQ Amana Refrigerator (Top Freezer)
- ATB2132ARU Amana Refrigerator (Top Freezer)
- ATB2132ARW Amana Refrigerator (Top Freezer)
- ATB2132ARZ Amana Refrigerator (Top Freezer)
- ATB2135HRQ Amana Refrigerator (Top Freezer)
- ATB2135HRW Amana Refrigerator (Top Freezer)
- ATB2136ARB Amana Refrigerator (Top Freezer)
- ATB2136ARQ Amana Refrigerator (Top Freezer)
- ATB2136ARS Amana Refrigerator (Top Freezer)
- ATB2136ARW Amana Refrigerator (Top Freezer)
- ATB2138AEB Amana Refrigerator (Top Freezer)
- ATB2138AEQ Amana Refrigerator (Top Freezer)
- ATB2138AES Amana Refrigerator (Top Freezer)
- ATB2138AEW Amana Refrigerator (Top Freezer)
- ATB2232MRB00 Amana Refrigerator (Top Freezer, Top Mount)
- ATB2232MRB00 Whirlpool Refrigerator
- ATB2232MRB01 Amana Refrigerator (TOP-MOUNT REFRIGERATOR)
- ATB2232MRS00 Whirlpool Refrigerator
- ATB2232MRS00 Amana Refrigerator (Top Freezer, Top Mount)
- ATB2232MRS01 Amana Refrigerator (TOP-MOUNT REFRIGERATOR)
- ATB2232MRW00 Whirlpool Refrigerator
- ATB2232MRW00 Amana Refrigerator (Top Freezer, Top Mount)
- ATB2232MRW01 Amana Refrigerator (TOP-MOUNT REFRIGERATOR)
Enter a part description. DIY Heroes keep it simple, eg. "belt" or "pump".
Search filter:
Clear Filter
Your search term must have 3 or more characters.

$19.54
In Stock
Light Bulb - 40W
Part #8009
This an authentic OEM 40-Watt replacement light bulb, used in a number of household appliances. It is specially designed to withstand extreme temperatures, which is why these replacement bulbs are most often used to light the inside of refrigerators and ranges. It features a standard socket base, which means you simply unscrew the burnt-o...Read moreut bulb and screw in the replacement. Depending on the appliance you may require a screwdriver or nut driver to access the light bulb. We recommend you wear work gloves while handling this replacement part. It is constructed of glass and metal and is sold individually. Depending on the appliance and location of the bulb within it, you may want to consider disconnecting power and using a flashlight for easier access to unscrewing and re-screwing in your bulb during this repair.
Read less

$95.17
In Stock
Replacement Ice Maker
Part #D7824706Q
This ice maker (Ice Maker Assembly, Refrigerator Ice Maker) produces ice cubes that are ejected into the storage bucket. It is located in the freezer section of your appliance, mounted on the freezer wall. The ice maker can break from normal wear and accidental damage. If this happens, your refrigerator may no longer make ice cubes, or ma...Read morey not make enough cubes, and the part should be replaced. This model measures approximately 11 inches long and 5 inches wide. It’s constructed of plastic and metal, and comes in black/white/silver. This assembly includes the ice mold and the control device.
Read less

$18.22
In Stock
Shelf Retainer Bar End Cap
Part #WP61002112
The shelf retainer bar end cap is used to keep the retainer bar in place, and can be used on either the right or left hand side of the bar. This white, OEM end cap is approximately 2 inches long, and made entirely of plastic. The shelf bar and cap snap into place on the door to attach the door shelf bar to the inner door liner. This part ...Read moreis also known as a rail end cap. If the door bar is not properly attached to the inner door liner, your items will not be secure on the shelf, and are likely to fall.
Read less

$109.58
In Stock
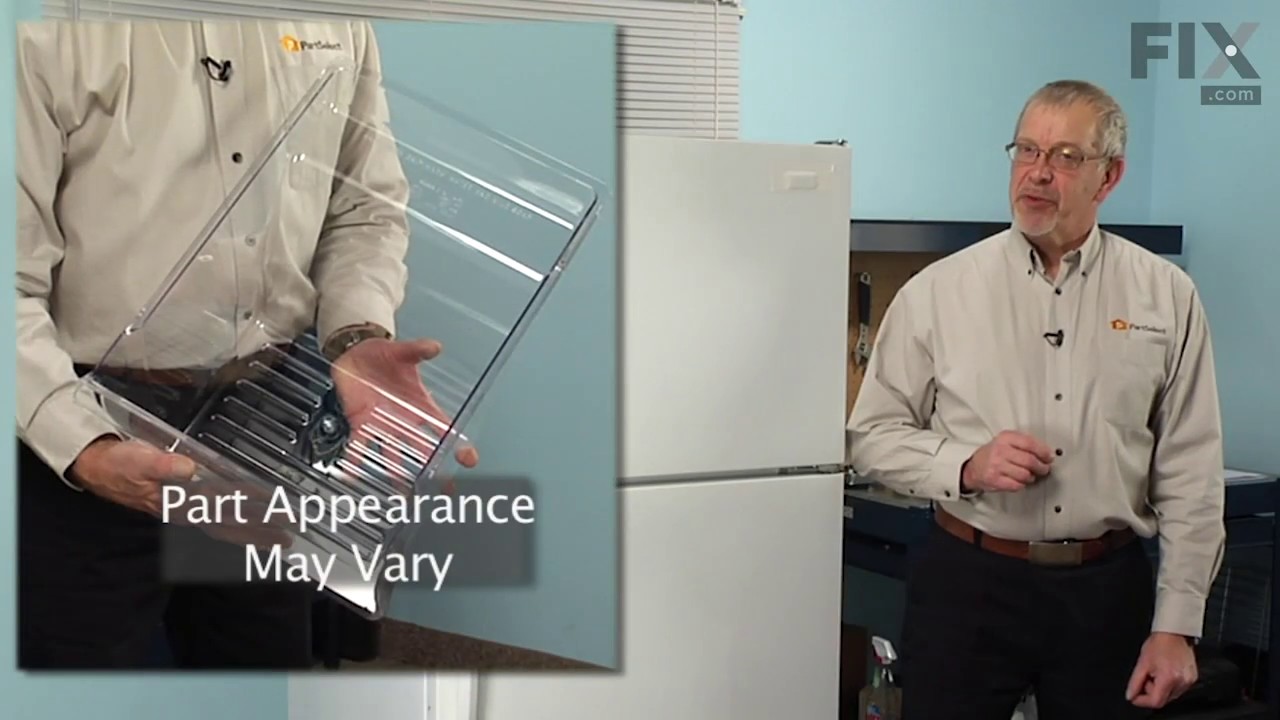
Refrigerator Crisper Drawer
Part #W10854037
The crisper drawer is clear plastic and is located inside the refrigerator. It is used to store fruits and vegetables at a certain temperature to ensure food will last longer. If your drawer is cracked, broken, or even getting stuck, this replacement could be the solution. First, open your refrigerator door and remove all the items from t...Read morehe crisper. Remember to remove the escutcheon from the old crisper and transfer onto the new crisper drawer by sliding and snapping it on. Refer to the instruction guide provided by the manufacturer for more detail and guidance.
Read less

$30.53
In Stock

$65.73
In Stock
Refrigerator Condenser Fan Motor Kit
Part #833697
This condenser fan motor kit is designed for use with refrigerators. This fan draws air through the condenser coils and over the compressor. It does this with the goal of cooling the warm refrigerant before it enters the evaporator. When your fan or fan motor is not working your refrigerator will not cool properly. This is a 2-Watt, 115 V...Read moreolt motor that rotates the fan in a counter clockwise direction. This kit includes the hardware needed for installation, and a set of instructions. Before you begin any repair work make sure to unplug your appliance.
Read less

$82.05
In Stock
Condenser Fan Motor Kit
Part #W10124096
This condenser fan motor kit includes a motor, fan blade, wire harness, and screws. Used in a refrigerator, the condenser fan motor moves the condenser fan blade to direct and move air across the condenser coil. Please note: The manufacturer has changed the appearance of the product from the original. The kit still functions the same as t...Read morehe original part. It is an OEM factory replacement. Make sure to unplug the refrigerator from the power source and wear gloves to protect your hands. Also, a helpful tip is to store food to prevent deterioration when the power is off.
Read less

$52.67
In Stock
Door Shelf Retainer Bar
Part #W11045462
This refrigerator door shelf trim is approximately 28 inches long. It is all white in color, and it is made entirely of metal. NOTE: The image may not be of the exact product but will function properly.

$12.20
In Stock

$21.45
In Stock
Screw
Part #W11233072
This is a multi-use and multi-appliance screw. It can be used on a microwave, refrigerator, range/oven, air conditioner, dehumidifier, washer, or dryer. The measurements of this screw are 8 x 1/2 inch. It has 6 threads. Refer to the manual provided by the manufacturer for further information on repair and accurate guidance. Remember to wear work gloves as a safety precaution.

$53.20
In Stock
Refrigerator Evaporator Fan Motor
Part #WPW10189703
This is a 60 Hertz, 120-volt evaporator fan motor for your refrigerator. This part is located in the back of the freezer, and circulates air over the refrigerator coils. These coils will convert the heat into cool air, which is then circulated. The most common reason for needing to replace the motor is if the temperature in your freezer a...Read morend fridge are inconsistent, or there is no air circulating at all. You will need a quarter inch nut driver and a pair of needle nose pliers for this repair. Note: This motor uses 2 brackets, which are sold separately.
Read less

$126.63
In Stock
Meat Drawer
Part #WP2218132K
This refrigerator meat drawer offers a sturdy and reliable replacement for the original compartment, helping to keep your food items organized and easily accessible. Designed to fit select refrigerator models, it slides smoothly into place and provides dedicated storage for meats and other perishables. The drawer is sold individually, mak...Read moreing it a convenient solution for replacing a single damaged or missing unit. Be sure to check compatibility with your appliance before ordering.
Read less
Common Symptoms of models starting with ATB2
How this model fails, and the parts that fix it.
Ice maker not making ice
Fixed by
these parts
these parts


Show All
Light not working
Fixed by
these parts
these parts


Show All
Fridge too warm
Fixed by
these parts
these parts


Show All
Noisy
Fixed by
these parts
these parts


Show All
Leaking
Fixed by
these parts
these parts


Show All
Freezer section too warm
Fixed by
these parts
these parts
Show All
Will Not Start
Fixed by
these parts
these parts

Show All
Door won’t open or close
Fixed by
these parts
these parts


Show All
Ice maker won’t dispense ice
Fixed by
these parts
these parts

Show All
Fridge and Freezer are too warm
Fixed by
these parts
these parts
Show All
Fridge runs too long
Fixed by
these parts
these parts

Show All
Freezer not defrosting
Fixed by
these parts
these parts


Show All
Door Sweating
Fixed by
these parts
these parts


Show All
Clicking sound
Fixed by
these parts
these parts
Show All
Ice maker dispenses too much ice
Fixed by
these parts
these parts
Show All
Ice maker dispenses too little ice
Fixed by
these parts
these parts
Show All
Too warm
Fixed by
these parts
these parts
Show All
Won’t start
Fixed by
these parts
these parts
Show All
Fridge too cold
Fixed by
these parts
these parts

Show All
Door latch failure
Fixed by
these parts
these parts

Show All
Watch our pros, then fix it yourself.




See how others fixed this model. Time, tools, difficulty, and steps that lead to victory!
View More