


 My Orders




ASI2575FRW00 Amana Refrigerator - Overview
Diagrams for ASI2575FRW00
See every part. Know exactly what you need.


Enter a part description. DIY Heroes keep it simple, eg. "belt" or "pump".
Search filter:
Clear Filter
Your search term must have 3 or more characters.

$43.18
In Stock
Refrigerator Door Shelf Bin - White
Part #WP2187172
The white refrigerator door bin is an essential component for maximizing the storage capacity of your appliance. Measuring approximately 16.25" wide, 3.25" high, and 6.25" deep, it securely holds jars, bottles, and other items in an accessible location on the refrigerator door. This bin is made from sturdy materials to withstand daily use...Read more and is designed to fit seamlessly into compatible refrigerator models. Installation is straightforward—simply follow the instructions provided in your owner’s manual. Confirm compatibility by matching the bin’s dimensions to your appliance before purchasing.
Read less

$84.45
In Stock
Refrigerator Ice and Water Filter
Part #EDR1RXD1
The EDR1RXD1 water filter provides clean, fresh-tasting water by reducing contaminants such as lead, chlorine, and particulates. Designed for easy installation, this filter ensures your refrigerator water and ice are safe and refreshing with every use

$9.62
In Stock
Refrigerator Lower Door Closing Cam
Part #WP2182179
The lower door closing cam is used in refrigerator doors, it can be located on the fresh food side or the freezer side. It helps hold the door open. This cam is made out of plastic, so it might crack or wear down over time. If your door will not open and close properly you may need to replace the door closing cam. To successfully install ...Read morethis part, you will need a 5/16 nut driver and a small flat blade screwdriver. Before you begin, unplug your appliance and disconnect the water supply. Lubricating this part may help with installation. This replacement part is sold individually. This part will fit both the left and right side of your refrigerator door. To make the repair, remove the top hinge cover, then the top hinge support. Lift the door from the bottom support and remove the old door cams. Replace the cams, using a little lubricant if necessary, and place the door back on the lower hinge support. Replace the top hinge support and your repair is complete!
Read less

$59.47
In Stock
Refrigerator Crisper Drawer With Handle
Part #WP2188664
This OEM, clear convertible meat drawer can be used to store meats or vegetables and is designed for the lower portion of your refrigerator, generally. It has its own cold air duct to allow cold air from the freezer to flow into the drawer. You could have a broken or faulty drawer if you find that the food is kept within is spoiling or dr...Read moreying out quickly. The drawer should slide open and closed with ease. If your drawer will not easily slide open or closed, check the tracks that the drawer slides on. If the tracks are not damaged, the drawer itself could be at fault and should be replaced. Inspect it for visible damage like cracking or warping, which should be obvious. This part measures approximately 16 7/16 inches wide x 14 5/16 inches deep x 7 5/8 inches high and is a genuine OEM replacement part. It is sold individually. Note that there are several different types and options for the lower vegetable and meat drawers for your refrigerator, and you should check your user manual carefully to ensure that this is the drawer you are looking for.
Read less

$175.68
On Order
Refrigerator Slide-Out Shelf with Glass
Part #WPW10276348
This is an OEM glass shelf for a variety of models of refrigerator. This shelf assembly features an approximately 18 inch long and 18-inch-wide white plastic frame and its inner glass pane, and is designed to hold whatever food items you need it to. If your current shelf is cracked, shattered, or simply no longer able to support itself, i...Read moret should be replaced immediately. To replace this shelf, simply align the shelf with the inner grooves of the refrigerator and pull the old one out, and then slide in the new one.
Read less

$34.74
In Stock
Refrigerator Bimetal Defrost Thermostat
Part #WPW10225581
If you have ice building up in your freezer, or if your freezer is getting too warm during the defrost cycle you may need to replace the bi-metal defrost thermostat. The function of the defrost bi-metal thermostat is to clip onto the evaporator and protect your evaporator from overheating during the defrost cycle. If your refrigerator doe...Read mores not defrost properly you can test both the thermostat and the heater to figure out which part is at fault. For this repair, you will need a Phillips screwdriver, a 1/4 inch nut driver, a flat blade screwdriver, a pair of wire strippers, a roll of electrical tape, and a few butt splice connectors.
Read less

$53.20
In Stock

$97.14
On Order
Refrigerator Ice Bucket
Part #WPW10670845
This refrigerator ice bucket is a genuine replacement component designed to store ice produced by the icemaker before dispensing. Compatible with a wide range of models from Whirlpool, KitchenAid, Kenmore, Maytag, and Amana, it is constructed from durable plastic to withstand regular use. The container is sold as a standalone part and doe...Read mores not include the auger or other internal components. Replacing a cracked or missing ice bucket helps restore proper ice storage and dispensing functionality. Installation is straightforward and typically requires no tools—simply follow the instructions in your owner's manual to ensure proper fit and alignment.
Read less

$133.36
In Stock
Refrigerator Shelf Glass
Part #W10864399
This refrigerator glass shelf serves as a replacement for the crisper pan cover and is designed to sit securely above the crisper drawers, providing both a protective barrier and additional storage space. Crafted from tempered glass, it offers a durable and safe surface that helps contain spills and maintain organization within the refrig...Read moreerator. The transparent design allows for easy visibility of items stored below. Measuring approximately 16.5 inches in width and 13 inches in depth, it fits directly into the existing white plastic frame without the need for tools or disassembly. Ideal for replacing cracked or broken glass, this shelf restores both function and appearance to your refrigerator interior. Sold individually.
Read less

$111.43
In Stock
Refrigerator Crisper Pan (Clear)
Part #WPW10178772
This clear plastic refrigerator crisper drawer is designed to store fruits and vegetables at optimal humidity levels, helping to preserve freshness and extend shelf life. Constructed from durable, transparent plastic, it allows easy visibility of contents while maintaining a clean, streamlined appearance inside the refrigerator. The drawe...Read morer fits securely into the designated compartment and slides smoothly for convenient access. It is compatible with select models of Whirlpool, KitchenAid, Maytag, Jenn-Air, Amana, and Inglis refrigerators. Installation is straightforward—simply slide the drawer into place along the designated tracks. This component is ideal for replacing a cracked, stained, or missing crisper pan to restore full functionality and maintain proper food storage conditions.
Read less

$27.36
In Stock
Water Tube Kit
Part #W10823511
This is the replacement water tube kit for your refrigerator. This tubing is made of plastic, is 1/4 inch in diameter, and comes with 2 inserts. This tube may be longer than the original tube, and may need to be cut. This water tube transports water to the ice and water dispensers. If your refrigerator is leaking, or if the ice and water ...Read moredispensers are not dispensing properly, you may need to replace this tube. This part is sold individually and is an OEM part sourced directly from the manufacturer.
Read less

$62.60
In Stock
Door Shelf
Part #WP2309941
This authentic Whirlpool refrigerator part is a door shelf rail. It snaps into your refrigerator door and prevents items from sliding or falling out when your open the door. It is made of plastic and is approximately 17 inches in length by 5 inches in width. To replace this part, simply snap out the old door shelf rail and install the new one.
Common Symptoms of the ASI2575FRW00
How this model fails, and the parts that fix it.
Door won’t open or close
Fixed by
these parts
these parts


Show All
Fridge too warm
Fixed by
these parts
these parts


Show All
Leaking
Fixed by
these parts
these parts


Show All
Ice maker won’t dispense ice
Fixed by
these parts
these parts


Show All
Noisy
Fixed by
these parts
these parts

Show All
Light not working
Fixed by
these parts
these parts


Show All
Ice maker not making ice
Fixed by
these parts
these parts


Show All
Freezer not defrosting
Fixed by
these parts
these parts


Show All
Clicking sound
Fixed by
these parts
these parts


Show All
Fridge and Freezer are too warm
Fixed by
these parts
these parts

Show All
Freezer section too warm
Fixed by
these parts
these parts
Show All
Not dispensing water
Fixed by
these parts
these parts

Show All
Will Not Start
Fixed by
these parts
these parts
Show All
Frost buildup
Fixed by
these parts
these parts


Show All
Fridge too cold
Fixed by
these parts
these parts
Show All
Door Sweating
Fixed by
these parts
these parts

Show All
Too warm
Fixed by
these parts
these parts
Show All
Freezer too cold
Fixed by
these parts
these parts
Show All
Ice maker dispenses too little ice
Fixed by
these parts
these parts
Show All
Fridge runs too long
Fixed by
these parts
these parts
Show All
Watch our pros, then fix it yourself.

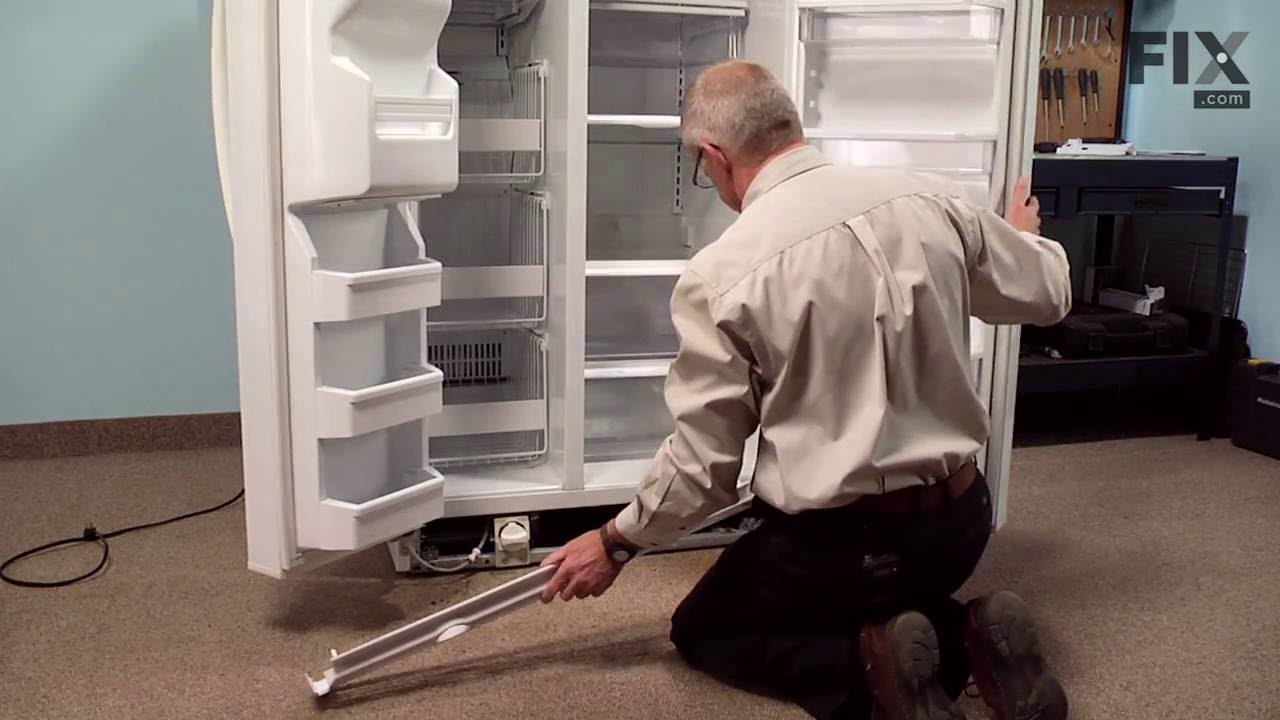
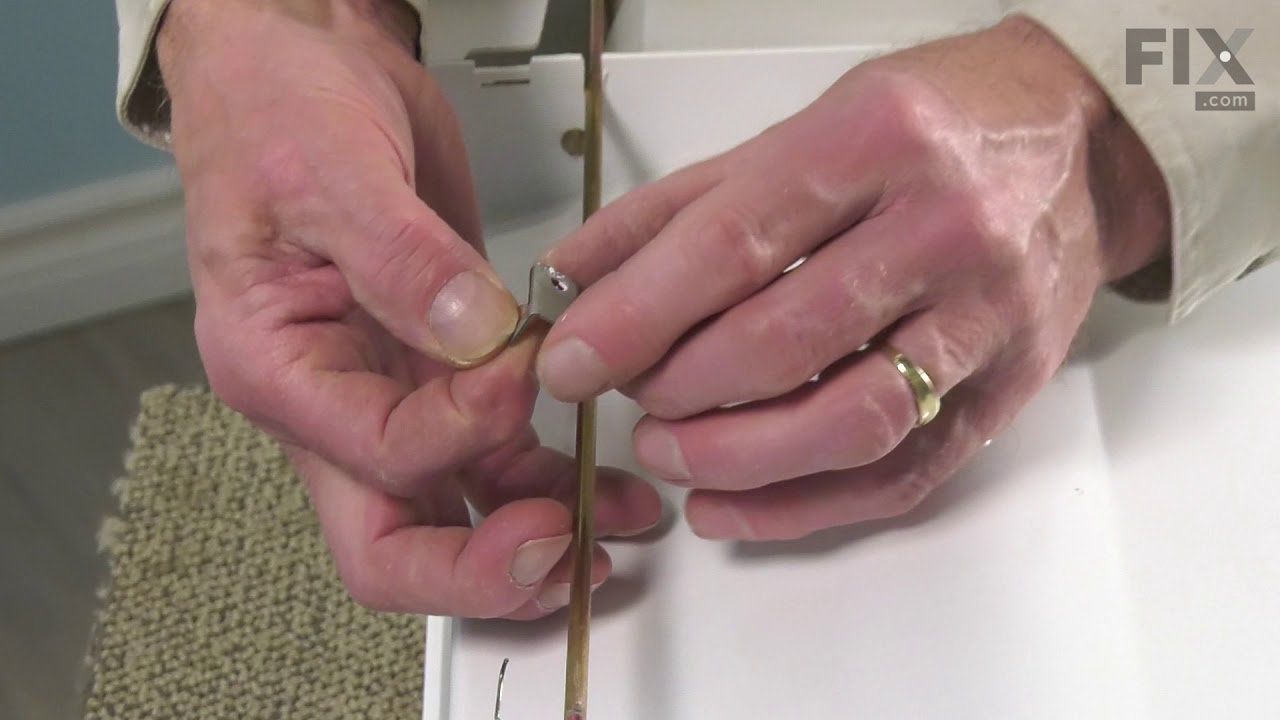

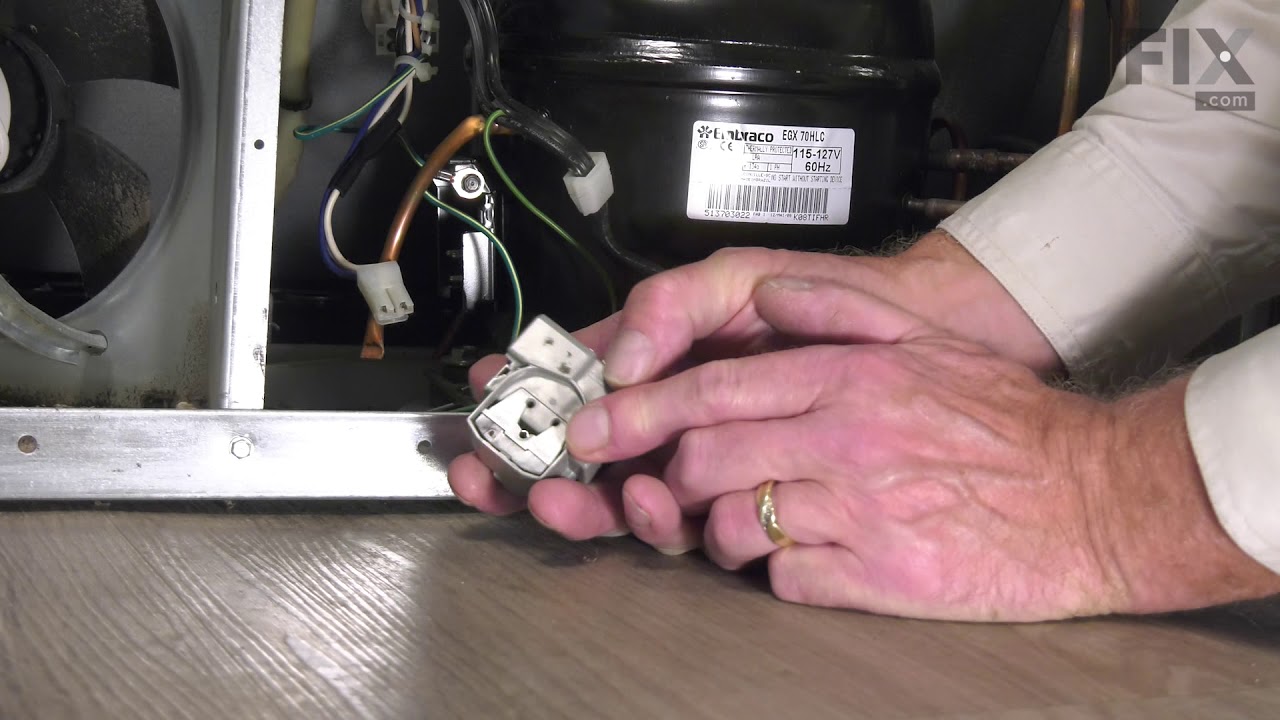

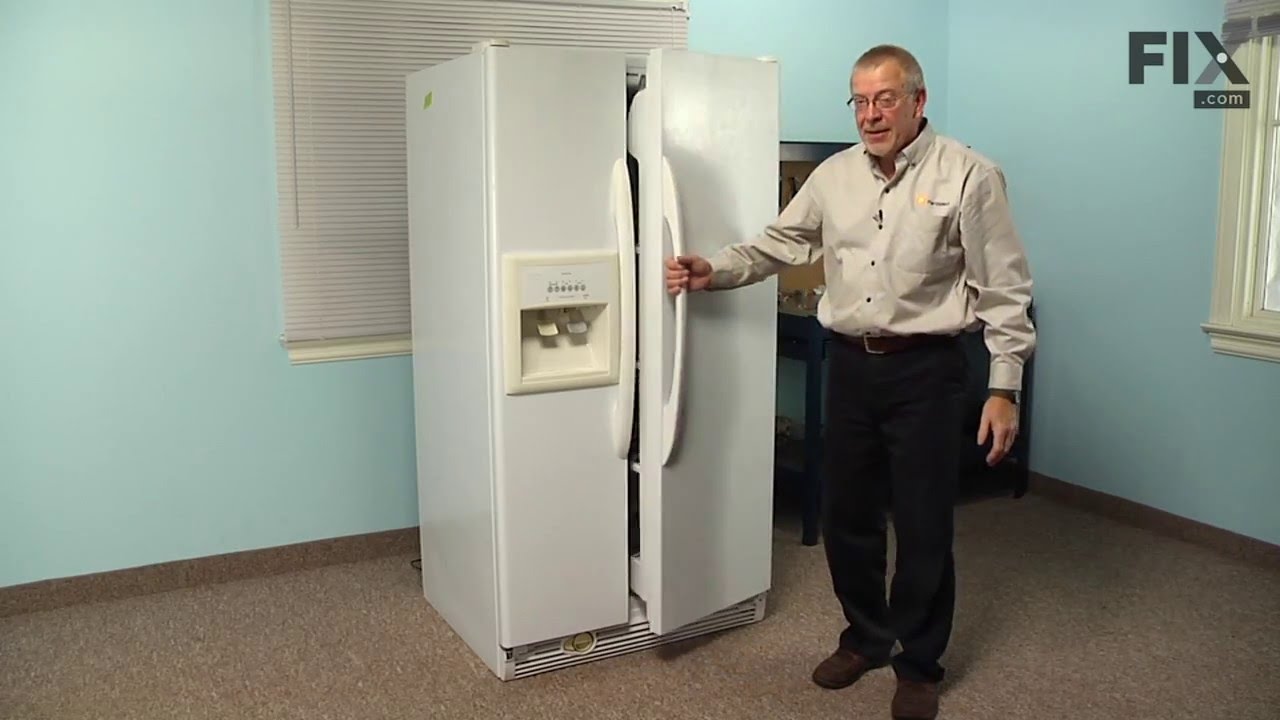
See how others fixed this model. Time, tools, difficulty, and steps that lead to victory!
View More