


 My Orders




AS23 Amana Refrigerator - Overview
Models starting with AS23
Click on the best match to narrow your results.
Enter a part description. DIY Heroes keep it simple, eg. "belt" or "pump".
Search filter:
Clear Filter
Your search term must have 3 or more characters.

$95.17
In Stock
Replacement Ice Maker
Part #D7824706Q
This ice maker (Ice Maker Assembly, Refrigerator Ice Maker) produces ice cubes that are ejected into the storage bucket. It is located in the freezer section of your appliance, mounted on the freezer wall. The ice maker can break from normal wear and accidental damage. If this happens, your refrigerator may no longer make ice cubes, or ma...Read morey not make enough cubes, and the part should be replaced. This model measures approximately 11 inches long and 5 inches wide. It’s constructed of plastic and metal, and comes in black/white/silver. This assembly includes the ice mold and the control device.
Read less

$30.53
In Stock
Door Switch
Part #W11396033
This light switch may also be known as a refrigerator door switch or a light switch kit, and is compatible with your refrigerator. The function of the refrigerator door switch is to turn on the light when your fridge door is open, and to make sure it is off when your refrigerator door is closed. The reason you would need to replace this p...Read moreart is if your light is not turning on when your door is open. For this repair, you will need a putty knife, and a small flat-blade screwdriver.
Read less

$9.62
In Stock
Door Closure Cam Kit
Part #R0181181
This door closing cam kit is intended for use on the bottom of your refrigerator and freezer door hinges. The cam helps close the doors and to lifts them slightly when opened. If your door will not open or close, or will not stay closed, there could be an issue with the door close cam. Other common symptoms associated with the door close ...Read morecam are: the door is sweating, the fridge is too warm, or a clicking sound can be heard coming from the door. If your refrigerator has an ice and water dispenser, you will need to disconnect the power and water to the unit before you begin the repair.
Read less

$7.47
In Stock

$10.70
In Stock
Refrigerator Crisper Frame Support
Part #WP12603701
This genuine OEM crisper frame support provides stability to the crisper drawer in your refrigerator, preventing sagging or collapse under the weight of produce. It is typically located at the bottom or near the rear wall of the fridge. If the crisper drawer feels unstable or wobbly, it may indicate a broken or damaged frame support. To r...Read moreeplace it, remove items from the crisper shelf, then the shelf and crisper itself. Take off the glass from the top of the frame, and pull the support off the mounting stud. Note that the wall anchor for mounting this replacement part is sold separately.
Read less

$27.36
In Stock
Ice Maker Helix End Cap
Part #WPD7749401
This helix end cap is almost four inches in diameter. It is all white in color and is made of plastic. This end cap is used in a refrigerator's icemaker.

$48.45
In Stock
Refrigerator Water Filter Bypass
Part #W11395888
This water filter bypass cap, also known as a water filter bypass plug, is an authentic OEM part that replaces the regular water filter cartridge in refrigerators. It allows water to flow freely through the dispensing system when the filter is not present. The bypass can fail if it becomes clogged, cracked, or falls out of alignment. A fa...Read moreulty filter bypass will result in leaking, poor ice production, and difficulties dispensing water. You can find the filter bypass inside the refrigerator, near the water filter housing. Disconnect the water supply lines and remove the faulty bypass. Insert the new bypass in its place and reconnect the water supply lines.
Read less

$157.79
In Stock
Refrigerator Electronic Control Board
Part #WPW10503278
The electronic control board is used in refrigerators to monitor and manage the temperature settings, such as cooling or defrosting times. If your fridge or freezer is too warm, too cold, is not defrosting, will not start, and/or runs too long then replacing the control board could solve your appliance problem. The tools needed for this i...Read morenstallation project is a small flat blade screwdriver. *Please note: the board will need to be programmed after installation. Remember to unplug refrigerator from power source as a safety precaution. Refer to the manual provided by the manufacturer for further installation instructions and accurate guidance.
Read less

$35.80
In Stock
Refrigerator Water Fill Cup & Bearing
Part #WP628356
This refrigerator ice maker fill cup dispenses the water into the ice cube mold during the fill cycle. Replacing the water fill cup is a possible solution if you notice that the ice maker is leaking, or not making/dispensing ice. If you notice the fill cup has been damaged or cracked; replace the part straight away. This water fill cup is...Read more a genuine OEM part and will fit most refrigerators, but check the list of compatible brands to make sure yours is included before purchasing.
Read less

$28.42
In Stock
Refrigerator Switch
Part #W11291138
This is a light switch for your refrigerator. It activates when the door of your appliance is opened, and it will turn the light inside on and off. You will need to replace this part is if your light is not working properly. In order to make this repair you will need a Phillips screwdriver, a pair of needle nose pliers, and a small flat b...Read morelade screwdriver. This light switch is almost 2 inches long, 1.5 inches wide, and just over an inch thick.
Read less

$28.42
In Stock
Evaporator Fan Blade
Part #WP2169142
If your refrigerator or freezer is too warm, or making noises, you may need to replace the fan blade. The fan blade attaches to the evaporator motor, which is in the freezer section, to help circulate the cold air into the refrigerator and freezer sections. The fan blade is white in color and made from plastic. This is a genuine OEM part...Read more. Please be sure to disconnect the power to your refrigerator before starting your repair.
Read less

$47.40
In Stock
Thermistor
Part #12002355
This long harness thermistor kit is what helps monitor and regulate the temperature inside your refrigerator. It can be located in either the freezer compartment near the evaporator coils or in the fresh food compartment near the airflow channels, depending on the model. If you notice issues like excessive icing in the freezer, inadequate...Read more cooling in the refrigerator, temperature fluctuations, or error messages on the display panel, it indicates a potential problem with the thermistor. Since your fridge will not be able to maintain the desired temperature, this results in food spoilage, inefficient cooling, and potential damage to the cooling components. To replace the thermistor, disconnect it from the connector plug or wiring harness and remove any mounting brackets or clips using a screwdriver if necessary. Remember to consult your user manual to determine the required number of thermistors, as they are sold individually as OEM replacement parts.
Read less
Common Symptoms of models starting with AS23
How this model fails, and the parts that fix it.
Ice maker not making ice
Fixed by
these parts
these parts


Show All
Leaking
Fixed by
these parts
these parts


Show All
Light not working
Fixed by
these parts
these parts


Show All
Fridge too warm
Fixed by
these parts
these parts


Show All
Ice maker won’t dispense ice
Fixed by
these parts
these parts


Show All
Not dispensing water
Fixed by
these parts
these parts


Show All
Fridge too cold
Fixed by
these parts
these parts
Show All
Door won’t open or close
Fixed by
these parts
these parts


Show All
Freezer not defrosting
Fixed by
these parts
these parts
Show All
Noisy
Fixed by
these parts
these parts

Show All
Will Not Start
Fixed by
these parts
these parts
Show All
Clicking sound
Fixed by
these parts
these parts
Show All
Freezer too cold
Fixed by
these parts
these parts
Show All
Freezer section too warm
Fixed by
these parts
these parts
Show All
Ice maker dispenses too much ice
Fixed by
these parts
these parts
Show All
Ice maker dispenses too little ice
Fixed by
these parts
these parts
Show All
Door Sweating
Fixed by
these parts
these parts

Show All
Fridge and Freezer are too warm
Fixed by
these parts
these parts
Show All
Frost buildup
Fixed by
these parts
these parts
Show All
Fridge runs too long
Fixed by
these parts
these parts
Show All
Won’t start
Fixed by
these parts
these parts
Show All
Too warm
Fixed by
these parts
these parts
Show All
Watch our pros, then fix it yourself.


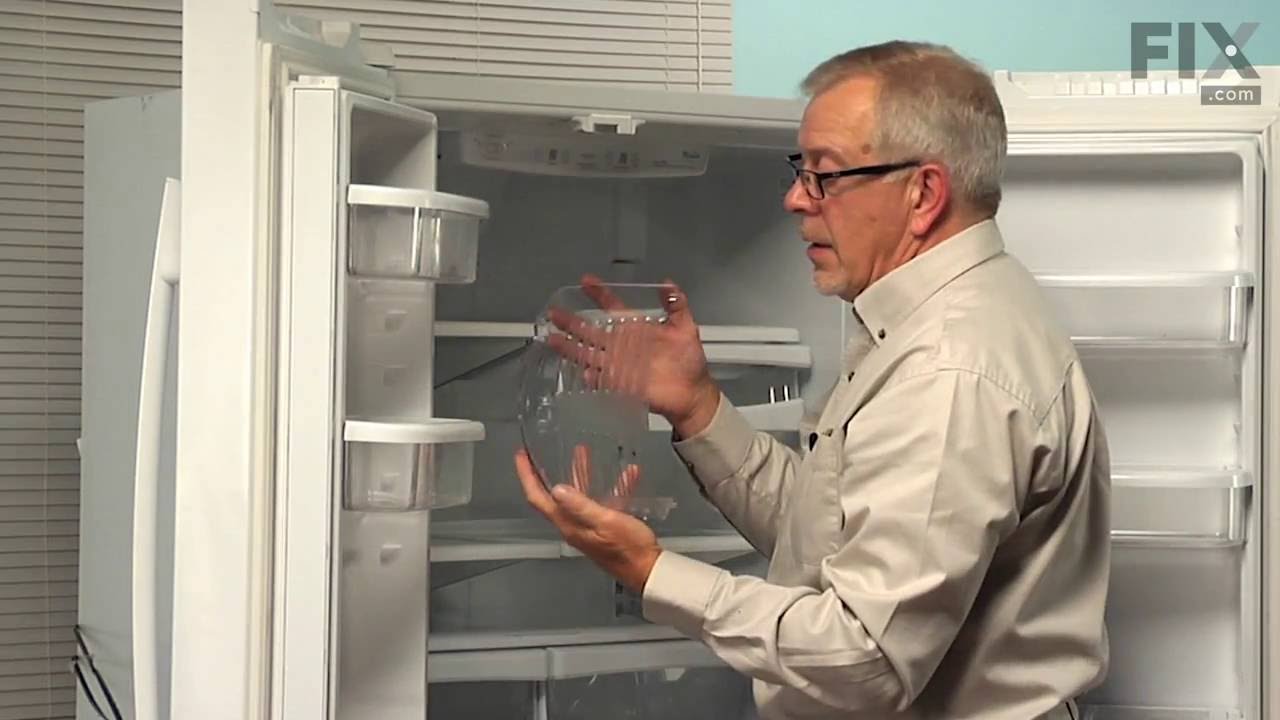

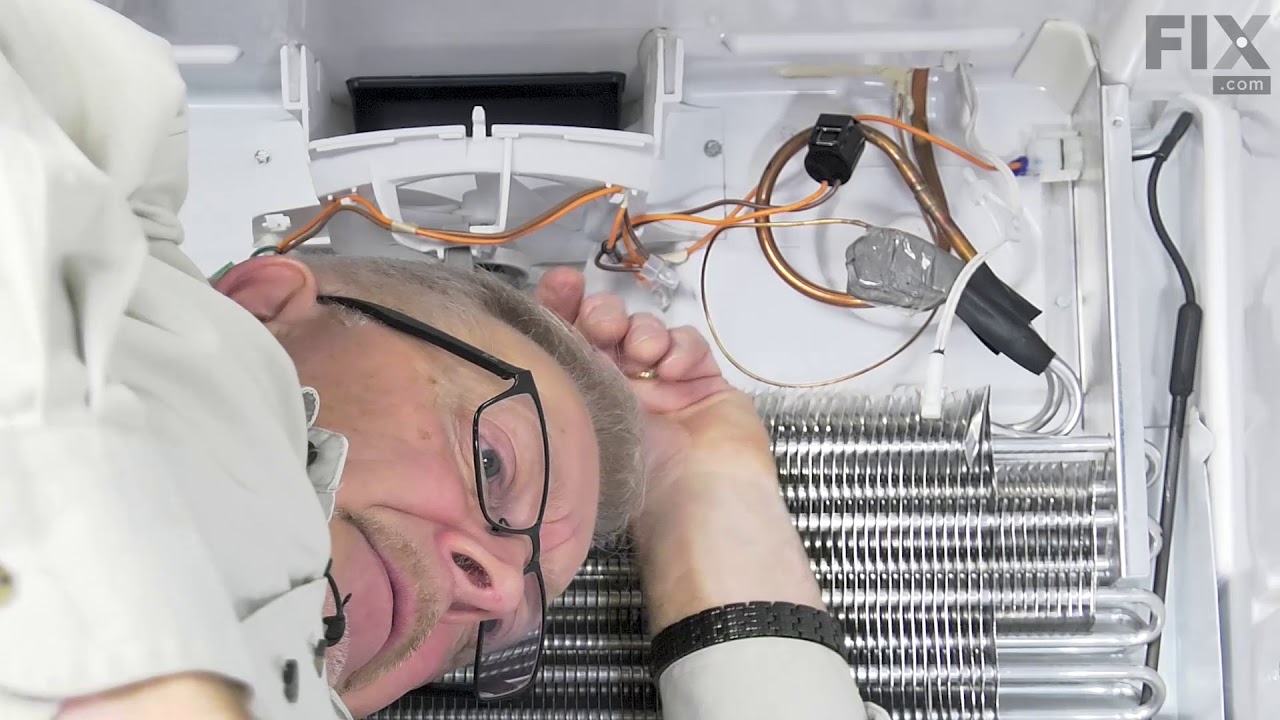
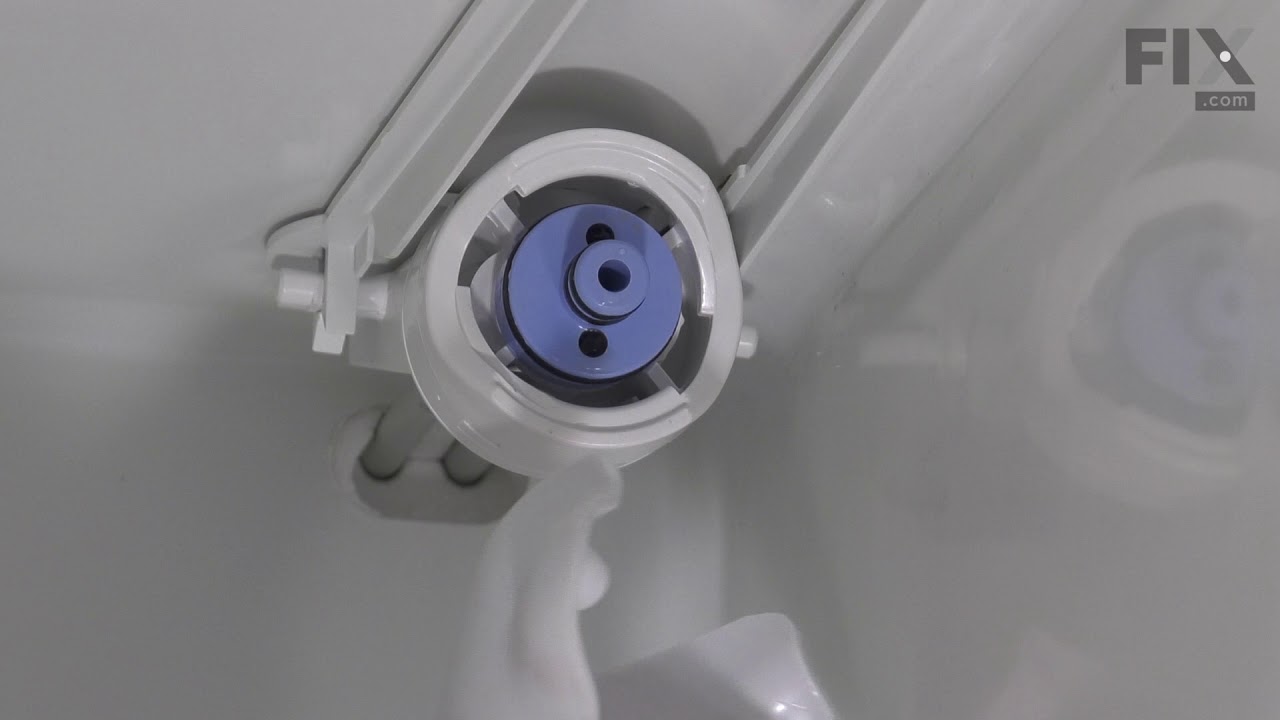
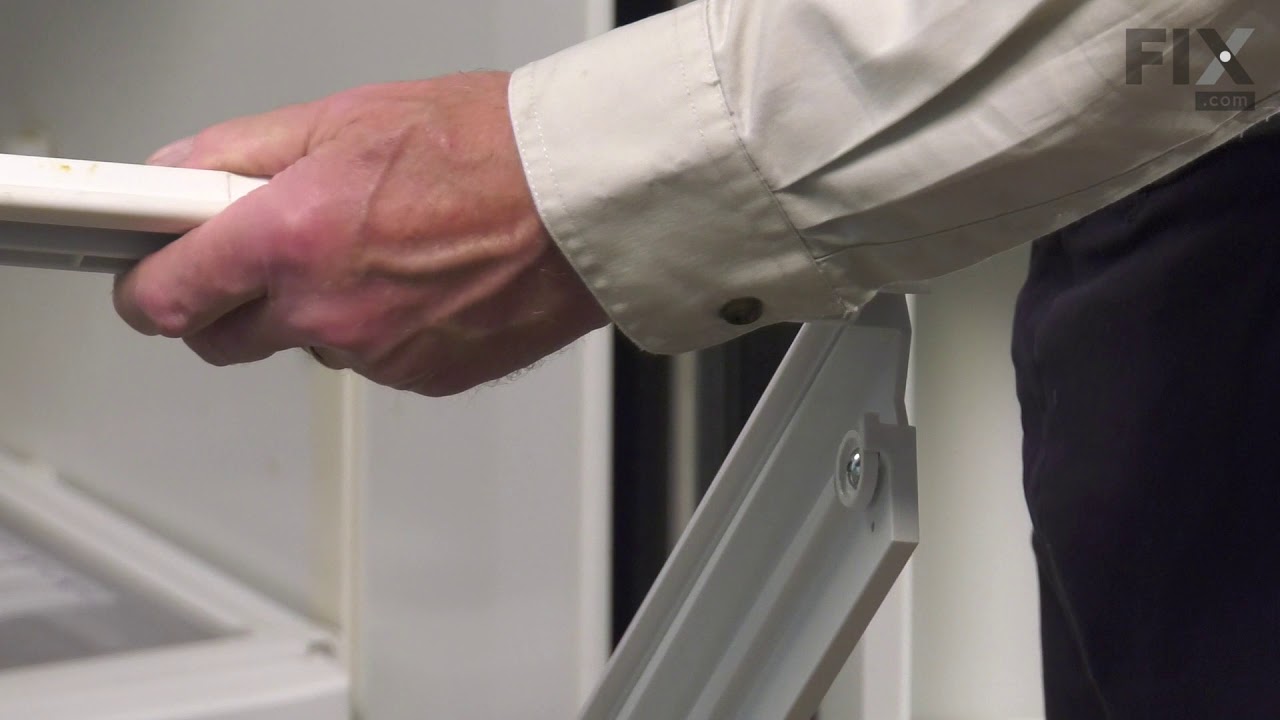
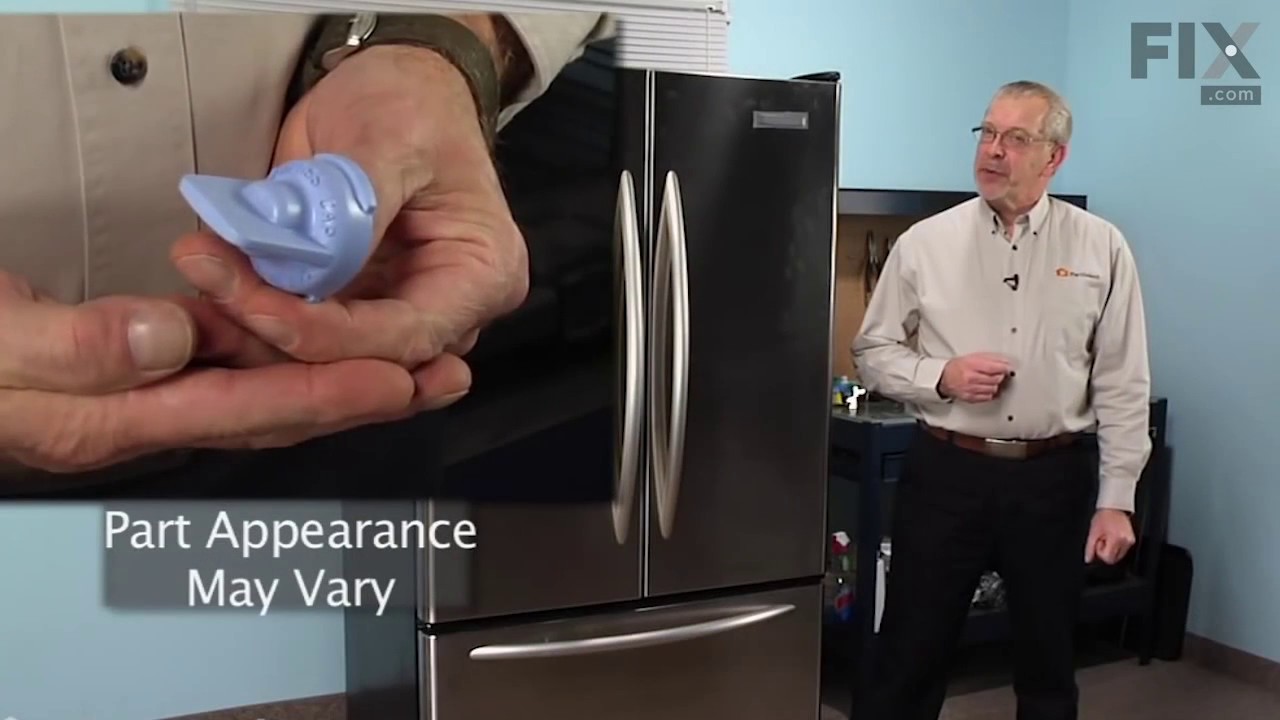
See how others fixed this model. Time, tools, difficulty, and steps that lead to victory!
View More