


 My Orders




ART31 Refrigerator - Overview
Models starting with ART31
Click on the best match to narrow your results.
- ART316TFDW00 Amana Refrigerator (REFRIGERATOR)
- ART316TFDW00 Whirlpool Refrigerator (Whirlpool Refrigerator Art316tfdw00)
- ART316TFDW01 Whirlpool Refrigerator (Whirlpool Refrigerator Art316tfdw01)
- ART316TFDW01 Amana Refrigerator (REFRIGERATOR)
- ART316TFDW02 Admiral Refrigerator (Admiral Refrigerator Art316tfdw02)
- ART318FFDB02 Amana Refrigerator (REFRIGERATOR)
- ART318FFDB03 Amana Refrigerator (REFRIGERATOR)
- ART318FFDB06 Maytag Refrigerator
- ART318FFDB06 Whirlpool Refrigerator (Whirlpool Refrigerator Art318ffdb06)
- ART318FFDB07 Whirlpool Refrigerator (Refrigerator)
- ART318FFDB08 Amana Refrigerator (Refrigerator)
- ART318FFDB10 Amana Refrigerator (Refrigerator)
- ART318FFDB11 Amana Refrigerator (Amana Refrigerator Art318ffdb11)
- ART318FFDS02 Amana Refrigerator (REFRIGERATOR)
- ART318FFDS03 Amana Refrigerator (REFRIGERATOR)
- ART318FFDS06 Maytag Refrigerator
- ART318FFDS06 Whirlpool Refrigerator (Whirlpool Refrigerator Art318ffds06)
- ART318FFDS07 Whirlpool Refrigerator (Refrigerator)
- ART318FFDS08 Amana Refrigerator (Refrigerator)
- ART318FFDS10 Amana Refrigerator (Refrigerator)
- ART318FFDS11 Amana Refrigerator (Amana Refrigerator Art318ffds11)
- ART318FFDW00 Whirlpool Refrigerator (Whirlpool Refrigerator Art318ffdw00)
- ART318FFDW00 Amana Refrigerator (REFRIGERATOR)
- ART318FFDW01 Amana Refrigerator (REFRIGERATOR)
- ART318FFDW01 Whirlpool Refrigerator (Whirlpool Refrigerator Art318ffdw01)
- ART318FFDW02 Whirlpool Refrigerator (Whirlpool Refrigerator Art318ffdw02)
- ART318FFDW02 Amana Refrigerator (REFRIGERATOR)
- ART318FFDW03 Amana Refrigerator (REFRIGERATOR)
- ART318FFDW06 Maytag Refrigerator
- ART318FFDW06 Whirlpool Refrigerator (Whirlpool Refrigerator Art318ffdw06)
- ART318FFDW07 Whirlpool Refrigerator (Refrigerator)
- ART318FFDW08 Amana Refrigerator (Refrigerator)
- ART318FFDW10 Amana Refrigerator (Refrigerator)
- ART318FFDW11 Amana Refrigerator (Amana Refrigerator Art318ffdw11)
Enter a part description. DIY Heroes keep it simple, eg. "belt" or "pump".
Search filter:
Clear Filter
Your search term must have 3 or more characters.

$19.54
In Stock
Light Bulb - 40W
Part #8009
This an authentic OEM 40-Watt replacement light bulb, used in a number of household appliances. It is specially designed to withstand extreme temperatures, which is why these replacement bulbs are most often used to light the inside of refrigerators and ranges. It features a standard socket base, which means you simply unscrew the burnt-o...Read moreut bulb and screw in the replacement. Depending on the appliance you may require a screwdriver or nut driver to access the light bulb. We recommend you wear work gloves while handling this replacement part. It is constructed of glass and metal and is sold individually. Depending on the appliance and location of the bulb within it, you may want to consider disconnecting power and using a flashlight for easier access to unscrewing and re-screwing in your bulb during this repair.
Read less

$30.53
In Stock

$45.29
In Stock
Refrigerator Capacitor
Part #WPW10662129
This capacitor (Refrigerator and Freezer Compressor Run Capacitor, Run Capacitor) provides the voltage or energy current required to start the compressor and keep it running. It allows the compressor in your appliance to easily cycle on and off. This capacitor mounts directly onto the compressor starting relay. If the capacitor is faulty ...Read morethe compressor may get unusually hot and draw excessive amperage. It the compressor overheats, it may fail to run until it cools down again. The compressor may also get noisy from overheating. If this part is totally electrically open, it is defective (often due to overheating) and needs to be replaced. The part measures 1 inch by 1-1/2 inches, and is constructed of plastic with two metal wire terminals. This item includes 1 capacitor, sold individually. This part comes in black.
Read less

$11.77
In Stock
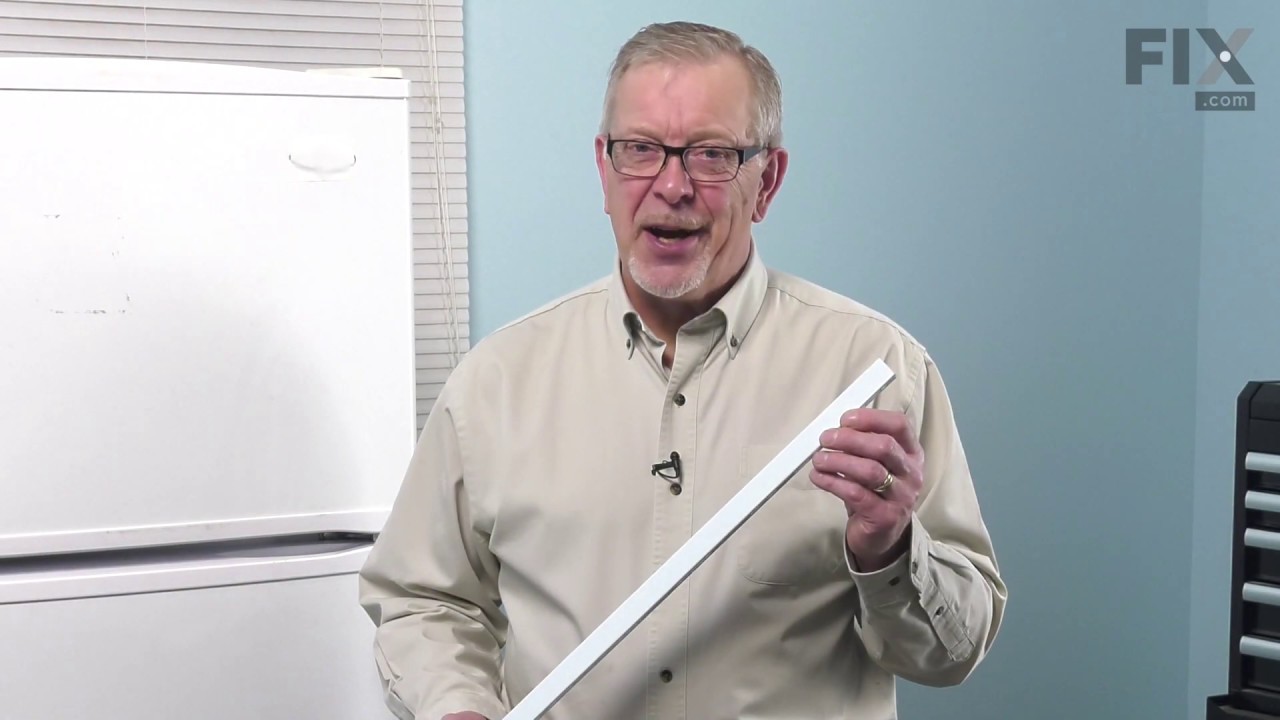
Refrigerator Door Shelf Retainer Bar End Cap
Part #WP2156003
The door shelf retainer bar end cap connects to the retainer bar on your refrigerator’s door shelf, and attaches it to the refrigerator door. If your shelf retainer bar has become disconnected, a damaged end cap could be the cause. To remove the end cap, first unhook the release tab on both ends of the retainer bar. Slide out the bar and ...Read morethe end caps, and slide out the defective cap. Now, simply replace the end cap and snap the bar with end caps back in place on the refrigerator door. This part is made of white plastic and is sold individually.
Read less

$55.29
In Stock
Freezer Evaporator Fan Motor
Part #WP2315539
This evaporator fan motor is located in the back of the freezer, and circulates air over the refrigerator coils. These coils will convert the heat into cool air, which is then circulated.

$146.56
In Stock
ICE MAKER KIT-PKG ASSEMBLY (EZ
Part #W11700559
This genuine OEM ice maker kit is designed to fit refrigerators that did not originally come with an ice maker. This kit contains everything needed to install the new ice maker on your refrigerator including: the ice maker, ice bin, inlet valve, fill tube, and hardware. If your new ice maker does not function properly after being installe...Read mored, check the freezer temperature. The freezer must to be around zero degrees Fahrenheit. Remember to disconnect the power and water supply to your refrigerator before beginning this installation. Make sure to check that your model is compatible with this part before ordering.
Note: The manufacturer has updated this part. It may differ in appearance but will function the same as the original.
Read less

$24.15
In Stock
Touch-Up Paint - White
Part #72017
This touch-up paint can be used on a wide variety of household appliances. It is most often used on washers, dryer, refrigerators, dishwashers, ranges, freezers, trash compactors, or microwaves. It is an 18 ml, or.6 fluid ounces, bottle of touch-up paint. It also features a brush for easy application. This quick-drying, long-lasting paint...Read more is perfect for fixing any nicks, scratches, or chips on the exterior of your appliance. This paint is white in color, and provides a durable finish.
Read less

$11.77
In Stock
$12.85
In Stock
BRACKET-DOOR STOP,ZINC
Part #W11745278
This hinge bracket, also known as a door stop, is attached to the bottom of the door and is used to limit how far the door swings out to protect the refrigerator itself, and any surrounding cabinets from potential damage. If your fridge is having issues opening or staying closed, check the hinges for any damage or cracking. To replace thi...Read mores bracket, simply remove the door off your refrigerator, unscrew and remove this bracket from the bottom of the door, and install the new one. This hinge bracket is an OEM replacement and is compatible with several different makes and models of refrigerator.
Read less

$7.47
In Stock

$54.24
In Stock
Light Socket Kit
Part #4387478
The light socket in your refrigerator houses the light bulb and connects it to the power source. If your refrigerator light is not coming on when you open the door, you may need to replace the light socket. Before you replace the light socket, be sure that your light bulb is in working condition, as this may solve the same problem. This l...Read moreight socket kit comes with 2 wire connectors, a light shield, and the new socket. The wire connectors that come with this kit are included so your new socket can replace a variety of old ones. If this light socket is different than your original, you will need to use the connectors to make it fit your refrigerator. Be sure to follow the instructions provided, so this part will fit your refrigerator properly.
Read less
$107.37
In Stock
ICE MAKER FIELD INSTALL KIT (T
Part #W11729596
This genuine OEM ice maker kit is designed to fit refrigerators that did not originally come with an ice maker. This kit contains everything needed to install the new ice maker on your refrigerator including: the ice maker, ice bin, inlet valve, fill tube, and hardware. If your new ice maker does not function properly after being installe...Read mored, check the freezer temperature. The freezer must to be around zero degrees Fahrenheit. Remember to disconnect the power and water supply to your refrigerator before beginning this installation. Make sure to check that your model is compatible with this part before ordering.
Note: The manufacturer has updated this part. It may differ in appearance but will function the same as the original.
Read less
Common Symptoms of models starting with ART31
How this model fails, and the parts that fix it.
Light not working
Fixed by
these parts
these parts


Show All
Fridge too warm
Fixed by
these parts
these parts


Show All
Will Not Start
Fixed by
these parts
these parts

Show All
Fridge and Freezer are too warm
Fixed by
these parts
these parts
Show All
Door won’t open or close
Fixed by
these parts
these parts


Show All
Freezer section too warm
Fixed by
these parts
these parts
Show All
Noisy
Fixed by
these parts
these parts


Show All
Freezer not defrosting
Fixed by
these parts
these parts


Show All
Clicking sound
Fixed by
these parts
these parts
Show All
Too warm
Fixed by
these parts
these parts
Show All
Ice maker not making ice
Fixed by
these parts
these parts


Show All
Frost buildup
Fixed by
these parts
these parts


Show All
Fridge too cold
Fixed by
these parts
these parts


Show All
Leaking
Fixed by
these parts
these parts


Show All
Ice maker won’t dispense ice
Fixed by
these parts
these parts
Show All
Won’t start
Fixed by
these parts
these parts
Show All
Fridge runs too long
Fixed by
these parts
these parts
Show All
Door latch failure
Fixed by
these parts
these parts

Show All
Watch our pros, then fix it yourself.



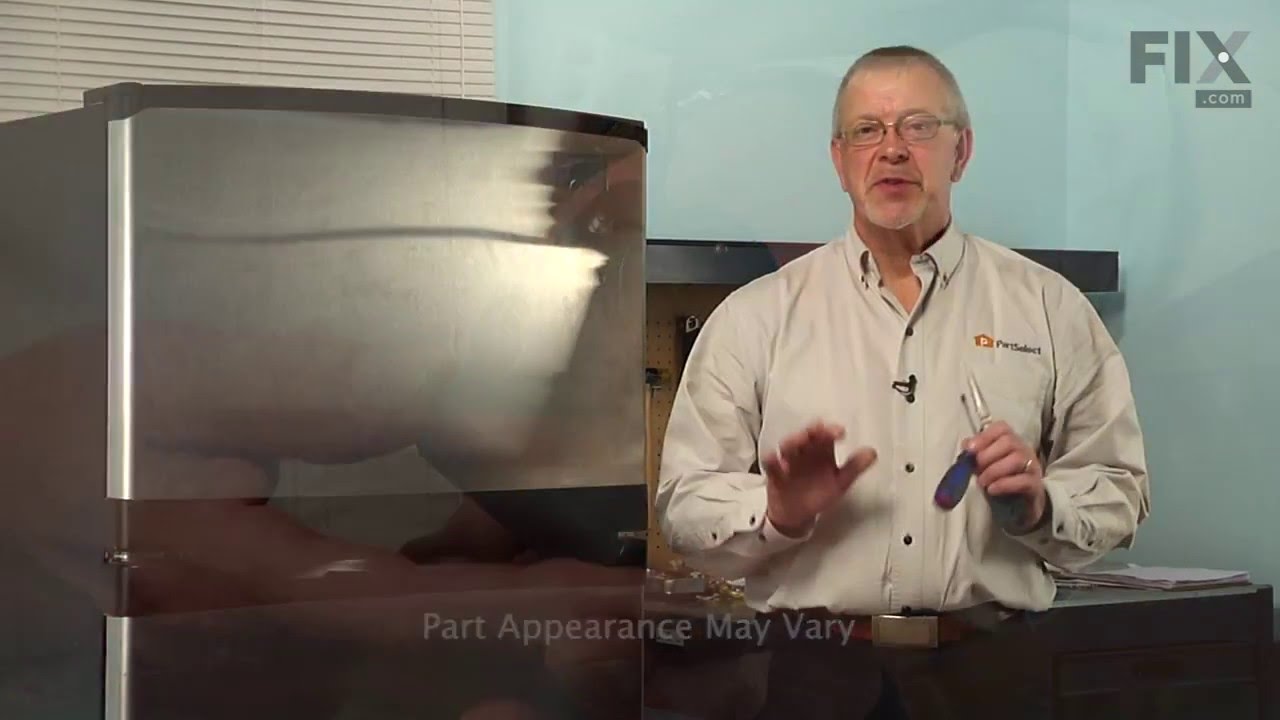
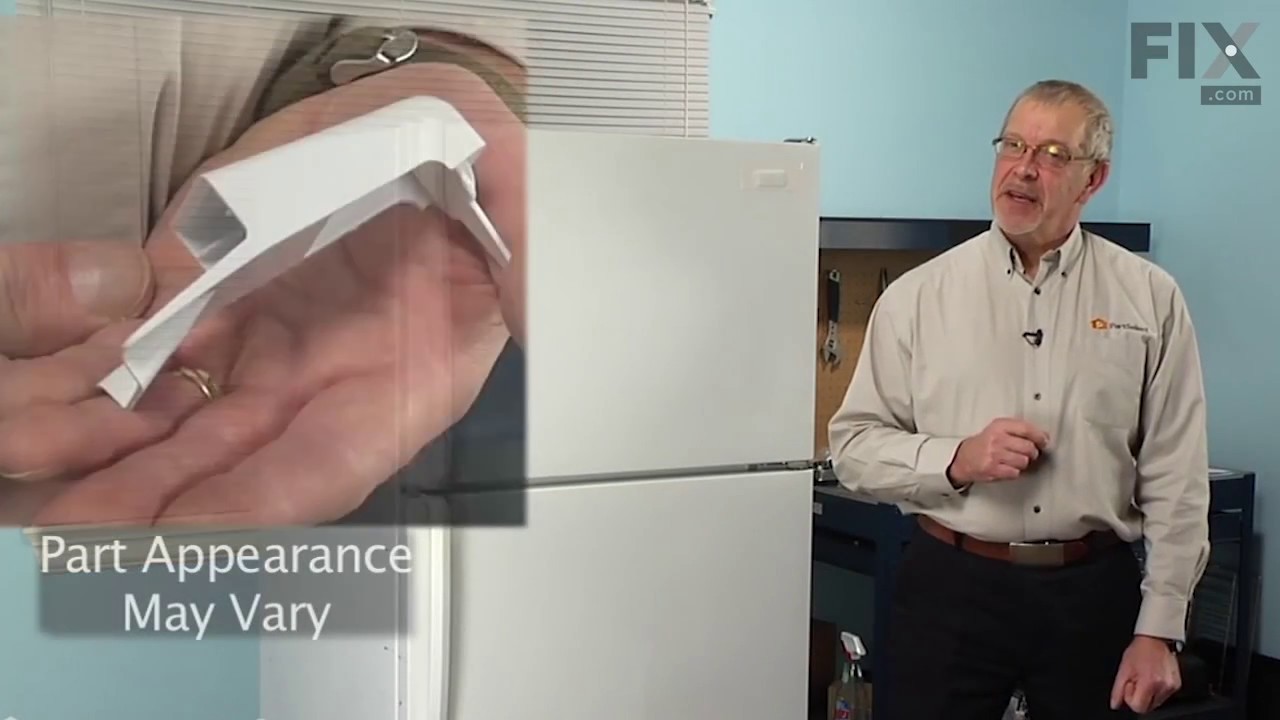
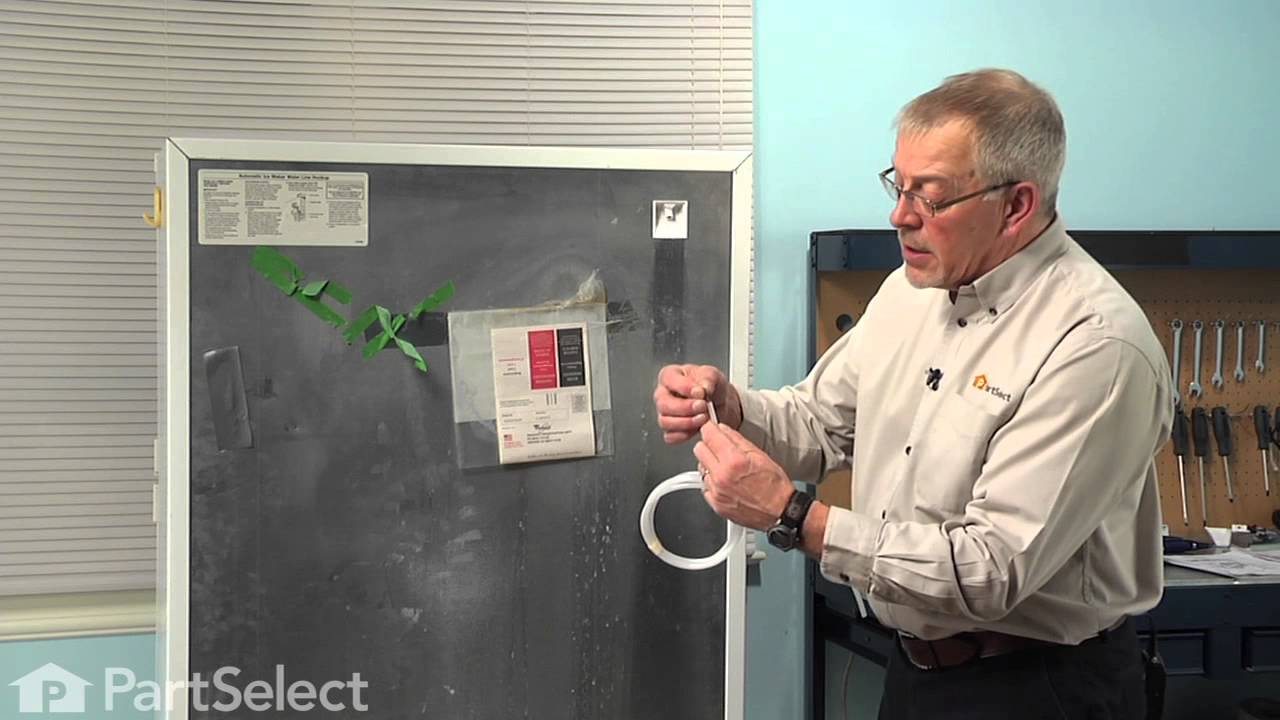
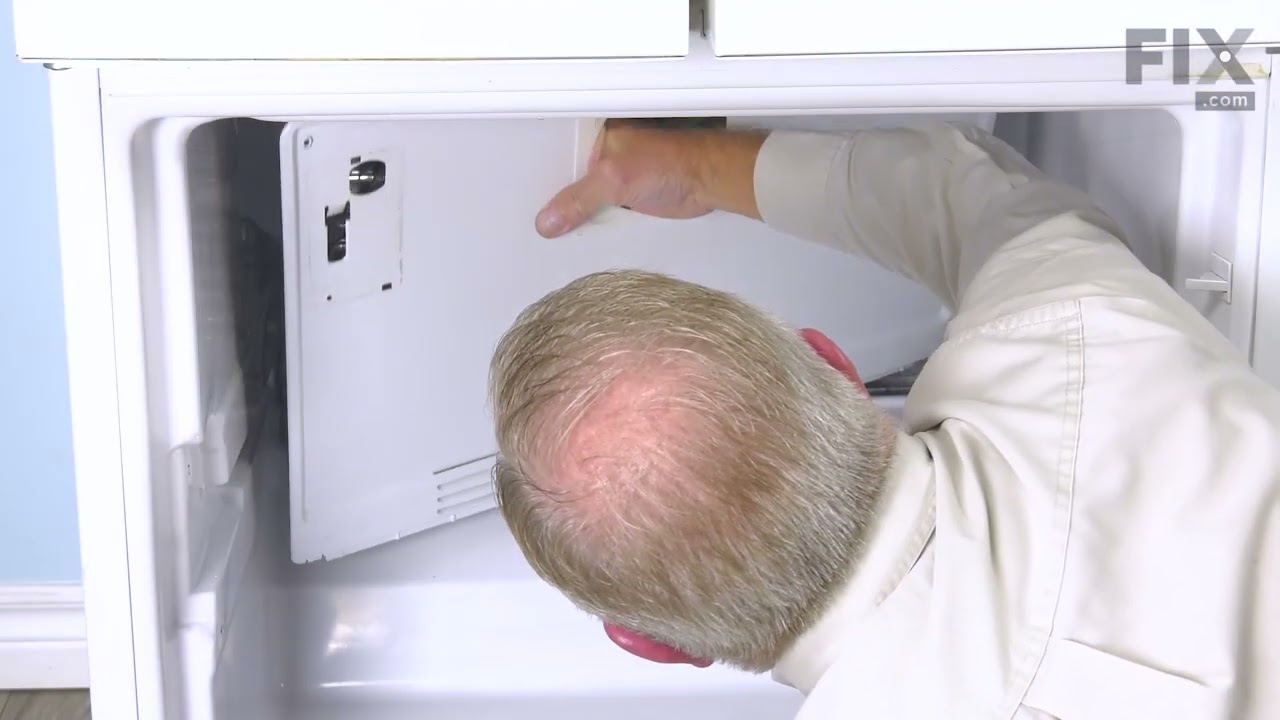
See how others fixed this model. Time, tools, difficulty, and steps that lead to victory!
View More