


 My Orders




ARR630 (P8577206S) Amana Range - Overview
Diagrams for ARR630
See every part. Know exactly what you need.


Enter a part description. DIY Heroes keep it simple, eg. "belt" or "pump".
Search filter:
Clear Filter
Your search term must have 3 or more characters.

$16.07
In Stock
Range Surface Burner Plug-In Block Kit
Part #330031
The surface burner plug-in block kit features a newer-style terminal block. This kit is designed for use with ranges and cooktops. This terminal block is how the coil element on your stove connects to the inner wiring of your appliance. Without this connection your burner element would not get the electrical current it needs to heat up. W...Read morehen your element will not heat at all, or if it is not heating properly it is likely an issue with the terminal block. You need to remove the element to replace this part. While you have the element out, inspect the element and the terminal for any corrosion, arcing, or discoloration. If you notice any damage to the element or the terminals we recommend you replace this part as well. This kit includes two metal brackets, two pre-crimped high-temperature wire leads, two ceramic wire nuts, two heat-shrinking insulators, and a mounting screw. Before you begin this repair, make sure you have unplugged your appliance.
Read less

$20.37
In Stock

$21.45
In Stock
Screw
Part #W11233072
This is a multi-use and multi-appliance screw. It can be used on a microwave, refrigerator, range/oven, air conditioner, dehumidifier, washer, or dryer. The measurements of this screw are 8 x 1/2 inch. It has 6 threads. Refer to the manual provided by the manufacturer for further information on repair and accurate guidance. Remember to wear work gloves as a safety precaution.

$7.47
In Stock

$16.07
In Stock
8 Inch Drip Bowl - Black
Part #WPW10290350
This black porcelain drip bowl with a hole in the bottom is intended for use with some electric ranges and cooktops. This drip bowl measures 10 inches in diameter at its widest point. The purpose of the drip bowl is to catch any spills or grease from the cookware sitting on the burner. The drip bowl might burn, rust, or get to the point w...Read morehere you can no longer get it clean, and will need to be replaced. You will need to remove the surface burner to remove the old drip bowl. These bowls are dishwasher-safe.
Read less

$49.50
In Stock
2 Piece Broiler Pan
Part #4396923
This broiler pan and roasting rack set is designed to help reduce mess while cooking by allowing grease to drain away from food. Its durable porcelain-coated construction stands up to high temperatures and makes cleanup simple. With approximate dimensions of 16 3/4 inches long, 12 3/4 inches wide, and 1 3/4 inches high, it offers a convenient size for everyday broiling and roasting.

$89.21
In Stock
Surface Element - 6 Inch
Part #WPW10259868
Get your cooktop working like new with this 6-inch coil burner. It heats up with 1500 watts of power—great for boiling, simmering, or everyday cooking. Easy to install with looped ends that connect quickly, and it even has a sleek black center for a polished look. If your old burner stopped heating, this is a simple fix to get back to cooking.

$95.15
In Stock
Surface Burner Element - 8 Inch
Part #WP3191454
This surface burner element is a genuine OEM replacement part for your kitchen appliances. It measures 8inches in diameter with a wattage of 2100W. You will need to replace the element if you notice that it is discolored, making popping or crackling noises, no longer level, or no longer heating up. To replace the faulty burner element, ge...Read morently lift and pull it off the appliance. Next, plug the new element terminals into the socket. Remember to first turn off your appliance or turn off the circuit breaker before you begin any repairs.
Read less

$7.47
In Stock

No Longer Available

$69.91
Special Order
Range Light Blub Fluorescent 18 Watt
Part #WP95292
This light bulb is used in a range's control panel.

$24.67
In Stock
Common Symptoms of the ARR630
How this model fails, and the parts that fix it.


Watch our pros, then fix it yourself.
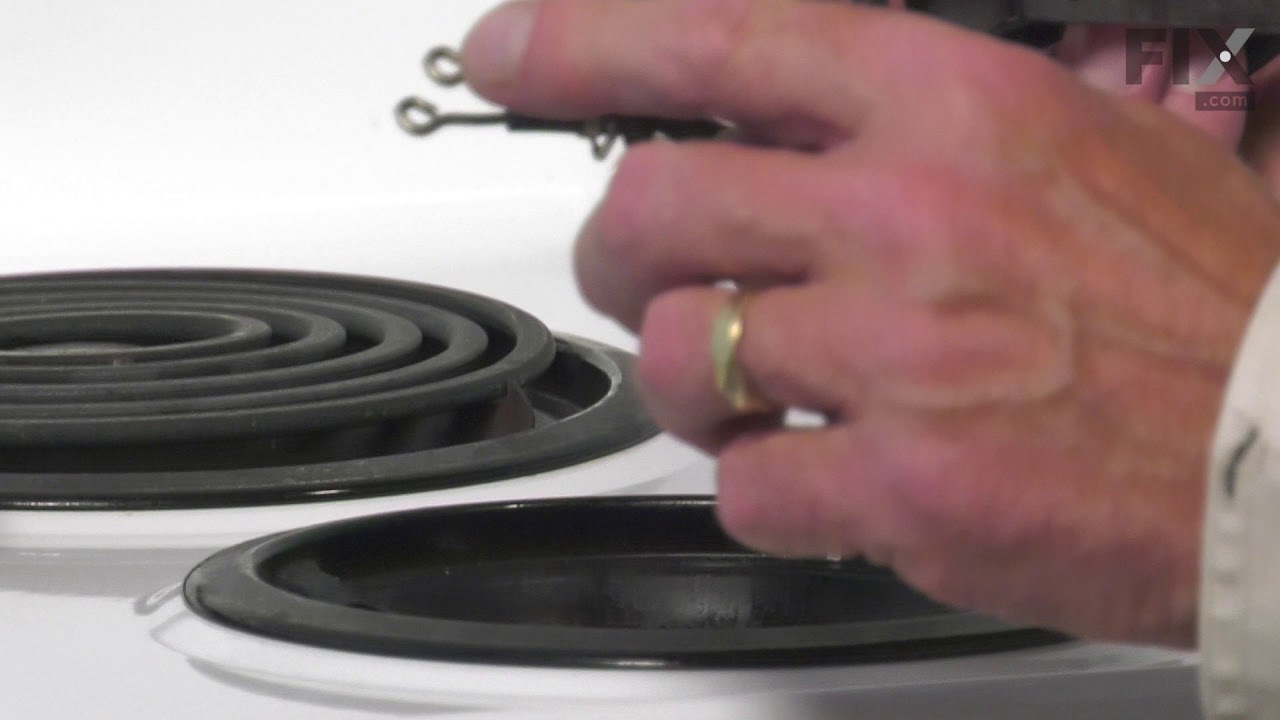
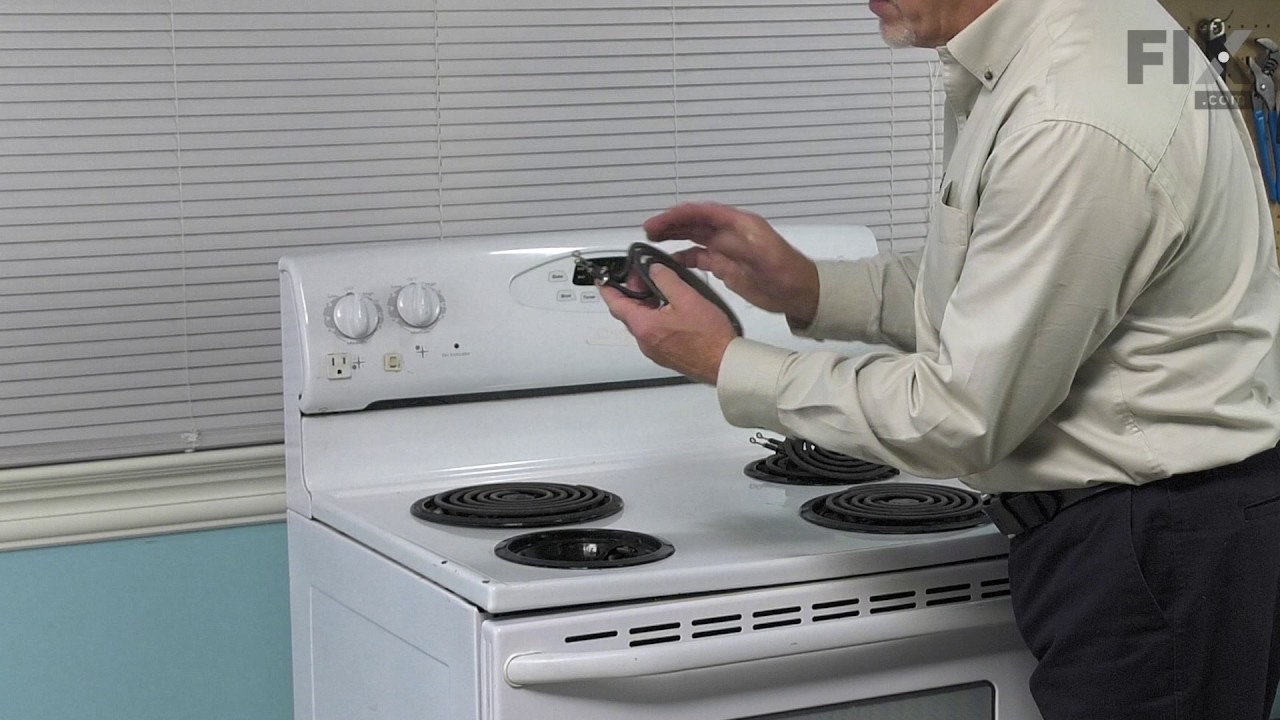


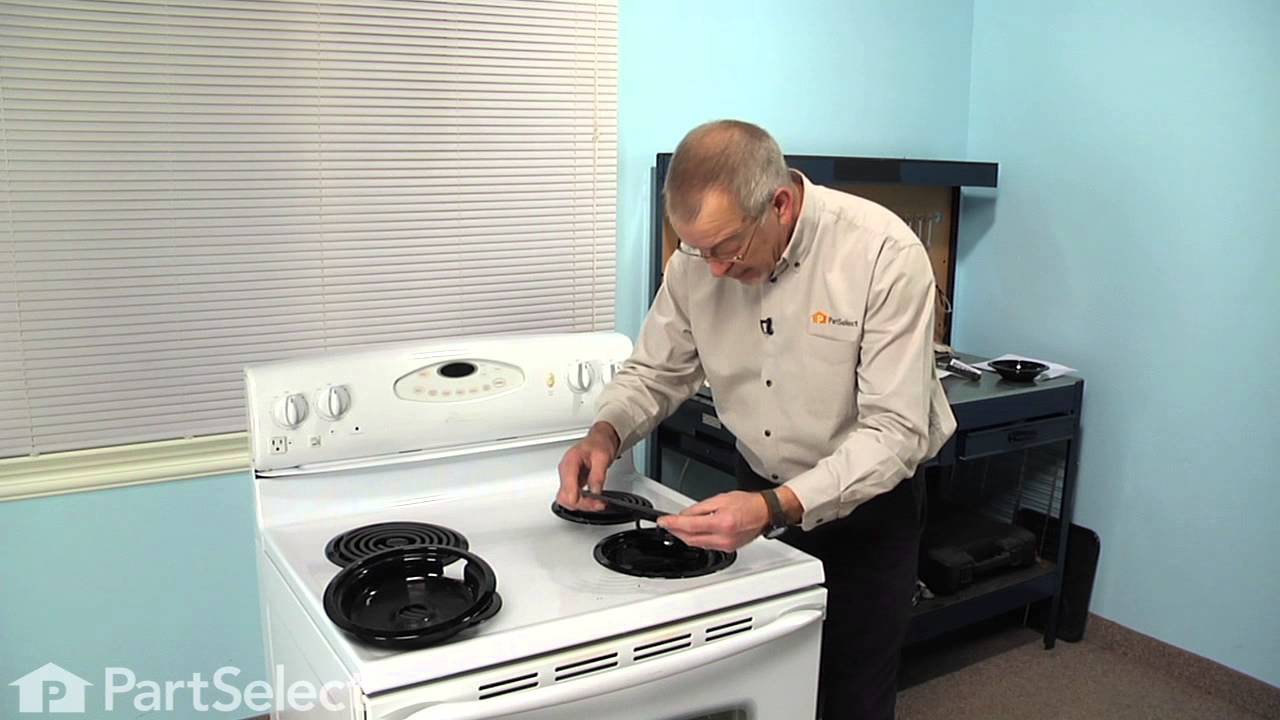
See how others fixed this model. Time, tools, difficulty, and steps that lead to victory!
View More