


 My Orders




ARH660HR (P1120001S) Amana Range - Overview
Diagrams for ARH660HR
See every part. Know exactly what you need.


Enter a part description. DIY Heroes keep it simple, eg. "belt" or "pump".
Search filter:
Clear Filter
Your search term must have 3 or more characters.

$21.45
In Stock
Screw
Part #W11233072
This is a multi-use and multi-appliance screw. It can be used on a microwave, refrigerator, range/oven, air conditioner, dehumidifier, washer, or dryer. The measurements of this screw are 8 x 1/2 inch. It has 6 threads. Refer to the manual provided by the manufacturer for further information on repair and accurate guidance. Remember to wear work gloves as a safety precaution.

$7.47
In Stock

$49.50
In Stock
2 Piece Broiler Pan
Part #4396923
This broiler pan and roasting rack set is designed to help reduce mess while cooking by allowing grease to drain away from food. Its durable porcelain-coated construction stands up to high temperatures and makes cleanup simple. With approximate dimensions of 16 3/4 inches long, 12 3/4 inches wide, and 1 3/4 inches high, it offers a convenient size for everyday broiling and roasting.

$7.47
In Stock

No Longer Available

$7.47
In Stock

$105.35
In Stock
Radiant Surface Burner Element 1500W
Part #W10823699
This surface element is made for under glass set-ups and supplies the heat to a cooking area on top of the range. It has an outside diameter of approximately 7 inches (1500 watts), and is a genuine OEM part sourced directly from the manufacturer. Before you replace your faulty element, make sure the element is cool, and the power is disconnected from your range.

$69.91
Special Order
Range Light Blub Fluorescent 18 Watt
Part #WP95292
This light bulb is used in a range's control panel.

$24.67
In Stock

$151.04
In Stock
Dual Radiant Element with Limiter
Part #W10823726
With the dual element you are able to adjust the size of the burner you want to use to match your pots/pans.

$174.48
In Stock
Dual Burner Element with Limiter
Part #W10823694
This dual radiant surface element restores proper heating on an electric cooktop and provides both an inner and outer heating ring so you can match the burner size to different pans. It is commonly replaced when a burner stops heating or heats unevenly, helping return consistent performance for everyday cooking tasks like boiling, simmeri...Read moreng, and frying. Installation involves disconnecting power, lifting the cooktop or accessing the burner housing, transferring the wiring from the old element to the new one, and securing it in place.
Read less

No Longer Available
Common Symptoms of the ARH660HR
How this model fails, and the parts that fix it.


Watch our pros, then fix it yourself.


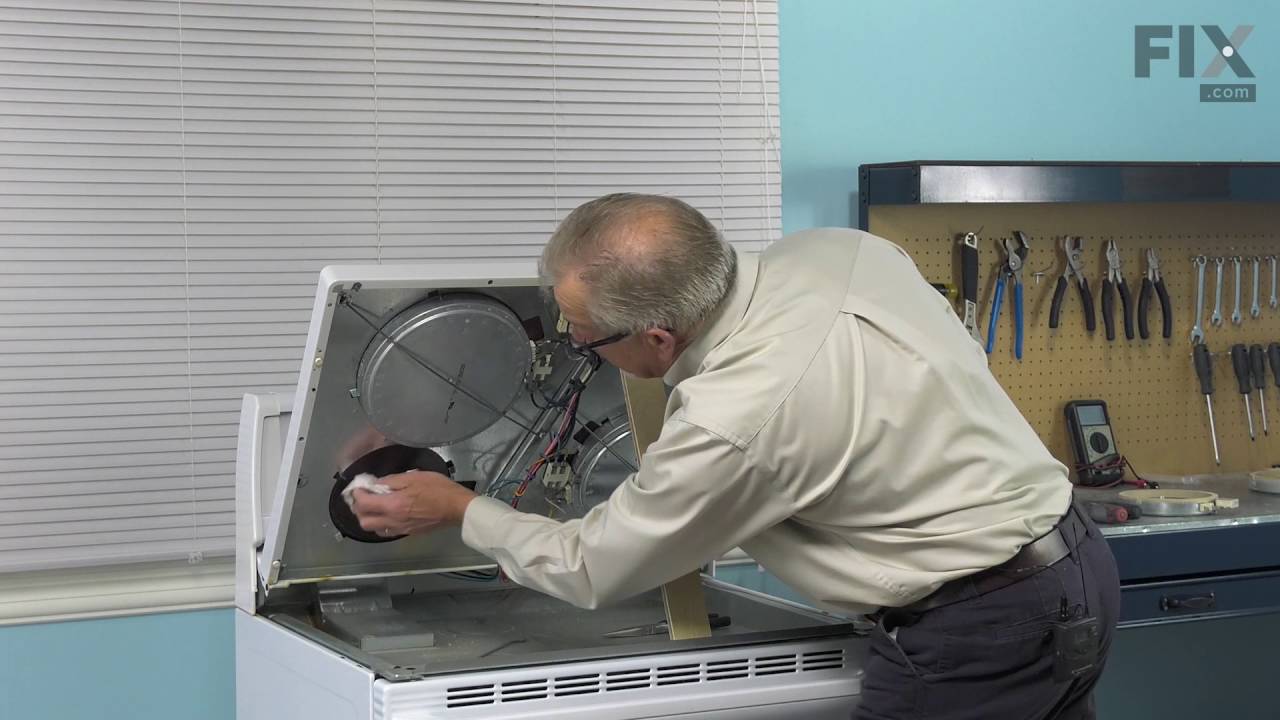
See how others fixed this model. Time, tools, difficulty, and steps that lead to victory!
View More