



 My Orders




ARDS801E (P1131923N) Amana Wall Oven - Overview
Diagrams for ARDS801E
See every part. Know exactly what you need.


Enter a part description. DIY Heroes keep it simple, eg. "belt" or "pump".
Search filter:
Clear Filter
Your search term must have 3 or more characters.

$27.36
In Stock
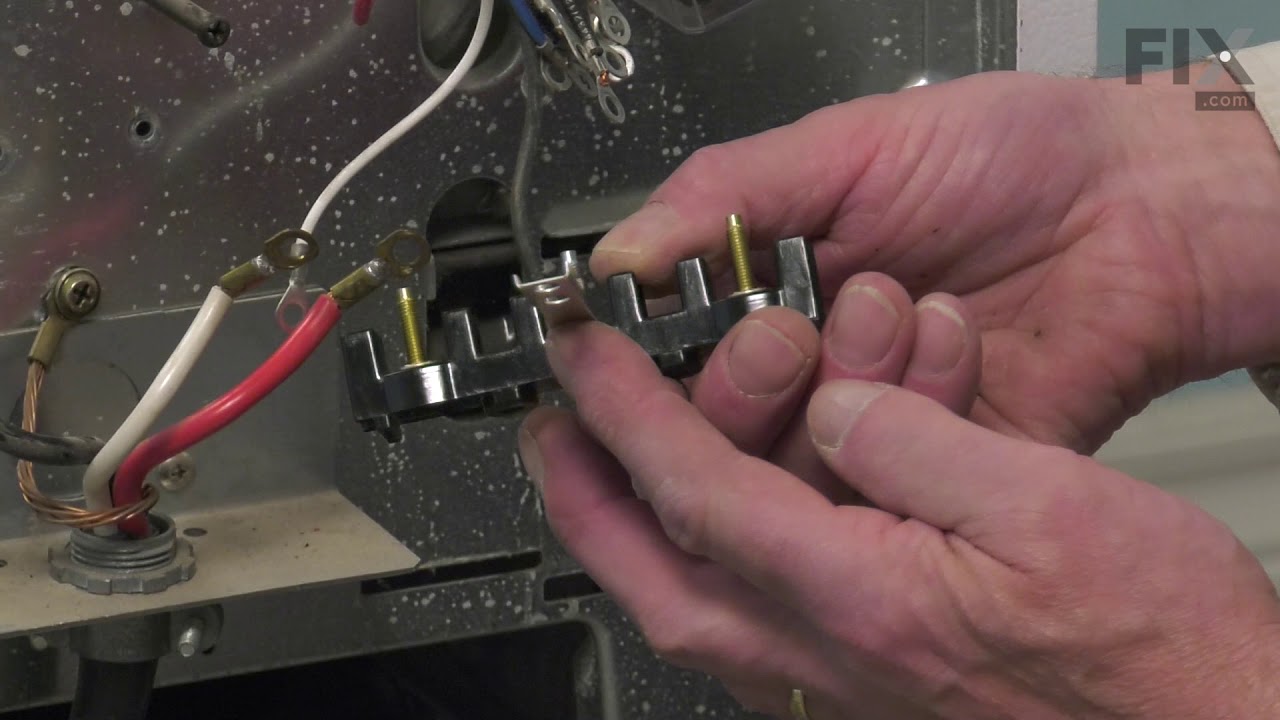
Range Terminal Block
Part #WPW10245259
This part is for oven ranges, it connects individual wires and protects the device from electrical surges, voltages, and current. With this part, the house power is connected to the range wire harness. Some symptoms replacing the terminal block could be a solution for are little to no heat when baking, element will not heat and/or it will...Read more not start. This part will prevent loosening and will reduce damage caused by corrosion (by two different metals). Refer to the instructional diagram for further replacement guidance and exact placement. You must unplug the appliance before installing this part and wear gloves to protect your hands.
Read less

$49.50
In Stock
2 Piece Broiler Pan
Part #4396923
This broiler pan and roasting rack set is designed to help reduce mess while cooking by allowing grease to drain away from food. Its durable porcelain-coated construction stands up to high temperatures and makes cleanup simple. With approximate dimensions of 16 3/4 inches long, 12 3/4 inches wide, and 1 3/4 inches high, it offers a convenient size for everyday broiling and roasting.

$54.95
On Order
Wire Oven Rack
Part #WP314763J
This wire oven rack is used on some ovens and ranges. It is twenty-three inches long and it is made of metal.

$109.41
In Stock
Range Temperature Sensor
Part #WPY0314907
The temperature sensor is a part for the oven, on your range. This temperature sensor has a body length of just over 3 inches. The purpose of this part is to measure the temperature within the oven and report it back to the control board where it can be displayed. To make this repair you will need a number two Phillips screwdriver or a nu...Read morember two square-head screwdriver. To replace this part, you will need access to the back of the range. This means you will need to pull the range away from the wall, disconnect the power, and remove the back panel.
Read less

$7.47
In Stock

No Longer Available
Grease Filter
Part #WPY0307363
This aluminum grease filter is eighteen inches long and four inches wide.

$79.25
In Stock
Oven Light
Part #WP74011278
This oven light assembly is a little over four inches long and comes with the lens and 660-watt light bulb. Make sure your appliance is unplugged or circuit breaker is off before installing this new part. It is located inside the oven and may need to be replaced if the socket has failed, causing the light to not come on inside the oven. I...Read moret may also need to be replaced if you notice that the glass is broken and the whole assembly needs to be replaced. The part is located in the upper right hand side of the oven. To reach the bulb you will need to open the oven door and remove the upper rack.
Read less

$36.85
In Stock
Outer Bake Element - 2800W
Part #WP77001096
Struggling with a flooded dishwasher or water not draining correctly? The GE Drain Pump is just the solution you need. This essential component is at the heart of the draining process in your dishwasher. It works hard to remove all the water from the dishwasher tub efficiently, ensuring your dishes come out dry and sparkling clean every t...Read moreime. Crafted with a stress-free installation in mind, setting it up is manageable, even for non-tech savvy individuals. Just remember, safety comes first. Always switch off your dishwasher and halt your water supply before you start installing. And don?t forget to throw on a pair of work gloves for added safety against any sharp objects or edges during the process. This high-quality drain pump not only contributes to the effectiveness of your dishwasher but ensures its long-lasting operation too. It?s a vital part of your dishwasher, and with it, your appliance can feel like new once more. A worthwhile investment, this GE Drain Pump delivers reliable performance you can trust. Love your dishwasher and help it do its best job by giving it the parts it needs. Choose the GE Drain Pump for the optimal health of your appliance.
Read less

No Longer Available
Hinge Kit - Right Side
Part #R0706011
The hinge kit, or oven door hinge, is used in ranges and wall ovens. The hinge attaches to the right side of the door and controls how fast the door opens. At a specific angle, it allows the door to remain open. If you are having trouble opening and closing your door, or it does not close at all, replacing the hinge could solve your probl...Read moreem. The hinge is made from metal and the kit comes with the hardware needed for this installation. You will need a screwdriver to perform this repair. *Please note: This part is only for the right side of your appliance. The left side is sold separately.
Read less

No Longer Available
Hinge Kit - Left Side
Part #R0706010

$24.67
In Stock

No Longer Available
Oven Door Glass Panel
Part #314819B
This oven door glass panel is all black in color and made entirely of glass.
Common Symptoms of the ARDS801E
How this model fails, and the parts that fix it.
Little to no heat when baking
Fixed by
these parts
these parts


Show All
Will Not Start
Fixed by
these parts
these parts

Show All
Element will not heat
Fixed by
these parts
these parts
Show All
Door won’t close
Fixed by
these parts
these parts


Show All
Oven is too hot
Fixed by
these parts
these parts
Show All
Oven not heating evenly
Fixed by
these parts
these parts
Show All
Touchpad does not respond
Fixed by
these parts
these parts
Show All
Watch our pros, then fix it yourself.
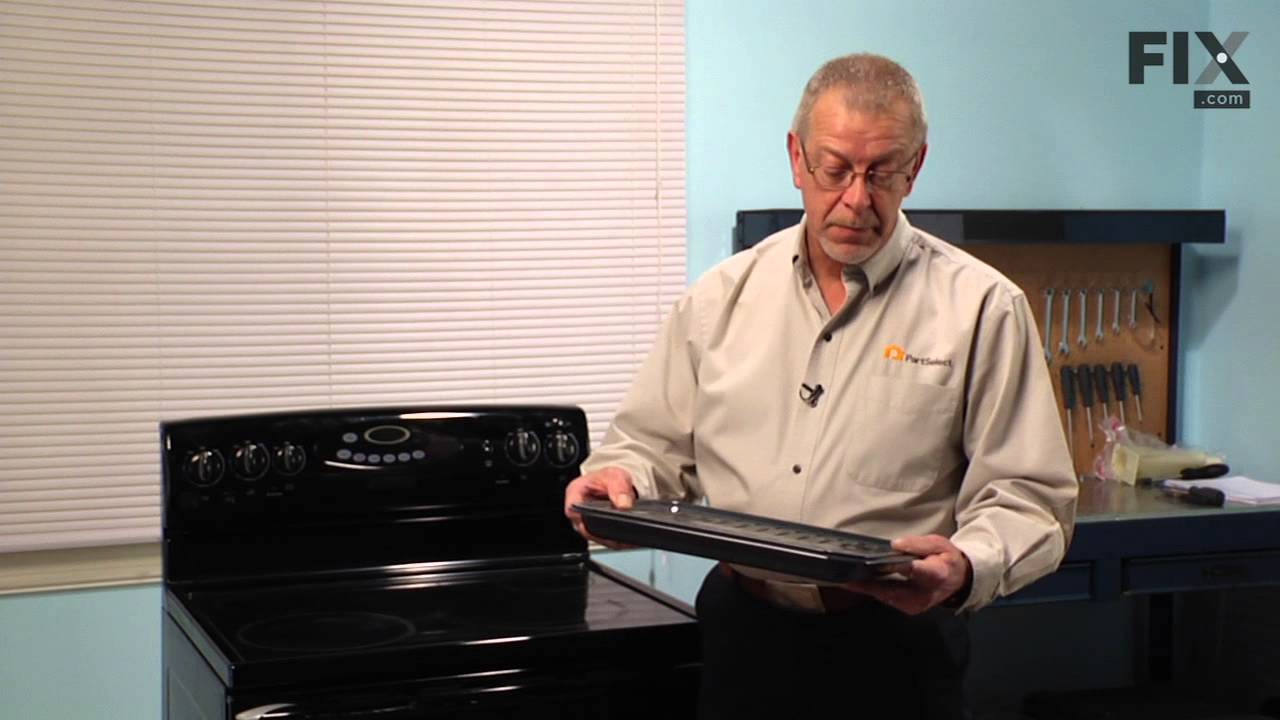

See how others fixed this model. Time, tools, difficulty, and steps that lead to victory!
View More