


 My Orders




AP4 - Overview
Models starting with AP4
Click on the best match to narrow your results.
- AP400 (Type 1) Delta Dust Collector (Air Collector Dust Management)
- AP400 Delta Dust Collector (Delta Ap400 Dust Collector)
- AP4000 Ryobi Charger (Ryobi Ap4000 Parts)
- AP4001 Ryobi Charger (4V Lithium-Ion Battery)
- AP4003 Ryobi Charger (4V Lithium-Ion Battery)
- AP400K (Type-1) Delta Dust Collector (Delta Ap400k Type-1 Dust Collector)
- AP44000 Whirlpool Ice Maker
- AP4500 Ryobi Charger (MPS Rapid Charger)
- AP45030H0 Whirlpool Air Purifier
- AP45030R0 Whirlpool Air Purifier
- AP45030S0 Whirlpool Air Purifier
- AP45030S1 Whirlpool Air Purifier
- AP452C Charmglow Grill (BBQ)
- AP46000 Whirlpool Ice Maker
- AP4700 Ryobi Charger (4V Standard Charger)
- AP47500 Whirlpool Ice Maker
- AP4800 Ryobi Charger (TEK4 4 Volt Charger)
Enter a part description. DIY Heroes keep it simple, eg. "belt" or "pump".
Search filter:
Clear Filter
Your search term must have 3 or more characters.

$70.95
In Stock
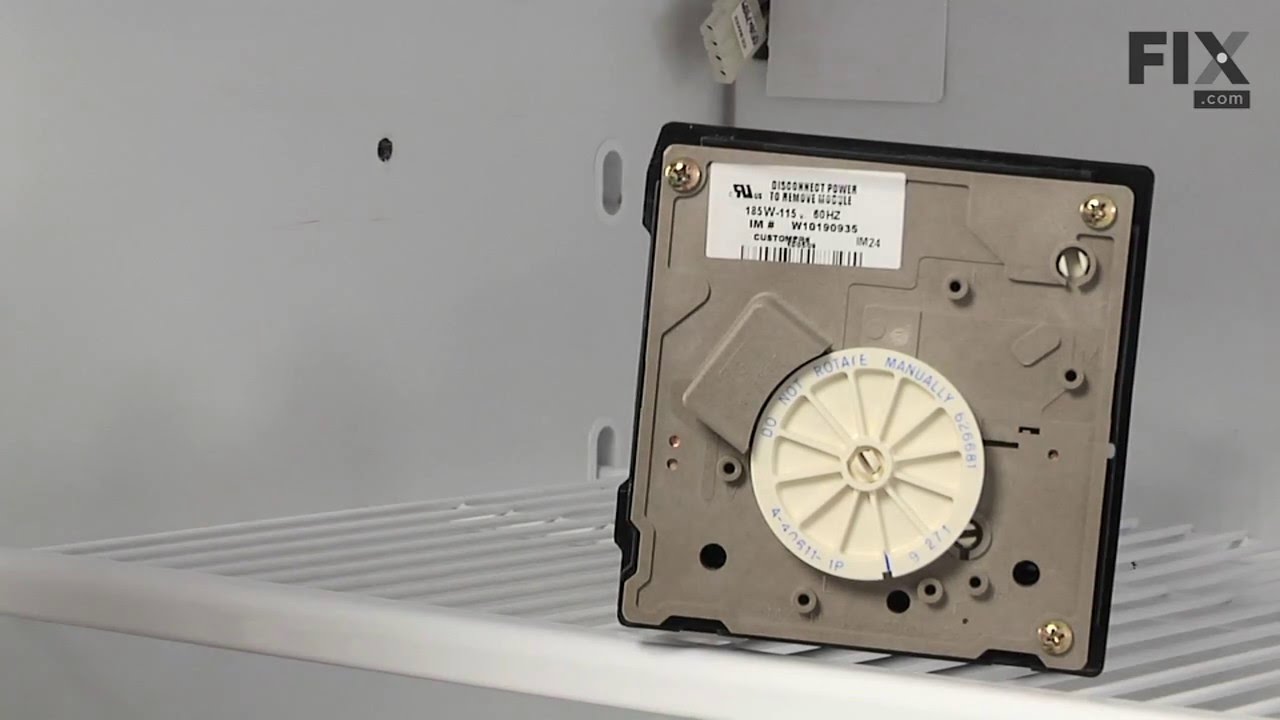
Icemaker Control Assembly
Part #W10190935
The “Icemaker Control Assembly” (Module & Motor Assembly, Ice Maker Control Module, Icemaker Module, Refrigerator Ice Maker Module) is what controls the actions of your ice maker. The control turns the timing cams and the ejector blades. It controls most of the basic parts and functions such as the heater, water inlet valve, the cube size...Read more, and cube ejection. If your ice maker control is broken it can no longer properly control the ice maker functions. It may not produce any ice, make small ice cubes, or have intermittent operation. This can occur due to normal wear and tear. The icemaker control assembly is attached to the ice maker mold, and is under the white cover. Test the icemaker control assembly by using a multimeter. If this reveals the assembly to be defective, you will need to replace this part. It is approximately 4.25 inches square, beige, and is constructed of plastic and metal. This replacement part features one icemaker control assembly, including the control module and the motor.
Read less

$35.80
In Stock
Refrigerator Water Fill Cup & Bearing
Part #WP628356
This refrigerator ice maker fill cup dispenses the water into the ice cube mold during the fill cycle. Replacing the water fill cup is a possible solution if you notice that the ice maker is leaking, or not making/dispensing ice. If you notice the fill cup has been damaged or cracked; replace the part straight away. This water fill cup is...Read more a genuine OEM part and will fit most refrigerators, but check the list of compatible brands to make sure yours is included before purchasing.
Read less

$27.36
In Stock
Water Tube Kit
Part #W10823511
This is the replacement water tube kit for your refrigerator. This tubing is made of plastic, is 1/4 inch in diameter, and comes with 2 inserts. This tube may be longer than the original tube, and may need to be cut. This water tube transports water to the ice and water dispensers. If your refrigerator is leaking, or if the ice and water ...Read moredispensers are not dispensing properly, you may need to replace this tube. This part is sold individually and is an OEM part sourced directly from the manufacturer.
Read less

$165.14
In Stock
Water Inlet Valve
Part #W10833899
This part releases water from the supply line when it's activated. This single outlet water valve is intended for use with some ice makers and refrigerators.

$162.26
In Stock
Refrigerator Ice Mold
Part #WPW10190929
This is an ice maker mold and heater assembly for a refrigerator ice maker. It is used with modular style icemakers and is located in the freezer section of the refrigerator. This ice mold is flake resistant which prevents the coating on the mold from flaking into the ice cubes when the ice mold begins to wear. The ice mold forms the ice ...Read morecubes and the heater allows the ice cubes to fall from the ice mold to drop them into the ice bucket. You will need to remove the ice maker from the refrigerator to access the mold and heater assembly. This is a genuine replacement part.
Read less

$55.29
In Stock
Ice Maker Shutoff Arm
Part #WP67004028
The icemaker shut off arm, used in a refrigerator, gives the icemaker a signal to stop making ice once the bin has a reached a certain limit. This helps monitor ice production. If your icemaker is not making ice properly or consistently, replacing this part could be a solution to your problem. The tools required for this installation are ...Read morea 1/4 inch nut driver, a Phillips screwdriver, and needle nose pliers. Refer to the manual guide provided by the manufacturer for further guidance and instructions. Remember to safely store food when the refrigerator power is off to keep it from deteriorating.
Read less

$60.51
In Stock
Cycling thermostat
Part #WP627985
The ice maker thermostat, also known as the cycling thermostat, controls and regulates the ice maker ejection cycle by monitoring the temperature inside the freezer to determine when to release the ice into the bin and start the ice making cycle again. If your ice maker is making unusual noises, or if the ice maker is not making or dispen...Read moresing ice, there could be an issue with the thermostat. Before you begin this repair, make sure the power is disconnected from your refrigerator, and that any food that may spoil is safely stored. This is an OEM part and is sourced directly from the manufacturer. This thermostat is sold individually, and comes with two attachment clips.
Read less

$11.77
On Order
Refrigerator Compression Nut
Part #WP627018
The compression nut is used as a connection between the water supply line and other components in your refrigerator such as your ice maker and your water dispenser. Tools required for this repair include a pair of pliers and a socket set. Before installing this part you should take all perishable foods out of your refrigerator and store t...Read morehem somewhere cool, unplug the refrigerator from the power source, and shut off the water supply. This repair may require you to wear work gloves to protect your hands, and is considered an easy do-it-yourself fix.
Read less

$7.47
In Stock
Refrigerator Screw
Part #WP98165
This screw is a little under an inch long and is made of metal. It is used with a refrigerator's ice maker assembly. Sold individually.

$47.40
In Stock
Refrigerator Ice Stripper
Part #WP2182124
This is an authentic appliance part that is sourced directly from the genuine manufacturer. This ice stripper functions by stripping the ice maker mold of ice during the ejection cycle, after the water has frozen into cubes. The ice stripper rotates to push the cubes into the ice bucket and prevents the ice from falling back into the mold...Read more. You may need to replace the ice stripper if your ice maker is no longer making ice. This part is approximately 9 inches long and is sold individually.
Read less

$60.51
On Order
Refrigerator Ice Maker Fill Tube
Part #W11176463
This refrigerator ice maker fill tube is designed to channel water cleanly and accurately from the water inlet valve to the ice maker tray, supporting reliable ice production and preventing leaks inside the freezer compartment. Made from durable white plastic and formed with an elbow shape to ensure proper alignment, it helps prevent comm...Read moreon issues such as frozen, cracked, or misdirected water flow. Replacement is recommended if the ice maker is not producing ice, water is leaking, or the tube shows signs of damage or blockage. Installing a properly functioning fill tube helps restore consistent ice output while protecting the refrigerator from moisture-related damage.
Read less

$7.47
In Stock
Common Symptoms of models starting with AP4
How this model fails, and the parts that fix it.
Ice maker not making ice
Fixed by
these parts
these parts


Show All
Leaking
Fixed by
these parts
these parts


Show All
Ice maker won’t dispense ice
Fixed by
these parts
these parts

Show All
Ice maker dispenses too much ice
Fixed by
these parts
these parts

Show All
Not dispensing water
Fixed by
these parts
these parts
Show All
Won’t start
Fixed by
these parts
these parts
Show All
Watch our pros, then fix it yourself.
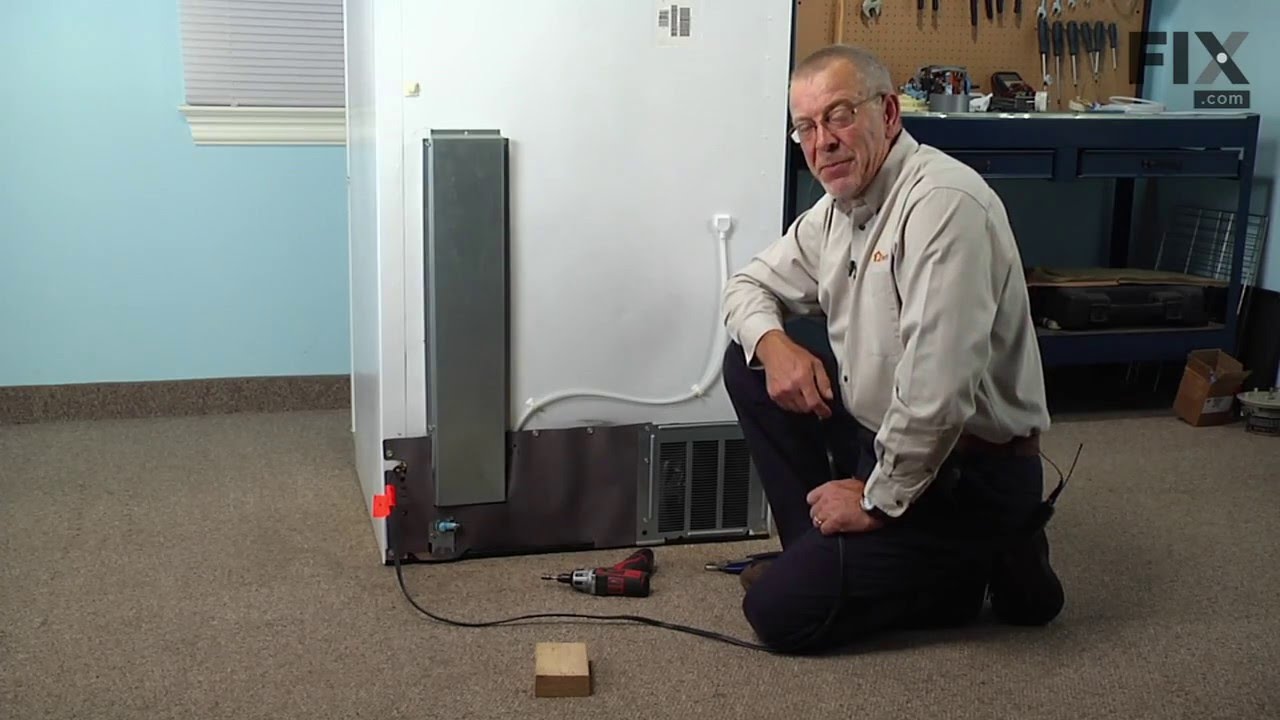

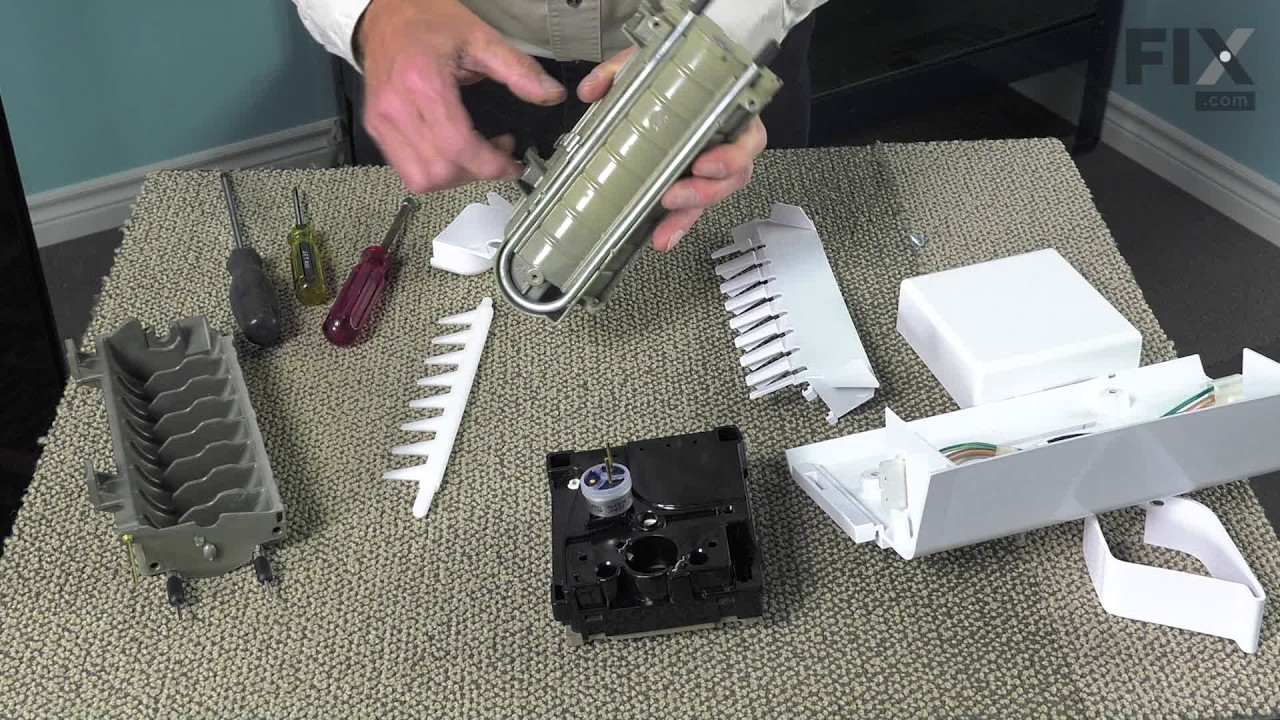
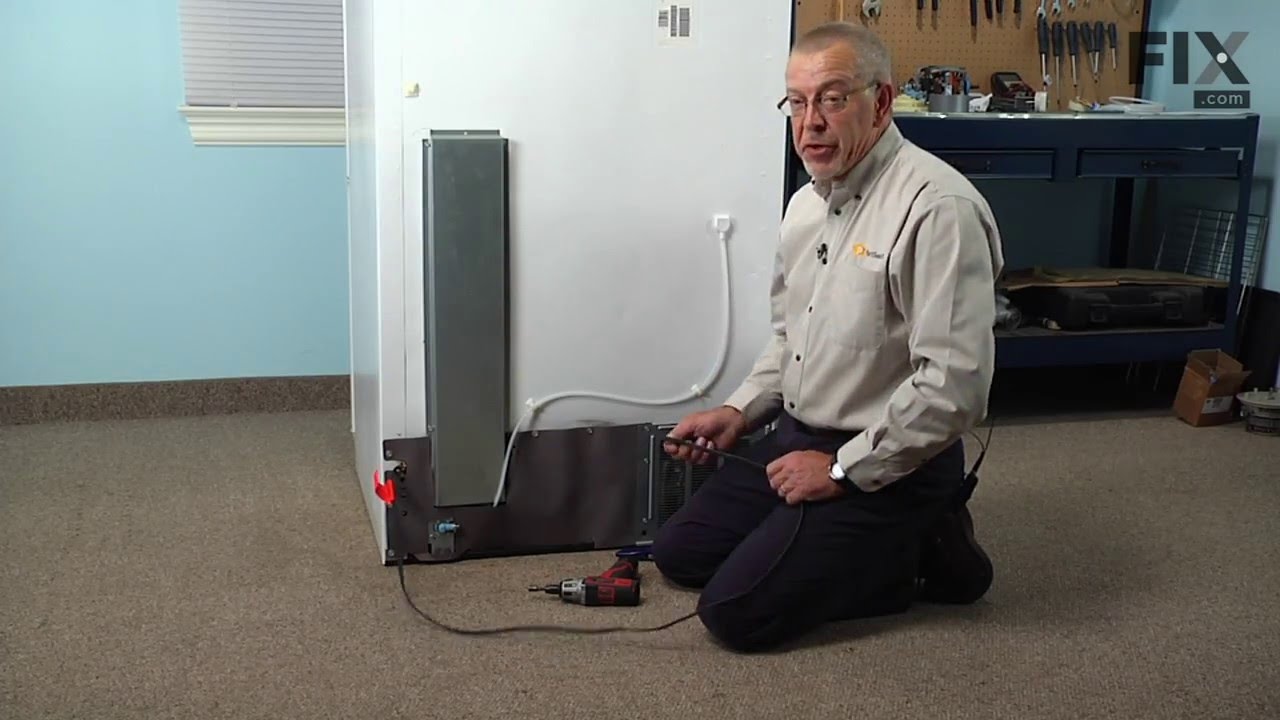
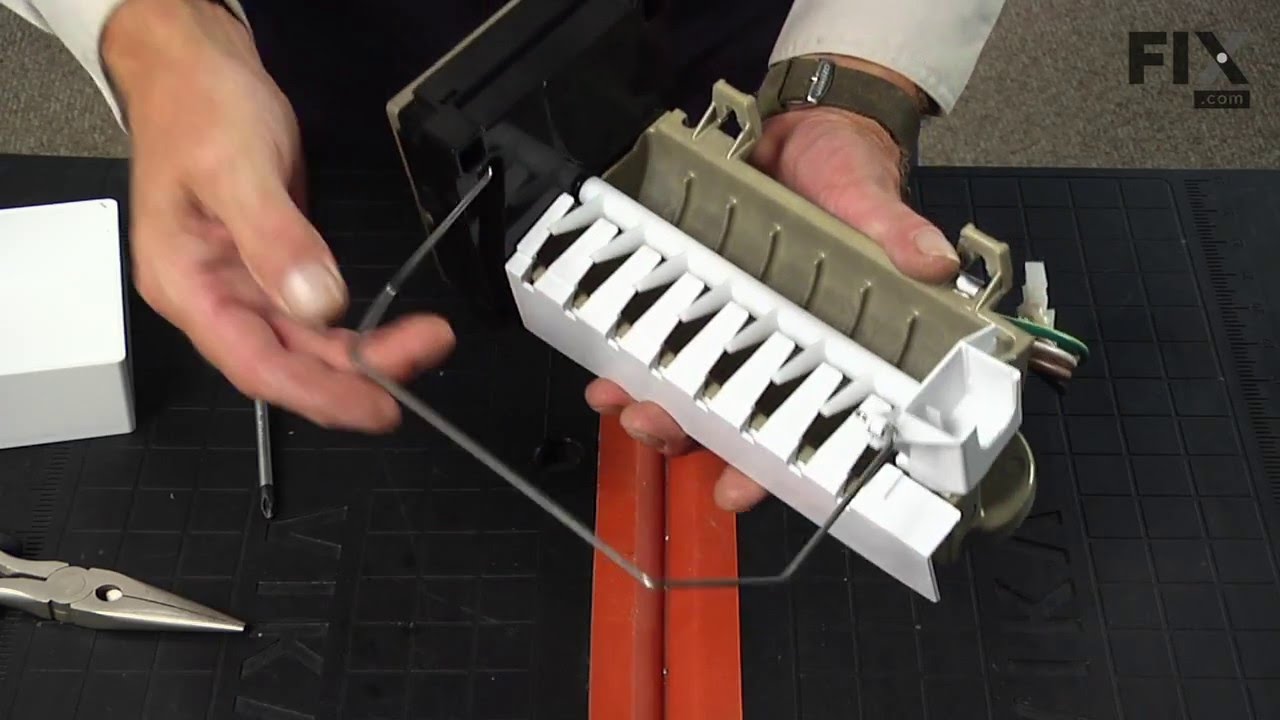
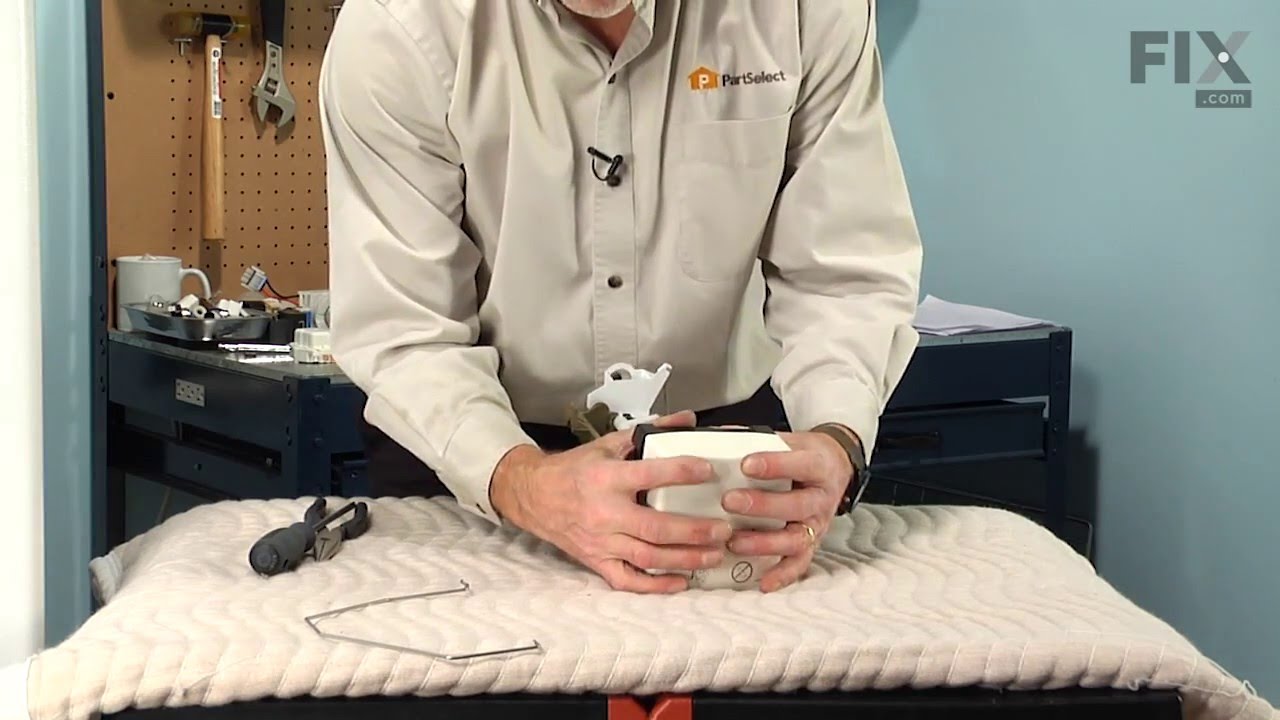
See how others fixed this model. Time, tools, difficulty, and steps that lead to victory!
View More