


 My Orders




AMV6 - Overview
Models starting with AMV6
Click on the best match to narrow your results.
- AMV6167BDB Amana Microwave (Hood Combo)
- AMV6167BDS Amana Microwave (Hood Combo)
- AMV6177AAB Amana Microwave (Hood Combo)
- AMV6177AAB (AB1EAMA) LG Range (Oven-Range)
- AMV6177AAB (ABKEAMA) LG Range (Oven-Range)
- AMV6177AAQ LG Range (Oven-Range)
- AMV6177AAQ Amana Microwave (Hood Combo)
- AMV6177AAQ (AB6EAMA) LG Range (Oven-Range)
- AMV6177AAS (ASBEAMA) LG Range (Oven-Range)
- AMV6177AAS LG Range (Oven-Range)
- AMV6177AAS Amana Microwave (Hood Combo)
- AMV6177AAW Amana Microwave (Hood Combo)
- AMV6177AAW LG Range (Oven-Range)
- AMV6177AAW (AWHEAMA) LG Range (Oven-Range)
- AMV6502REB0 Amana Microwave (MICROWAVE)
- AMV6502REB1 Amana Microwave Oven Combo
- AMV6502REB2 Amana Microwave Oven Combo
- AMV6502REB3 Amana Microwave Oven Combo
- AMV6502REB4 Amana Microwave Oven Combo
- AMV6502REB5 Maytag Microwave
- AMV6502REB6 Maytag Microwave
- AMV6502REB7 Maytag Microwave
- AMV6502RES0 Amana Microwave (MICROWAVE)
- AMV6502RES1 Amana Microwave Oven Combo
- AMV6502RES2 Whirlpool Microwave Oven Combo
- AMV6502RES3 Amana Microwave Oven Combo
- AMV6502RES4 Whirlpool Microwave Oven Combo
- AMV6502RES5 Maytag Microwave
- AMV6502REW0 Amana Microwave (MICROWAVE)
- AMV6502REW1 Whirlpool Microwave Oven Combo
- AMV6502REW2 Whirlpool Microwave Oven Combo
- AMV6502REW3 Whirlpool Microwave Oven Combo
- AMV6502REW4 Whirlpool Microwave Oven Combo
- AMV6502REW5 Maytag Microwave
- AMV6502REW6 Maytag Microwave
- AMV6502REW7 Maytag Microwave
- AMV6507RGS0 Amana Microwave Oven Combo
- AMV6507RGS1 Amana Microwave Oven Combo
- AMV6507RGS2 Maytag Microwave
- AMV6507RGS3 Maytag Microwave
Enter a part description. DIY Heroes keep it simple, eg. "belt" or "pump".
Search filter:
Clear Filter
Your search term must have 3 or more characters.

$8.55
In Stock
Light Bulb - 40W
Part #8206232A
This 40w light bulb is a replacement bulb constructed of glass and metal. It is an easy-to-install electrical part which produces 40w of light. If the bulb won't light up then it may be broken and should be replaced. The bulb attaches directly to an appropriate light socket and has a small screw-in base. To access the exterior light bulb,...Read more you will need to remove the panel on the bottom of the microwave using a Phillips screwdriver. If your exterior light bulb has not been changed before, it is probably held in place with some silicone. You will need to cut away this silicone to remove the old bulb. If you cannot access the silicone with a utility knife, it can be removed using dental floss. Once the silicone is removed, simply unscrew the old bulb, and replace it with the new one. Be sure to disconnect the power to the microwave before you begin this repair. This light bulb measures about 1 1/8 inches. We do not recommend using a higher-wattage bulb for this appliance, and can only recommend this specific bulb. If fixing the bulb does not solve your microwave light issue, it's possibly a problem with the socket, which means the socket and/or board will need to be replaced. This can be a more dangerous repair, so consult your user manual or a technician before attempting.
Read less

$16.07
In Stock
Charcoal Filter
Part #8206230A
This Charcoal Filter traps grease from your oven's exhaust to help prevent it from entering the vent, which could cause damage over time. If the exhaust fan on your microwave is not working, you may need to replace your charcoal filter. This charcoal filter is located within the intake grille of your microwave, which will need to be unscr...Read moreewed and opened to gain access to the filter. The manufacturer recommends that you change your charcoal filter every six months. This filter measures 5 inches by 5.375 inches by 0.375 inches. Be sure to measure your current filter to assure correct replacement. This product is sold individually. We recommend the use of gloves during installation to protect your hands from messy grease during your repair. You should also unplug your appliance at the electrical outlet or switch it off at the breaker. Using a Phillips screwdriver, unthread the screws securing the grill. Open the door and slide the grill to the left and lift it up to remove it. This will allow access to the filter so it can be either replaced or cleaned. Remember to insert the tabs of the grill into the frame and slide it to the right when you are done. To finish, shut the oven door and secure the grill with the screws.
Read less

$27.36
In Stock
Grease Filter
Part #W10208631A
This Grease Filter is constructed of Acrylonitrile Butadiene Styrene and is used to trap grease and help eliminate odors from the exhaust air while cooking. It attaches onto the exhaust and is rated as easy to install. The part is 12 15/16" x 5 3/4", and comes in silver. Refer to your make and model number to ensure this part is right fo...Read morer you. If the exhaust fan of your appliance is not working, this part is the most likely cause. This part is sold individually, and it should be noted that many microwaves require two filters, so you may need to replace both at the same time by purchasing two of this part. You should consider gloves during this simple repair (which requires no tools) to save yourself from getting greasy hands.
Read less

$27.36
In Stock
Grease Filter
Part #6802A
If the microwave exhaust fan is not circulating air properly, there could be an issue with the grease filter. A dirty filter will cause your microwave to run less efficiently and can alter the taste or smell of your food. Filters should be changed every six months for maximum performance. These silver, aluminum filters are sold separately...Read more, and are approximately 13 3/8 inches long x 5 7/8 inches wide. Measure your current filter to assure correct replacement. Check your grease filters regularly for particles and grease buildup to see if cleaning is necessary. If there is any visible damage to the filter, it should be replaced straight away.
Read less

$38.96
In Stock
Microwave Turn Ring
Part #W11252182
This turntable ring in your microwave makes sure that your glass tray rotates smoothly. Located just above the internal floor, it supports the tray so that your food cooks evenly. A broken turntable ring will look warped or cracked. Additionally, the rotation may become uneven or wobbly. You should replace the ring when it is damaged, by ...Read moresimply taking out the old one from your appliance. Please note that this replacement part is sold individually and is a genuine OEM product, specifically designed for your microwave.
Read less

$60.51
In Stock
Cook Tray
Part #W11367904
The glass turntable tray rotates food in the microwave to ensure even heating. Designed for compatibility with specific models, it provides a stable surface for cookware. Check fitment before ordering, as trays may vary slightly in size and configuration.

$23.60
In Stock
Mounting Plate
Part #W11025649
This mounting plate is sourced directly from the original manufacturer for use with microwaves. It is a metal plate designed to support a microwave by attaching the microwave to the wall studs. If the mounting plate wears down or becomes damaged, it will cause the microwave to tilt and become unstable, potentially damaging the appliance a...Read morend the wall it is attached to. Therefore, it is important to replace the plate promptly. First disconnect the microwave from the power source and locate the fasteners that hold the mounting plate. Detach the old plate and align the new one with the existing mounting holes. Secure the plate and check that the microwave is stable and unmoving.
Read less

$9.62
In Stock
Door Switch - 3 Terminal
Part #W10727360
This three-terminal switch fits your microwave door. This part is mostly black in color and is about 1.5 inches with metal terminals. You might need to replace this part if your microwave is not heating properly or if it runs for a few seconds but turns off.

$8.55
In Stock

$31.58
In Stock
Microwave Door Interlock Switch
Part #W10269458
This door interlock switch is a genuine replacement part designed for use in microwaves. It serves a critical safety function by preventing the microwave from operating when the door is open. Because proper operation of the microwave’s shielding and interlock system is essential for user safety, this part should be installed by a qualifie...Read mored service technician. After installation, the interlock switches and microwave shielding must be thoroughly tested to ensure the appliance meets safety standards.
Read less

$21.45
Special Order
Micro Switch
Part #3B73362F
This microwave door switch provides power to the various components in the microwave when the door is in a closed position, and interrupts power when the door is open. This door switch is approximately 1 1/2 inches long, and has 2 metal prongs called terminals that extend from its body. If your microwave will not turn or heat properly, th...Read moreere could be an issue with the door switch. You can check the switch for continuity using a multi-meter. With the actuator button depressed, you should see continuity between these terminals. If there is no continuity the switch will need to be replaced.
NOTE: Before you begin this repair, first make sure your microwave is unplugged, and that your capacitor is discharged. A capacitor stores large amounts of electricity even when your microwave is unplugged.
Read less

$26.82
In Stock
DIODE
Part #W11256462
This diode, or high voltage diode, is used in microwaves. It is an electrical current control device that ensures power flows in one direction and not the other way. If your microwave produces no heat, heats inconsistently, or gets noisy, replacing this part can be the solution. The tools needed for this replacement are a nutdriver, plier...Read mores, and screwdrivers. First remove the microwave cover, then remove the old part by disconnecting the small thermostat. Replace with the new diode. Remember to use the diagram provided by the manufacturer for more instructions.
Read less
Common Symptoms of models starting with AMV6
How this model fails, and the parts that fix it.
Won’t turn on
Fixed by
these parts
these parts


Show All
No heat
Fixed by
these parts
these parts


Show All
Tray won’t turn
Fixed by
these parts
these parts


Show All
Door not closing properly
Fixed by
these parts
these parts

Show All
Exhaust fan not working
Fixed by
these parts
these parts


Show All
Doesn’t shut off
Fixed by
these parts
these parts


Show All
Noisy
Fixed by
these parts
these parts
Show All
Touchpad does not respond
Fixed by
these parts
these parts
Show All
Watch our pros, then fix it yourself.
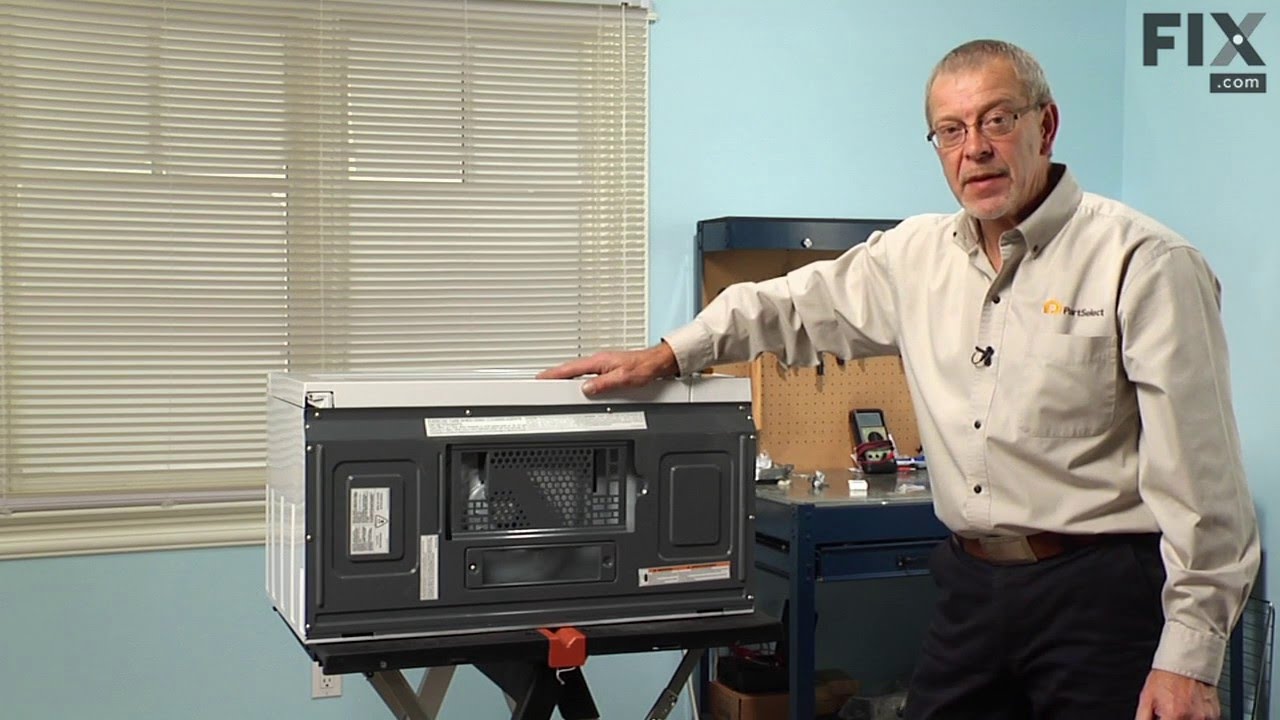
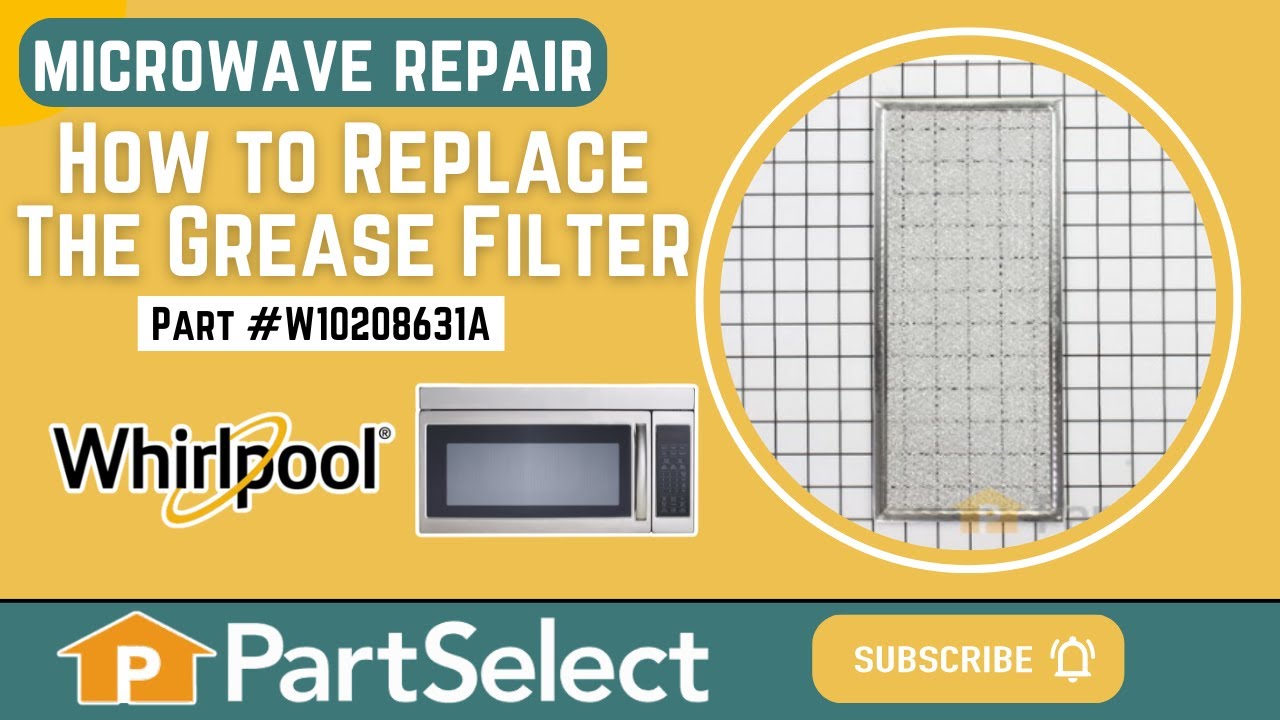
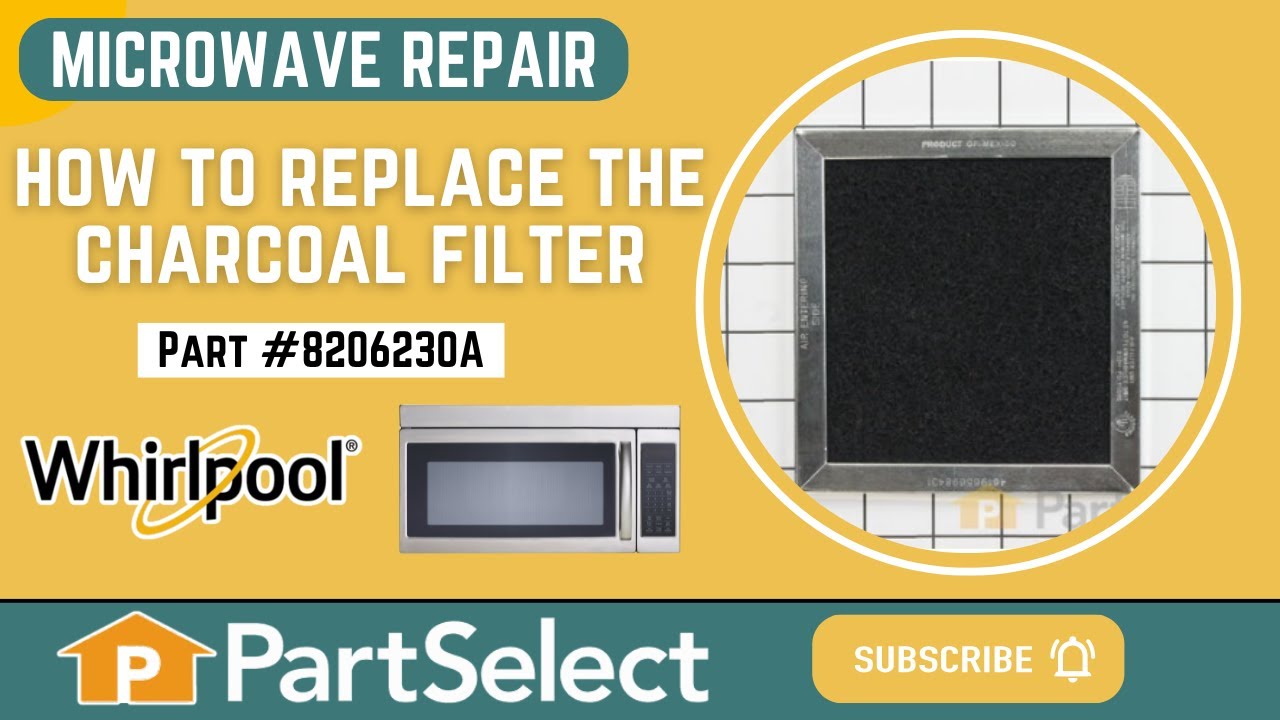
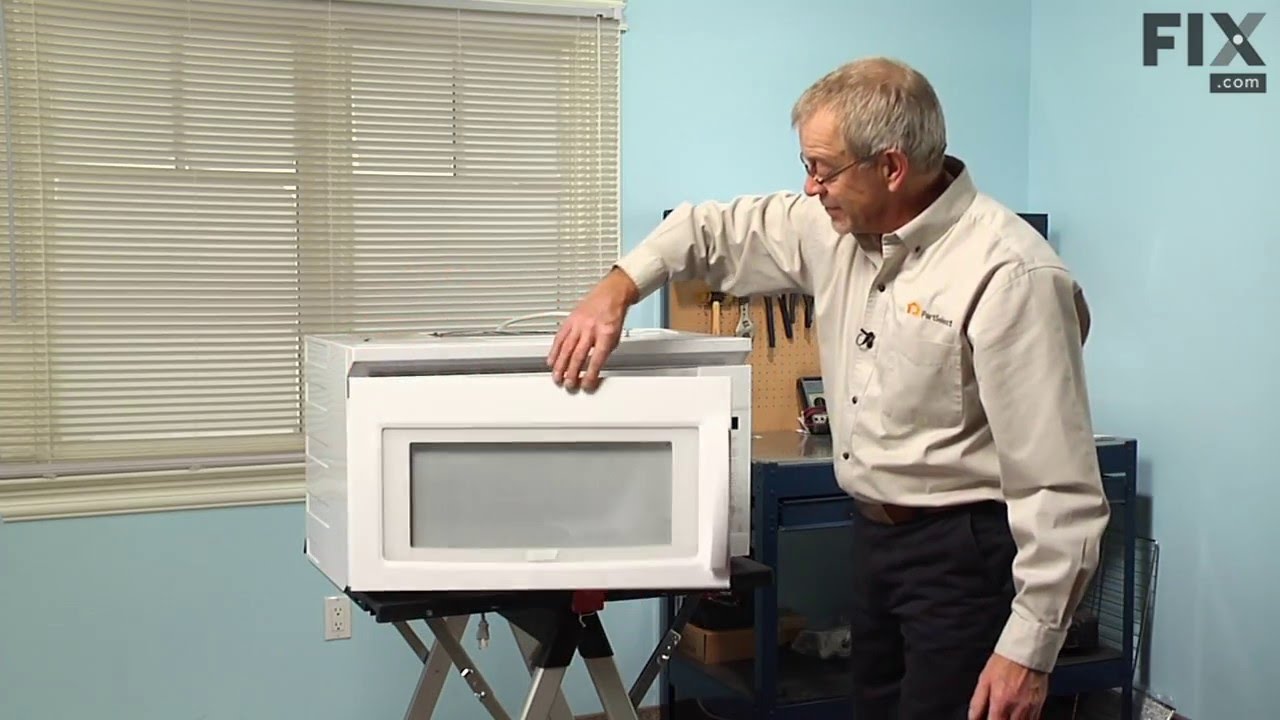
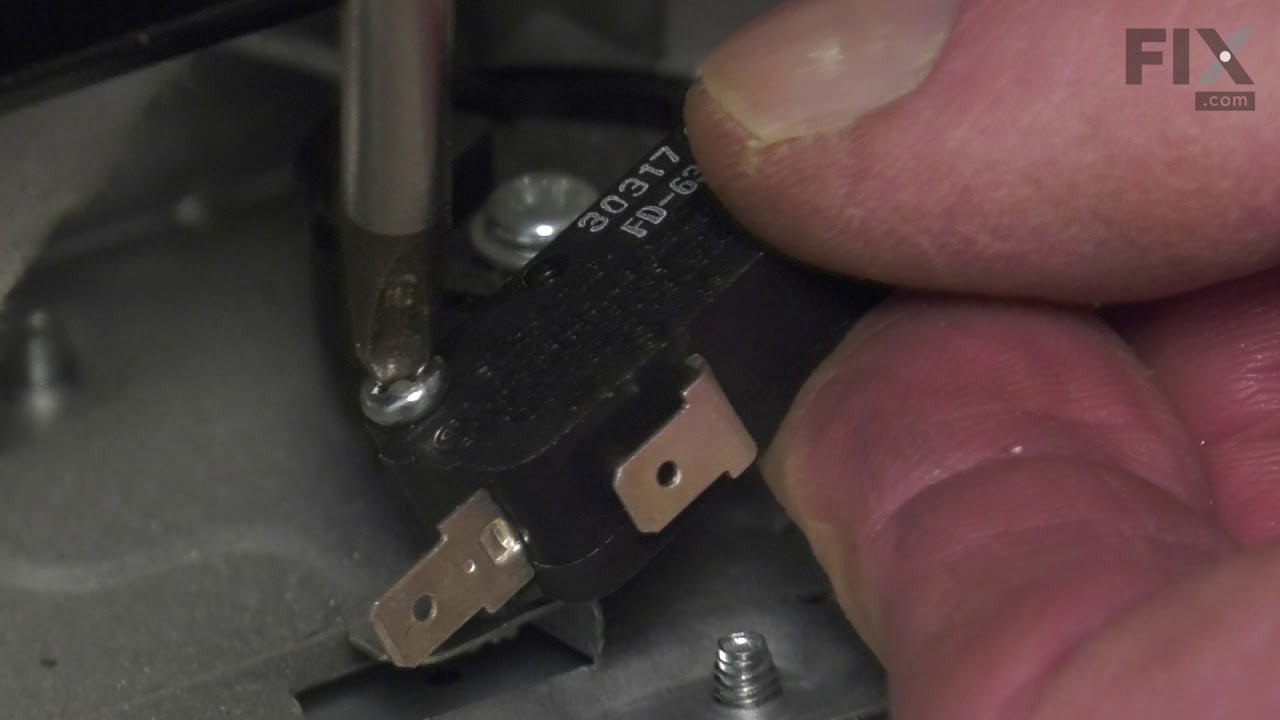
See how others fixed this model. Time, tools, difficulty, and steps that lead to victory!
View More
Search repair tips from other customers using simple keywords like "replace", "fit", "remove", "inspect". DIY doesn't mean you have to do it alone!
Search filter:
Clear Filter
Your search term must have 3 or more characters.
Door switch inconsistent operation for Open/Close sensing.
142 of 173 people
found this instruction helpful.
Ordered top & bottom micro-switches and mounting plate parts. Internet reviews could not find specifics if the issue was due to a top/bottom or combination of micro-switch or mounting plate failure. Pulled the plug. Removed the top vent assembly cover held in by 2 Phillips screws inside the vent. Removed the control panel held in by 1 P
... Read more
hillip screw at the top vent assembly area. Lifted control panel upward to release the catch and moved it off to the side - didn't disconnect any leads. Used a Torx bit to remove the door switch mounting plates at the front and pulled the plates through the opening from the control panel. Documented the wire color code connections, the top plate uses 2 micro's with one using both the closed & open contact. Installed the respective micros on the mounting plates and worked backwards with the wiring and removal steps. Once completed, the open/close sensing has worked every time.
Read less
Other Parts Used:


Was this helpful?
Thank you for voting!
Sparks and loud hum from oven
113 of 171 people
found this instruction helpful.
1. I went to the internet to find the service manual for the Maytag microwave.
2. I opened up the oven and started measuring the resistance of the diode, capacitor, transformer, and magnetron between terminals and then to ground. The transformer and magnetron were well within the resistance limits. The diode was shorted in both direc ... Read more tions(+-). The capacitor was fully open in both directions -- high resistance.
3. I ordered the 2 parts, installed them, and ran the oven. Worked perfect first time.
4. Reinstalled oven and worked ever since (1 week so far).
5. The secret was that the transformer had a load hum. I figured the transformer was OK. The magnetron had no short between filaments and ground to filaments. The only two left were the diode and capacitor. The first two are about $200 -- almost the value of a new microwave. The $70 repair was well worth it. If the first two were still bad, then tempted to buy a new oven.
2. I opened up the oven and started measuring the resistance of the diode, capacitor, transformer, and magnetron between terminals and then to ground. The transformer and magnetron were well within the resistance limits. The diode was shorted in both direc ... Read more tions(+-). The capacitor was fully open in both directions -- high resistance.
3. I ordered the 2 parts, installed them, and ran the oven. Worked perfect first time.
4. Reinstalled oven and worked ever since (1 week so far).
5. The secret was that the transformer had a load hum. I figured the transformer was OK. The magnetron had no short between filaments and ground to filaments. The only two left were the diode and capacitor. The first two are about $200 -- almost the value of a new microwave. The $70 repair was well worth it. If the first two were still bad, then tempted to buy a new oven.
Read less
Other Parts Used:


Was this helpful?
Thank you for voting!