


 My Orders




AMV5164BAW Amana Microwave - Overview
Diagrams for AMV5164BAW
See every part. Know exactly what you need.


.gif "SUPPLEMENTAL INFORMATION Diagram and Parts List for Amana Microwave")
Enter a part description. DIY Heroes keep it simple, eg. "belt" or "pump".
Search filter:
Clear Filter
Your search term must have 3 or more characters.

$27.36
In Stock
Grease Filter
Part #6802A
If the microwave exhaust fan is not circulating air properly, there could be an issue with the grease filter. A dirty filter will cause your microwave to run less efficiently and can alter the taste or smell of your food. Filters should be changed every six months for maximum performance. These silver, aluminum filters are sold separately...Read more, and are approximately 13 3/8 inches long x 5 7/8 inches wide. Measure your current filter to assure correct replacement. Check your grease filters regularly for particles and grease buildup to see if cleaning is necessary. If there is any visible damage to the filter, it should be replaced straight away.
Read less

$17.95
In Stock
Micro Door Switch
Part #3405-001034
This door switch, also known as a safety switch, is a genuine OEM replacement part for microwaves. It is a safety mechanism that sends signals to the microwaves control system, telling it when the door is open/closed. This ensures that the microwave only operates when the door is securely shut and switches off as soon as the door is open....Read more Over time, this switch can become worn out or damaged. A faulty door switch can result in failure to switch the microwave on/off, lack of heat, and running with the door open. To confirm that the door switch is faulty, use a multimeter to test for electrical failure. To remove the faulty switch, disconnect the wiring connectors and take note of where they are positioned. Place the new switch in position and reattach the wiring connectors to the appropriate terminals and close the microwave door to check that the switch engages appropriately.
Read less

$28.26
In Stock
High-Voltage Diode
Part #DE91-70063D
This high-voltage diode is designed for use within various makes and models of microwaves and is a genuine OEM part that converts alternating current (AC) into direct current (DC). If you notice your microwave turns on and starts but does not heat anything, this diode is likely responsible. You can check the continuity of the diode with a...Read more multimeter before outright replacing it, but it is important to remember that doing any repairs on a microwave and dealing with sensitive electrical components should be done carefully and with the appropriate precautions to avoid any hazards. To replace the high-voltage diode in your microwave, disconnect it from power and allow it to discharge. Using the appropriate screwdrivers, gain access to the control panel of the microwave. Using an insulated screwdriver, release any electrical charge in the capacitor by touching it across the terminals. Then you can remove any hardware securing the diode, including the harness connecting it to the capacitor, which may be easiest done with pliers. Connect the new diode to the capacitor terminal and the securing bracket, and then reassemble your microwave before connecting it to power again.
Read less

$48.09
In Stock
Mounting Bracket
Part #DE70-00561A
This is a mounting bracket for a microwave. The part is fitted between your microwave and wall to allows you to secure your appliance safely to the wall studs and install it above your range. It is made entirely of metal and has holes throughout the length of the part so you can choose to put screws where the wall studs are. This ensures ...Read moreperfect installation. The bracket measures 13 inches in diameter. Be sure to have someone help you secure the microwave to the wall. This is a genuine OEM replacement part. Hardware is not included.
Read less

$29.56
In Stock
Thermostat
Part #DE47-20034A
This is a high limit thermostat designed for use within various models of microwaves. The purpose of a high limit thermostat is to open the circuit of the appliance when the internal temperature reaches a certain threshold, to avoid becoming a safety hazard. If this thermostat fails or is damaged, it will cause your microwave to stop oper...Read moreating entirely. This is not to be confused with a thermal fuse, which is a one-time use component, whereas this high-limit thermostat resets once it drops back below operating temperatures. But if your microwave has repeatedly shut off, it is defective, or if the manufacturer recommends you replace it after it is triggered, it needs to be replaced immediately for safe operation. Consider inspecting your microwave for other component damage or factors that could lead to your microwave overheating, because that is what is causing this thermostat to be triggered. Replacing the high-limit thermostat will require a flathead and/or Philips-head screwdriver to remove the cover for the electronics of the microwave. First, you will want to unplug your microwave from the wall outlet and use your screwdriver to remove the side/top cover to give you access within it. Using your user manual, locate the thermostat within the main panel assembly and disconnect it from the wire harnesses, which may require a set of pliers. Here you can inspect it and any other components for visible burn damage. You can also test this thermostat for continuity with a multimeter, to see whether it is burnt out or perhaps defective. Install the new thermostat in place and reassemble your microwave, and you can now microwave safely.
Read less

$27.09
In Stock
Microwave Cook Top Lamp Glass
Part #DE67-40063A
The microwave light, or surface light lens, keeps the bulb in your microwave protected from getting cracked, scratched, and damaged. If your lens is defective or broken, or the bulb in your appliance is easily getting damaged, replacing the lens can be a solution. Refer to the installation instructions provided by the manufacturer for fur...Read morether guidance. Remember to unplug your appliance from the power source before starting this project, and wear gloves to ensure your hands are protected as a safety precaution.
Read less

$29.74
In Stock
Incandescent Lamp
Part #4713-001013
This incandescent lamp in your microwave lights up the interior of the appliance and the cooktop if it is positioned above your stove. This allows you to easily keep an eye on your food while it cooks. It operates at 130 volts and has a power rating of 4 watts. If the bulb fails to light up or shows signs of damage like a broken filament ...Read moreor blackened appearance, it should be replaced. To remove the lamp, refer to your user manual for specific instructions. Generally, you will need a screwdriver to remove the cover or panel near the lamp and then unscrew the bulb counterclockwise to detach it from the socket. Take care when handling the lamp, using a cloth or tissue to avoid direct contact. It is important to confirm the number of lamps needed for your appliance before making a purchase since this OEM replacement part is sold individually.
Read less

$73.43
On Order
Tray
Part #DE74-20015G
This is a cooking tray, but may also be known as a turntable tray, and it is used in conjunction with your microwave or oven/microwave combo. The outer diameter of this part is roughly 12.75 inches. The tray is made entirely of glass and is colorless. The purpose of this part is to act as a stable and even cooking surface for your food to...Read more sit on during a cooking cycle. To ensure a more even cooking temperature the tray will also spin when your appliance is activated. The most common reason for needing to replace this part is if your current one has been damaged.
Read less

$29.20
In Stock
Microwave High Limit Thermostat
Part #DE47-20059B
This thermostat (part number DE47-20059B) is for microwaves. Thermostat DE47-20059B is a safety device that shuts off the microwave if it overheats. Because high-voltage capacitors in a microwave can retain a lethal electrical charge even when the microwave is unplugged, a service technician should install this part.

$22.95
In Stock

$64.80
In Stock
Body Latch Assembly
Part #DE96-00414A
This is the main latch assembly for various models of Samsung microwaves. This assembly is a main component for the door of the microwave that features three switches that detect the door itself and hold the switches in place. If your microwave and its fans are running when the door is open, a single switch on this assembly or all of them...Read more are bad and must be replaced for your microwave to turn off. This OEM assembly is built of a plastic chassis and only features the three switches, but not the securing screws necessary, and will require a screwdriver to replace.
Read less

$46.42
In Stock
Manuals & Care Guides for AMV5164BAW
Click to downloadCommon Symptoms of the AMV5164BAW
How this model fails, and the parts that fix it.
No heat
Fixed by
these parts
these parts


Show All
Won’t turn on
Fixed by
these parts
these parts

Show All
Doesn’t shut off
Fixed by
these parts
these parts

Show All
Exhaust fan not working
Fixed by
these parts
these parts

Show All
Watch our pros, then fix it yourself.
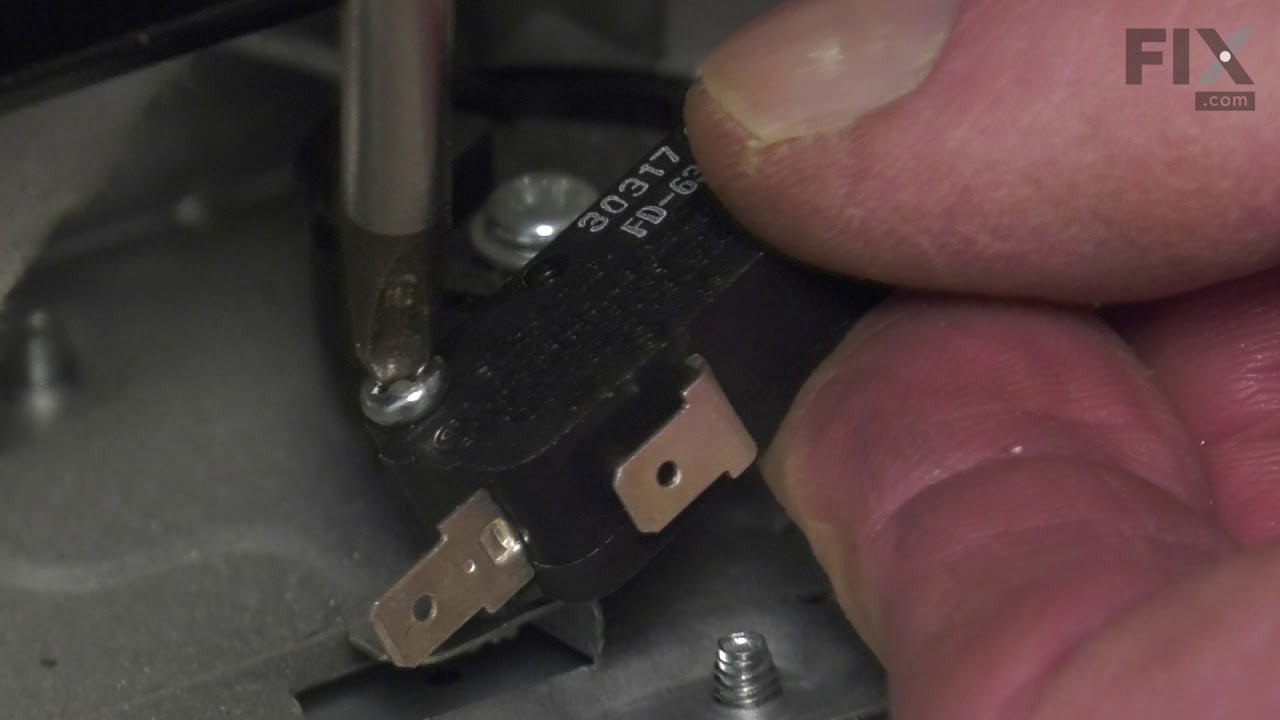
See how others fixed this model. Time, tools, difficulty, and steps that lead to victory!
View More