


 My Orders




AMV1160VAB0 Amana Microwave - Overview
Diagrams for AMV1160VAB0
See every part. Know exactly what you need.


Enter a part description. DIY Heroes keep it simple, eg. "belt" or "pump".
Search filter:
Clear Filter
Your search term must have 3 or more characters.

$8.55
In Stock
Light Bulb - 40W
Part #8206232A
This 40w light bulb is a replacement bulb constructed of glass and metal. It is an easy-to-install electrical part which produces 40w of light. If the bulb won't light up then it may be broken and should be replaced. The bulb attaches directly to an appropriate light socket and has a small screw-in base. To access the exterior light bulb,...Read more you will need to remove the panel on the bottom of the microwave using a Phillips screwdriver. If your exterior light bulb has not been changed before, it is probably held in place with some silicone. You will need to cut away this silicone to remove the old bulb. If you cannot access the silicone with a utility knife, it can be removed using dental floss. Once the silicone is removed, simply unscrew the old bulb, and replace it with the new one. Be sure to disconnect the power to the microwave before you begin this repair. This light bulb measures about 1 1/8 inches. We do not recommend using a higher-wattage bulb for this appliance, and can only recommend this specific bulb. If fixing the bulb does not solve your microwave light issue, it's possibly a problem with the socket, which means the socket and/or board will need to be replaced. This can be a more dangerous repair, so consult your user manual or a technician before attempting.
Read less

$16.07
In Stock
Charcoal Filter
Part #8206230A
This Charcoal Filter traps grease from your oven's exhaust to help prevent it from entering the vent, which could cause damage over time. If the exhaust fan on your microwave is not working, you may need to replace your charcoal filter. This charcoal filter is located within the intake grille of your microwave, which will need to be unscr...Read moreewed and opened to gain access to the filter. The manufacturer recommends that you change your charcoal filter every six months. This filter measures 5 inches by 5.375 inches by 0.375 inches. Be sure to measure your current filter to assure correct replacement. This product is sold individually. We recommend the use of gloves during installation to protect your hands from messy grease during your repair. You should also unplug your appliance at the electrical outlet or switch it off at the breaker. Using a Phillips screwdriver, unthread the screws securing the grill. Open the door and slide the grill to the left and lift it up to remove it. This will allow access to the filter so it can be either replaced or cleaned. Remember to insert the tabs of the grill into the frame and slide it to the right when you are done. To finish, shut the oven door and secure the grill with the screws.
Read less

No Longer Available
Glass Cooking Tray
Part #4393799
This a genuine OEM microwave cooking tray. It is also known as a microwave turntable or microwave plate. The function of the tray is to hold and rotate food items while the appliance is in use to ensure the food is being heated evenly. This cooking tray is made of transparent glass, and may need to be replaced if the tray is cracked or br...Read moreoken. A broken tray may prevent it from rotating if the three partial circles on the bottom of the tray will not connect to the turntable driver. This part is sold individually and is approximately 12 inches in diameter. It is recommended to check the drive coupling, or turntable driver, if tray is not turning.
Read less

$38.96
In Stock
Microwave Turn Ring
Part #W11252182
This turntable ring in your microwave makes sure that your glass tray rotates smoothly. Located just above the internal floor, it supports the tray so that your food cooks evenly. A broken turntable ring will look warped or cracked. Additionally, the rotation may become uneven or wobbly. You should replace the ring when it is damaged, by ...Read moresimply taking out the old one from your appliance. Please note that this replacement part is sold individually and is a genuine OEM product, specifically designed for your microwave.
Read less

$19.30
In Stock
Grease Filter
Part #8206229A
This filter collects grease particles in the air from cooking. Sold individually.

$31.58
In Stock
Microwave Door Interlock Switch
Part #W10269458
This door interlock switch is a genuine replacement part designed for use in microwaves. It serves a critical safety function by preventing the microwave from operating when the door is open. Because proper operation of the microwave’s shielding and interlock system is essential for user safety, this part should be installed by a qualifie...Read mored service technician. After installation, the interlock switches and microwave shielding must be thoroughly tested to ensure the appliance meets safety standards.
Read less

$26.82
In Stock
DIODE
Part #W11256462
This diode, or high voltage diode, is used in microwaves. It is an electrical current control device that ensures power flows in one direction and not the other way. If your microwave produces no heat, heats inconsistently, or gets noisy, replacing this part can be the solution. The tools needed for this replacement are a nutdriver, plier...Read mores, and screwdrivers. First remove the microwave cover, then remove the old part by disconnecting the small thermostat. Replace with the new diode. Remember to use the diagram provided by the manufacturer for more instructions.
Read less

$36.85
In Stock
R Ceramic Fuse 20 A
Part #W11707984
If your microwave is not turning on it could be due to your fuse needing to be replaced. This part protects the microwave by shutting it off if there is an electrical surge. This fuse is just over an inch long, is metallic on both ends and ceramic in the middle. Before beginning this repair, unplug the appliance and wait a few minutes bef...Read moreore starting. Remove the outer cabinet which is held in place with two screws. You will then locate the power cord which will lead you to the fuse holder. Determine if the fuse has blown. Using an ohmmeter, you should be able to figure out if it has blown. A proper reading is zero ohms, if it reads as anything else then your fuse has in fact blown. Simply snap the old fuse out of place and place the new one in.
Read less

$26.82
In Stock
Drive Coupling
Part #W10435116
This is an authentic manufactured drive coupling for a microwave. It fits on the motor shaft to hold and rotate the glass turntable tray while the appliance is running. This part has a D-shaped insert for the motor shaft, and measures approximately 3 inches in diameter. You may need to replace this part if the microwave tray will not turn...Read more. No tools are required for this repair. It is recommended to check the support ring before ordering the drive coupling in case the wheels are broken. This part is also known as a turntable coupling or microwave turntable support.
Read less

$60.51
In Stock
Microwave Damper
Part #W10843943
This damper is an authentic OEM replacement assembly used in microwave/range hood combos. It includes the damper door and frame. It is designed to direct the flow of air through the vent duct, and the release of steam and heat from the appliance during cooking. Over time, the damper door and frame can wear down or become obstructed by foo...Read mored particles and debris. A faulty damper assembly will result in poor ventilation, uneven cooking, and excessive moisture buildup which can damage internal components in the appliance. Disconnect any wires or connectors attached to the faulty damper assembly and remove it from the appliance. Position the new damper assembly and reconnect the wires/connectors before securing it with the appropriate fasteners.
Read less

$20.37
In Stock
Top Interlock Support
Part #WP8206419
This top interlock support is a genuine OEM safety component designed for microwave ovens. It plays a critical role in ensuring the appliance operates only when the door is securely closed, preventing potential radiation exposure. The support holds the interlock switch in place and provides a reliable latching point, allowing the microwav...Read moree to function safely and efficiently. A faulty or misaligned support may result in the microwave failing to start, operating with the door ajar, or displaying error codes related to the door lock system. Replacing this part restores proper door engagement and ensures safe operation. Installation may require disassembling the control panel and should be performed with the appliance unplugged.
Read less

$11.77
In Stock
Common Symptoms of the AMV1160VAB0
How this model fails, and the parts that fix it.
Won’t turn on
Fixed by
these parts
these parts


Show All
No heat
Fixed by
these parts
these parts

Show All
Tray won’t turn
Fixed by
these parts
these parts


Show All
Door not closing properly
Fixed by
these parts
these parts


Show All
Exhaust fan not working
Fixed by
these parts
these parts


Show All
Noisy
Fixed by
these parts
these parts
Show All
Doesn’t shut off
Fixed by
these parts
these parts
Show All
Watch our pros, then fix it yourself.
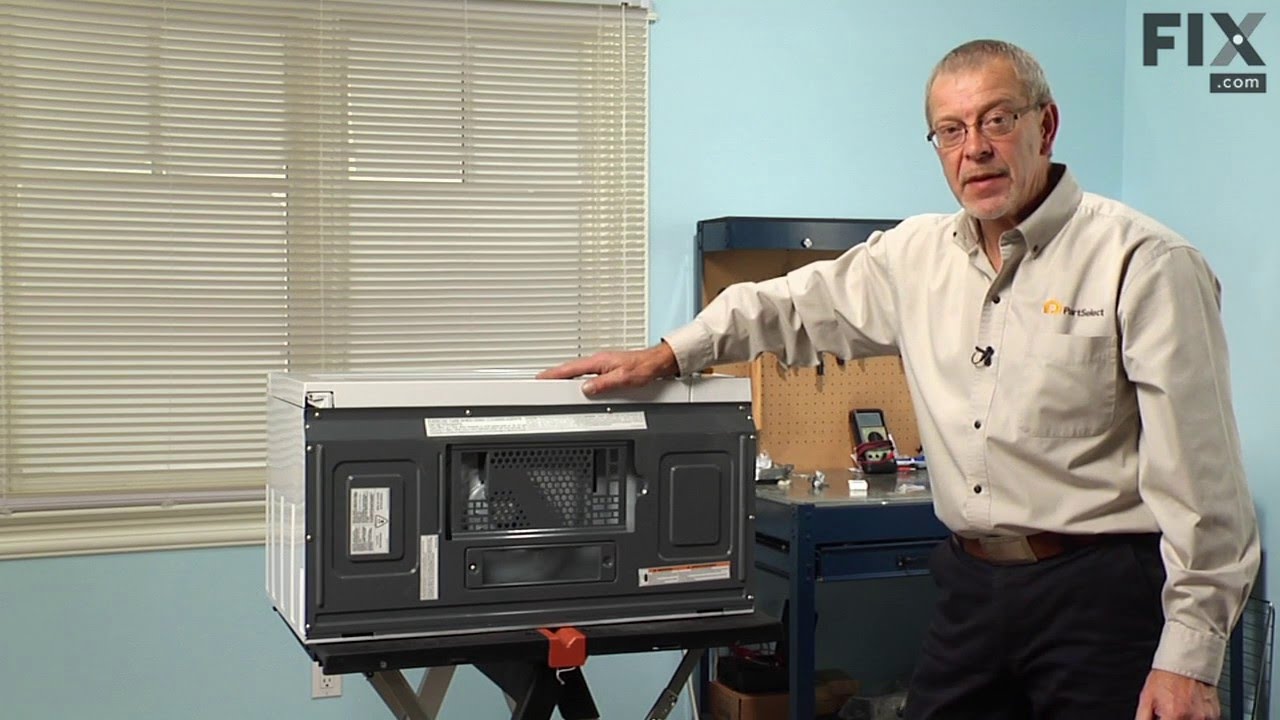
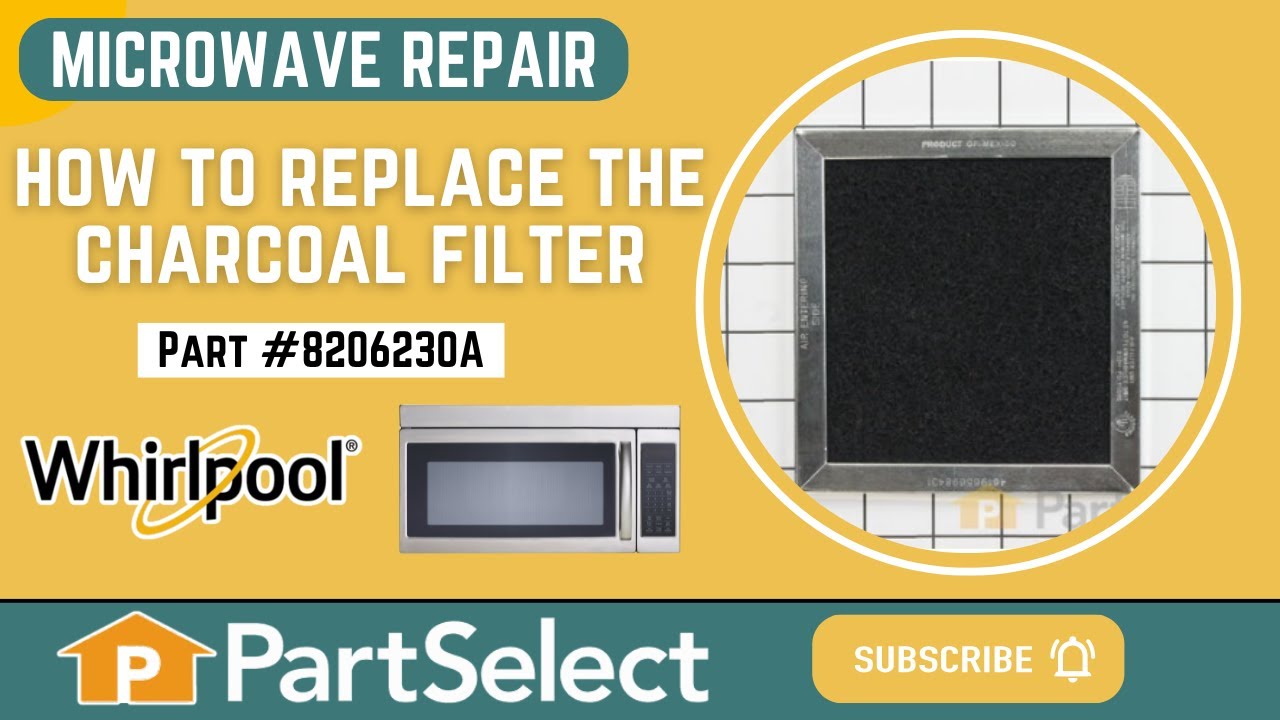
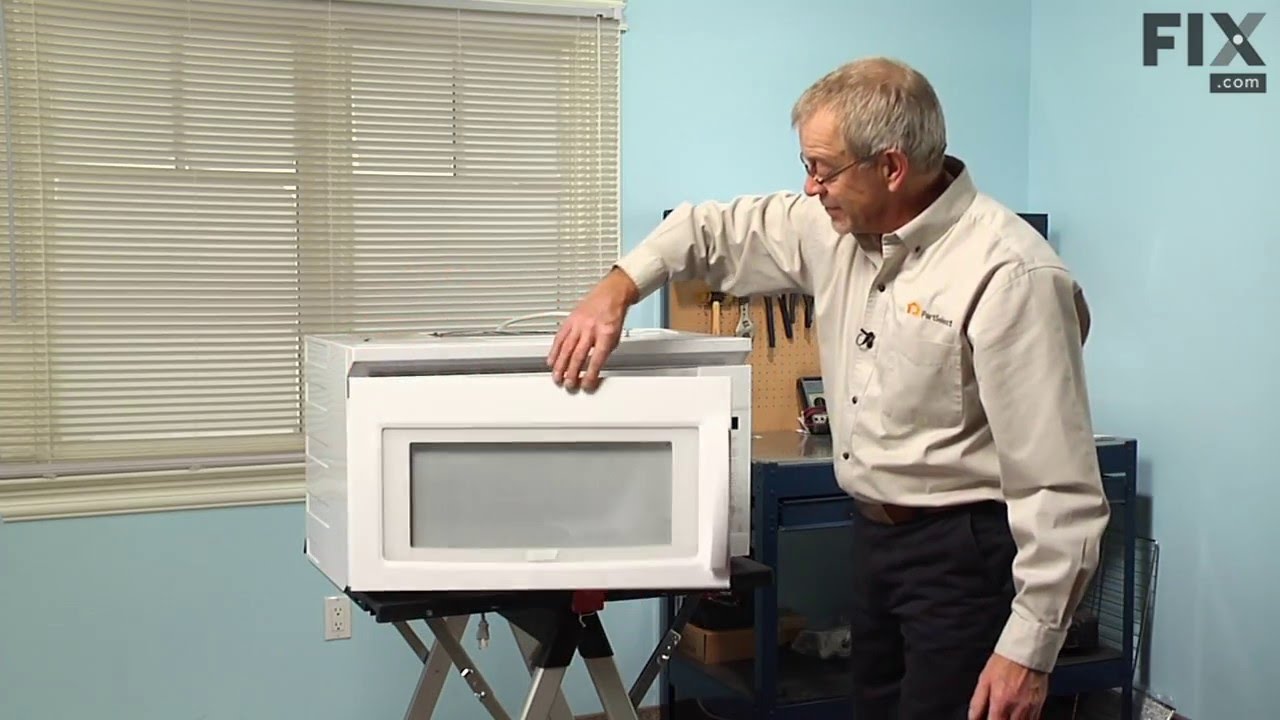
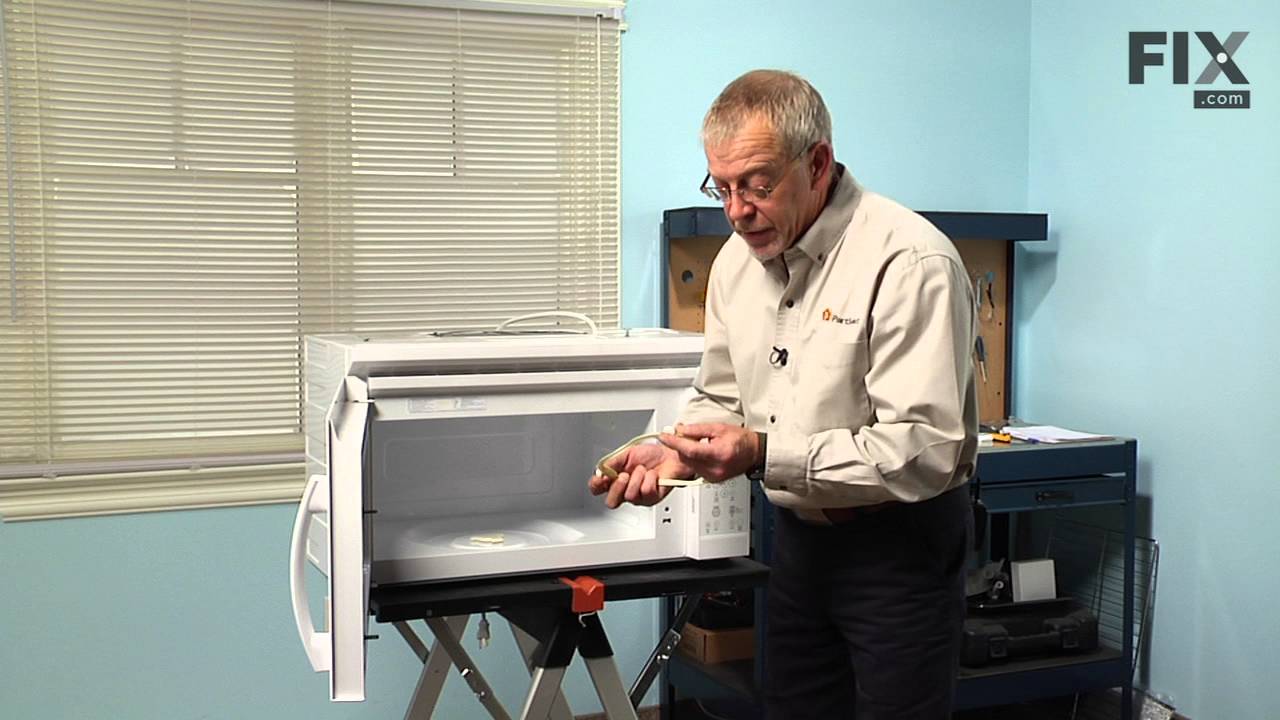
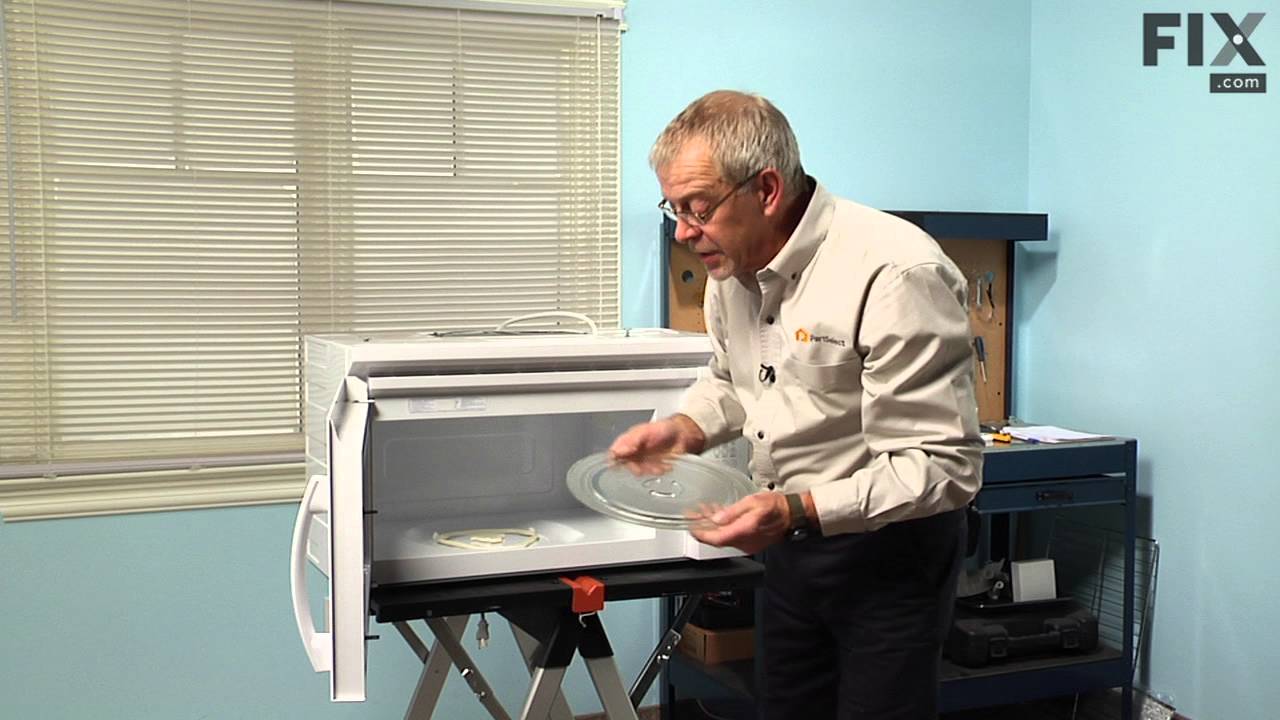
See how others fixed this model. Time, tools, difficulty, and steps that lead to victory!
View More