


 My Orders




AMC6138AAW Amana Microwave - Overview
Diagrams for AMC6138AAW
See every part. Know exactly what you need.


Enter a part description. DIY Heroes keep it simple, eg. "belt" or "pump".
Search filter:
Clear Filter
Your search term must have 3 or more characters.

$5.45
In Stock
Ceramic Fuse - 20 amp
Part #WPM0805101
This microwave fuse is just over an inch in length. It has a white ceramic center, and metal on either end. This is a twenty amp 250-volt fuse, and is used to power your microwave. If your microwave will not heat properly, will not turn on, or the touch pad becomes unresponsive, there could be a faulty fuse which should be replaced. Remem...Read moreber, since this part contains an electrical charge, before you replace the fuse from your microwave, make sure that the power is disconnected from the unit. This part is sold individually.
NOTE: Make sure your microwave is unplugged, and your capacitor is discharged before you begin this repair. A capacitor stores large amounts of electricity even after your microwave is unplugged.
Read less

$17.95
In Stock
Micro Door Switch
Part #3405-001034
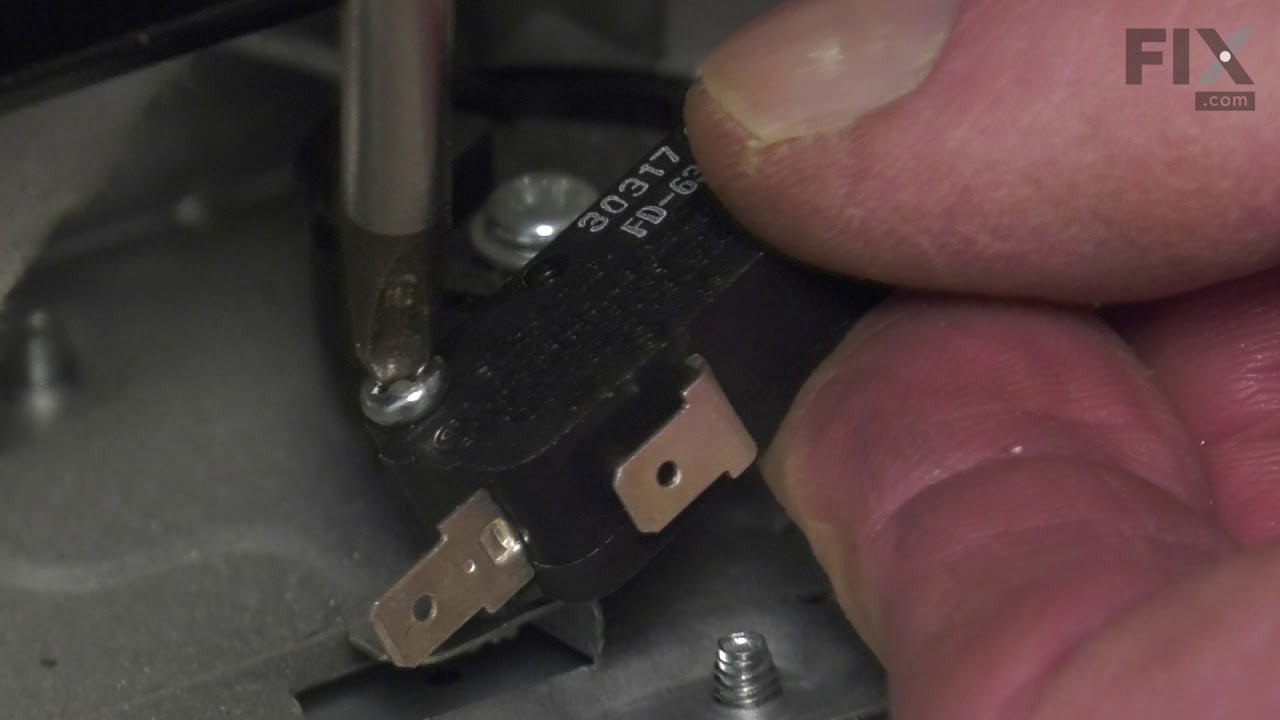
This door switch, also known as a safety switch, is a genuine OEM replacement part for microwaves. It is a safety mechanism that sends signals to the microwaves control system, telling it when the door is open/closed. This ensures that the microwave only operates when the door is securely shut and switches off as soon as the door is open....Read more Over time, this switch can become worn out or damaged. A faulty door switch can result in failure to switch the microwave on/off, lack of heat, and running with the door open. To confirm that the door switch is faulty, use a multimeter to test for electrical failure. To remove the faulty switch, disconnect the wiring connectors and take note of where they are positioned. Place the new switch in position and reattach the wiring connectors to the appropriate terminals and close the microwave door to check that the switch engages appropriately.
Read less

$23.95
In Stock
Black Sleeve Diode
Part #WPR9800486
In your microwave, the diode allows current to flow one-way only, converting alternating current to direct current. If you notice that your microwave does not heat properly, you may need to replace the diode. This product is approximately 3 inches in length. Before completing this repair, be sure to disconnect the power source from the mi...Read morecrowave. The diode is located inside the main compartment of the microwave, so you will need to open it up before you can complete this repair. This is an OEM part sourced directly from the manufacturer. Many of our customers have rated this repair as easy.
Read less

$22.95
In Stock

$52.31
In Stock
Roller Guide Assembly
Part #DE92-90189S
The turntable tray support holds the turntable tray while allowing the tray to rotate.

$80.95
In Stock
Coil
Part #2501-001011

$173.93
Special Order
Magnetron
Part #WPW10126794

$28.12
In Stock
Thermostat
Part #DE47-20009A

$72.74
In Stock
Drive Motor
Part #DE31-10170C

$26.23
Special Order

$6.55
In Stock
Flange Nut
Part #DE60-30016A
This flange nut is designed for use within various cooking appliances like ranges, microwaves and wall ovens. Flange nuts are typically used to evenly distribute pressure across its application surface, and can also eliminate the need for a separate washer. This flange nut also features a ribbed surface on the flat side, so it can bite in...Read moreto the mating surface to create a more secure connection. Since this nut is not used for one specific purpose, its use is versatile, and it can be used in a variety of applications. This nut is a genuine OEM part made of high-quality metal, and a wrench is the only tool you will need to install or remove this flange nut.
Read less

No Longer Available
COUPLER
Part #DE67-00121A
Manuals & Care Guides for AMC6138AAW
Click to downloadCommon Symptoms of the AMC6138AAW
How this model fails, and the parts that fix it.
No heat
Fixed by
these parts
these parts


Show All
Won’t turn on
Fixed by
these parts
these parts


Show All
Doesn’t shut off
Fixed by
these parts
these parts
Show All
Watch our pros, then fix it yourself.
See how others fixed this model. Time, tools, difficulty, and steps that lead to victory!
View More
Search repair tips from other customers using simple keywords like "replace", "fit", "remove", "inspect". DIY doesn't mean you have to do it alone!
Search filter:
Clear Filter
Your search term must have 3 or more characters.
Microwave not heating
8 of 8 people
found this instruction helpful.
Replaced diode works great. your website said 92% diode was problem and it worked. Order fuse in case old was blown did not have to use it.
Other Parts Used:
Was this helpful?
Thank you for voting!