


 My Orders




AMC4 Amana Microwave - Overview
Models starting with AMC4
Click on the best match to narrow your results.
- AMC4080AAB Amana Microwave (Table Top)
- AMC4080AAB05 Amana Microwave (COUNTERTOP MICROWAVE 0.8 CU. FT.)
- AMC4080AAB14 Amana Microwave (COUNTERTOP MICROWAVE 0.8 CU. FT.)
- AMC4080AAS Amana Microwave (Table Top)
- AMC4080AAS05 Amana Microwave (COUNTERTOP MICROWAVE 0.8 CU. FT.)
- AMC4080AAS14 Amana Microwave (COUNTERTOP MICROWAVE 0.8 CU. FT.)
- AMC4080AAW Amana Microwave (Table Top)
- AMC4080AAW05 Amana Microwave (COUNTERTOP MICROWAVE 0.8 CU. FT.)
- AMC4080AAW14 Amana Microwave (COUNTERTOP MICROWAVE 0.8 CU. FT.)
Enter a part description. DIY Heroes keep it simple, eg. "belt" or "pump".
Search filter:
Clear Filter
Your search term must have 3 or more characters.

$17.95
In Stock
Micro Door Switch
Part #3405-001034
This door switch, also known as a safety switch, is a genuine OEM replacement part for microwaves. It is a safety mechanism that sends signals to the microwaves control system, telling it when the door is open/closed. This ensures that the microwave only operates when the door is securely shut and switches off as soon as the door is open....Read more Over time, this switch can become worn out or damaged. A faulty door switch can result in failure to switch the microwave on/off, lack of heat, and running with the door open. To confirm that the door switch is faulty, use a multimeter to test for electrical failure. To remove the faulty switch, disconnect the wiring connectors and take note of where they are positioned. Place the new switch in position and reattach the wiring connectors to the appropriate terminals and close the microwave door to check that the switch engages appropriately.
Read less

$28.26
In Stock
High-Voltage Diode
Part #DE91-70063D
This high-voltage diode is designed for use within various makes and models of microwaves and is a genuine OEM part that converts alternating current (AC) into direct current (DC). If you notice your microwave turns on and starts but does not heat anything, this diode is likely responsible. You can check the continuity of the diode with a...Read more multimeter before outright replacing it, but it is important to remember that doing any repairs on a microwave and dealing with sensitive electrical components should be done carefully and with the appropriate precautions to avoid any hazards. To replace the high-voltage diode in your microwave, disconnect it from power and allow it to discharge. Using the appropriate screwdrivers, gain access to the control panel of the microwave. Using an insulated screwdriver, release any electrical charge in the capacitor by touching it across the terminals. Then you can remove any hardware securing the diode, including the harness connecting it to the capacitor, which may be easiest done with pliers. Connect the new diode to the capacitor terminal and the securing bracket, and then reassemble your microwave before connecting it to power again.
Read less

$35.80
On Order

$22.95
In Stock

No Longer Available

No Longer Available
Glass Cooking Tray
Part #W10132129

$173.93
Special Order
Magnetron
Part #WPW10126794

$6.55
In Stock
Door Switch Lever
Part #DE66-00088B
A microwave that does not sense a closed door may have a bent or broken switch lever. The lever helps press the safety switch when the door latch enters the housing. First check the latch hooks, door fit, switches, and plastic mounts for damage. Match the lever to the complete microwave model and make sure the switch is not also faulty. U...Read morenplugging the unit does not remove the high-voltage danger inside. Use trained service for repairs behind the control panel or outer cover. Do not test the microwave with any panel removed or any door switch bypassed.
Read less

No Longer Available
BUTTON- PU
Part #DE67-00062F
No Longer Available
BUTTON- PU
Part #DE67-00062E

$31.58
In Stock
Microwave Thermostat
Part #DE47-20173A

$76.95
In Stock
C-OIL;860NF,2100V,BK,35X
Part #2501-001035
Common Symptoms of models starting with AMC4
How this model fails, and the parts that fix it.
No heat
Fixed by
these parts
these parts


Show All
Doesn’t shut off
Fixed by
these parts
these parts
Show All
Won’t turn on
Fixed by
these parts
these parts


Show All
Watch our pros, then fix it yourself.
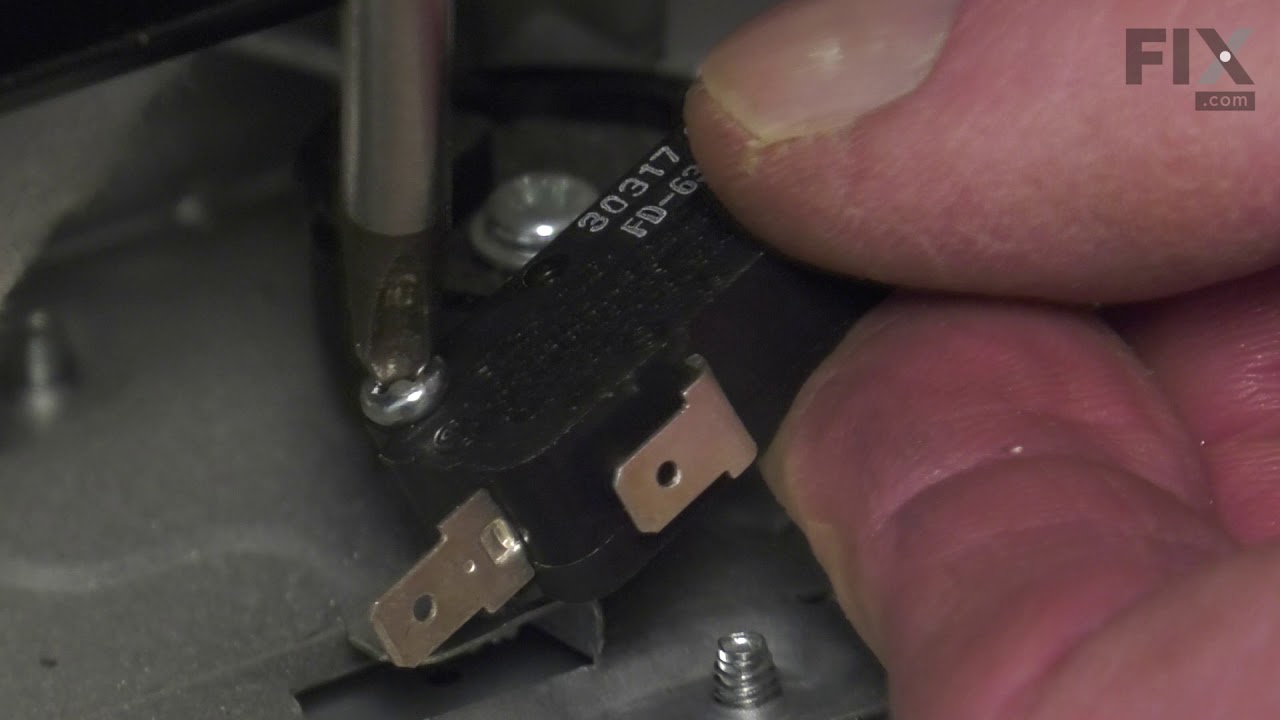
See how others fixed this model. Time, tools, difficulty, and steps that lead to victory!
View More