


 My Orders




ALZ Amana - Overview
Models starting with ALZ
Click on the best match to narrow your results.
Enter a part description. DIY Heroes keep it simple, eg. "belt" or "pump".
Search filter:
Clear Filter
Your search term must have 3 or more characters.

$29.47
In Stock
Top Burner Igniter
Part #74004053
This is a surface burner igniter, also known as a top burner ignitor and stove top spark electrode. It is used to generate the spark that lights the surface burner. If your stove will not start, element does not heat, or gas igniter glows but does not light, replacing the igniter can solve these issues. For this installation, you will nee...Read mored a Phillips screwdriver and needle nose pliers. First place the grate on top of the burner, then lift the burner and disconnect the wires. Next remove the two Phillips screws from the bottom of burner, pull igniter out of the burner and wiggle in the new one. Refer to the installation instructions provided by the manufacturer for more instructions.
Read less

$59.47
In Stock
Sealed Burner Cap with Electrode
Part #WP3412D024-26
This burner cap assembly is sold with the spark electrode igniter and has a 7-inch outer diameter. This manufacturer-approved surface burner is for gas ranges. The surface burner supplies the heat to a cooking area on the cooktop. You may need to replace your burner cap if the gas igniter glows but will ignite the flame, the range will no...Read moret start, or if you can smell gas. Because a faulty burner cap could lead to a house fire, it is recommended that you replace this part as soon as you realize it is faulty. Remember to unplug the range, turn off the gas, and let the unit cool down before starting this installation.
Note: this part has been redesigned and no longer requires a gasket, and is sold individually.
Read less

No Longer Available
Rubber Grommet
Part #Y8007P02060
Used as the bottom feet of a gas stovetop grate. Sold individually.

$67.82
In Stock
Burner Head Cap with Spark Electrode
Part #WP3412D024-09
The burner head cap with spark electrode directs the gas to the front and back burner heads and will equally distribute the gas across cooking areas. This part can help the following symptoms: if your oven will not start, element will not heat, the gas ignitor does not light, and/or gas spreads a smell. Make sure to rotate the burner asse...Read morembly clockwise to release the burner from the top. Please note: this part has been updated and the gasket seal is no longer required. Make sure to unplug the oven before installing this part and wear work gloves to protect your hands.
Read less

No Longer Available
Burner Head Cap with Spark Electrode
Part #WP3412D025-09
This is a burner head cap with spark electrode for your range, and it distributes flame evenly to your cookware. It does this by steering the gas to the back and front burner heads, which will divide the gas equally across the cookware. The most common reason for needing to replace it is if the element will not heat, the gas ignitor will ...Read morenot light, and/or you can smell gas. This model is black, has a diameter of exactly 4 inches, and is roughly 3 inches high.
Read less

$21.45
In Stock

$8.55
In Stock

$7.47
In Stock

$50.56
In Stock
Range Insulation
Part #WPW10208653
This insulation is also known as oven wrap insulation, and is used in conjunction with your range. Its purpose is to be installed in between the oven and the cabinets that surround it. This will help prevent the heat from escaping while cooking and essentially keep it locked inside the oven. The most common reason for needing to replace t...Read morehe insulation in your oven is that it becomes a comfy place for vermin to nest. Before making this installation, it would be best to disconnect the electrical power to your appliance, and to make sure that your range is cool to the touch.
Read less

$7.47
Special Order

$22.52
Special Order

$7.47
In Stock
Common Symptoms of models starting with ALZ
How this model fails, and the parts that fix it.
Will Not Start
Fixed by
these parts
these parts


Show All
Gas igniter glows, but will not light
Fixed by
these parts
these parts
Show All
Element will not heat
Fixed by
these parts
these parts
Show All
Gas smell
Fixed by
these parts
these parts
Show All
Watch our pros, then fix it yourself.
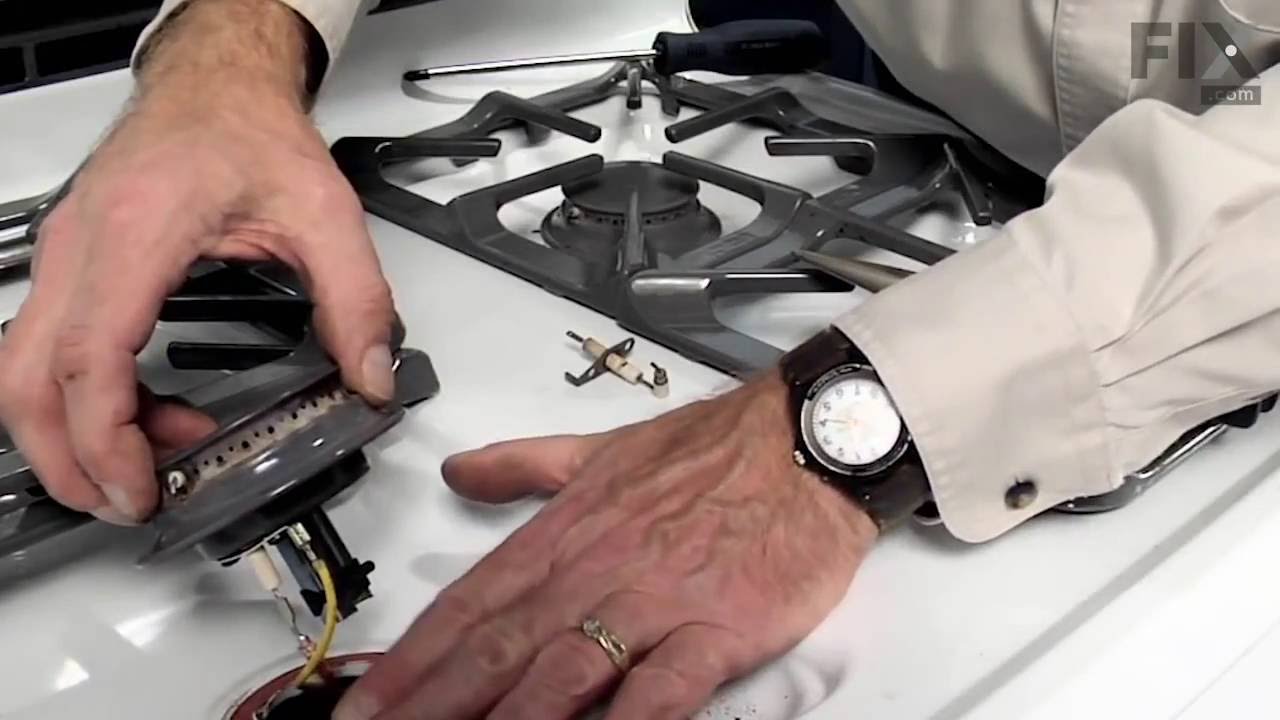

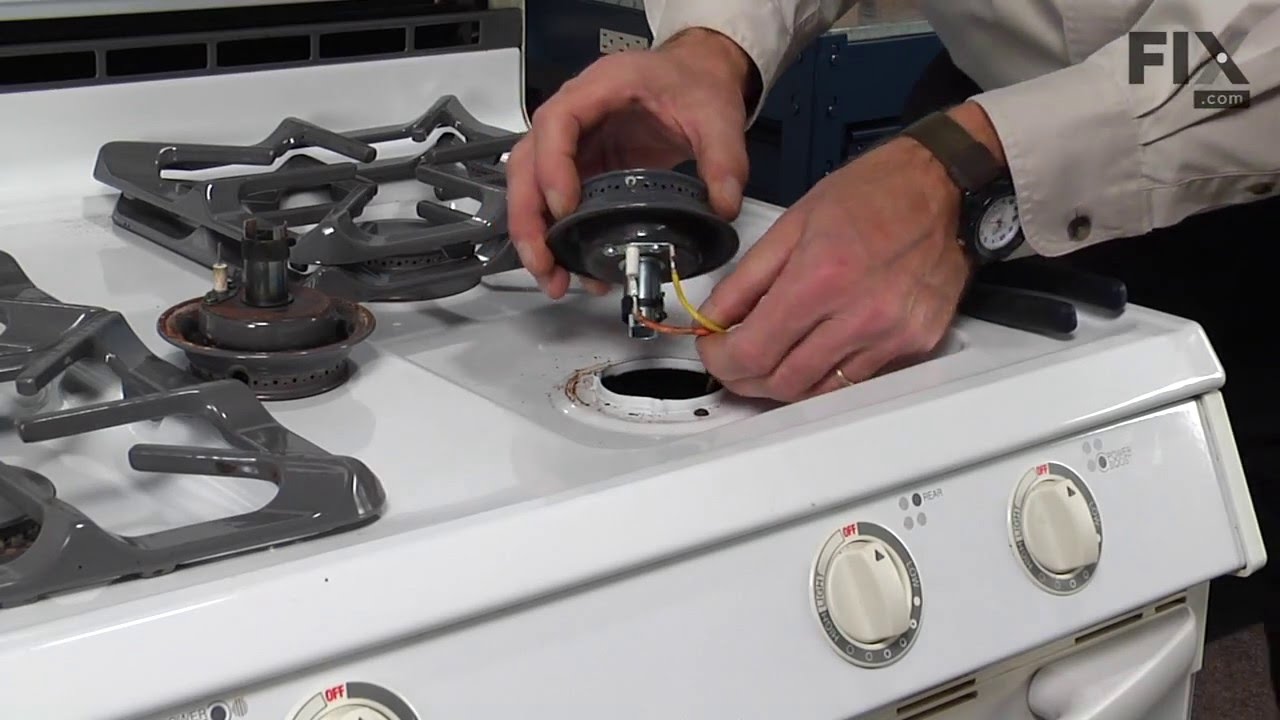
See how others fixed this model. Time, tools, difficulty, and steps that lead to victory!
View More