



EasyApplianceParts is now PartSelect! We've merged our sites to provide a better shopping experience for you.   Full Details

Find Parts

Parts Departments

Top Model Types

Top Brands

Repair Help

Expert Repair Videos

Keep typing for more specific results...

ALG643RAW-PALG643RAW1 Whirlpool Dryer - Overview

Diagrams for ALG643RAW-PALG643RAW1

See every part. Know exactly what you need.

Enter a part description. DIY Heroes keep it simple, eg. "belt" or "pump".

Search filter:
Clear Filter
Your search term must have 3 or more characters.
Multi Rib Belt – Part Number: WP40111201
$13.92
In Stock
Multi Rib Belt
★★★★★
★★★★★
(106)
Part #WP40111201
This dryer drum drive belt attaches to the motor pully and works the drum as the motor rotates. The belt has a length of 93- 3/6 inches, and wraps all the way around the dryer drum, around a tension pulley, and then around the drive motor pully. Replacing the rib belt could solve symptoms such as a screeching noise when the dryer tumbles, a broken belt (dryer will not tumble if its broken), no heat or not enough heat, or the dryer will not start. The tools needed for this repair are a nut driver and a putty knife. Remember to unplug the dryer before installing the part and protect your hands by wearing gloves.

Common Symptoms of the ALG643RAW-PALG643RAW1

How this model fails, and the parts that fix it.

Watch our pros, then fix it yourself.
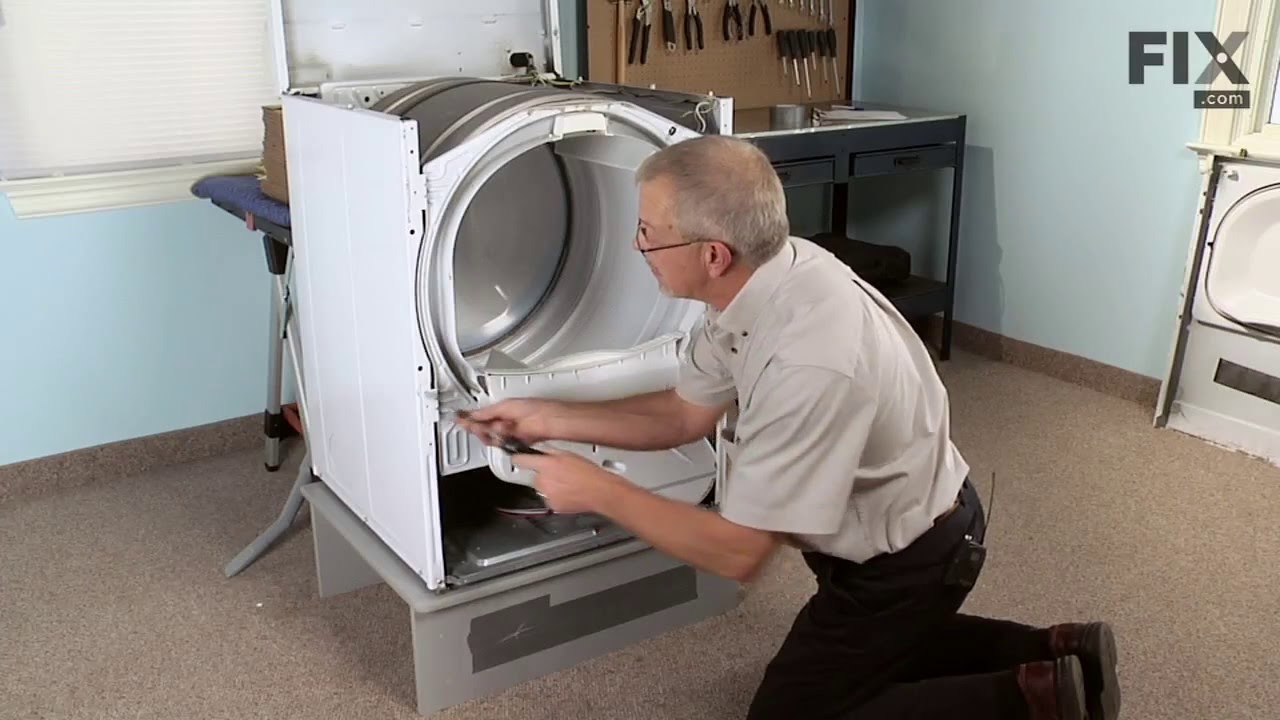
See how others fixed this model. Time, tools, difficulty, and steps that lead to victory! View More

Search repair tips from other customers using simple keywords like "replace", "fit", "remove", "inspect". DIY doesn't mean you have to do it alone!

Search filter:
Clear Filter
Your search term must have 3 or more characters.
Replace drive belt
306 of 356 people found this instruction helpful.
  • Robert from Skokie, IL
  • Difficult
  • 1- 2 hours
  • Nutdriver
Remove front panel, lint basket, motor mounts,exhaust hood, front drum brackets. Then slip serpentine belt around drum, pressure w/ tension idler pulley and slip around drive motor spindle. Replace all parts in reverse order (a two person job).
Vacuumed inside of dryer (full of lint.)
Was this helpful?
Thank you for voting!
Original belt finally gave way.....(15yrs old)
24 of 25 people found this instruction helpful.
  • Garrett from Racine, WI
  • Easy
  • 15 - 30 mins
  • Nutdriver
Simply remove the front panel screws(2) at the bottom of the dryer. Pull bottom of panel outward until it swings free of the top(taking care not to pull the wires out). Rotate out of the way and remove the two left side screws holding the drum plate and snake the belt around the flange. Reinstall those screws and remove the same ones on t he right side. Snake the belt behind that flange and reinstall screws. Then all you have to do is run the belt around the motor sheave and the idler pully and your done. Reinstall the front panel.
Was this helpful?
Thank you for voting!
Squeaky belt
5 of 7 people found this instruction helpful.
  • Michael from Marietta, GA
  • A Bit Difficult
  • 30 - 60 mins
  • Nutdriver, Pliers, Screw drivers
Removal of the entire 2 front panels
Removal of the heat exchanger into the drum
Removal and replacement of the belt
Reinstallation of the heat exchanger, and both front panels
Was this helpful?
Thank you for voting!