



EasyApplianceParts is now PartSelect! We've merged our sites to provide a better shopping experience for you.   Full Details
βœ–

Find Parts

Parts Departments

Top Model Types

Top Brands

Repair Help

Expert Repair Videos

Keep typing for more specific results...

AKT3040WW (10) Amana Cooktop - Overview

Diagrams for AKT3040WW

See every part. Know exactly what you need.

Enter a part description. DIY Heroes keep it simple, eg. "belt" or "pump".

Search filter:
Clear Filter
Your search term must have 3 or more characters.
Dual Surface Burner Switch Kit – Part Number: 12002125
$57.38
In Stock
Dual Surface Burner Switch Kit
β˜…β˜…β˜…β˜…β˜…
β˜…β˜…β˜…β˜…β˜…
(15)
Part #12002125
This switch is used to operate the dual surface burner.
Radiant Surface Burner Element 1500W – Part Number: W10823699
$105.35
In Stock
Radiant Surface Burner Element 1500W
β˜…β˜…β˜…β˜…β˜…
β˜…β˜…β˜…β˜…β˜…
(3)
Part #W10823699
This surface element is made for under glass set-ups and supplies the heat to a cooking area on top of the range. It has an outside diameter of approximately 7 inches (1500 watts), and is a genuine OEM part sourced directly from the manufacturer. Before you replace your faulty element, make sure the element is cool, and the power is disconnected from your range.
Dual Radiant Element with Limiter – Part Number: W10823726
$151.04
In Stock
Dual Radiant Element with Limiter
β˜…β˜…β˜…β˜…β˜…
β˜…β˜…β˜…β˜…β˜…
(2)
Part #W10823726
With the dual element you are able to adjust the size of the burner you want to use to match your pots/pans.
Refrigerator Screw – Part Number: WP488234
$8.55
Special Order
Refrigerator Screw
Part #WP488234
This screw is sold individually. Size: 8-32 x 1/4 inch.
Surface Ribbon Element with Limiter - 8" – Part Number: W10823710
$151.52
In Stock
Surface Ribbon Element with Limiter - Small – Part Number: 32082801
No Longer Available
Surface Ribbon Element with Limiter - Small
Part #32082801
This is a 1200 watt / 240 volt surface element.
SCREW – Part Number: W11245710
$21.45
Special Order
SCREW
Part #W11245710
Sold individually.
SCREW – Part Number: 74009538
$23.60
Special Order
SCREW
Part #74009538
Screw, 8-18 x 1/32 – Part Number: WP3388228
$7.47
In Stock
Screw, 8-18 x 1/32
Part #WP3388228
KNOB- GROM – Part Number: 74008211
No Longer Available
KNOB- GROM
Part #74008211
KNOB-DUAL – Part Number: 31926604W
No Longer Available
KNOB-DUAL
Part #31926604W

Common Symptoms of the AKT3040WW

How this model fails, and the parts that fix it.

Watch our pros, then fix it yourself.
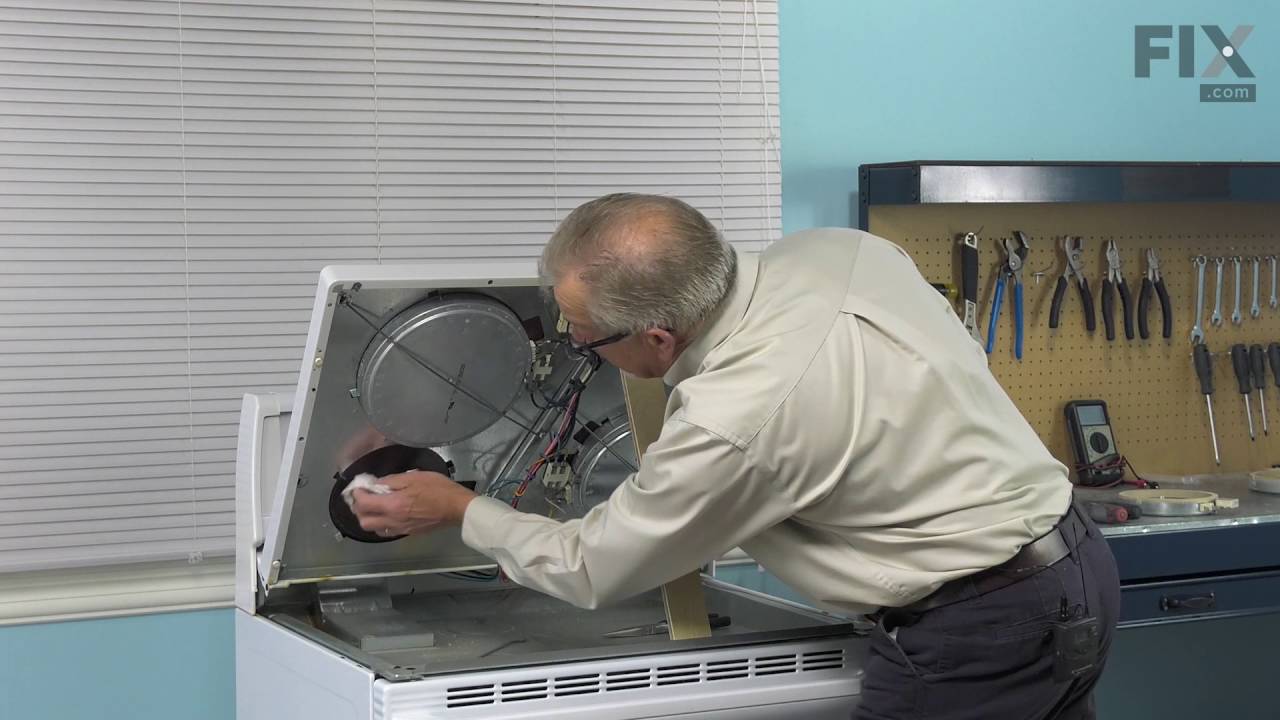
See how others fixed this model. Time, tools, difficulty, and steps that lead to victory! View More

Search repair tips from other customers using simple keywords like "replace", "fit", "remove", "inspect". DIY doesn't mean you have to do it alone!

Search filter:
Clear Filter
Your search term must have 3 or more characters.
Outer element of dual element burner didn't work
141 of 184 people found this instruction helpful.
  • Michael from Collierville, TN
  • A Bit Difficult
  • 30 - 60 mins
  • Nutdriver, Pliers, Socket set
Remove Ceran Galss top by removing hex screws below the rim. Also remove the two opposing screws in the center of the downdraft opening. Ceran top comes off easily now.
The instructions with the new switch were very poorly written, so here is how I got the new switch to work:
Attach the black wire(s) from the old switch (termi nal 2) to the new switch terminal P1. Also attach the jumper cable to P1 and "jump" it to S1.

Attach the orange wire (old switch terminal 5) to S2
Attach the yellow wire (old switch terminal 4) to 4a
Attach the tan/(white?) wire (old switch terminal 3) to terminal 4 on the new switch
Attach the single red wire from the right front element to terminal 2 on the new switch.
Attach the 'compound' red wires (the ones that come from the left rear/outlet connection and is also attached to the right rear switch) to terminal P2 on the new switch.
There is no need to seperate the compound red wires as the instructions might lead you to believe.
Good Luck
Was this helpful?
Thank you for voting!
The repair itself was very easy. “How to connect” was very hard to get.
54 of 63 people found this instruction helpful.
  • Igor from Campbell, CA
  • Really Easy
  • 15 - 30 mins
  • Nutdriver, Pliers, Screw drivers
The repair itself was very easy. β€œHow to connect” was very hard to get.


To get access to the switch, unscrew 2 screws from each side of front panel and then 4 screws from the bottom of it (open the door first). Have a box or a small table about 30” high to use it as support for the front panel.

The end result (colors for the Right Front- R.F.- burner) : Old label -> New label

1. Double RED: N -> P2 (incoming power, Line 1)
2. Single RED: N -> 2 (to Inner AND Outer heating elements common wire)
3. Single BLK: L1 -> P1 (incoming power, Line 2)
4. Single TAN: H1 -> 4 (to the Inner heating element)
5. Single YEL: H2-> 4a (to the Inner heating element)
6. Single BLK: P -> S2 (to the R.F. indicator control light)
7. Attach jumper black wire (included with new switch) from P1 (P1 has two connectors close together) to S1.

Done.
Was this helpful?
Thank you for voting!
Outer Heater ring not working on dual burner.
24 of 28 people found this instruction helpful.
  • Mark from Richardson, TX
  • Really Easy
  • 30 - 60 mins
  • Screw drivers
Turned off power to unit.
Tilted up Glass top and removed two screws holding rear hinges to range. Then I unplugged wire harness from lower range and placed the Glass top facing down on counter top with towel for cushion. Removed 1 screw holding center of burner to support frame, two alignment screws on perimeter, and two screws hol ding support frame to glass top. This allowed me to slide out the old element with all wiring connections intact.
Placed the new assembly in same location under support frame, noting numbered positions of two alignment screws from old unit. This is necessary to properly align heater to surface glass. Replaced all screws connecting burner to frame. Then I removed each wire one-by-one from old unit, reconnecting to same location on new unit.

Replaced top in reverse order from removal. Powered on the circuit breaker and verified proper operation of dual unit with large/small selecttor switch. Total time to repair about 30 minutes.
Was this helpful?
Thank you for voting!