


 My Orders




AKDE Amana - Overview
Models starting with AKDE
Click on the best match to narrow your results.
Enter a part description. DIY Heroes keep it simple, eg. "belt" or "pump".
Search filter:
Clear Filter
Your search term must have 3 or more characters.

$16.07
In Stock
Range Surface Burner Plug-In Block Kit
Part #330031
The surface burner plug-in block kit features a newer-style terminal block. This kit is designed for use with ranges and cooktops. This terminal block is how the coil element on your stove connects to the inner wiring of your appliance. Without this connection your burner element would not get the electrical current it needs to heat up. W...Read morehen your element will not heat at all, or if it is not heating properly it is likely an issue with the terminal block. You need to remove the element to replace this part. While you have the element out, inspect the element and the terminal for any corrosion, arcing, or discoloration. If you notice any damage to the element or the terminals we recommend you replace this part as well. This kit includes two metal brackets, two pre-crimped high-temperature wire leads, two ceramic wire nuts, two heat-shrinking insulators, and a mounting screw. Before you begin this repair, make sure you have unplugged your appliance.
Read less

$50.56
In Stock
Drip Bowl Kit - Light Gray
Part #W10291024
This is a kit of 4 drip bowls. This includes 2 large pans and 2 small pans. All pans have holes in the bottom and they are light gray in color. The large bowl is for an 8-inch element and is 10 inches in diameter. The small pans are meant for 6 inch elements and measure 8 inches in diameter. These durable drip bowls are made of a porcelai...Read moren finish and are safe for the dishwasher. These drip bowls are for electric ranges that have two-wire plug-in elements. Drip bowls catch food and grease that drip off cookware placed on the element.
Read less

$20.37
In Stock

$7.47
In Stock

$16.07
In Stock
8 Inch Drip Bowl - Black
Part #WPW10290350
This black porcelain drip bowl with a hole in the bottom is intended for use with some electric ranges and cooktops. This drip bowl measures 10 inches in diameter at its widest point. The purpose of the drip bowl is to catch any spills or grease from the cookware sitting on the burner. The drip bowl might burn, rust, or get to the point w...Read morehere you can no longer get it clean, and will need to be replaced. You will need to remove the surface burner to remove the old drip bowl. These bowls are dishwasher-safe.
Read less

$89.21
In Stock
Surface Element - 6 Inch
Part #WPW10259868
Get your cooktop working like new with this 6-inch coil burner. It heats up with 1500 watts of power—great for boiling, simmering, or everyday cooking. Easy to install with looped ends that connect quickly, and it even has a sleek black center for a polished look. If your old burner stopped heating, this is a simple fix to get back to cooking.

$95.15
In Stock
Surface Burner Element - 8 Inch
Part #WP3191454
This surface burner element is a genuine OEM replacement part for your kitchen appliances. It measures 8inches in diameter with a wattage of 2100W. You will need to replace the element if you notice that it is discolored, making popping or crackling noises, no longer level, or no longer heating up. To replace the faulty burner element, ge...Read morently lift and pull it off the appliance. Next, plug the new element terminals into the socket. Remember to first turn off your appliance or turn off the circuit breaker before you begin any repairs.
Read less

$7.47
In Stock

$11.77
Special Order

No Longer Available
FILTER EXHAUST KET595
Part #Y0042024
This filter assembly is just under eleven inches long and is not quite six inches wide. It is a metallic filter and it is used with some downdraft ranges.

No Longer Available
Burner Control Switch Kit - 8 Inch
Part #WPR0702021
This is an OEM part sourced directly from the manufacturer. This switch kit is designed to help you operate the 8? surface burner on your range or cooktop. This witch turns the surface burner on and off, and allows you to control how much heat the element is producing. The control knob attaches to this part for easy operation. This kit co...Read moremes with all of the hardware you will need to successfully install the replacement switch. Before beginning the repair make sure you have unplugged your appliance.
Read less

$21.45
Special Order
Nut
Part #M0282009
This part is sold individually. This nut can be found in various appliances including a dishwasher, air conditioner, washer, dryer, range/cooktop, oven, freezer, range hood, and refrigerator. There is a serrated pattern along the edge of the nut, which helps to avoid loosening while the appliance is in motion. Nuts may corrode or rust ove...Read morer time and will need to be replaced. You will need a wrench to screw the nut into place. This genuine OEM part comes directly from the manufacturer.
Read less
Common Symptoms of models starting with AKDE
How this model fails, and the parts that fix it.


Watch our pros, then fix it yourself.
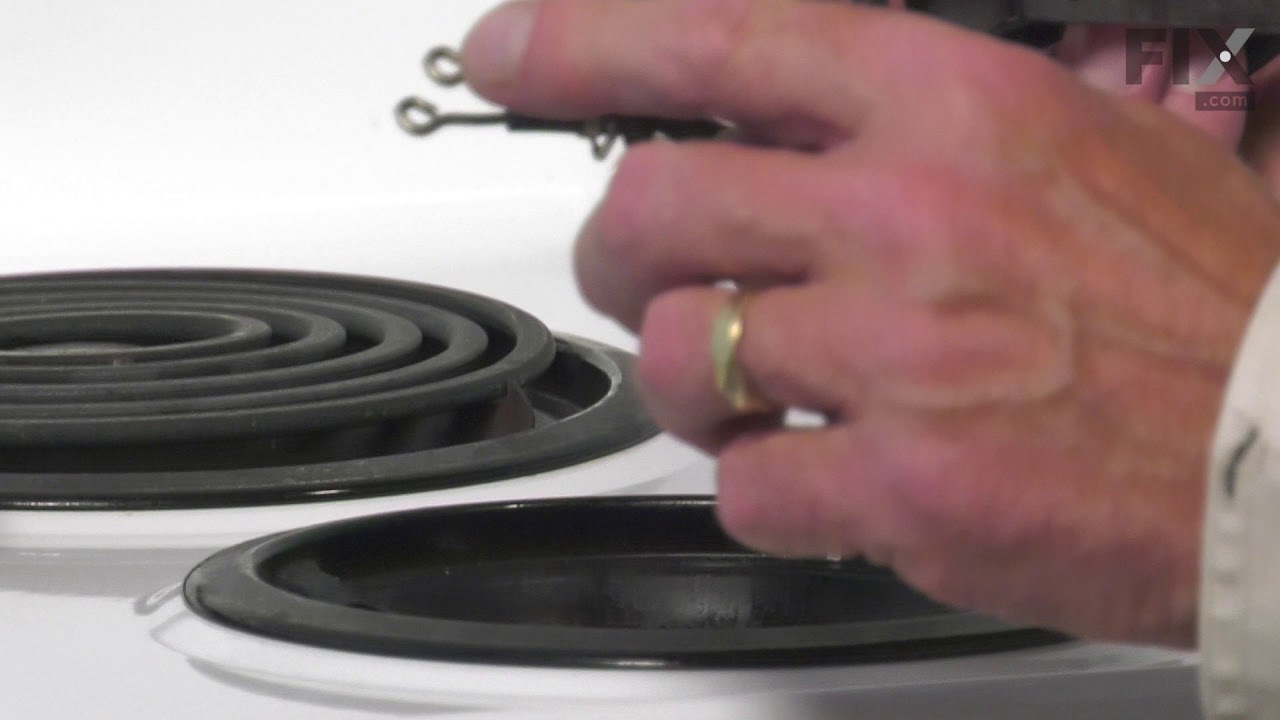
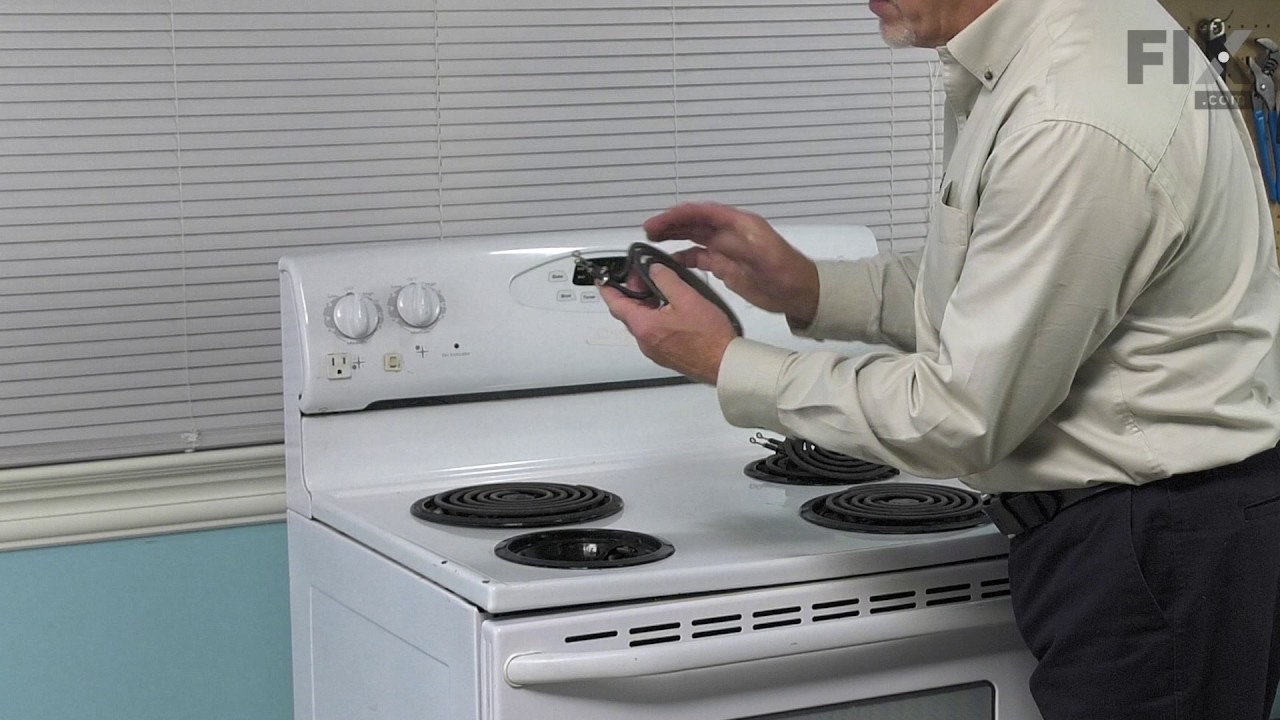
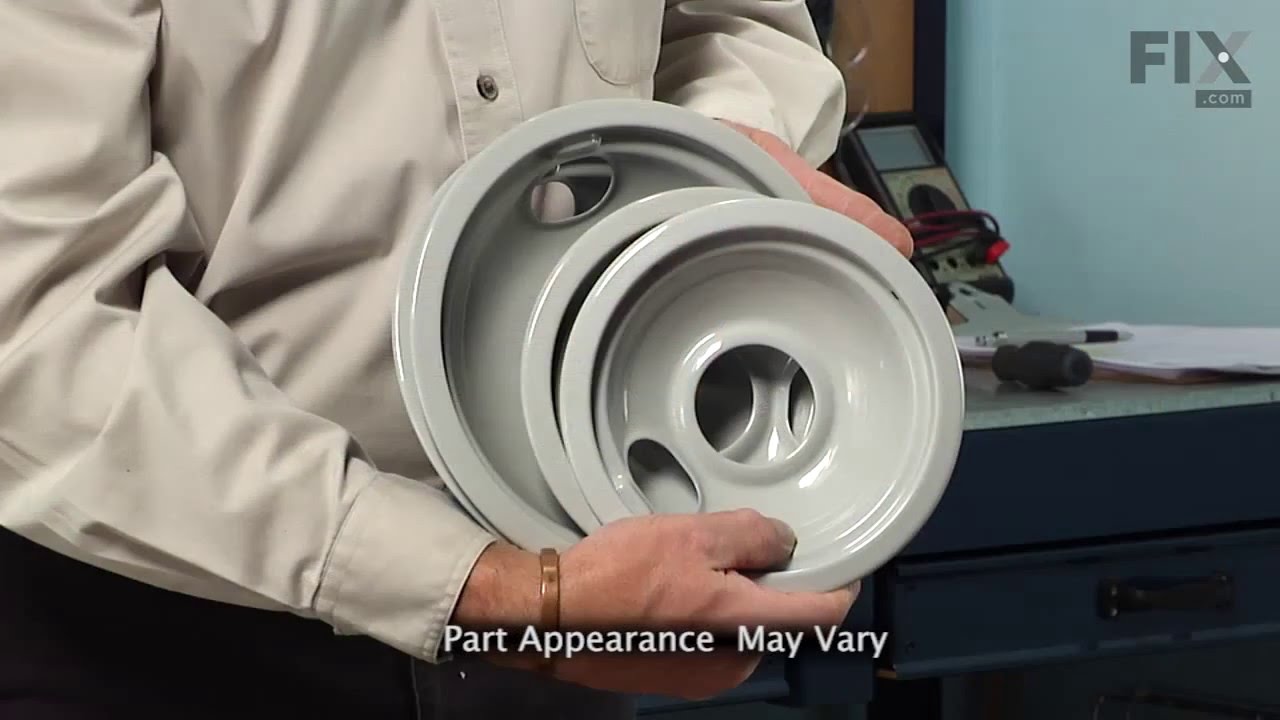
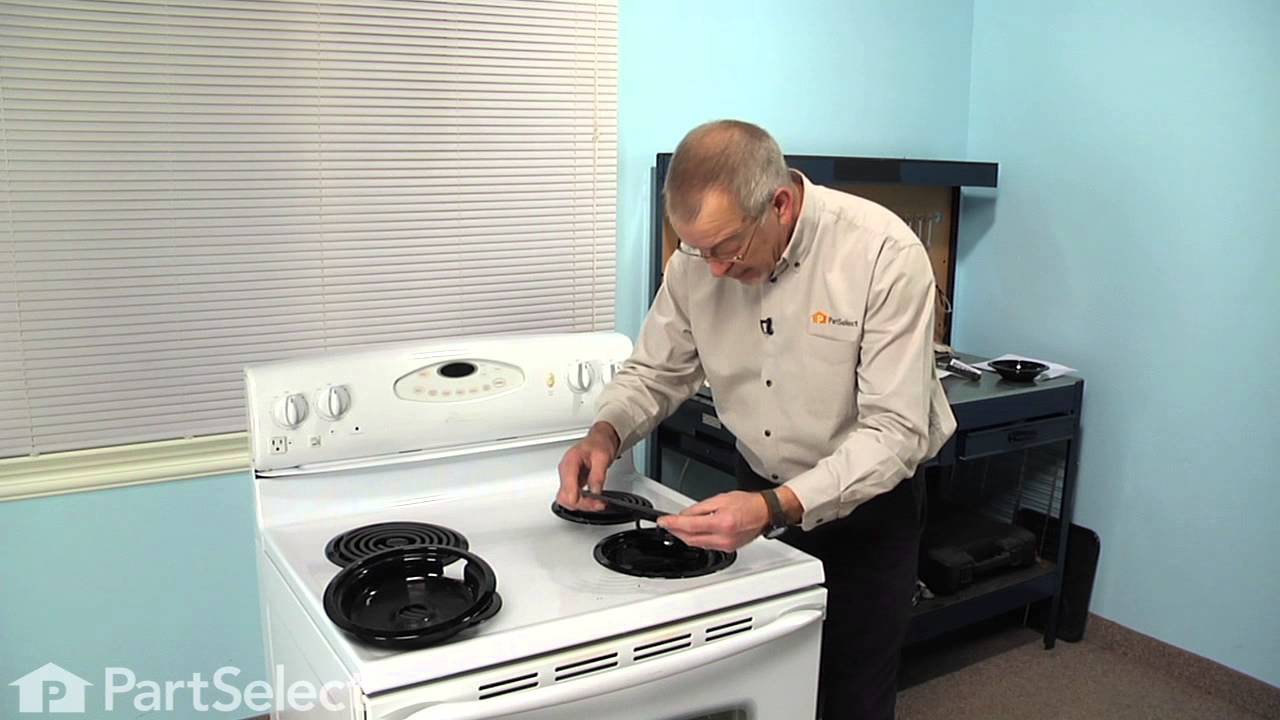
See how others fixed this model. Time, tools, difficulty, and steps that lead to victory!
View More
Search repair tips from other customers using simple keywords like "replace", "fit", "remove", "inspect". DIY doesn't mean you have to do it alone!
Search filter:
Clear Filter
Your search term must have 3 or more characters.
I needed drip bowls that fit properly
92 of 96 people
found this instruction helpful.
I ordered gray enamel drip bowls and they fit perfectly. Unfortunately 2 of them were chipped and bent slightly. They still worked which was better than the make shift ill fitting ones that came with the house so I decided to keep them. I did tell parts select about it and they sent me a new order of drip pans at no charge. I used the
... Read more
perfect ones but the 8" drip pans flaked off paint after one use. I guess this is an Amana defect...the paint doesn't stick under heat.
Read less
Other Parts Used:
Was this helpful?
Thank you for voting!