This control knob is just over two inches in diameter. It is white and made of plastic. There is gray lettering on this knob to denote the different degrees of temperature.
This surface element is made for under glass set-ups and supplies the heat to a cooking area on top of the range. It has an outside diameter of approximately 7 inches (1500 watts), and is a genuine OEM part sourced directly from the manufacturer. Before you replace your faulty element, make sure the element is cool, and the power is disconnected from your range.
This dual radiant surface element restores proper heating on an electric cooktop and provides both an inner and outer heating ring so you can match the burner size to different pans. It is commonly replaced when a burner stops heating or heats unevenly, helping return consistent performance for everyday cooking tasks like boiling, simmeri...Read moreng, and frying. Installation involves disconnecting power, lifting the cooktop or accessing the burner housing, transferring the wiring from the old element to the new one, and securing it in place.
See how others fixed this model. Time, tools, difficulty, and steps that lead to victory!View More
Search repair tips from other customers using simple keywords like "replace", "fit", "remove", "inspect". DIY doesn't mean you have to do it alone!
Search filter:
Clear Filter
Your search term must have 3 or more characters.
Letters worn off from knobs
14 of 17 peoplefound this instruction helpful.
Joseph from Laurel, MD
Really Easy
1- 2 hours
Our Amana stove top letters had worn off the knobs. We bought new knobs a few years ago and the same thing happened. This time we bought new knobs and coated the lettering with 5-minute epoxy to preserve the lettering.
Was this helpful?
Thank you for voting!
Replacement of burner control switch
11 of 13 peoplefound this instruction helpful.
Farouk from Sudbury, MA
A Bit Difficult
More than 2 hours
Nutdriver, Pliers, Screw drivers
1. Open the circuit breaker feeding the range. Turn all range control switches ON to establish that there is no power. Remove all knobs. 2. Get under the range and remove the 2 hex-head screws securing the flex conduit to the bottom panel. Then remove the 20 hex-head screws securing the panel to the range. Lower the panel and place a
... Read moreside, and then after checking for no voltage disconnect the red and black incoming wires by pulling on the spade connectors. Make sure you mark which wire went where. 3. From below apply pressure to the range frame to free the top surface gasket from collected food debris, then from above lift our the range and place upside down on a towel. Support the range with wooden blocks so that the unit is not resting on the knob shafts. 4. The control switches are all mounted on a common bracket with two screws for each switch. The first task is to remove two screws on each side holding the bracket to the frame, and then two wire harnesses on each side. Then gently move the bracket and rotate it sidewards so you have access to the screws holding down the switches. 5. Remove the defective switch leaving all the wires still connected. 6. Install the new switch and transfer the wires from the defective switch. 7. You're done, now restore everything in reverse, just make sure all wires move freely and not pinched.
Read less
Was this helpful?
Thank you for voting!
Element not heating
8 of 9 peoplefound this instruction helpful.
Richard from Weatherford, TX
A Bit Difficult
1- 2 hours
Nutdriver, Pliers
This was a countertop mounted cooktop. The hardest part of the repair was getting the cooktop out of the hole and separating the glass top from the burner box. It is highly recomended that you have two people to seperate the top from the burner box. Be sure you turn off the breaker to the cooktop first before you do any work. One time sav
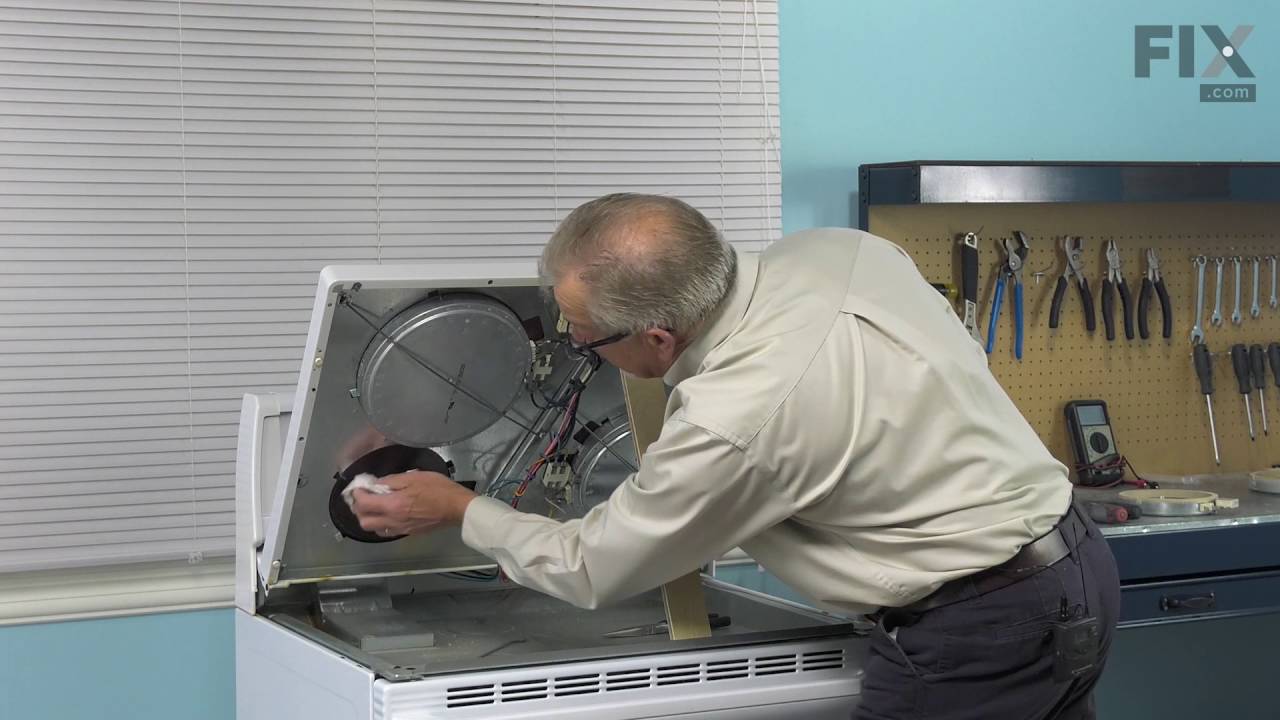
... Read moreer is once you have the top sperated from the box use 2- 10"-12" pieces of 1x2 or 2x4 to prop the top open. This will eleminate the need to disconnect the power leads (be sure the breaker is OFF). If you are not electrically inclined mark the color of the wires to the corrosponding terminals on the new element BEFORE you remove them from the old element. The element that I replaced was the dual heat element. I ended up having to change 2 of the terminal ends on the wiring harness becacuse they were too small for the new element. Carefully remove the wires from the old elenent using needle nose pliers and remove the old element by removing the 2 screws that hold the element to the hold down clips, then loosen the clip mounting screws & remove the element. Change terminals if needed & reassmble in reverse order. Once I got it reassembled with a couple of the top mounting screws in, I turned on the breaker and tested for proper operation. Breaker OFF, finish reassembly and remount. You may want to consider replacing foam gasket before remounting. Good luck... R. Moore