


 My Orders




AK2T36W1 (P1131558N) Amana Cooktop - Overview
Diagrams for AK2T36W1
See every part. Know exactly what you need.


.gif "MISCELLAEOUS INFORMATION Diagram and Parts List for P1131558N Amana Cooktop")
Enter a part description. DIY Heroes keep it simple, eg. "belt" or "pump".
Search filter:
Clear Filter
Your search term must have 3 or more characters.

No Longer Available

No Longer Available
Electric Hole Cover
Part #WPY0307427
This hole cover is almost two inches in diameter. It fits below the surface burner knob of some ranges, and has a center hole just big enough for the knob's shaft.

$7.47
In Stock

$105.35
In Stock
Radiant Surface Burner Element 1500W
Part #W10823699
This surface element is made for under glass set-ups and supplies the heat to a cooking area on top of the range. It has an outside diameter of approximately 7 inches (1500 watts), and is a genuine OEM part sourced directly from the manufacturer. Before you replace your faulty element, make sure the element is cool, and the power is disconnected from your range.

$86.02
Special Order
Infinite Switch
Part #W11121639
This Infinite Switch Surface Control Switch is a genuine OEM component designed specifically for a range of Whirlpool appliances. Its main function is to regulate the heat of the stove element on your cooktop. As a specific fit for various models of Whirlpool, KitchenAid, Maytag, Jenn-Air, Amana, Inglis, and Magic Chef, it ensures optimum...Read more performance and a precise fit. Please pay attention to the size and shape of the part during placement as minor variations might exist. Validate your model number correctly before making your purchase. Remember, quality matters ? always choose genuine Whirlpool parts for guaranteed compatibility and durability.
Read less

$151.04
In Stock
Dual Radiant Element with Limiter
Part #W10823726
With the dual element you are able to adjust the size of the burner you want to use to match your pots/pans.

$8.55
Special Order

$151.52
In Stock
Surface Ribbon Element with Limiter - 8"
Part #W10823710
This is a 2000 watt 240 volt surface element.

No Longer Available
Infinite Switch Knob
Part #31760602W
This infinite switch knob is two inches in diameter. It is white in color and it is made entirely of plastic. There is gray lettering denoting the varying degrees of temperature.

$8.55
Special Order

$6.90
In Stock
Refrigerator Screw
Part #12991101

$21.45
Special Order
Common Symptoms of the AK2T36W1
How this model fails, and the parts that fix it.


Watch our pros, then fix it yourself.
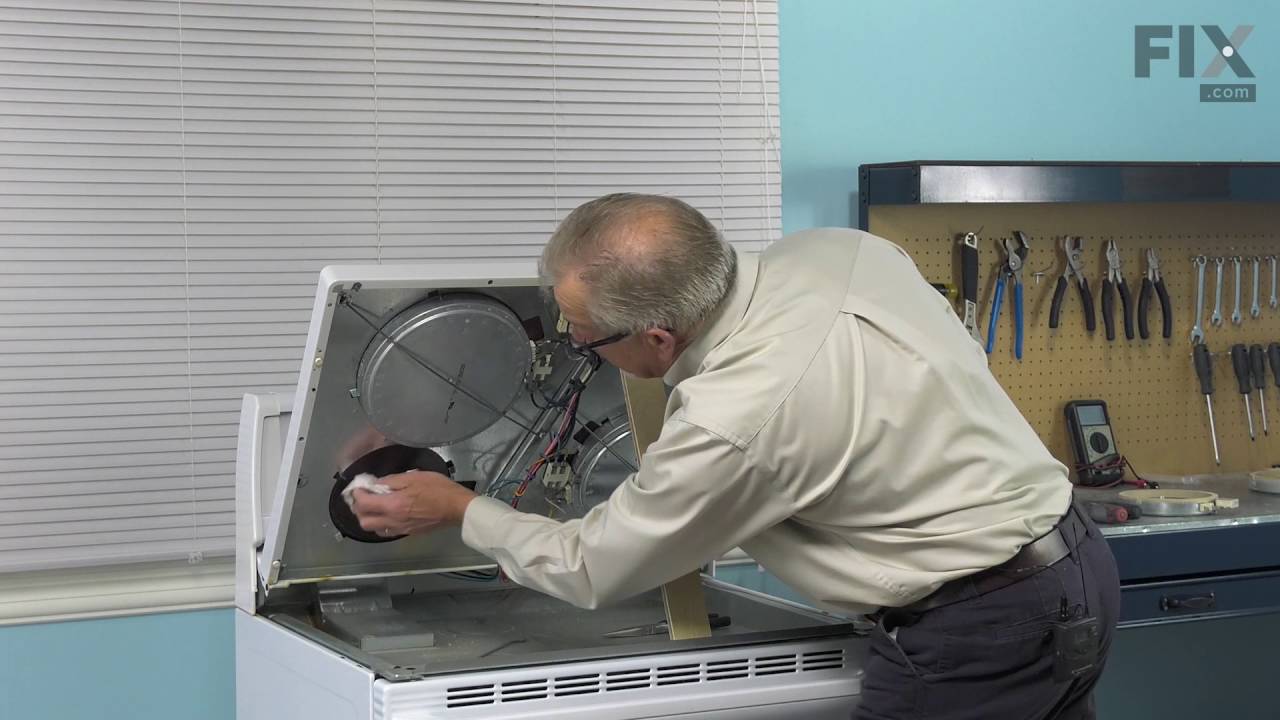
See how others fixed this model. Time, tools, difficulty, and steps that lead to victory!
View More