


EasyApplianceParts is now PartSelect! We've merged our sites to provide a better shopping experience for you.   Full Details
✖

Find Parts

Parts Departments

Top Model Types

Top Brands

Repair Help

Expert Repair Videos

Keep typing for more specific results...

AK2H300E Amana Cooktop - Overview

Models starting with AK2H300E

Enter a part description. DIY Heroes keep it simple, eg. "belt" or "pump".

Search filter:
Clear Filter
Your search term must have 3 or more characters.
Radiant Surface Burner Element 1500W – Part Number: W10823699
$105.35
In Stock
Radiant Surface Burner Element 1500W
★★★★★
★★★★★
(3)
Part #W10823699
This surface element is made for under glass set-ups and supplies the heat to a cooking area on top of the range. It has an outside diameter of approximately 7 inches (1500 watts), and is a genuine OEM part sourced directly from the manufacturer. Before you replace your faulty element, make sure the element is cool, and the power is disconnected from your range.
Control Hole Cover – Part Number: B5037602
No Longer Available
Control Hole Cover
Part #B5037602
This control hole cover sits under the control knob.
Refrigerator Screw – Part Number: WP488234
$8.55
Special Order
Refrigerator Screw
Part #WP488234
This screw is sold individually. Size: 8-32 x 1/4 inch.
Control Knob – Part Number: 307620B
No Longer Available
Control Knob
Part #307620B
Sold Individually. This knob accepts a double-flat shaft.
SWITCH-INF – Part Number: W11122012
$121.56
Special Order
SWITCH-INF
Part #W11122012
Screw – Part Number: WPW10068250
$8.55
Special Order
Screw
Part #WPW10068250
This screw is sold individually.
Refrigerator Screw – Part Number: 12991101
$19.95
Special Order
Refrigerator Screw
Part #12991101
SCREW – Part Number: W11245710
$21.45
Special Order
SCREW
Part #W11245710
Sold individually.
Dual Element Knob – Part Number: 307621B
No Longer Available
Dual Element Knob
Part #307621B
This knob accepts a double-flat shaft.
SCREW – Part Number: 74009538
$23.60
Special Order
SCREW
Part #74009538
SCREW – Part Number: W11214483
$21.45
Special Order
SCREW
Part #W11214483
Screw, 8-18 x 1/32 – Part Number: WP3388228
$7.47
In Stock
Screw, 8-18 x 1/32
Part #WP3388228

Common Symptoms of models starting with AK2H300E

How this model fails, and the parts that fix it.

Watch our pros, then fix it yourself.
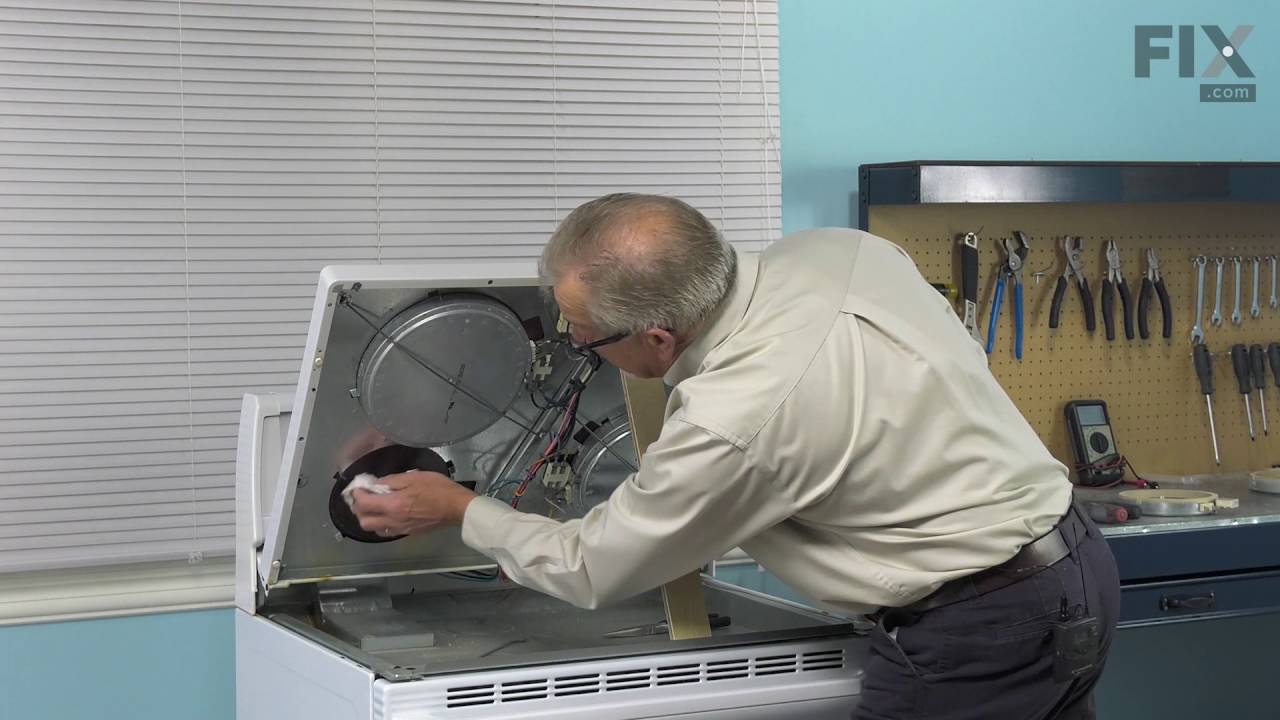
See how others fixed this model. Time, tools, difficulty, and steps that lead to victory! View More

Search repair tips from other customers using simple keywords like "replace", "fit", "remove", "inspect". DIY doesn't mean you have to do it alone!

Search filter:
Clear Filter
Your search term must have 3 or more characters.
Replacement of burner control switch
11 of 13 people found this instruction helpful.
  • Farouk from Sudbury, MA
  • A Bit Difficult
  • More than 2 hours
  • Nutdriver, Pliers, Screw drivers
1. Open the circuit breaker feeding the range. Turn all range control switches ON to establish that there is no power. Remove all knobs.
2. Get under the range and remove the 2 hex-head screws securing the flex conduit to the bottom panel. Then remove the 20 hex-head screws securing the panel to the range. Lower the panel and place a side, and then after checking for no voltage disconnect the red and black incoming wires by pulling on the spade connectors. Make sure you mark which wire went where.
3. From below apply pressure to the range frame to free the top surface gasket from collected food debris, then from above lift our the range and place upside down on a towel. Support the range with wooden blocks so that the unit is not resting on the knob shafts.
4. The control switches are all mounted on a common bracket with two screws for each switch. The first task is to remove two screws on each side holding the bracket to the frame, and then two wire harnesses on each side. Then gently move the bracket and rotate it sidewards so you have access to the screws holding down the switches.
5. Remove the defective switch leaving all the wires still connected.
6. Install the new switch and transfer the wires from the defective switch.
7. You're done, now restore everything in reverse, just make sure all wires move freely and not pinched.
Was this helpful?
Thank you for voting!
2 controls were damaged and not working correctly. One would not properly shut off.
7 of 8 people found this instruction helpful.
  • Edward from Sunnyvale, CA
  • Really Easy
  • 30 - 60 mins
  • Nutdriver, Pliers, Screw drivers
1. Turned off the 240V branch circuit to the cooktop.
2. Removed and inverted the cooktop.
3. Removed the bottom panel, used 1/4-inch nut driver to remove the sheet metal screws.
4. Confirmed the circuit was de-energized. Voltmeter set to AC, measure across the L1, L2 connections, should be 0 VAC or very close.
5. Make a diagram of the existing connections to the controls to be replaced, note all control markings (L1, L2, H1, H2, PL) as the replacement controls have connectors in different locations.
6. Remove the AC Mains plate, 2 sheet metal screws.
7. Make a diagram of the primary AC distribution blocks.
8. Remove the AC Mains input leads, Red and Black.
9. Remove the AC distribution to the controls from the primary AC distribution blocks. Needed to free up the control panel.
10. Remove the 4 sheet metal screws holding the control panel.
11. Rotate the control panel to access the screws holding the controls. Caution on the wires to the heating elements, watch for pinching.
12. Remove one control with the wires attached.
13. Install the replacement control. Secure the screws.
14. Transfer the wires, matching the connection marking (L1, L2, H1, H2, PL) exactly.
15. Do the same (12, 13, 14) with the next control.
16. Re-install the control panel. Check all wires for clearance.
17. Re-connect the control wiring to the AC primary distribution blocks.
18. Re-connect the AC mains wiring to the primary AC distribution blocks.
19. Re-install the AC mains plate.
20. Visually check all the connections. Shake out any debris.
21. Replace the bottom cover, installing all screws.
22. Remove the gasket strip from the mounting lip, clean the surface, install new gasket (weather stripping).
23. Re-mount the cook top.
24. Energize the 240VAC branch circuit.
25. Test the controls. Correct any errors.
26. Done! Go have some hot tea! (or a beer)
Was this helpful?
Thank you for voting!
One of the burner wasn't light up.
  • Sam from Fairport, NY
  • Really Easy
  • Less than 15 mins
  • Screw drivers
The repair was very easy. It took me less than ten minutes. There were only five screws including two to hold heat element that I have to unscrew and transferred the old clip the screw onto new heat element.
Was this helpful?
Thank you for voting!