


 My Orders




AK28 - Overview
Models starting with AK28
Click on the best match to narrow your results.
Enter a part description. DIY Heroes keep it simple, eg. "belt" or "pump".
Search filter:
Clear Filter
Your search term must have 3 or more characters.

$26.35
Special Order
Door Shelf End Cap - Right Side
Part #5303323480
The right-side door shelf end cap is designed for use in your refrigerator. The function of this part is to connect the shelf bar to the refrigerator door, and hold it in place. This part fits the right-side of your refrigerator door shelf, the left-side door shelf end cap is sold separately. This part is made entirely out of plastic, and...Read more is white in color. This product measures approximately 1-inch in width by 1-inch in length. Many of our customers have rated this repair as very easy. The only tool you may need is a soft-faced hammer. This is an OEM part sourced directly from the manufacturer.
Read less

$7.47
In Stock
Screw
Part #WP488729
Metallic screw that is less than an inch long. Does not include the plastic washer.

$7.47
Special Order
Water Inlet Hose Washer
Part #WP16123
If your clothes washer is leaking, it is likely that there could be an issue with one of the hoses. If the hoses are in working order, you should check the washers connecting the hose to your unit. Rubber washers are tasked with enhancing the seal between the hose and washer. A faulty or damaged washer will not be able to perform this pro...Read moreperly, and water will be able to leak from the poor connection. This OEM part is sold individually, so make sure you order the quantity that is needed. The washer measures 1 1/16 inches x 5/8 inches.
Read less

$8.55
Special Order
Range Hex Nut
Part #WP488130
This hex nut is an authentic Whirlpool part that is sourced directly from the original equipment manufacturer, and will fit a variety of appliances including ovens, microwaves, refrigerators, air conditioners, and dishwashers. It is a metal part with a threaded hole to fasten parts in the appliance together. It is common for this part to ...Read morewear out; it is recommended to order a spare. To replace this part the tools needed are a nut driver or wrench. This nut features a built-in external tooth lock washer, which is used to help keep the nut in place.
Read less

$7.47
In Stock
Refrigerator Single Hex Head Screw
Part #WP489069
Sold individually. The size of this screw is 1/4" hex head and 10-12 x 1/2".

No Longer Available

No Longer Available
Fan Blade,with clamp
Part #5304422465

$27.12
Special Order
SCREW
Part #134178901

$21.45
Special Order

$55.95
In Stock
Blower Wheel
Part #5304404774
If your air conditioner is making an unusual noise, the problem could be with the blower wheel, or its fans. The motorized fan in an air conditioner pulls air through the filter and over the cold evaporator coils and then re-circulates the cooled air back into the room. There is also a second fan on the motor shaft that cools the condense...Read morer coils at the back. An unusual noise is usually due to the fans striking the inside of the air conditioner. Check your blower wheel, and the fan blades for physical damage, dust, and signs that they have been hitting something during the cooling process. If the wheel is damaged and the unit is not working properly because of it, replace the part right away. Remember, the power should be disconnected from the air conditioner before you perform this repair.
Read less

$7.47
In Stock
Zip Tie
Part #WPW10339879
A zip tie, also known as a cable tie or a wire tie, is a fastening device that holds wires or tubing together. If a machine has wires or tubing that are easily shifted, you need to hold them tightly together using a zip tie. It is a flexible, plastic strip that has serrated teeth and a locking mechanism. If the zip tie is damaged, it shou...Read moreld be replaced. Freely moving wires may rub against surfaces, causing them to break over time. Zip ties are single-use and may not be reused after they are removed from a machine. To release the locking mechanism, you will need to insert a small flat tool into the head of the zip tie, between the tongue and the serration, and depress the bar. You can then pull the teeth out of the mechanism to loosen the cable tie. This part is produced by the original equipment manufacturer and is sold individually.
Read less

$455.45
In Stock
MOTOR-FAN
Part #309630604
Common Symptoms of models starting with AK28
How this model fails, and the parts that fix it.

Watch our pros, then fix it yourself.
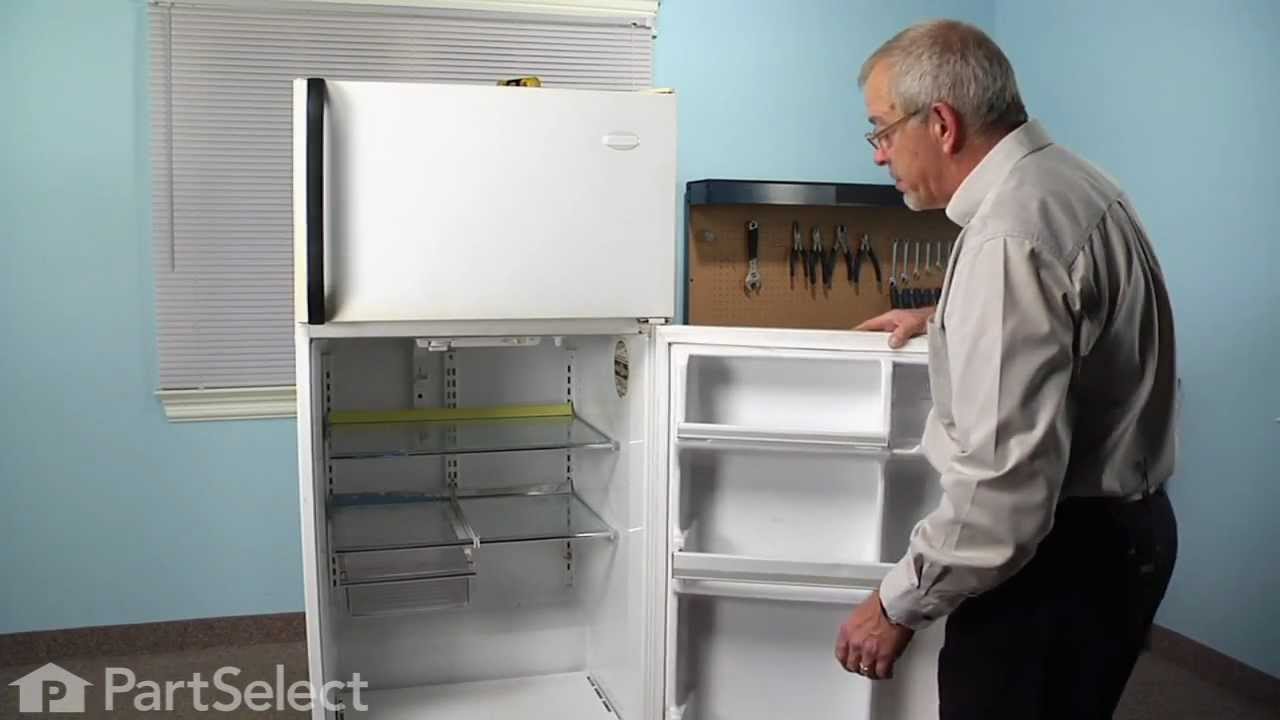
See how others fixed this model. Time, tools, difficulty, and steps that lead to victory!
View More