


 My Orders




AH15 - Overview
Models starting with AH15
Click on the best match to narrow your results.
- AH150B Jenn-Air Cooktop
- AH150W Jenn-Air Cooktop
- AH151B Jenn-Air Cooktop
- AH151W Jenn-Air Cooktop
- AH153K2A1 Frigidaire Air Conditioner (Room)
- AH154J2T1 Frigidaire Air Conditioner (Room)
- AH154J2T2 Frigidaire Air Conditioner (Room)
- AH154K2T1 Frigidaire Air Conditioner (Room)
- AH154L2T1 Frigidaire Air Conditioner (Room Air Heat A)
- AH154S2T1 Westinghouse Air Conditioner (Westinghouse Air Conditioner Model AH154S2T1 Parts)
- AH15610A Amana Microwave (Table Top)
- AH157J2A2 Frigidaire Air Conditioner (Room)
- AH157S2T1 Westinghouse Air Conditioner (Westinghouse Air Conditioner Model AH157S2T1 Parts)
- AH15EJ2T1 Frigidaire Air Conditioner (Room)
- AH15EJ2T2 Frigidaire Air Conditioner (Room)
- AH15EK2T1 Frigidaire Air Conditioner (Room)
- AH15EL2T1 Frigidaire Air Conditioner (Room Air Heat A)
Enter a part description. DIY Heroes keep it simple, eg. "belt" or "pump".
Search filter:
Clear Filter
Your search term must have 3 or more characters.

$7.47
In Stock

$24.15
In Stock
Touch-Up Paint - White
Part #72017
This touch-up paint can be used on a wide variety of household appliances. It is most often used on washers, dryer, refrigerators, dishwashers, ranges, freezers, trash compactors, or microwaves. It is an 18 ml, or.6 fluid ounces, bottle of touch-up paint. It also features a brush for easy application. This quick-drying, long-lasting paint...Read more is perfect for fixing any nicks, scratches, or chips on the exterior of your appliance. This paint is white in color, and provides a durable finish.
Read less

$12.85
In Stock
Cartridge Male Contact Spade
Part #Y708572
This cartridge assembly male contact spade is made of metal. These are sold individually, though each range uses four contact spades.

$18.22
In Stock
Heat Resistant Adhesive
Part #W10841140
This is a heat-resistant adhesive for your appliance. The heat resistance allows you to stick parts such as grate feet, gaskets, and felt seals in hot areas, such as a cooktop, without compromising the integrity of the adhesive. It is white in color, and the tube is approximately 7.5 inches long.

$53.20
In Stock
Range Burner Cartridge Terminal Block
Part #WPY708730
No spades or wiring come with this part. To order the spades or wiring, please research by model# of appliance.

$7.47
In Stock
Refrigerator Screw
Part #WP98165
This screw is a little under an inch long and is made of metal. It is used with a refrigerator's ice maker assembly. Sold individually.

$135.62
In Stock
Burner Element - Right Front
Part #W10823698
This surface element is for ranges.
The surface element supplies the heat to a cooking area on top of the range.
Unplug the range or shut off the house circuit breaker for the range before installing this part. Wear work gloves to protect your hands.

$8.55
Special Order
Range Hex Nut
Part #WP488130
This hex nut is an authentic Whirlpool part that is sourced directly from the original equipment manufacturer, and will fit a variety of appliances including ovens, microwaves, refrigerators, air conditioners, and dishwashers. It is a metal part with a threaded hole to fasten parts in the appliance together. It is common for this part to ...Read morewear out; it is recommended to order a spare. To replace this part the tools needed are a nut driver or wrench. This nut features a built-in external tooth lock washer, which is used to help keep the nut in place.
Read less

No Longer Available
KNOB-CONTROL
Part #309306905
This control knob is a little over an inch in diameter. It is beige in color and is made of plastic. This knob has a blue indicator line, and will accept a 'D' shaped shaft.

$21.45
Special Order
Rivet
Part #WP210720
This rivet is an inch and a half long. It is used for many washing machines, microwaves, refrigerators, dryers, and ranges. Use of this rivet requires a rivet tool.

$7.47
In Stock
Screw
Part #WPY04100059

$8.55
Special Order
Common Symptoms of models starting with AH15
How this model fails, and the parts that fix it.
Element will not heat
Fixed by
these parts
these parts


Show All
Leaking
Fixed by
these parts
these parts

Show All
No heat
Fixed by
these parts
these parts

Show All
Watch our pros, then fix it yourself.
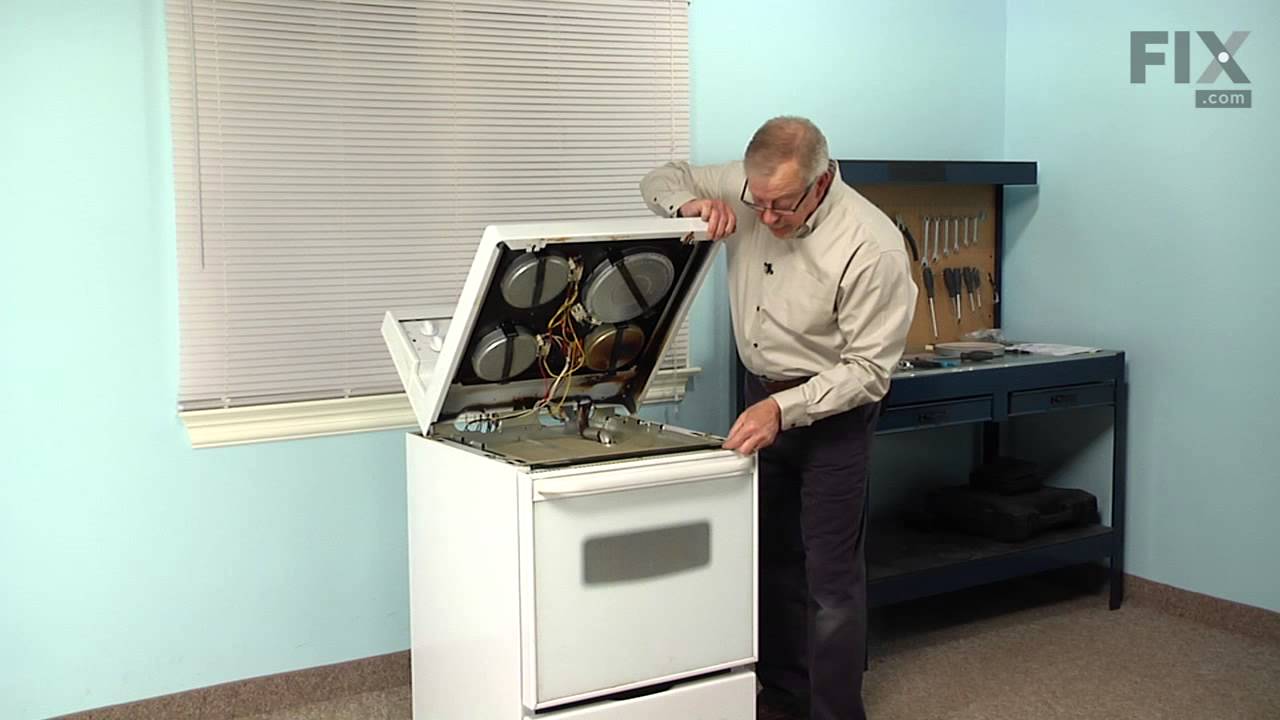
See how others fixed this model. Time, tools, difficulty, and steps that lead to victory!
View More
Search repair tips from other customers using simple keywords like "replace", "fit", "remove", "inspect". DIY doesn't mean you have to do it alone!
Search filter:
Clear Filter
Your search term must have 3 or more characters.
The top would not heat,large or small eye.
29 of 50 people
found this instruction helpful.
Removed the bottom cover and replaced the burned contact spade. Cleaned the wires and adjust the contact holder.
Other Parts Used:

Was this helpful?
Thank you for voting!