


 My Orders




AGR6603SFB7 Amana Range - Overview

Enter a part description. DIY Heroes keep it simple, eg. "belt" or "pump".
Search filter:
Clear Filter
Your search term must have 3 or more characters.

$21.45
In Stock
Screw
Part #W11233072
This is a multi-use and multi-appliance screw. It can be used on a microwave, refrigerator, range/oven, air conditioner, dehumidifier, washer, or dryer. The measurements of this screw are 8 x 1/2 inch. It has 6 threads. Refer to the manual provided by the manufacturer for further information on repair and accurate guidance. Remember to wear work gloves as a safety precaution.

$53.20
In Stock
Side Trim - Right Hand Side
Part #WP8523166
This white right-hand side oven door trim is a functional and aesthetic component designed to frame the outer edge of the oven door. Positioned along the door’s right side, it enhances insulation, helps retain heat, and protects the glass panel from damage. Its durable construction ensures long-term performance while contributing to a cle...Read morean, finished appearance. Replacing a cracked or damaged trim restores the door’s structural integrity and visual appeal. Installation requires partial disassembly of the oven door and may involve removing screws or panels to access the mounting points.
Read less

$53.20
In Stock

$112.57
In Stock
Vent Trim - (Black)
Part #WPW10310922
This black stainless steel oven door vent fits on the top of the oven door, attaches the door handle and the outer glass to the door itself, and vents hot air out of the oven. The vent measures approximately 30.5 inches long x 2 inches wide. This door vent does not come with the attachment screws.

$104.33
In Stock
Range Inner Oven Door Glass
Part #WP8053948
This pane of glass is the innermost piece of glass on your oven door. If you notice that the inner door glass on your oven is damaged, you will need to replace it. This part is made entirely of glass. It is approximately 18.5 inches in length and 12.5 inches in width. To complete this repair, it is easiest to remove the entire door from t...Read morehe oven and set it on a more suitable work surface. You will require a small flat blade screwdriver and either a #3 Phillips screwdriver or a #2 square head screwdriver to complete this repair. This is an OEM part sourced directly from the manufacturer. This part is sold individually.
Read less

$47.40
In Stock
Door Trim - Right Side - Black
Part #W10761014
NOTE: The trim has been re-designed and no longer requires the screws. The dimples on the bottom hold them in place instead.

$9.62
In Stock

$47.40
In Stock
Door Trim - Left Side - Black
Part #W10761018
NOTE: The trim has been re-designed and no longer requires the screws. The dimples on the bottom hold them in place instead.

$103.35
In Stock
Sensor
Part #W10833885
This is a manufacturer-made oven temperature sensor for various models of range. This sensor is designed to accurately detect the internal temperature of your oven and communicate with the control board to control the level of heat inside of it. Over time and through extended exposure to hot temperatures, this sensor can fail and cause yo...Read moreur oven to have issues heating or staying at a consistent heat level, at which point it needs to be replaced. This sensor features a wire harness to connect to the control board of the oven, as well as two mounting screws to install it. Replacing this sensor is easy and only requires a screwdriver to unthread it from the lower portion of your oven. This sensor is sold on its own, and does not come with any other necessary parts, like its securing screws.
Read less

$7.47
In Stock
Range Screw
Part #WPW10200660
Discover the unmatched excellence of the Whirlpool Screw for stoves, ovens, and ranges. This impressive Screw, 10-16 x 3/4 size, is a genuine OEM part compatible with various models from Whirlpool, KitchenAid, Maytag, Jenn-Air, Amana, Inglis, and Magic Chef. While distinct in size and shape, rest assured this part fits seamlessly into you...Read morer appliance. Thriving on quality and optimum performance, it is always recommended to confirm the adequacy of the part number for your model before ordering. The installation of this screw should always be carried out following the right safety practices. Get your appliance up and running with the proven reliability of Whirlpool parts.
Read less

$103.30
In Stock
Range Interior Bottom Oven Panel
Part #WP3195097
This oven bottom panel serves as the foundational surface within the oven cavity, shielding the bake element from spills and contributing to consistent heat distribution. Designed to protect internal components and wiring from damage caused by food debris and moisture, it also helps reduce lingering odors and simplifies cleaning. Construc...Read moreted from durable materials, the panel resists warping, corrosion, and heat-related wear. Replacing a damaged or rusted panel restores proper airflow and heat reflection, improving baking performance and extending the appliance’s lifespan. Installation involves removing the old panel and positioning the new one securely within the oven floor.
Read less

$7.47
In Stock
Common Symptoms of the AGR6603SFB7
How this model fails, and the parts that fix it.
Door won’t close
Fixed by
these parts
these parts


Show All
Little to no heat when baking
Fixed by
these parts
these parts

Show All
Oven not heating evenly
Fixed by
these parts
these parts
Show All
Will Not Start
Fixed by
these parts
these parts

Show All
Oven is too hot
Fixed by
these parts
these parts
Show All
Door won’t open after self cleaning cycle
Fixed by
these parts
these parts

Show All
Element will not heat
Fixed by
these parts
these parts
Show All
Watch our pros, then fix it yourself.
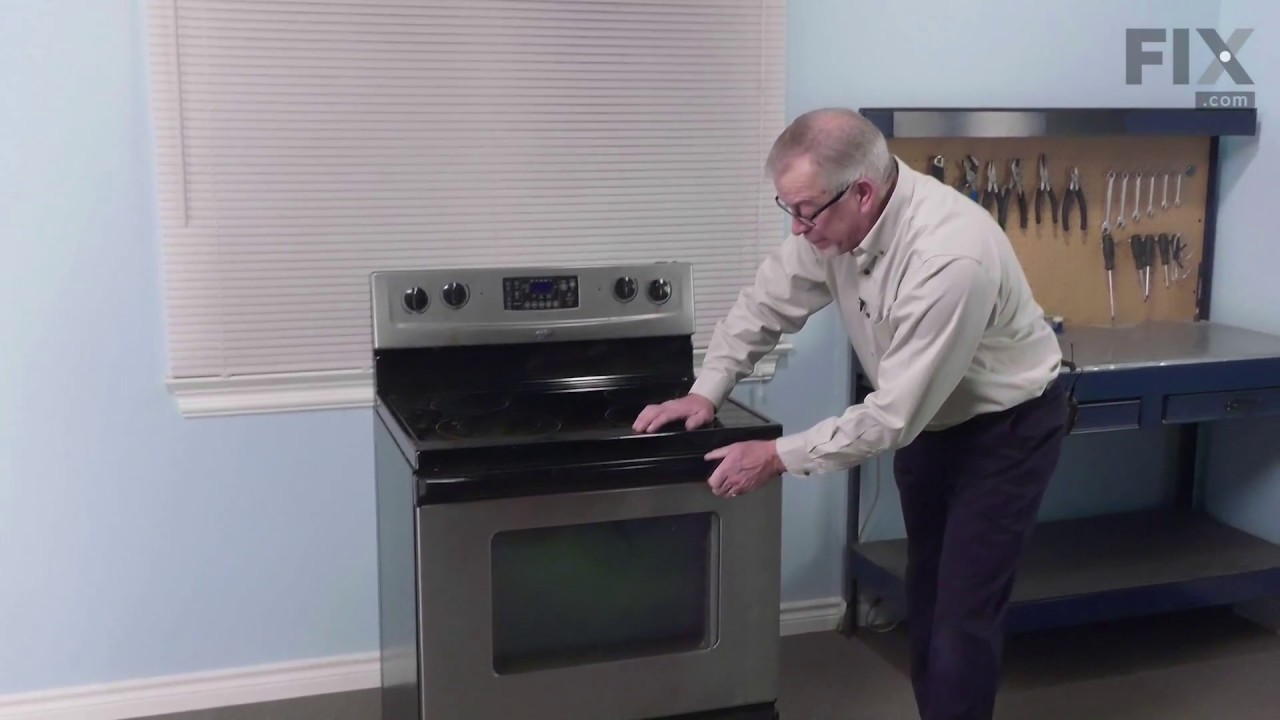
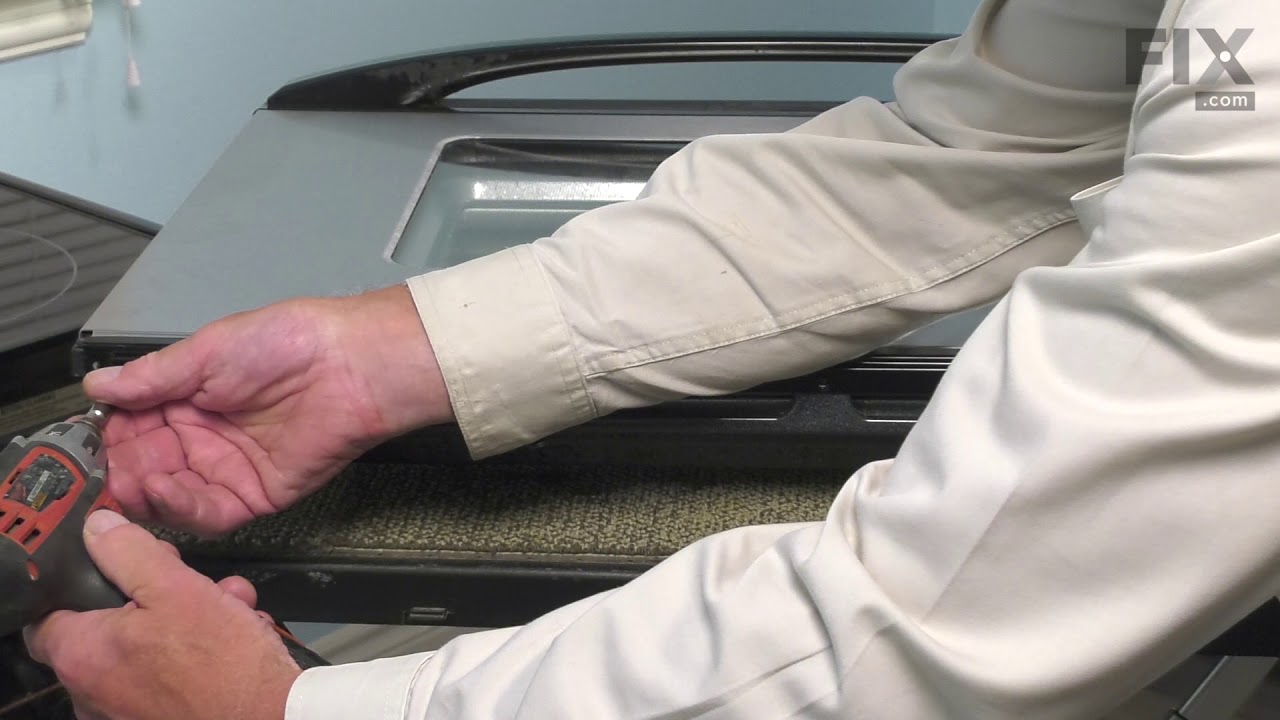
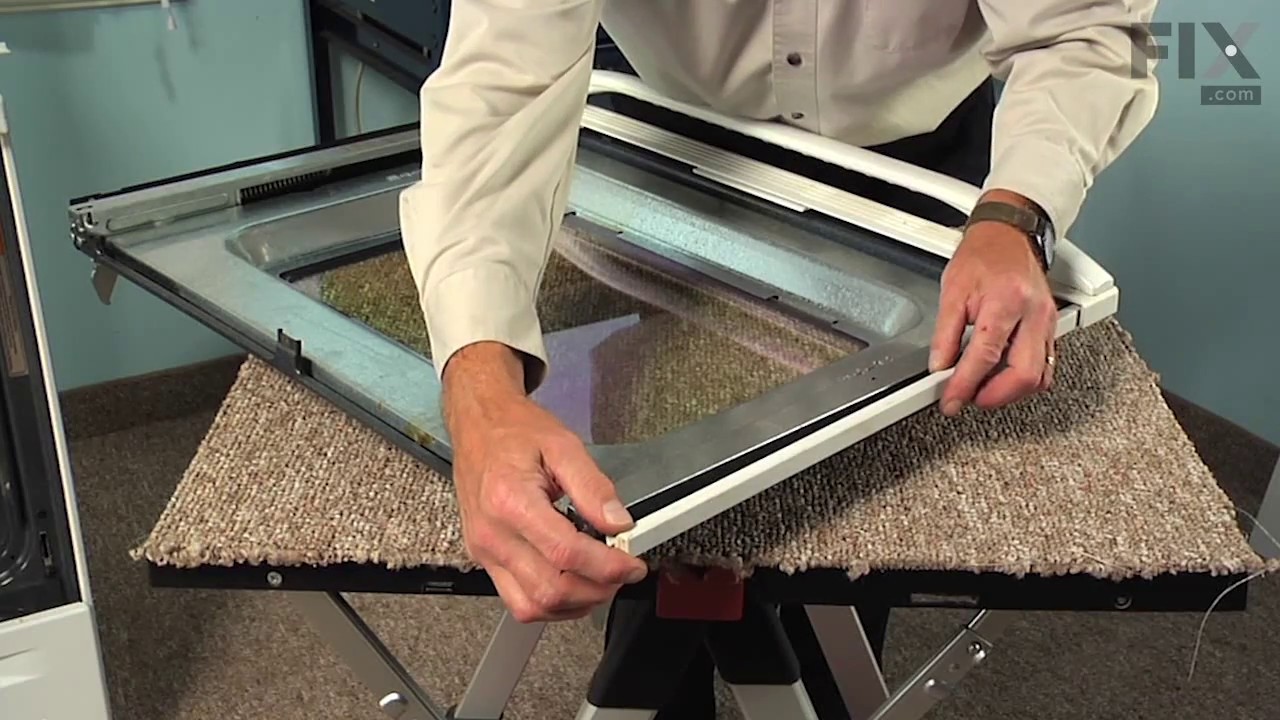
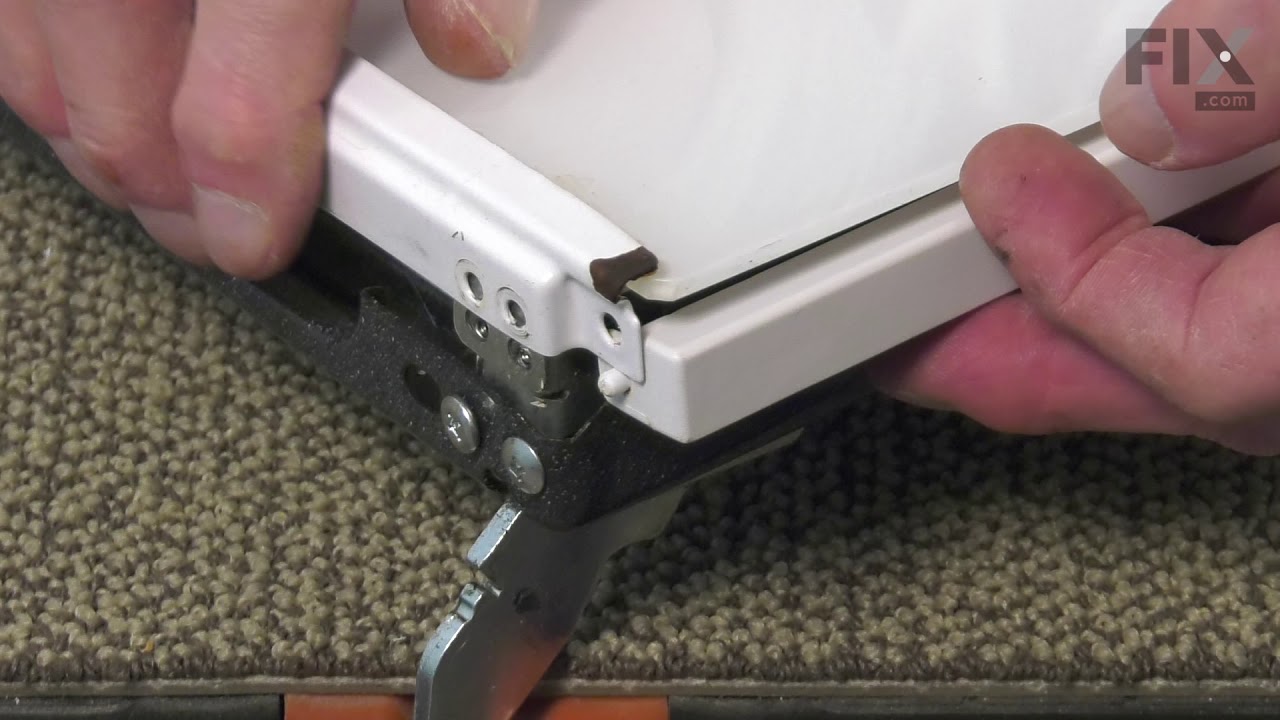

See how others fixed this model. Time, tools, difficulty, and steps that lead to victory!
View More