


 My Orders




AGR5844VDD1 Amana Range - Overview
Diagrams for AGR5844VDD1
See every part. Know exactly what you need.


Enter a part description. DIY Heroes keep it simple, eg. "belt" or "pump".
Search filter:
Clear Filter
Your search term must have 3 or more characters.

$19.54
In Stock
Light Bulb - 40W
Part #8009
This an authentic OEM 40-Watt replacement light bulb, used in a number of household appliances. It is specially designed to withstand extreme temperatures, which is why these replacement bulbs are most often used to light the inside of refrigerators and ranges. It features a standard socket base, which means you simply unscrew the burnt-o...Read moreut bulb and screw in the replacement. Depending on the appliance you may require a screwdriver or nut driver to access the light bulb. We recommend you wear work gloves while handling this replacement part. It is constructed of glass and metal and is sold individually. Depending on the appliance and location of the bulb within it, you may want to consider disconnecting power and using a flashlight for easier access to unscrewing and re-screwing in your bulb during this repair.
Read less

$6.40
In Stock

$48.45
In Stock
Range Bake Igniter
Part #WP9758079
This bake oven spark igniter is a genuine replacement part designed for gas ranges equipped with a direct spark ignition (DSI) system. It generates the spark needed to ignite the oven burner gas and works in coordination with the safety valve, which opens only when the igniter reaches the proper temperature. Compatible with select Whirlpo...Read moreol, KitchenAid, and Maytag models, this OEM component helps resolve issues such as the oven not heating, producing minimal heat, or the igniter glowing without lighting the burner. Constructed from high-quality ceramic and metal materials, it offers durability and reliable performance. For safe installation, disconnect power and gas supply before replacing the part.
Read less

$75.13
In Stock
Oven Sensor
Part #WPW10181986
This oven temperature sensor, for ranges, works together with the oven control board to measure and regulate the oven temperature. The sensor detects the temperature in the oven cavity. If the following symptoms occur, replacing the temperature sensor could be the solution: Little or no heat when baking, oven not heating evenly, oven will...Read more not start, and/or oven is overheating. Often, if the sensor is defective, the oven temperature will fluctuate and be inaccurate by more than 50 degrees. The tool needed for this replacement is a #2 square head screwdriver or a #2 Philips screwdriver. Remember to unplug the range before installing the part.
Read less

$21.45
In Stock
Screw
Part #W11233072
This is a multi-use and multi-appliance screw. It can be used on a microwave, refrigerator, range/oven, air conditioner, dehumidifier, washer, or dryer. The measurements of this screw are 8 x 1/2 inch. It has 6 threads. Refer to the manual provided by the manufacturer for further information on repair and accurate guidance. Remember to wear work gloves as a safety precaution.

$9.62
In Stock
Range Rear Drawer Glide
Part #WP8053334
This OEM replacement rear drawer glide supports the storage drawer on your range, and allows the drawer to open and close with ease. If your storage drawer will not open or close, or catches and sticks when you are trying to move it, there could be an issue with the glides. Check the glides and glide channels for any physical damage, and ...Read moremake sure they are properly fastened to the range walls. To complete this quick and easy repair, you will need a Phillips screw driver. Because the drawer has four glides and each are sold separately, make sure to order the correct amount you require.
Read less

$53.85
Special Order
Range Rack
Part #WPW10256908
This oven rack is a piece for your range. The oven rack is sold individually and is silver in color. The function of this part is to provide a balanced and flat surface for your cookware to sit inside your oven. The measurements of this piece are 24 inches wide and 16 inches deep. When replacing your old oven rack with your new piece, no ...Read moretools are required. Before making this installation, make sure your range is turned off and your oven has cooled down inside.
Read less

$7.47
In Stock

$24.15
In Stock
Touch-Up Paint - White
Part #72017
This touch-up paint can be used on a wide variety of household appliances. It is most often used on washers, dryer, refrigerators, dishwashers, ranges, freezers, trash compactors, or microwaves. It is an 18 ml, or.6 fluid ounces, bottle of touch-up paint. It also features a brush for easy application. This quick-drying, long-lasting paint...Read more is perfect for fixing any nicks, scratches, or chips on the exterior of your appliance. This paint is white in color, and provides a durable finish.
Read less

$7.47
In Stock

$49.50
In Stock
2 Piece Broiler Pan
Part #4396923
This broiler pan and roasting rack set is designed to help reduce mess while cooking by allowing grease to drain away from food. Its durable porcelain-coated construction stands up to high temperatures and makes cleanup simple. With approximate dimensions of 16 3/4 inches long, 12 3/4 inches wide, and 1 3/4 inches high, it offers a convenient size for everyday broiling and roasting.

$66.77
In Stock
SOCKT-LITE
Part #W11594027
The light socket on your electric range connects the power source to the light bulb. If your oven light is malfunctioning, you may need to replace the light socket. The light socket is located in the back of your range, so in order to access it you will need to remove the back panel. Many of our customers have rated this repair as easy, a...Read morend it should take less than 15 minutes. Before you begin this repair, make sure to disconnect the power source from your range. This is an OEM part sourced directly from the manufacturer.
Read less
Common Symptoms of the AGR5844VDD1
How this model fails, and the parts that fix it.
Little to no heat when baking
Fixed by
these parts
these parts


Show All
Will Not Start
Fixed by
these parts
these parts

Show All
Oven is too hot
Fixed by
these parts
these parts
Show All
Oven not heating evenly
Fixed by
these parts
these parts

Show All
Gas igniter glows, but will not light
Fixed by
these parts
these parts

Show All
Door won’t close
Fixed by
these parts
these parts


Show All
Element will not heat
Fixed by
these parts
these parts
Show All
Little to no heat when broiling
Fixed by
these parts
these parts
Show All
Gas smell
Fixed by
these parts
these parts
Show All
Door won’t open after self cleaning cycle
Fixed by
these parts
these parts

Show All
Watch our pros, then fix it yourself.

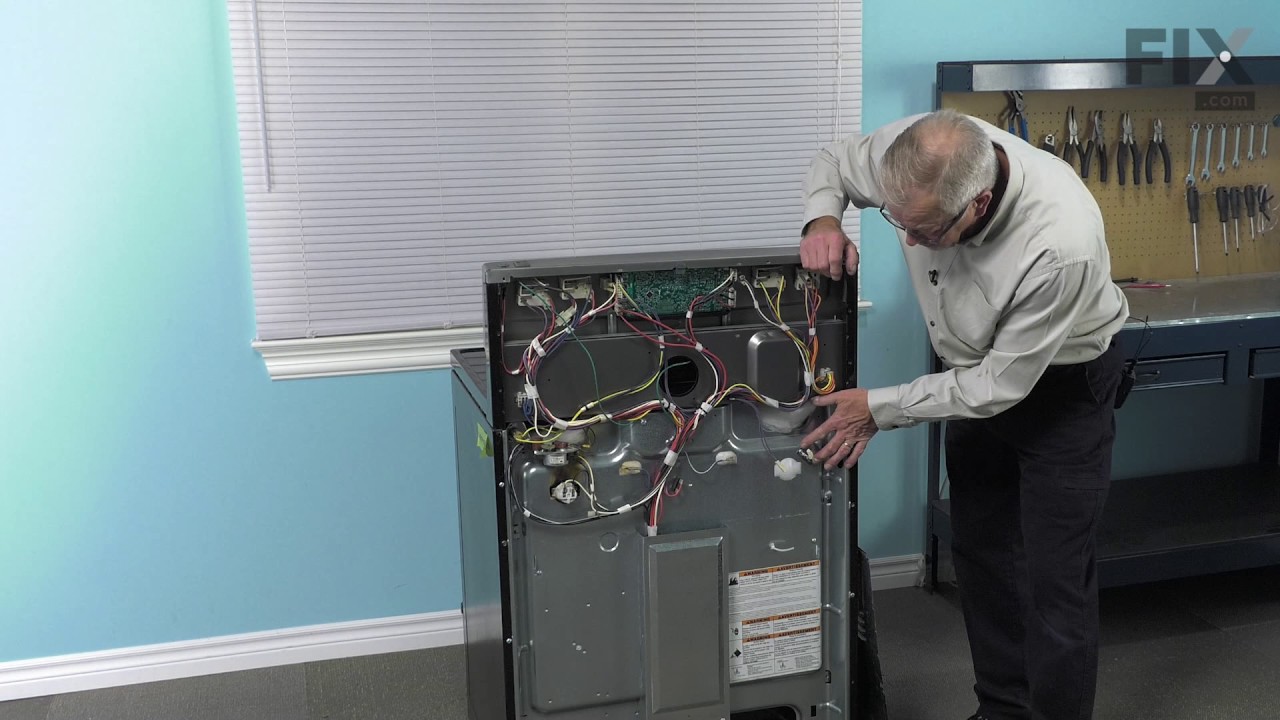

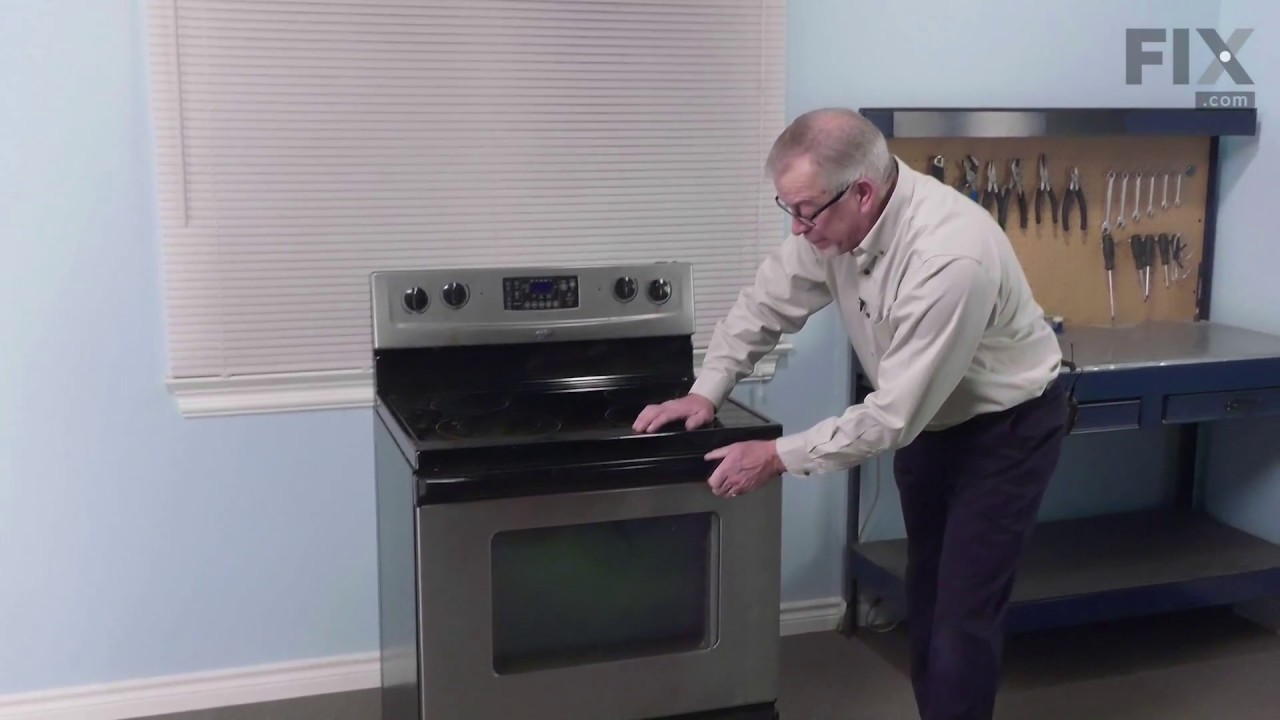
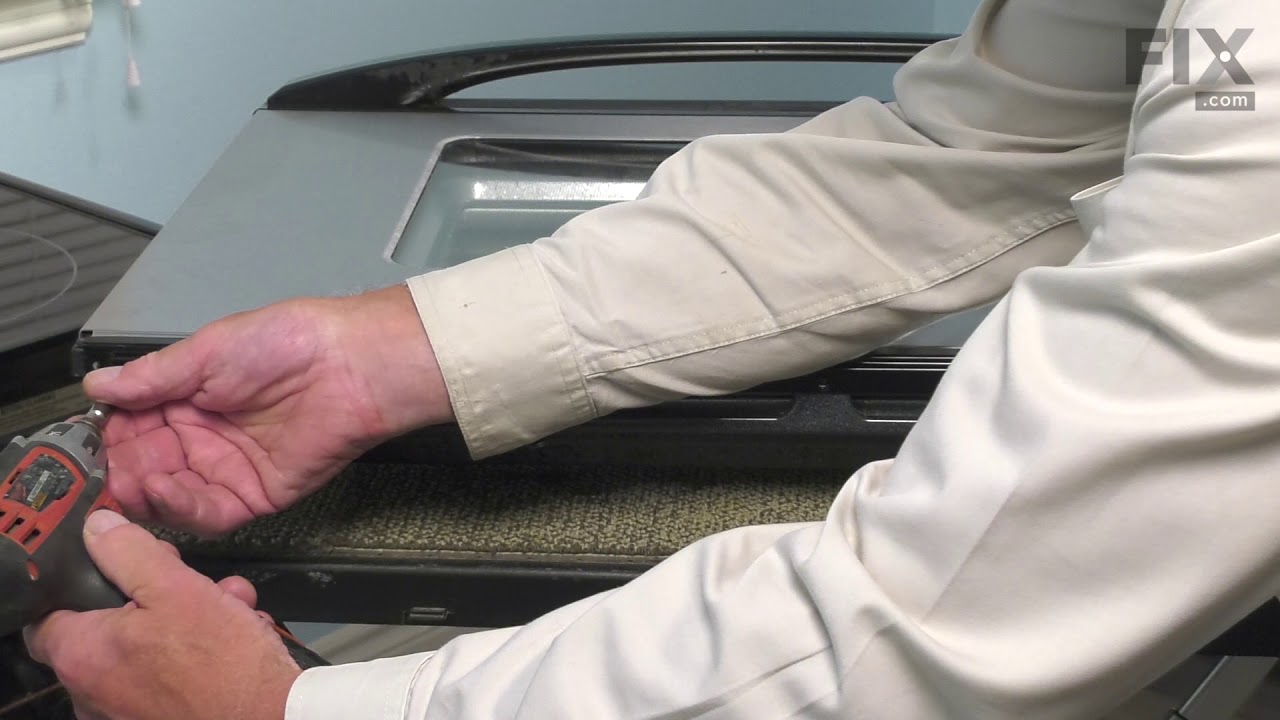

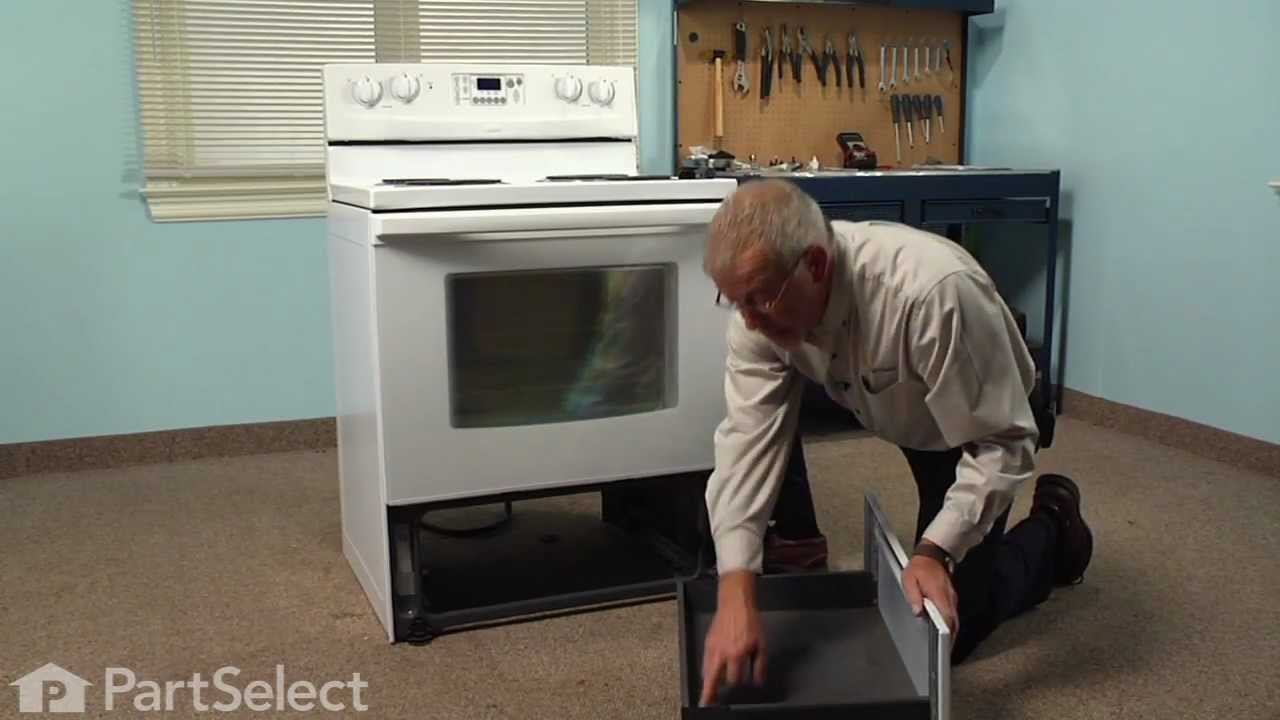
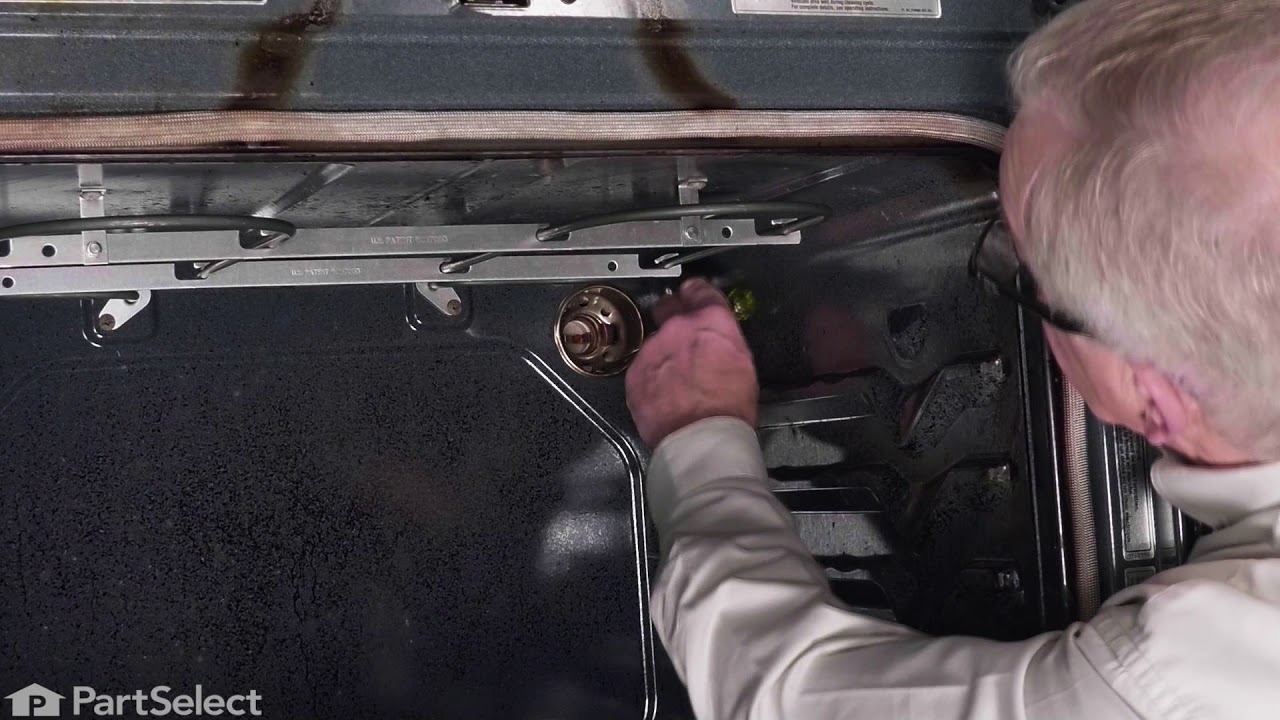
See how others fixed this model. Time, tools, difficulty, and steps that lead to victory!
View More