


 My Orders




AGR5825RDS Amana Range - Overview
Diagrams for AGR5825RDS
See every part. Know exactly what you need.


.gif "SUPPLEMENTAL INFORMATION Diagram and Parts List for Amana Range")

Enter a part description. DIY Heroes keep it simple, eg. "belt" or "pump".
Search filter:
Clear Filter
Your search term must have 3 or more characters.

$55.29
In Stock
Oven Igniter - Vertical Mount Bake and Broil
Part #74007498
This broil igniter assembly comes with its own metallic mounting bracket and a 7-inch-long dual wire lead with a plastic plug. This part will need to be repaired if your oven element is giving off no heat or very little, or is not heating evenly. You may also notice a smell of gas. The ignitor may still be glowing, but could still have gone bad.

$23.60
In Stock
Leveler Foot Screw (Nylon)
Part #W11665456
This is a leveling leg for your oven, range, or stove. The leveling legs on your oven allow your appliance to sit perfectly flat. The new one may be longer in length than your original, but will work the same. Install the new leveling leg, and test if you have it adjusted properly by putting the appliance on four legs. Adjust in or out a...Read mores required if your oven is rocking. It is recommended to check the other three leveling legs on your appliance in case they are also damaged or worn. The leveling leg measures 1.859", is all black in color, and is made entirely out of plastic. This leg may be shorter than the original but is the factory replacement. Longer leg is not available.
Read less

$35.80
In Stock
Short Oven Sensor Kit
Part #12001655
The temperature sensor on your oven detects the temperature within the oven cavity. If you notice your oven is too hot, not hot enough, or does not heat evenly, the short oven sensor kit may need replacing. This oven sensor is referred to as the short sensor and is 3 inches long. It should not be confused with the 6-inch-long sensor. The ...Read moreoven sensor is located on the back wall of the interior of the oven. Before starting this repair, be sure to disconnect the power source from the oven. If you are repairing a gas range, make sure to disconnect the gas source as well.
Read less

$12.20
In Stock

$21.45
In Stock
Screw
Part #W11233072
This is a multi-use and multi-appliance screw. It can be used on a microwave, refrigerator, range/oven, air conditioner, dehumidifier, washer, or dryer. The measurements of this screw are 8 x 1/2 inch. It has 6 threads. Refer to the manual provided by the manufacturer for further information on repair and accurate guidance. Remember to wear work gloves as a safety precaution.

$7.47
In Stock
Range Screw w/Washer
Part #WP74006515
This is a replacement screw and washer for your oven/range. It is a Phillips-head screw approximately half an inch long, and the washer is approximately 1 inch in diameter. The screw attaches the oven door handle to the door. This part is sold individually and is an authentic OEM part sourced directly from the manufacturer.

$63.64
In Stock
Range Igniter Horizontal Mount
Part #WP7432P136-60
This can be used for either the bake igniter or broil igniter in your appliance. NOTE: The part may differ in appearance but will function the same as the original.

$106.36
In Stock
Inner Door Glass Pane
Part #74003645
This interior oven door glass is the innermost heat-resistant panel that faces into the oven cavity, helping to contain heat while allowing visibility during cooking. Measuring approximately 20 5/8 inches by 13 1/8 inches, it is designed to fit select oven models. If the glass is cracked or damaged, it should be replaced promptly to maint...Read moreain safety and performance. When installing, ensure the oven is cool and wear protective gloves to prevent injury. This replacement part is sold individually and does not include additional accessories.
Read less

$123.66
In Stock

$8.55
In Stock

$61.55
In Stock

$8.55
In Stock
Manuals & Care Guides for AGR5825RDS
Click to downloadCommon Symptoms of the AGR5825RDS
How this model fails, and the parts that fix it.
Little to no heat when baking
Fixed by
these parts
these parts


Show All
Gas igniter glows, but will not light
Fixed by
these parts
these parts
Show All
Will Not Start
Fixed by
these parts
these parts
Show All
Oven not heating evenly
Fixed by
these parts
these parts

Show All
Element will not heat
Fixed by
these parts
these parts
Show All
Oven is too hot
Fixed by
these parts
these parts
Show All
Gas smell
Fixed by
these parts
these parts
Show All
Little to no heat when broiling
Fixed by
these parts
these parts
Show All
Door won’t close
Fixed by
these parts
these parts

Show All
Touchpad does not respond
Fixed by
these parts
these parts
Show All
Watch our pros, then fix it yourself.
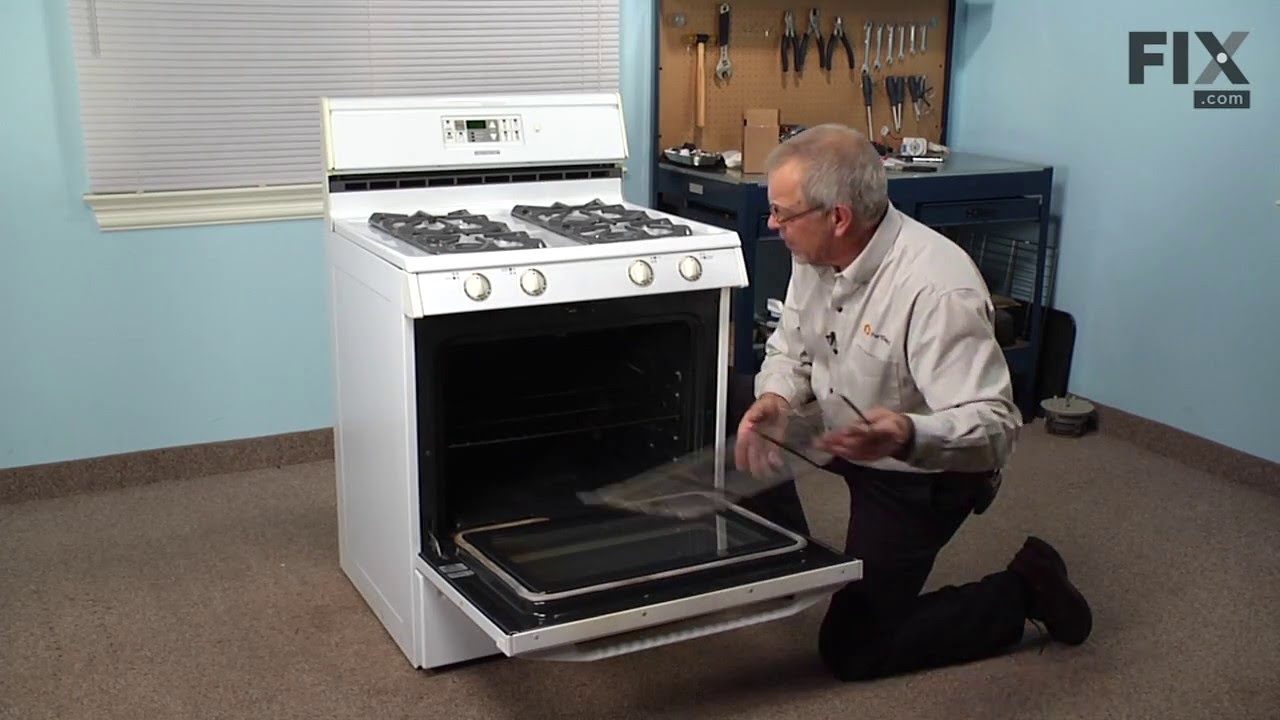
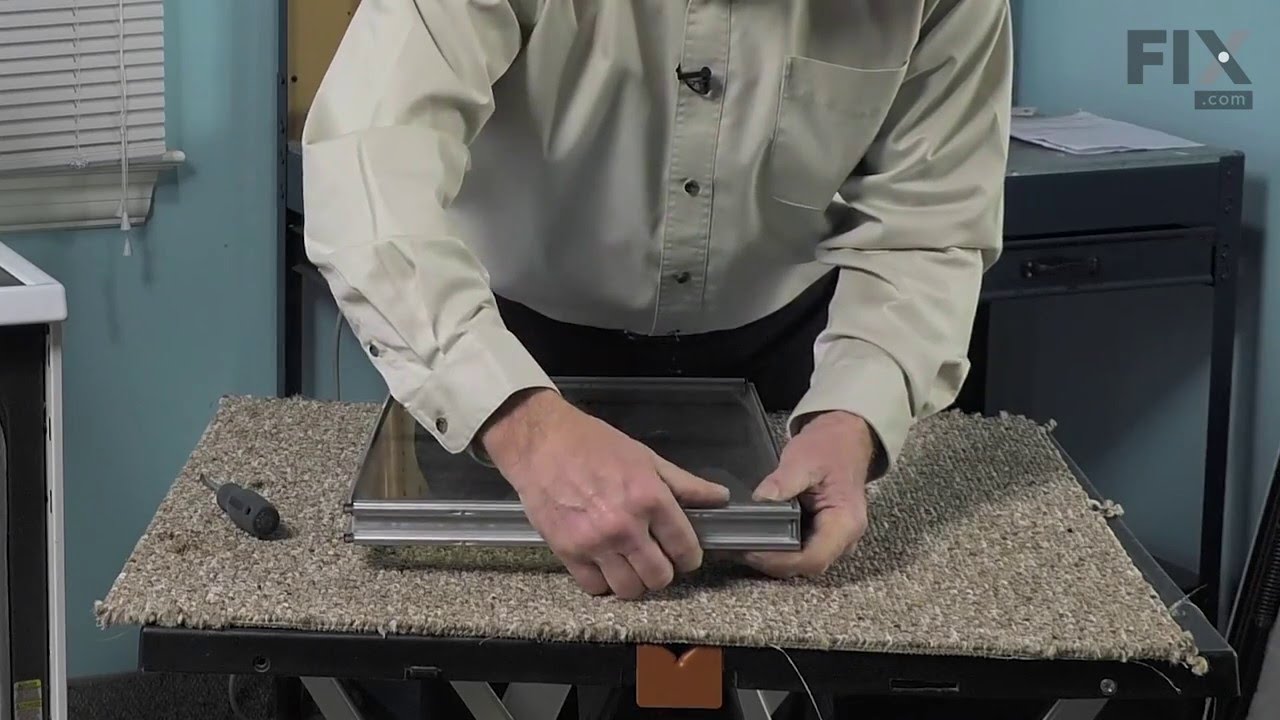
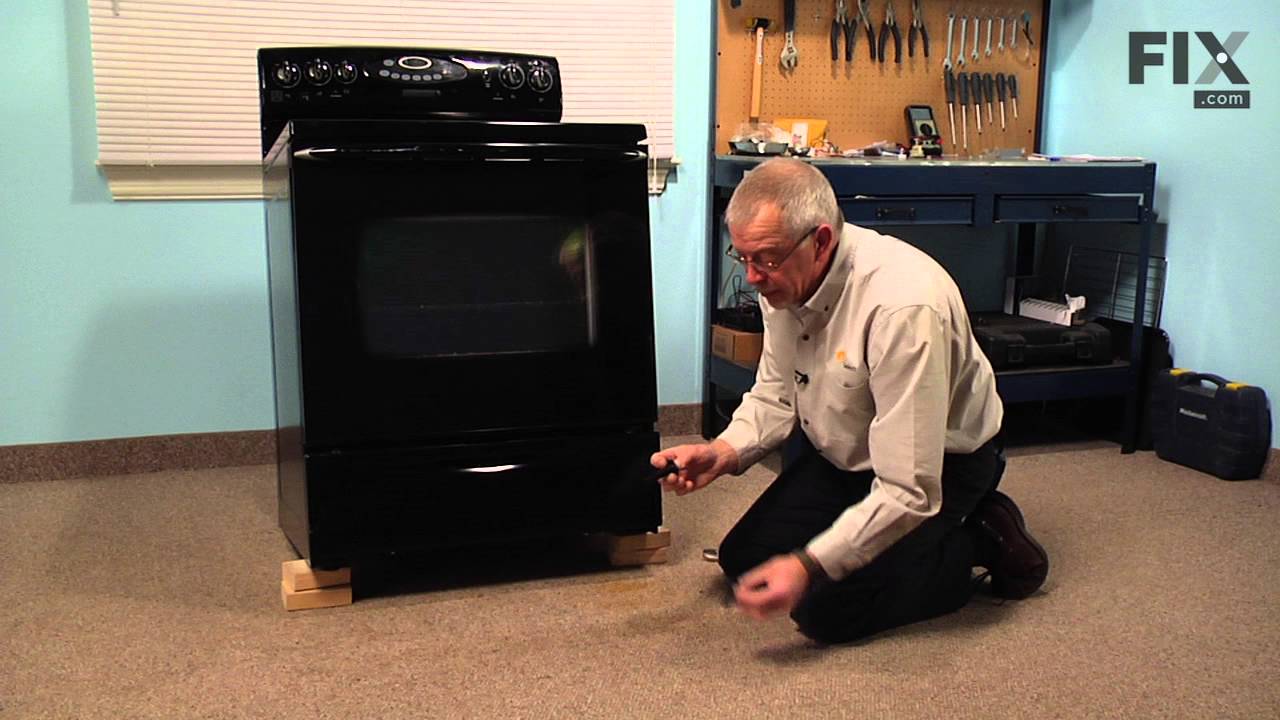

See how others fixed this model. Time, tools, difficulty, and steps that lead to victory!
View More