This is an oven igniter for various ranges. This part is designed to ignite the gas from your oven and provide the heat output inside it. If your oven is having issues turning on or heating up properly, this igniter is likely bad or shorted, and in need of replacement. Replacing this igniter will only require a screwdriver and will simply...Read more need to be disconnected via its wire harness connection, and then reconnected with the new one. This igniter is an OEM part and is sold on its own, without any other parts.
This oven rack is an OEM part designed specifically for ovens. It provides an accessible storage system for oven racks and baking sheets when not in use. This rack measures 15.5 x 25in.
This oven door gasket is designed to form a secure seal around the perimeter of the oven door, helping to maintain consistent internal temperatures during cooking. Made from heat-resistant materials, it prevents heat from escaping the oven cavity, improving energy efficiency and reducing cooking times. Over time, gaskets can wear out or b...Read moreecome damaged, leading to performance issues. Replacing a worn gasket is a simple way to restore your oven’s efficiency. This part is sourced directly from the manufacturer and is sold individually.
Appliance spray paint is a great way to cover up any chips and scratches that have appeared on your appliances. Instead of replacing the part entirely, this is an easy fix. This is also a great way to give a fresh new look to any handles or areas that have discoloring due to wear. Make sure to clean the area before you begin and wear a pr...Read moreotective mask for safety. Give the can a good shake and spray a few inches away from the surface. Apply the paint until the area is fully covered as desired. Wait until the paint has dried before using the appliance.
This insulation is also known as oven wrap insulation, and is used in conjunction with your range. Its purpose is to be installed in between the oven and the cabinets that surround it. This will help prevent the heat from escaping while cooking and essentially keep it locked inside the oven. The most common reason for needing to replace t...Read morehe insulation in your oven is that it becomes a comfy place for vermin to nest. Before making this installation, it would be best to disconnect the electrical power to your appliance, and to make sure that your range is cool to the touch.
Ask our experts a question about this model and we'll get back to you as soon as possible!
We may have answered a similar question already! Search questions and answers left by others using simple keywords like "fit", "broken", "easy", or "quality" to find questions that match.
Search filter:
Clear Filter
Your search term must have 3 or more characters.
Sort by:
Prev
1
Next
Sorry, we couldn't find any existing answers that matched.Try using some different or simpler keywords, or submit your new question by using the "Ask a Question" button above!
Booker - For model number AGR4230BAW3
October 14, 2022
IGNITER DOES NOT GLOW
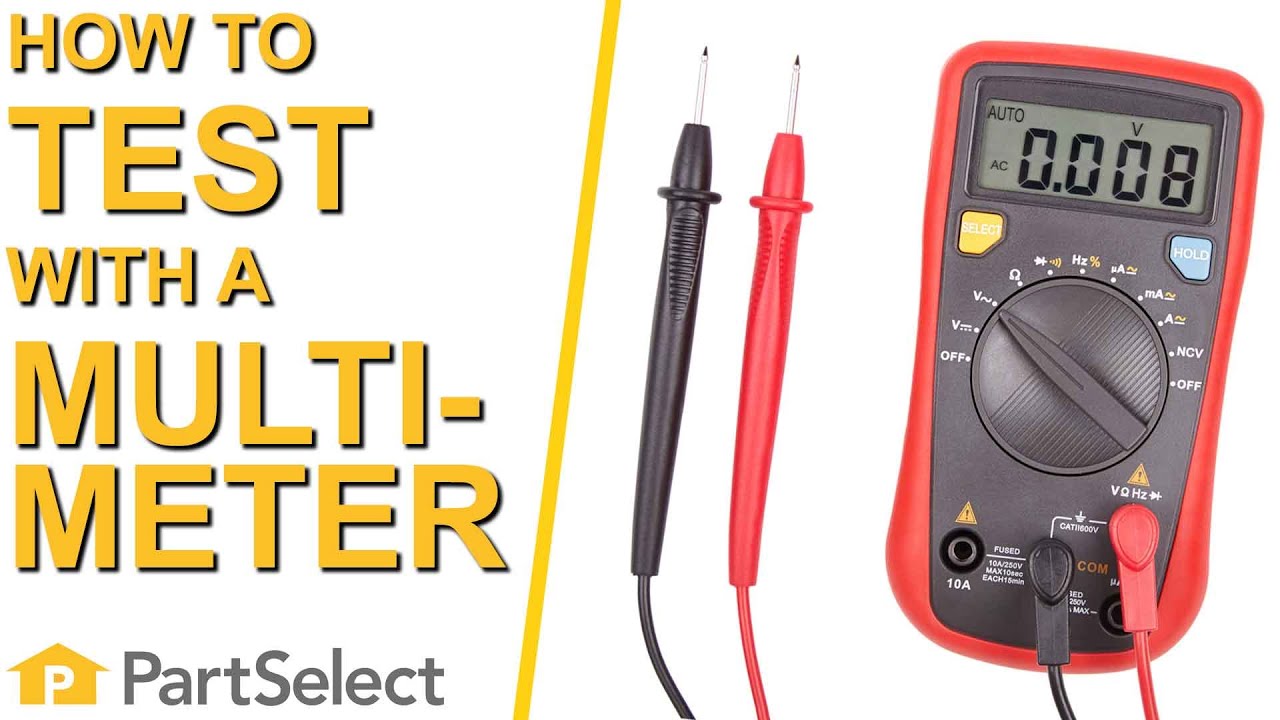
Hello Booker, Thank you for your inquiry. If the igniter is not glowing, we would recommend testing it with a multimeter for continuity. They should be reading between 0 - 1100 ohms to be working correctly. . If you are unfamiliar with how a multimeter functions, we have videos available to assist you. Good luck with your repair and if you need assistance with placing an order, please do not hesitate to call our customer service, open 7 days a week to help you. We look forward to hearing from you.
Are the spud-orfce W11035598 for natural gas or LP gas? I need an orifices kit to convert my range from natural to LP
Hello Steve, thank you for contacting us. Yes, the conversion kit, part number PS12070369, is a conversion kit from natural gas to LP. It contains all the orifice spuds needed for your model number. We hope this helps.
Hello Thressa, thank you for your question. The cooktop will continue to spark if the igniter doesn't think the flame is touching it. If it's touching the spark tip now and it keeps sparking, the spark tip either needs to be replaced because it's not sending, or the spark module is bad and the module will need to be replaced. We hope this will help.
As for getting under the cooktop, you'd need to unscrew all the burner bases and remove the burner bases, then the top just lift up and hinges backwards.
Was this helpful?
Thank you for voting!
Patrick - For model number AGR4230BAW3
June 15, 2026
What parts do I need to convert this to LP from natural gas?
Hello Patrick, thank you for reaching out. You will need an LP conversion kit to convert your appliance from natural gas to LP. The part number is PS12070369. We hope this information helps!
See how others fixed this model. Time, tools, difficulty, and steps that lead to victory!View More
Search repair tips from other customers using simple keywords like "replace", "fit", "remove", "inspect". DIY doesn't mean you have to do it alone!
Search filter:
Clear Filter
Your search term must have 3 or more characters.
mice had made nests in the insulation wrap in the range
127 of 208 peoplefound this instruction helpful.
Wendy from Red Hook, NY
Easy
More than 2 hours
Screw drivers
I numbered every part. ex: 1 L., for first part removed left side. I used a magic marker to circle the holes and wrote the number of screws used on the part, set the srews in a separete place, so that I new where these screws went to. The cleanup was pretty time consuming, but I was able to keep my stove, when every repairman I called to
... Read more fix my stove told me I was better off buying a new stove. ($600.00 stove 2 years old)Please Note: The insulation blanket needed for the entire stove is two pieces, the sides and top are one part # and the bottom and back, are another part #. I did not know this. I just purchased the top and sides. I got lucky, the back and bottom were still in good shape. So I guess I should have read the description of the part more carefully to see what it covers, before I ordered it. It took two people two hours to do the work, it was really nice to have an extra set of eyes, to remember what direction pieces of metal from the stove went. I would do it all over in a heart beat instead of buying a new stove.
Read less
Was this helpful?
Thank you for voting!
oven ignitor failed to light the oven
7 of 9 peoplefound this instruction helpful.
Steven from DOWNERS GROVE, IL
Really Easy
Less than 15 mins
Socket set
pulled out the stove and removed bottom drip plates to access the old ignitor. Removed 2 screws after unplugging the two wire ignitor. fished the the two wires thru back of stove and plugged them in where old wires were. put the 2 screws back into the new ignitor and tested before replacing drip plates. been cooking in the oven ever s
... Read moreince, no problem.. Part was a perfect replacement.
Read less
Was this helpful?
Thank you for voting!
Two of four gas surface burners would not ignite.
3 of 4 peoplefound this instruction helpful.
Gervice from BROUSSARD, LA
Easy
15 - 30 mins
Screw drivers
Replace two igniters that were not working. Did not fix the problem. Swapped wire positions from Spark Module and noted that the problem followed the igniter positions. Replaced Spark Module. Problem solved. Procedure required disconnecting a/c power, removing four screws, removing igniter wires from old module and reconnecting them t
... Read moreo new module. Reinstalled new Spark Module in range. Reconnected a/c power. Test successful. Total time: 20 minutes.



 My Orders