This dryer drum belt (Whirlpool Dryer Belt, Drive Belt) has four ridges, three grooves and is 1/4" wide, and 92 1/4 inches in length. It comes in black and is made of rubber. The belt transfers the rotation of the motor to turn the drum. The belt attaches to the drum, idler pulley, and motor pulley.
This thermostat (Dryer Operating Thermostat, Dryer Cycling Thermostat, Cycling Thermostat, Dryer Thermostat) is used to maintain a temperature of 155 degrees in the dryer drum. The internal bias heater also allows this thermostat to provide a low heat temperature of approximately 140 degrees when the low temperature setting is selected. T...Read morehe part measures 2 by 1.5 inches, comes in black/silver and is constructed of plastic and metal. The thermostat attaches to the blower wheel housing.
When the igniter reaches a high enough temperature, these coils (Coil Valve, Dryer Gas Valve Coil Kit, Dryer Valve Coil Kit, Gas Valve Solenoid) work together to open the gas valve and allow the gas to enter the burner. This is a safety mechanism to ensure that there are no unsafe buildups of gas inside your appliance. The coils are attac...Read morehed to the dryer gas valve. If the dryer does not heat or heats intermittently, the coil may not be opening the gas valve. Both coils must be operational for the valve to open. No continuity would indicate a defective coil, but they can be intermittent and fail when they get hot. Both coils should be replaced when one of them is broken. This part can break as a result of material fatigue from normal use. This part measures approximately 1 inch in diameter and 1 inch in height, and is constructed of plastic and metal. It comes in black/beige. This part features a 3-terminal boost/hold coil and a 2-terminal secondary coil
The drum support roller kit (Dryer Repair Kit) allows the dryer to tumble properly by supporting the drum cylinder. The idler pulley provides the tension required for a multi-ribbed belt. The belt attaches to the drum, idler pulley, and motor pulley. If your dryer is damaged, it may be making loud, squeaking, and/or squealing noises while...Read more the drum is turning. This is from normal wear and tear. The drum may eventually stop turning all together. This is a sign the part should be replaced. This is one complete maintenance kit. The kit includes the drum belt, drum support rollers, one idler pulley, four tri-rings, and one clip. The parts are constructed of plastic, metal, and rubber, and come in black/white/silver.
The drum support roller kit allows the dryer to tumble properly by supporting the drum cylinder. The kit includes two drum rollers, four tri-rings, and one palnut (or retaining washer). The kit does not include a belt or idler pulley and rollers are not sold individually. The drum support roller kit may need to be replaced if the dryer is...Read more noisy or will not tumble. The tools needed to complete this repair are a putty knife, Phillips screw driver, and a 5/16 nut driver. This is an OEM part sourced directly from the manufacturer.
This manufacturer-certified dryer lint filter is used to collect lint during the dryer cycle, to prevent damage to the machine and to prevent lint from sticking to clothes. This model comes in white and is easy to install. It slides into the lint filter slot in your dryer. If there is visible damage to the screen then it's time to replace...Read more the part. Check your user manual and model number to see if this is the right part for you. Make sure you empty the lint filter after every use of the dryer and check the filter slot for an excess buildup of lint, which can shorten the life of your filter and be a fire hazard. The screen is approximately 20 inches in length, not including the handle, and around 8.5 inches wide.
If your dryer will not heat, takes too long to dry, or does not provide enough heat, you might want to replace your igniter kit. This silicone carbide igniter with ceramic holder kit includes the 3-inch flat igniter, bracket, 4-inch wire leads, and the plug. The kit can replace both round and flat igniters and is used for many gas clothes...Read more dryers. Be sure to disconnect the power source from your dryer before you do this repair. The igniter is located within the burner assembly, so you will require tools to complete the repair. You will need a putty knife, a small flat blade screwdriver, a 5/16 nut driver, and a 5/16 socket with a ratchet.
If you notice that your dryer is noisy or will not tumble, you may need to replace the tri ring. This part is triangular, and is less than an inch in size. Tri rings can be found both on the idler pulley shaft, or on the rear drum roller shaft. In either case, you will need to remove the front panel of the dryer and the drum to access the...Read more part for repair. Once you have accessed the damaged tri ring, you will simply need to slip it off and replace it with the new one. This part is sold individually. Be sure to disconnect the power source from the dryer before you begin this repair.
If your gas dryer is not heating up or igniting, then replacing the flame sensor, located in the burner assembly, could solve it. This part senses heat from the igniter to monitor if it is hot enough to ignite gas to light the burner. Once the igniter is hot enough it will open the valve and allow gas to flow. This is a safety mechanism t...Read moreo prevent dangerous levels of gas from building up. To repair, the main top of the dryer should be lifted, as well as the front panel to access the component. This flame sensor assembly is made of both plastic and metal.
If your washer shakes or vibrates loudly when it reaches its max speed, check that the leveling legs are even. To ensure that the washer is firmly on the ground using all four legs, adjust the legs so that the machine is level, and tighten the locking nuts on the legs that are threaded. Keep the washer as close to the floor as possible. Y...Read moreour model might have rear legs that level themselves, or it might have threaded legs all around. Make sure the rubber feet have not worn out. Replace any missing or damaged legs and feet. This replacement part is sold individually.
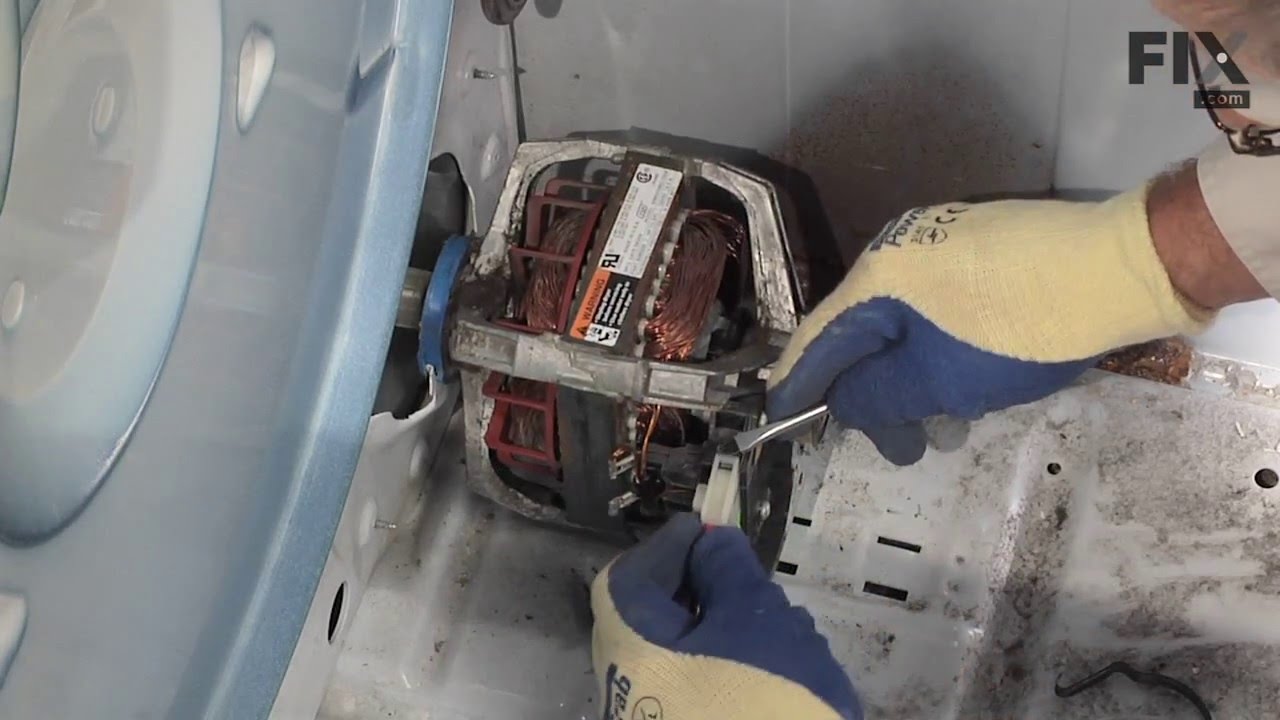
This OEM drive motor is designed to operate the drum in electric and gas dryers by turning the drive belt, enabling proper rotation during drying cycles. Compatible with most Whirlpool-incorporated dryer brands manufactured before 1996, it includes a pre-attached pulley, which is not available separately. If the motor has shorted out or f...Read moreailed, the drum will no longer spin, and replacement is necessary to restore full functionality. Installation requires disconnecting the dryer from its power source before removing the old motor and installing the new one. This component is sold individually and meets original equipment standards for performance and reliability.
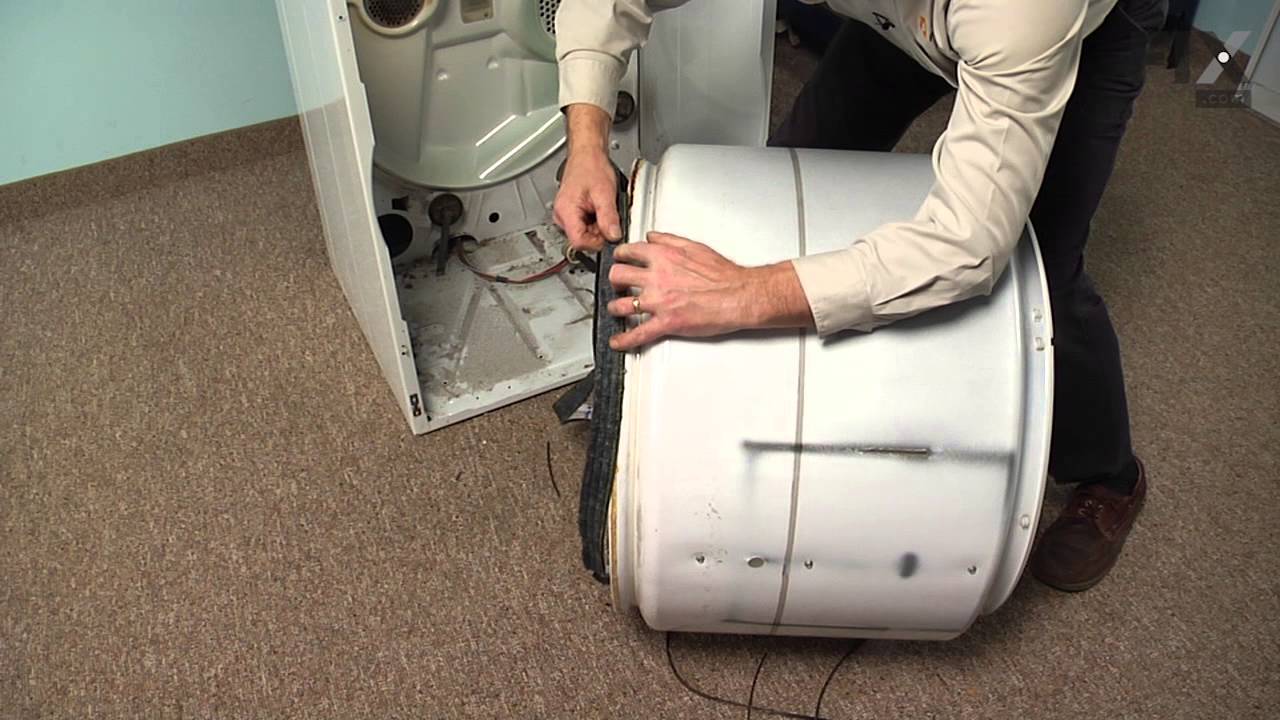
This is a genuine OEM replacement rear drum seal for your dryer. This seal is made of felt and comes with the adhesive required for installation. The purpose of the seal is to prevent hot air from escaping the drum while the dryer is operating. If you notice that it is taking too long for your laundry to dry, that marks are left on your l...Read moreaundry, or the machine is noisy or will not tumble, then you may need to replace the seal.
Ask our experts a question about this model and we'll get back to you as soon as possible!
We may have answered a similar question already! Search questions and answers left by others using simple keywords like "fit", "broken", "easy", or "quality" to find questions that match.
Search filter:
Clear Filter
Your search term must have 3 or more characters.
Sort by:
Prev
1
2
Next
Sorry, we couldn't find any existing answers that matched.Try using some different or simpler keywords, or submit your new question by using the "Ask a Question" button above!
Leo - For model number AGD4475TQ1
January 31, 2022
Dryer does not heat on "timed dry- high heat" or " auto sense dry" selection. It will only heat on "timed dry-low heat". What part do I need to fix the dryer so it works on all selections?
Hello Leo, Thank you for the question. This is normally an indication the Timer Switch is faulty. The Timer sends power to the element during the cycles. If faulty, it may not be working in all cycles. The timer can be tested. You will want to check at the timer for power from the red to the white wire with black strip or terminals A to F for 120 vac. If there is 120 vac then the motor is the issue. If there is not 120 vac then the issue will be with the timer. We hope this helps!
Hi Lynn, thank you for your question. According to our research, the drum size of your model is approximately 6.5 cubic feet. We hope this helps.
1 personfound this instruction helpful.
Was this helpful?
Thank you for voting!
Kristin - For model number AGD4475TQ1
May 22, 2026
My dryer works gets hot but doesn’t remove moisture
Hello Kristin, thank you for getting in touch. The issue could be due restricted airflow, the heating element could be working, but the moist air cannot escape the machine, trapping the water vapor inside the drum. Check the main exhaust vent while the dryer is running. If you don't feel a strong, warm breeze, your vent system is blocked. Clean the lint screen before every load. Even a thin film can restrict airflow by up to 30%. Pull the dryer away from the wall and check the flexible hose behind it. Remove any lint clogs and make sure the hose isn't crushed or kinked. Also, check the blower wheel, part number PS11743785. It can get clogged with lint buildup which reduces the air flow significantly. We hope this helps.
Where is the thermostat located and how do you know if it’s not good
Hello Tom, thank you for contacting us. You can test the thermostat using a multimeter. If the thermostat, part number PS11741405, does not have continuity it is faulty. The thermostat can be located by removing the back panel of the dryer. The attached video can help you locate it. We hope this helps.
Hello Nipu, thank you for your inquiry. Based on our understanding of the issue, we would suggest you replacing the thermal fuse, part number PS11741460. Good luck with the repair!
Was this helpful?
Thank you for voting!
Prev
1
2
Next
✖
Ask a Question
Ask our experts a question on this model and we'll respond as soon as we can.
See how others fixed this model. Time, tools, difficulty, and steps that lead to victory!View More
Search repair tips from other customers using simple keywords like "replace", "fit", "remove", "inspect". DIY doesn't mean you have to do it alone!
Search filter:
Clear Filter
Your search term must have 3 or more characters.
intermittant heat
481 of 532 peoplefound this instruction helpful.
Paul from Monmouth, IL
Easy
1- 2 hours
Nutdriver, Pliers, Screw drivers
First I shut off the gas supply and disconnected the dryer vent and unpluged the unit so you can access the rear of the dryer. Then I removed the rear cover. This is where you will find your thermostats and fuses. Holding the new part next to the one to be replaced I transfer the wires one at a time so as not to get them mixed up, then un
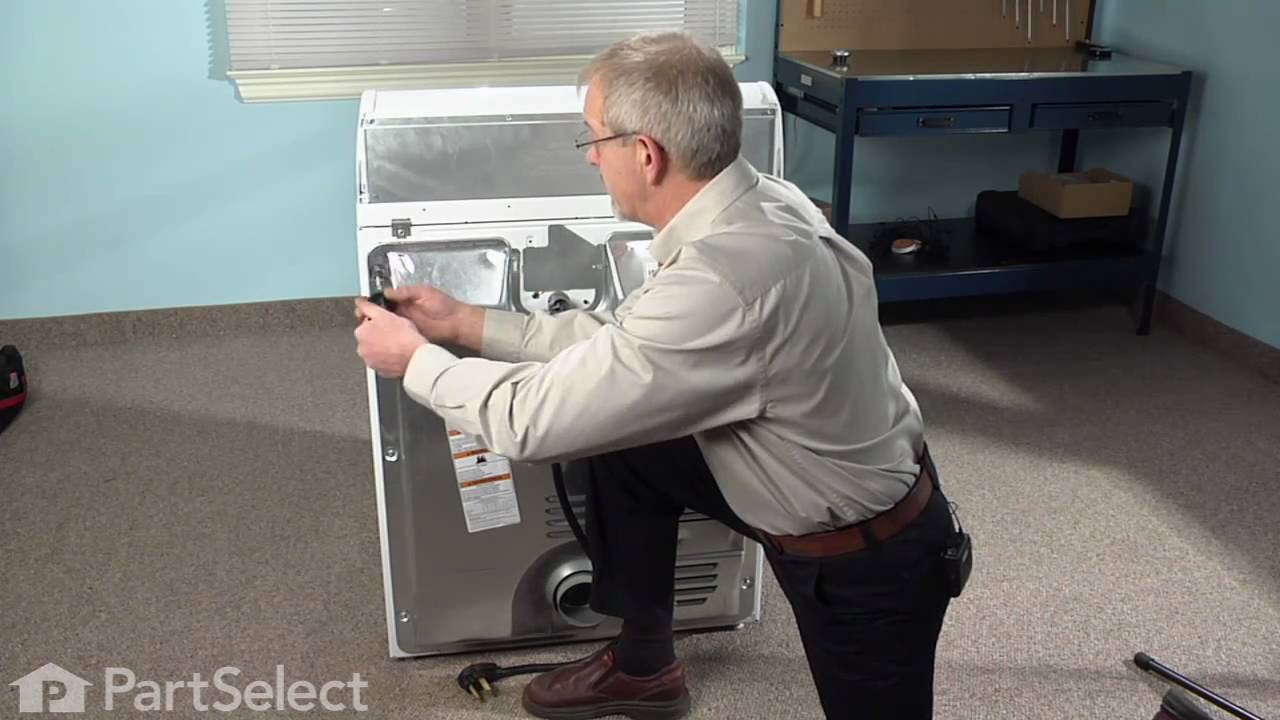
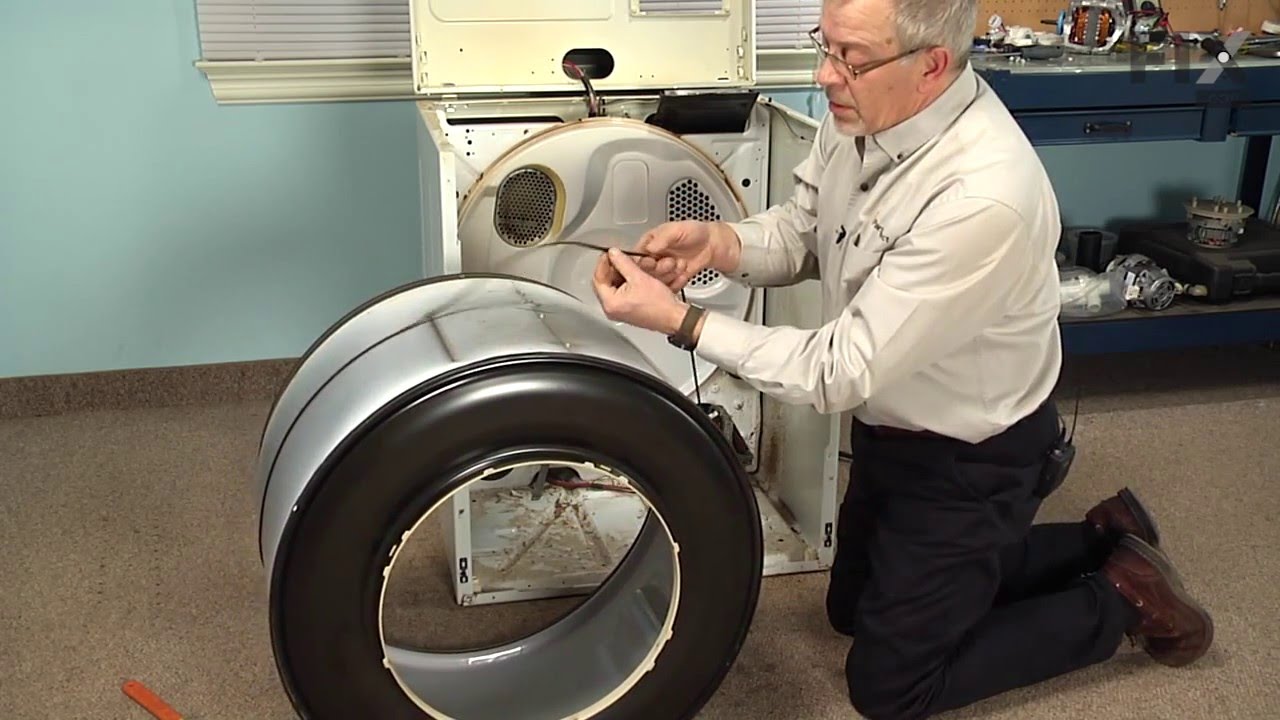
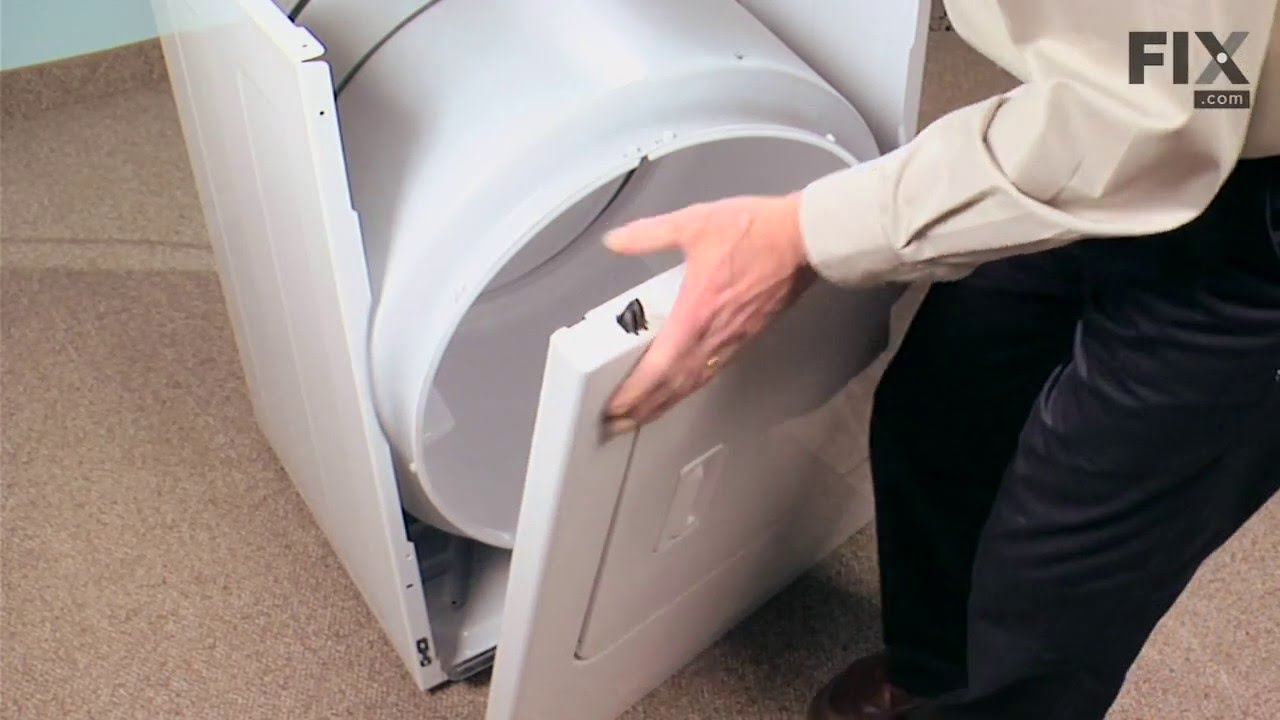
... Read morescrew the old part and install the new one. Insert a flat blade screwdriver under the top cover in the 2 front corners to unsnap it from it's clips, also at this time you need to remove the 2 screws that hold the upper part of the lint filter tube to the lid, then lift the lid to expose the drum ( I tilted the dryer back as far as the flex gas line would allow me to and rested the top lid against the wall without removing it, to many wires). Behind the front cover in the top right corner is the plug for the door switch,un-plug it and also there are 2 screws one in each corner. After that lift the front cover straight up and pull it away from the cabinet ( it has clips at the bottom to hold it in place). Reaching under the drum on the right side pull down on the belt tensioner and release the belt from the motor then you can remove the drum. Laying the drum down on it's front edge I removed the rear felt seal and took a piece of sand paper to rough up th old glue and clean off some of the felt that was still stuck to the drum. Following the directions from the seal package I put the glue around the edge of the drum and re-installed the new felt. This is a good time to clean out your dryer, while the glue sets up. A shop vac works the best, but be carefull not to suck up the money, it will help pay for the repair ( I found over a dollar in change ). At this time I also changed the coils on the gas valve, remove the 2 screws that hold the clamp and replace them one at a time. Re-install the drum with the belt on it, fold it and push it through the tensioner and put it on the motor pulley. rotate the drum to make sure that the felt is not kinked under itself, re-install the front cover bottom clips first, then the 2 screws and the plug for the door switch, pull down the lid and snap it in place, before installing the rear cover this is a good time to remove the rear cover to the lint chute and clean in there also ( it's easy to see why there are so many dryer fires). Re- install that cover and the rear cover and vent tube, turn your gas back on and check it for leaks ( even if you didn't disconnect it) plug your dryer back in and get busy catching up on the laundry that you haven't had a chance to do because your dryer broke, then smile and think about all the money you saved by doing this simple repair your self. Thanks Parts Select
Wife told me Dryer would make a funny sound, then stop + had an a funny smell as well. The Electric motor that drove the unit was overheating and locking up, It was time to be replace.
431 of 480 peoplefound this instruction helpful.
Mark from Fremont, NE
Really Easy
30 - 60 mins
Nutdriver, Screw drivers, Socket set, Wrench (Adjustable), Wrench set
The best part of my repair was I had everything back in service in 3 days. And one of these days was to consider just buying a new dryer. Had parts overnited and all parts fit and easy to replace.
1) Removed back - 6 screws 2) Removed dryer vent - 2 screws on top, 3 on bottom 3) Popped the top open 4) Removed Fro
... Read morent of dryer cabinet - 2 screws 5) Removed Belt 6) Removed Drum 7) Cleaned up all lint 8) Pop off motor retainers front and back Here is the tricky part for me. 9) Removed vent fan on back of motor. I did not know that the back of the fan was square, and you could put an open ended wrench on it to hold it while you also have a vice grip on the front motor shaft. Then its a simple left to loosey operation. I first tryed to turn the fan blade to take it off, but proved to be to tight. 10) Repeat backwards to reassemble
While I had it apart I also replaced the Drum support rollers & Installed a new belt. Not that diffucult of a repair Good Luck, was certainly better than buying a new one at + $300.00 at Black Friday rates.
PartSelect showed seven different possibilities why the dryer wouldn't heat. I removed the two screws to remove the bottom panel and turned the dryer on and noticed that the heating element that ignites the gas was working fine. This meant that it was not getting gas so it could be the gas valve or one of the two gas valve coils which are
... Read more located on top of the gas valve. I borrowed my neighbor"s ohm meter and touched the two probes on the coils terminals to check for continuity and found that one of the coils read zero. I then took both of the coils out by removing two screws and tested each coil again. One coil read 500-850 and the other read zero. This meant that it was no good so I called for the part and received it in three days. I reassembled the parts and turned the dryer on and it fired up after a few seconds. It works as good as new. The part plus shipping was less than $30. My repairman would have charged me $150-$200. While the dryer was apart I gave it a good cleaning with a vacuum and a toothbrush in delicate areas. I also removed and cleaned the lint trap housing by removing two nuts. I didn't know much about gas dryers, but thanks to PartSelect I easily fixed it myself.



 My Orders