This 40-Watt light bulb is sold individually.
It is specially designed to withstand extreme temperatures, so this bulb is compatible with a variety of appliance types including refrigerators, ranges, microwaves, and dryers. It features a frosted glass bulb with a standard metal socket base, which allows you to easily unscrew the burnt-out light and twist the new bulb into place.
This burner cap is for your gas range, and acts as a cover for the burner head. It is black in color and just over 3 inches in diameter. If your old burner cap is damaged or missing, this is the part that will replace it. This is an OEM part sourced directly from the manufacturer and is sold individually.
This is a burner cap for your gas range. The cap acts as a cover for the burner head. If your old burner cap is damaged or missing, this is the part that will replace it. The cap is black in color and about 3 and a half inches in diameter. This is a quality OEM part sourced directly from the manufacturer. This cap is sold individually.
This metal oven rack provides a stable and durable surface for baking, roasting, and broiling inside your oven. Designed to fit select gas range and oven models, it promotes even heat circulation and airflow around food for consistent cooking results. Constructed from solid 304 stainless steel, the rack resists rust and warping even at hi...Read moregh temperatures, ensuring long-term reliability. Measuring approximately 23.75 inches in length and 16.25 inches in width, it offers ample space for cookware. Many versions feature convenient handles at each end, allowing for easy placement and removal from the oven.
This part is the replacement light socket for your oven. The oven light socket provides power to the light, and at the same time holds the light bulb in place.
Proper burner performance depends on a cap that matches the burner head and lies completely flat. Cracks, damaged mounting feet, or heavy buildup can cause poor ignition and an uneven flame. Inspect the burner head, ports, and igniter before ordering a replacement. Match the caps size, shape, and color to the full appliance model and burn...Read moreer location. Allow every surface to cool before lifting the old cap, do not force the replacement into place, and confirm that the flame burns evenly after installation.
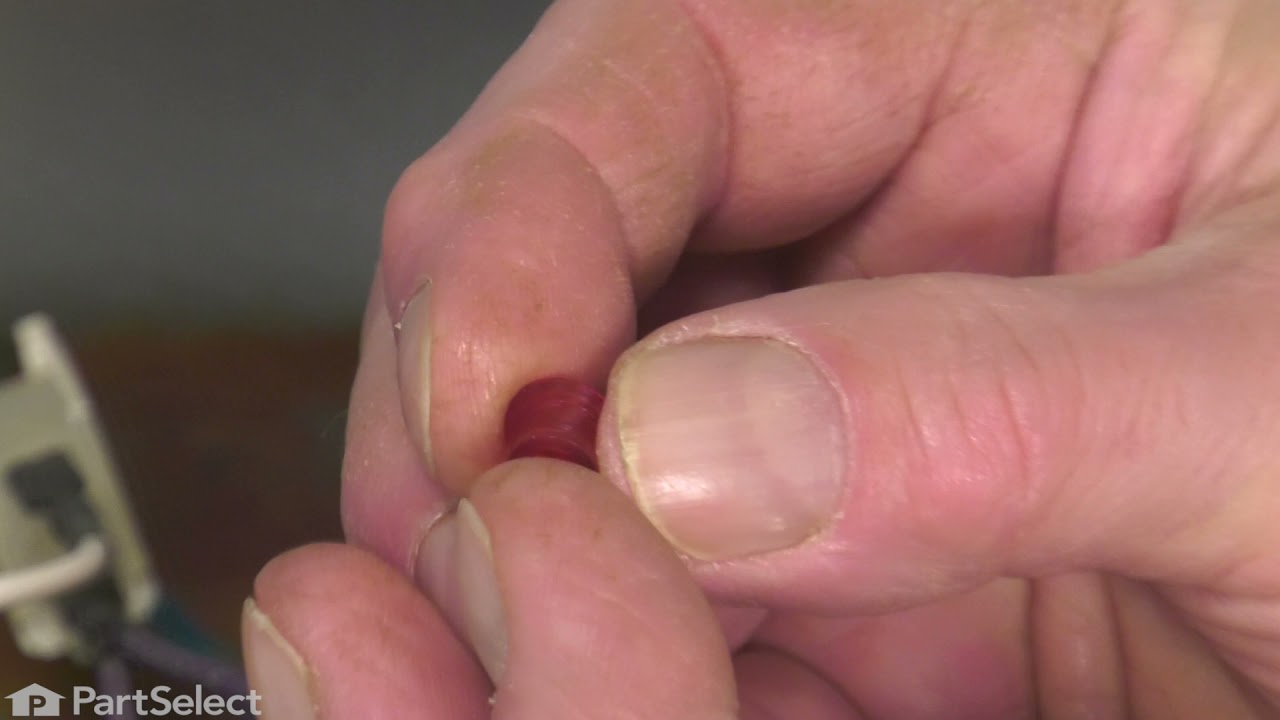
This part is a replacement lens for your oven or range. The lens is red in color, and when the elements are turned on, the light behind the lens will turn on to inform the user that the element is, in fact, on. The lens is a little less than half an inch in diameter and is made of plastic. If the light behind the lens still works, you sho...Read moreuld be able to simply remove the front panel and pop the damaged lens out of position, then replace it with the new one. This part is sold individually and is an OEM part sourced directly from the manufacturer.
This large broiler pan is found in the bottom of your oven and is used to catch drippings from broiling foods. This part includes the grate and bottom pan and is made of porcelain. The grate measures 15-1/2 inches wide by 13 inches deep and the pan is about 17 inches wide by 13 inches deep. No tools are required to replace this item, simp...Read morely pull out the lower drawer of your range, pull down the front of the drawer, slide the pan out and slide the new one into place. This is a genuine part sourced right from the manufacturer.
Ask our experts a question about this model and we'll get back to you as soon as possible!
We may have answered a similar question already! Search questions and answers left by others using simple keywords like "fit", "broken", "easy", or "quality" to find questions that match.
Search filter:
Clear Filter
Your search term must have 3 or more characters.
Sort by:
Prev
1
Next
Sorry, we couldn't find any existing answers that matched.Try using some different or simpler keywords, or submit your new question by using the "Ask a Question" button above!
James - For model number AGBS45DEF2WS
April 21, 2022
I need to convert this stove to lp. Is there a kit available? Thank you.
Hello James, thank you for writing. You will need to change out the orifices on the top stove individually. The same Orifice is for both Front and Rear Left part PS240683. Right Front is part PS240692. And the Right Rear is part PS3650580. You do not have to change the oven orifice. If you need help placing an order, customer service is open 7 days a week. Please feel free to give us a call. We look forward to hearing from you.
See how others fixed this model. Time, tools, difficulty, and steps that lead to victory!View More
Search repair tips from other customers using simple keywords like "replace", "fit", "remove", "inspect". DIY doesn't mean you have to do it alone!
Search filter:
Clear Filter
Your search term must have 3 or more characters.
The oven stayed on after the switch was turned off
94 of 119 peoplefound this instruction helpful.
robin from Merrill, WI
Easy
30 - 60 mins
Nutdriver, Screw drivers
Check the switch with an ohm meter, 0 resistance in the closed position = a bad switch. I went to the web site found the part. ordered it next day it shows up. Removed the pot grids and all control knobs for the burners and oven lifted the top of the stove up, and off. I removed face plate behind the control knobs 3 screws, I removed the
... Read more 2 screws holding the oven switch. opened the oven and un cliped the thermostat wire from the back wall. Uncoiled new wire feed under the burner shield to the back of the unit and back down the old hole cliped in the new wire. put the 2 screws into the new switch and re-assembled the rest in the reverse order i took it off . all this while watching my 11 month old grandaughter.
Read less
Was this helpful?
Thank you for voting!
Oven wouldn't light
41 of 50 peoplefound this instruction helpful.
Harold from Carpentersville, IL
Easy
1- 2 hours
Screw drivers
Checked switch using test meter and found voltage going in but no voltage out when switch was turned on. Removed all burner knobs, raised top cover and disconnected two wires from thermostat switch. Removed the thermostat probe from oven interior by pushing it through hole in top. Removed two screws holding switch and pulled out entire as
... Read moresembly. Used a wire coat hanger pushed through hole for probe so I could see where to fish the probe into the oven. Hooked up electrical connections and tested. Everything worked well. Received part from Partselect in one business day. Excellent service and response.
Read less
Was this helpful?
Thank you for voting!
oven Thermostat stem broken
39 of 45 peoplefound this instruction helpful.
Joseph from Bartlett, IL
Easy
30 - 60 mins
Screw drivers
The repair was fairly easy, you take off all the burner knobs there are small screws on the face of the cover panel and a few on the bottom That come off the cover panel should come off after you remove the screws and the switch for the oven light the wires just clip on the switch there are two .the thermostat is held on by two small scr
... Read moreews that are on the cover panel.you lift up the burner panel you have room to feed the thermostat wire in the stove,there is a small hole in the back were you feed the wire through then the metal part is held in place by two small clips that are in the oven on the back wall.I didnt have to trouble shoot becase I knew what part I needed because it was broken,It was a fairly easy repair hopefully this is helpful



 My Orders